3D Printed Kitchen Gadgets: Custom Molds for Silicone Bakeware & Tools
Discover how to safely make 3D printed kitchen gadgets by casting custom silicone bakeware and non-stick tool handles using food-safe master molds.
The Hidden Danger of Direct 3D Printed Kitchen Gadgets
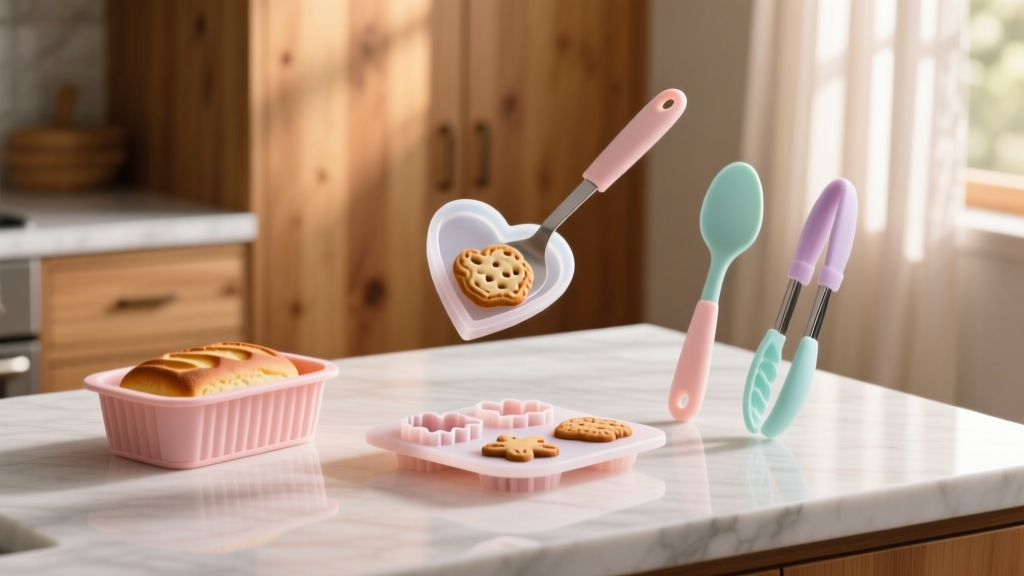
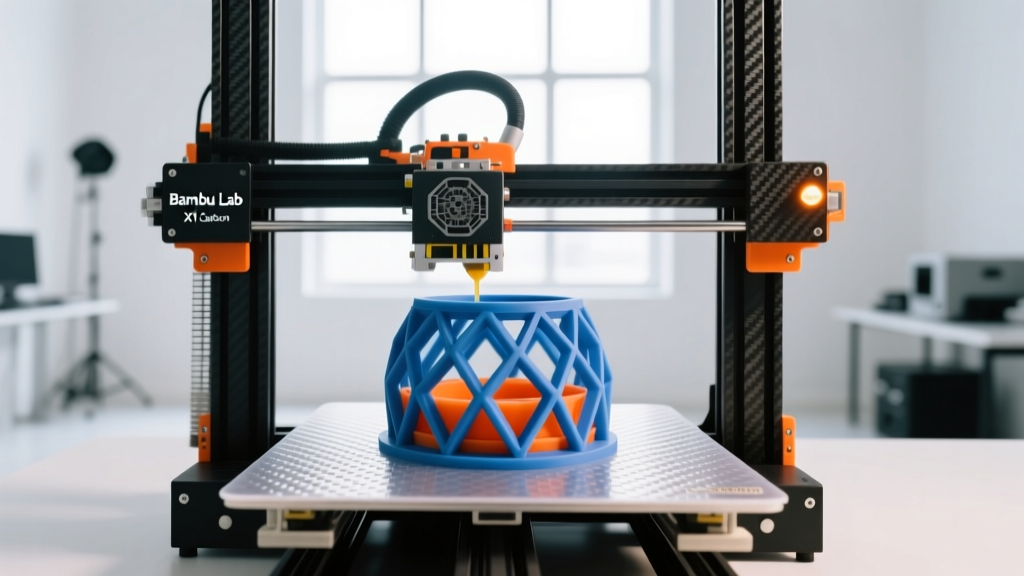
The allure of designing custom 3D printed kitchen gadgets is undeniable. From bespoke cookie cutters to specialized espresso distribution tools, the ability to manufacture on-demand is a game-changer for home cooks. However, a critical food-safety barrier exists that most hobbyists ignore: layer lines. Standard FDM (Fused Deposition Modeling) printing deposits plastic in 0.16mm to 0.28mm layers, creating microscopic grooves. According to microbiological studies on 3D printed polymers, these grooves trap moisture, food particles, and bacteria like E. coli and Salmonella, rendering them nearly impossible to sanitize completely, even in a dishwasher.
Furthermore, the term 'food-safe filament' is largely a marketing misnomer. While the base resin of PETG or PLA might be FDA-compliant, the additives, colorants, and the brass nozzles used to extrude them often introduce heavy metals and toxins. Direct food contact with 3D printed parts is a liability. The true problem-solver approach to leveraging 3D printing in the kitchen is not printing the end-use part, but rather printing master patterns and molds to cast food-safe materials like platinum-cure silicone and high-density polyurethane.
The Problem-Solver Approach: Printing Masters, Not End-Use Parts
By shifting the paradigm from 'printing the gadget' to 'printing the tool that makes the gadget,' you unlock commercial-grade kitchen manufacturing at home. This methodology is particularly effective for creating custom silicone bakeware and replacing broken handles on premium non-stick cookware. Silicone, when properly cured, is entirely inert, non-toxic, and complies with FDA's Food Contact Substance guidelines for repeated food contact.
Platinum-cure silicones (the only food-safe variety) are highly sensitive to chemical inhibition. Sulfur, latex, tin, and certain plasticizers found in standard PLA filaments will prevent the silicone from curing, leaving you with a permanent, sticky mess. You must seal your 3D printed master mold before casting.
Casting Food-Safe Silicone Bakeware: A Step-by-Step Framework
Creating custom silicone baking molds—such as specialized chocolate cavities, geometric cake pans, or custom ice trays—requires precision in both the 3D print and the chemical casting process. We recommend using Smooth-On's Dragon Skin platinum-cure silicone due to its FDA compliance, high tear strength, and heat resistance up to 450°F (232°C).
- Design and Print the Master: Design your mold with a minimum 3mm wall thickness. Print using ABS or ASA filament at a 0.12mm layer height to minimize sanding. If using PLA, you must sand the part up to 400-grit to remove layer lines.
- Seal the Master: Apply two coats of a food-safe epoxy sealant like Smooth-On XTC-3D. Mix at a 2:1 ratio by volume, brush on a thin layer, and let it cure for 4 hours. This creates a non-porous barrier that prevents PLA plasticizers from inhibiting the silicone cure.
- Apply Release Agent: Even with a sealed master, platinum silicone can bond to epoxy. Spray a light coat of a universal mold release (like Mann Ease Release 200) and let it dry for 10 minutes.
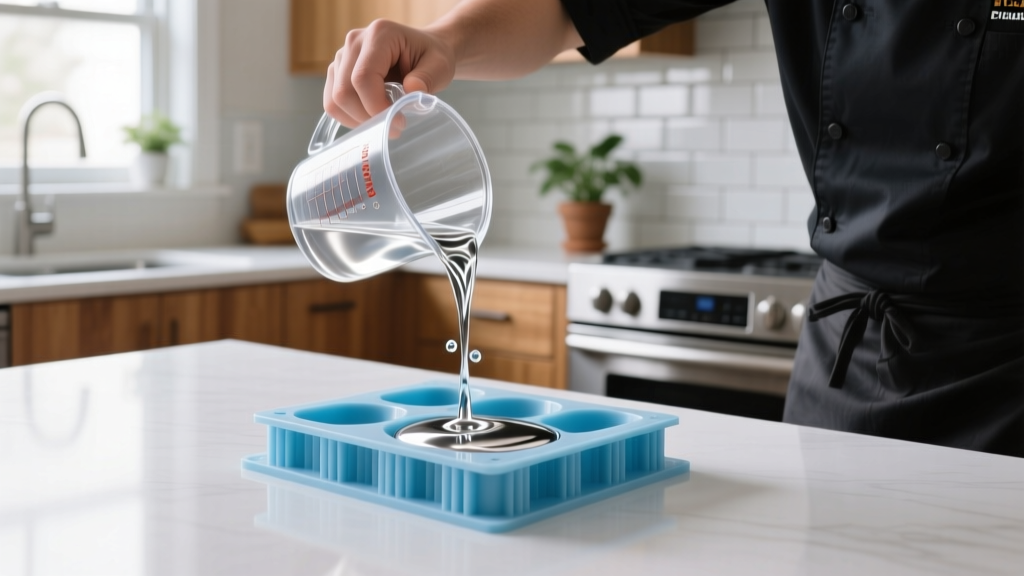
- Mix and Pour: Mix Dragon Skin 10A at a 1:1 ratio by volume. You have exactly 9 minutes of pot life. Stir slowly to minimize air entrapment. Pour from a height of 12 inches in a thin stream to break bubbles naturally.
- Cure and Demold: Allow the silicone to cure for 16 hours at room temperature (73°F). Once fully cross-linked, the silicone is chemically inert and ready for the oven or freezer.
Filament and Release Agent Compatibility Matrix
| Filament Type | Surface Prep Required | Recommended Release Agent | Cure Inhibition Risk |
|---|---|---|---|
| PLA | Sanding + Epoxy Sealant (XTC-3D) | Mann Ease Release 200 | High (if unsealed) |
| PETG | Acrylic Clear Coat Spray | Petroleum Jelly (thin layer) | Moderate |
| ABS / ASA | Acetone Vapor Smoothing | None required (usually) | Low / None |
| Resin (SLA) | UV Post-Cure + Epoxy Sealant | Mann Ease Release 200 | Extreme (if uncured) |
Reviving Non-Stick Pans with Custom 3D Printed TPU Handles
Premium non-stick skillets and sauté pans often outlive their handles. When the phenolic resin or bakelite handle cracks, the pan is usually discarded. 3D printing offers a brilliant salvage operation, but standard rigid filaments like PLA or PETG will melt on the stovetop and scratch the pan's finish. The solution is printing replacement handles using TPU (Thermoplastic Polyurethane).
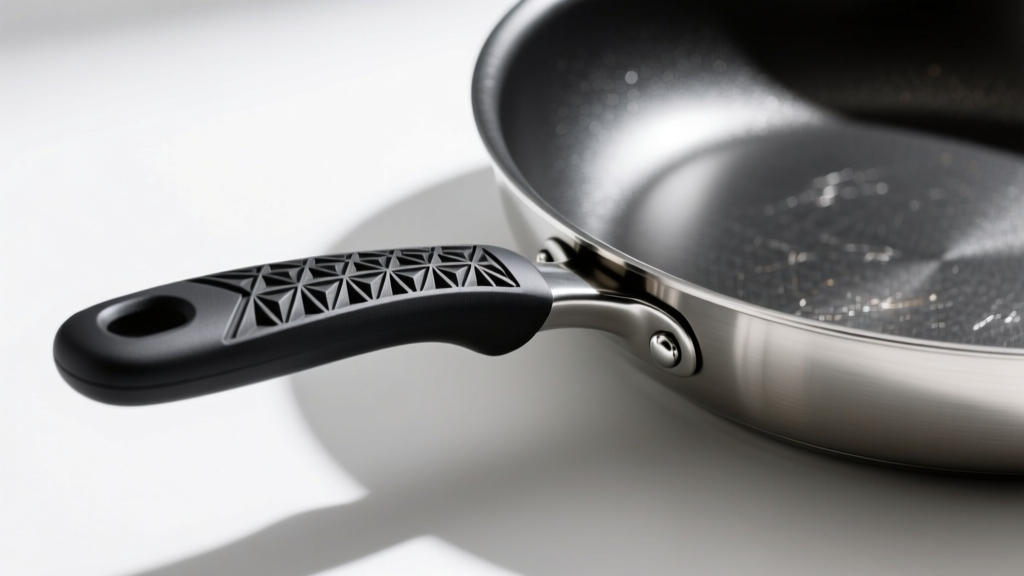
TPU is a flexible, highly durable elastomer. Using a filament with a Shore hardness of 95A provides a rigid-yet-slightly-yielding grip that mimics commercial over-molded rubber handles. More importantly, high-quality TPU boasts a heat deflection temperature that safely handles the ambient heat transfer from a stovetop pan, provided the handle geometry includes thermal break fins.
Design Rules for TPU Cookware Handles
- Thermal Breaks: Incorporate deep, 2mm ventilation channels between the metal attachment point and the main grip area to reduce thermal conductivity.
- Infill Strategy: Print at 100% infill using a gyroid pattern. This prevents the handle from compressing under the weight of a full pan and eliminates internal air pockets that could expand and crack the shell when heated.
- Hardware Integration: Do not rely on 3D printed threads for structural integrity. Design the TPU handle with a smooth bore and use stainless steel M4 or M5 threaded inserts, heat-set into the plastic using a soldering iron at 230°C.
Material Sourcing and Cost Breakdown for 2026
Transitioning to indirect manufacturing requires an upfront investment in chemistry, but the per-unit cost drops significantly for batch production. Here is a realistic look at the material costs for setting up a kitchen casting station this year.
Starter Kit Cost Analysis
- Smooth-On Dragon Skin 10A (Trial Unit): $48.00 (Yields approx. 4-5 standard baking molds)
- Smooth-On XTC-3D Epoxy Coating: $28.50 (Lasts for dozens of master molds)
- Mann Ease Release 200 Spray: $18.00 (12 oz can)
- Polytek PolyShore 95A TPU Filament (1kg): $34.99 (Enough for 15+ pan handles)
- Brass Threaded Inserts (M4, 50-pack): $9.50
- Total Initial Investment: ~$138.99
Troubleshooting Edge Cases and Failure Modes
Even with meticulous preparation, casting and printing for kitchen applications present unique failure modes. Consult Smooth-On's technical tutorials on cure inhibition if you encounter persistent chemical issues, but review these common kitchen-specific pitfalls first:
- Silicone Remains Tacky: This is almost always cure inhibition caused by sulfur in clay modeling tools used to sculpt the master, or latex gloves worn during mixing. Switch to nitrile gloves and ensure your master is sealed with at least two coats of epoxy.
- Micro-Bubbles in Bakeware: If you do not own a vacuum degassing chamber, use the 'thin stream' pouring technique from a height of 12 inches. Additionally, spray the inside of the mold with 99% isopropyl alcohol right before pouring; this breaks the surface tension of trapped bubbles.
- TPU Handle Warping on Stovetop: If your TPU handle softens during high-heat searing, your thermal break design is insufficient. Redesign the handle to increase the distance between the pan chassis and the grip by at least 15mm, and consider printing the inner core in Polycarbonate (PC) and over-molding the exterior grip in TPU using a multi-material setup like the AMS on Bambu Lab printers.
Frequently Asked Questions
Can I put 3D printed PLA cookie cutters in the dishwasher?
No. PLA has a glass transition temperature of roughly 60°C (140°F). Dishwasher water often exceeds this, causing the cutter to warp and lose its dimensional accuracy. Furthermore, the dishwasher's high-pressure water will force food particles deep into the layer lines, creating a bacterial breeding ground. Hand wash only, or cast the cutters in food-safe resin.
Is PETG safe for direct food contact if I coat it in food-safe epoxy?
While coating PETG in a certified food-safe epoxy like ArtResin creates a non-porous barrier, the mechanical wear from cutting, scraping, or abrasive sponges will eventually breach the epoxy layer, exposing the non-compliant PETG underneath. For any gadget that experiences mechanical friction (like spatulas or cutting boards), always cast in solid polyurethane or silicone rather than coating a 3D print.
How do I clean custom silicone bakeware cast from 3D printed molds?
Platinum-cure silicone is entirely non-stick and highly heat resistant. You can clean custom bakeware in the dishwasher or by boiling it in water for 5 minutes to sterilize it. Avoid using sharp metal utensils on the silicone, as tears in the material cannot be repaired and will harbor bacteria.
Written by
Tom ReynoldsTom Reynolds holds a CFA (Chartered Financial Analyst) designation and a B.S. in Finance from the University of Texas at Austin. Before entering tech journalism, he spent 6 years as a quantitative analyst at a hedge fund, building cost-benefit models for consumer product investments. Tom has maintained a proprietary database of over 10,000 tech deals for the past 8 years, developing his signature "penny-per-feature" evaluation framework that calculates the true value proposition of every gadget. His budget gadget reviews are known for their financial rigor — he tracks price history across 15+ retailers, calculates cost-per-use over 3-year lifespans, and identifies the exact inflection point where premium features justify their markup. Tom's deal alerts have saved his readers an estimated .3 million since 2018.