Mastering Unique Cooking Gadgets: Anova Precision Oven Setup
Learn how to set up and master unique cooking gadgets like the Anova Precision Oven. Step-by-step combi-steam configuration and calibration guide.
The Mechanical Reality of Combi-Steam Cooking
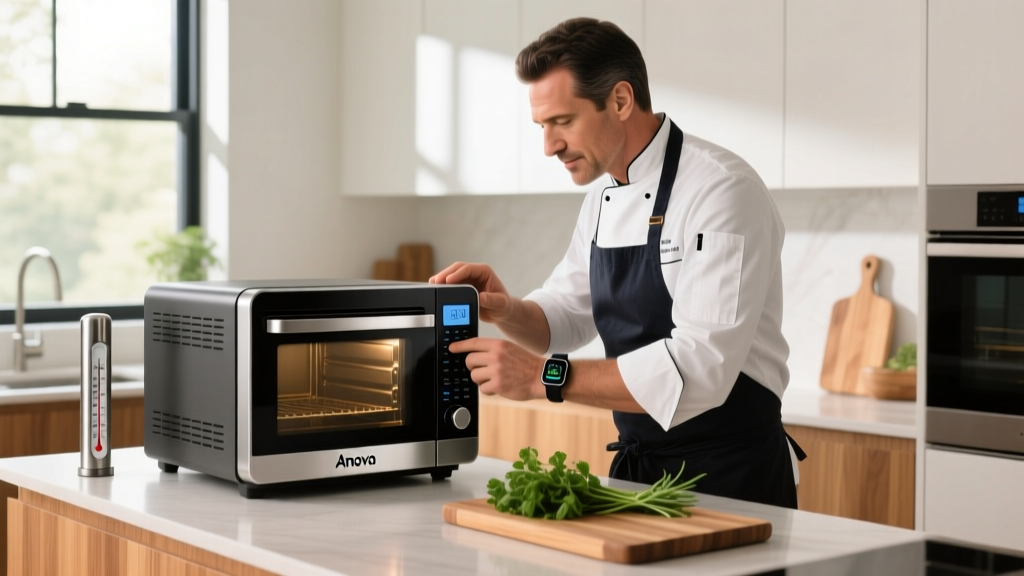
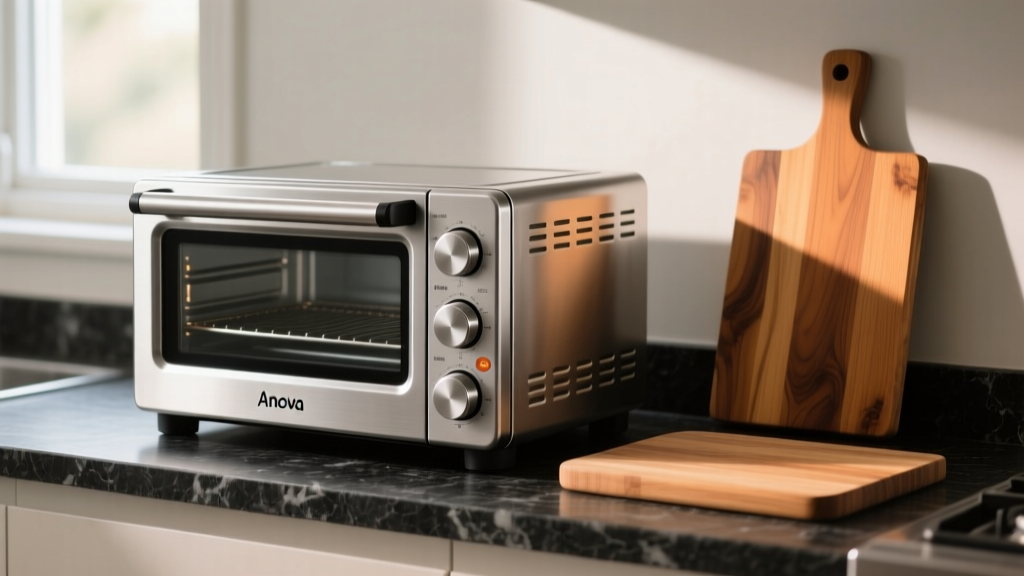
When evaluating unique cooking gadgets for serious home kitchens, the Anova Precision Oven (APO) stands in a category of its own. Unlike standard convection ovens or basic air fryers, the APO is a true combi-oven. It injects boiler-generated steam directly into the cooking chamber while simultaneously running convection fans. This allows you to control both dry-bulb (air) and wet-bulb (evaporative) temperatures, effectively eliminating the moisture gradient that causes traditional ovens to overcook the outer edges of meat before the center reaches temperature.
However, this level of thermal precision requires a meticulous physical setup, electrical verification, and software calibration. Skipping the altitude calibration or using tap water in the thermoblock will degrade the oven's steam injection accuracy and void the warranty. This guide details the exact setup protocol and provides a masterclass tutorial for your first combi-cook.
Phase 1: Physical Placement and Electrical Requirements
The APO pulls significant power when the steam boiler and convection elements engage simultaneously. Improper circuit sharing is the leading cause of tripped breakers during the preheat phase.
Clearance and Venting Specifications
- Top Clearance: Minimum 6 inches. The primary steam exhaust vent is located on the top rear of the chassis. Restricting this causes condensation to pool on your cabinetry.
- Side Clearance: Minimum 4 inches on both sides for intake ventilation.
- Rear Clearance: Minimum 2 inches from the backsplash.
- Surface: Must be placed on a heat-resistant, level surface capable of supporting 55 lbs (the oven's weight when the 1.2L water tank is full).
Electrical Load Management
The oven operates on a standard 120V outlet but peaks at 1600W. According to the official Anova technical support documentation, the APO must be plugged directly into a wall receptacle. Do not use extension cords or power strips. If your kitchen shares a 15-amp circuit with a microwave or refrigerator, running the APO's steam-boil cycle will likely trip the breaker. Ensure the oven is on a dedicated 15-amp or 20-amp circuit.
Phase 2: Fluid Dynamics and Sensor Calibration
Before connecting to Wi-Fi, you must address the water chemistry and thermal sensors. The APO uses a thermoblock heater to flash water into steam. Mineral buildup from tap water will calcify the thermoblock within 30 steam cycles, leading to E02 (steam generation) errors.
Water Tank Preparation
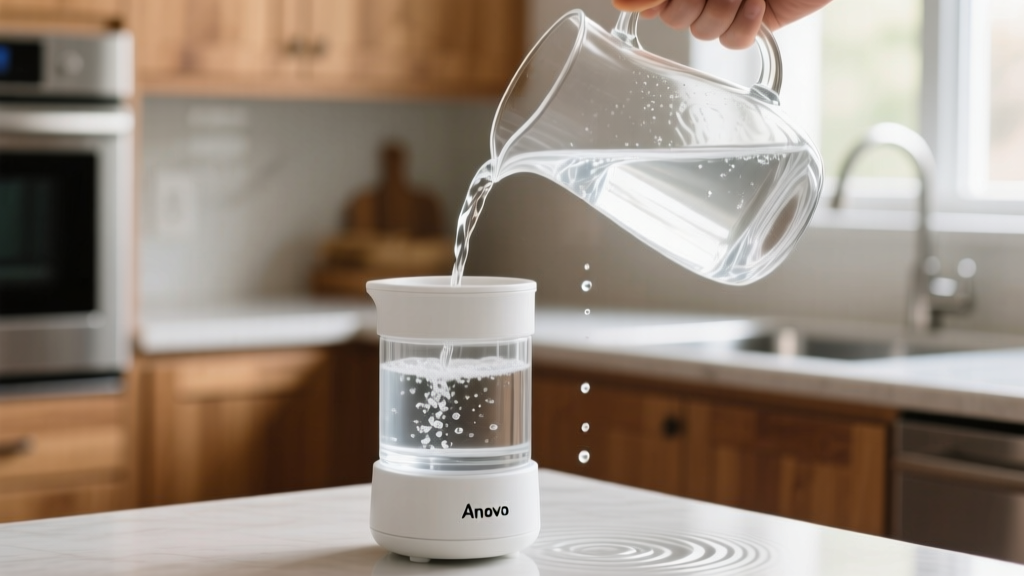
Fill the 1.2-liter removable tank exclusively with distilled or reverse-osmosis water. If you must use tap water, you will need to descale the system every 4 weeks using a 5% citric acid solution (50 grams of food-grade citric acid dissolved in 1 liter of warm water), run through a full steam cycle, followed by two rinse cycles.
Altitude and Boiling Point Calibration
Water boils at 212°F (100°C) at sea level, but the boiling point drops by roughly 1°F for every 500 feet of elevation gain. Because the APO relies on the phase change of water to regulate 100% steam environments, it must know your exact local boiling point.
- Download the Anova Culinary App (ensure your phone is connected to a 2.4GHz Wi-Fi network; the APO's network card does not support 5GHz bands).
- Power on the oven and navigate to Settings > Oven Calibration > Boiling Point.
- The oven will heat the thermoblock and measure the exact temperature at which the water transitions to steam inside the sensor chamber.
- Allow the process to complete (approximately 12 minutes). Do not interrupt the cycle.
Calibration Targets by Elevation
| Elevation (ft) | Expected Boiling Point (°F) | Steam Output Efficiency | Required Adjustment |
|---|---|---|---|
| 0 (Sea Level) | 212.0°F | 100% | None |
| 2,000 | 208.4°F | 98% | Auto-Calibrate via App |
| 5,000 | 203.0°F | 94% | Auto-Calibrate + Adjust Cook Times |
| 7,500 | 198.4°F | 89% | Auto-Calibrate + Increase Steam % |
Phase 3: The 'Steam-to-Sear' Ribeye Tutorial
To understand why the APO outperforms traditional reverse-sear methods, we must look at wet-bulb temperature. In a standard oven, dry air causes surface evaporation on the meat, which cools the exterior (evaporative cooling) and creates a gray, overcooked band beneath the crust. By injecting 100% steam at a low temperature, the APO eliminates evaporative cooling, cooking the meat edge-to-edge with zero moisture loss.
Step 1: The Combi-steam Phase (Edge-to-Edge Perfection)
For a 1.5-inch thick, bone-in ribeye steak, configure a multi-stage cook in the Anova App:
- Stage 1 Settings: Steam 100% | Temp: 129°F (53.8°C) | Probe Target: 127°F (52.7°C) | Convection Fan: OFF.
- Probe Placement: Insert the Anova Bluetooth meat probe into the absolute geometric center of the steak, avoiding the bone. Secure the cable in the oven door gasket.
- Execution: Place the steak on a wire rack over a drip tray. The 100% steam environment will bring the internal temperature to 127°F in approximately 55 to 70 minutes. The meat will emerge looking gray and unappetizing—this is normal, as the Maillard reaction (browning) does not occur below 285°F (140°C).
Step 2: The Dry-Heat Searing Phase
Because the APO retains ambient moisture, you must purge the chamber before searing to ensure a crisp crust.
- Remove the steak and pat it completely dry with paper towels. Surface moisture is the enemy of the sear.
- Open the oven door for 60 seconds to vent residual humidity.
- Stage 2 Settings: Steam 0% | Temp: 500°F (260°C) | Preheat required.
- Once the oven reaches 500°F, place the steak directly on the wire rack (no drip tray, to maximize bottom airflow).
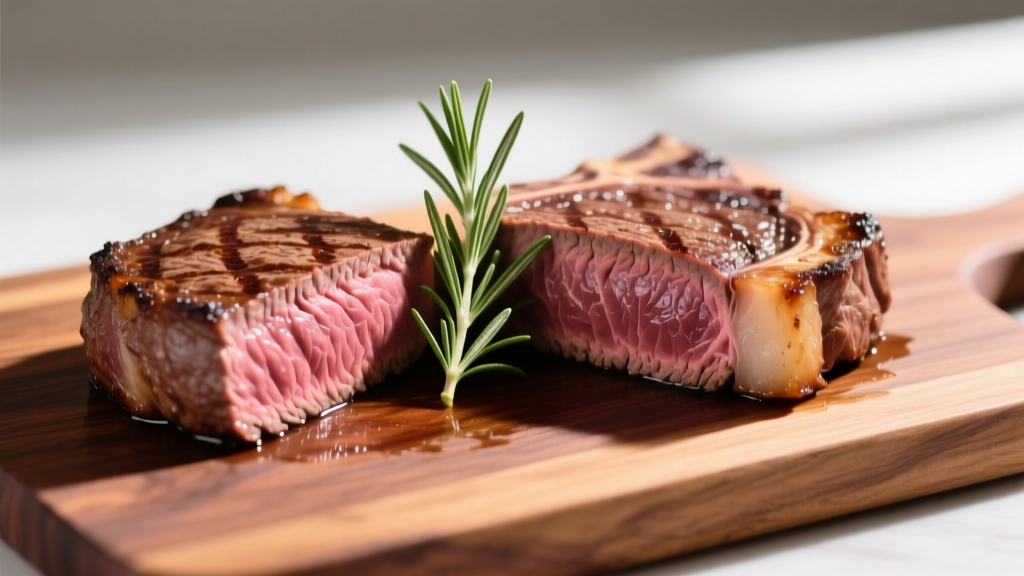
- Sear for exactly 2.5 minutes per side. The bone-in fat cap will render rapidly, and the crust will form without pushing the internal temperature past a perfect medium-rare 132°F (55.5°C).
Troubleshooting Common Setup and Operation Errors
Even with precise calibration, combi-ovens present unique mechanical challenges. Use this decision tree to resolve the most frequent error codes.
Error E01: Door Sensor Fault
Symptom: The oven refuses to initiate steam injection, displaying E01.
Cause: The magnetic reed switch in the door frame is misaligned, or food debris is blocking the door seal.
Fix: Wipe the silicone door gasket with a damp microfiber cloth. Check the right-side hinge for sagging. If the hinge is loose, tighten the two T15 Torx screws on the interior hinge plate while applying upward pressure to the door.
Error E02: Steam Generation Timeout
Symptom: The oven aborts the steam cycle after 4 minutes.
Cause: The thermoblock is scaled, or the water tank O-ring is failing to create a vacuum seal.
Fix: Inspect the O-ring on the water tank cap. If it is flattened or cracked, order a replacement. If the O-ring is intact, run the 5% citric acid descaling protocol mentioned in Phase 2. As detailed in advanced thermal dynamics discussions on precision meat cookery, maintaining exact humidity levels is non-negotiable for preventing protein fiber contraction.
Probe Connectivity Drops
Symptom: The app loses connection to the meat probe mid-cook.
Cause: The 2.4GHz Bluetooth signal is being shielded by the oven's thick stainless steel chassis or interfered with by the convection motor.
Fix: Ensure the probe wire is routed through the designated notch in the door seal. Do not bend the wire at a sharp 90-degree angle at the probe base, as this fractures the internal thermocouple wiring. Keep your Wi-Fi router within 15 feet of the oven to maintain the app's data bridge.
Maintenance Schedule for Longevity
To keep the APO functioning as a premier culinary tool, adhere to this strict maintenance cadence:
- After Every Cook: Wipe the interior glass and steam sensor with a 50/50 white vinegar and water solution to cut rendered fat aerosolized by the convection fan.
- Monthly: Empty the water tank, wash it with mild dish soap, and leave the cap off overnight to prevent biofilm growth.
- Bi-Annually: Perform a full thermoblock descale, regardless of water type used, to clear micro-calcification in the steam injection nozzle.
Mastering the Anova Precision Oven requires treating it less like a traditional appliance and more like a laboratory instrument. By respecting the electrical requirements, maintaining water purity, and leveraging the thermodynamics of wet-bulb cooking, you unlock a level of culinary precision that standard kitchen hardware simply cannot achieve.
Written by
Priya SharmaPriya Sharma holds a Ph.D. in Acoustical Engineering from the University of Southampton and a B.Tech in Electronics from IIT Delhi. She has spent 9 years as a consumer electronics journalist, with deep specialization in audio equipment, camera systems, and assistive technology. Priya is an active member of the Audio Engineering Society (AES) and has co-authored papers on spatial audio perception published in the Journal of the Acoustical Society of America. Her reviews of headphones, portable DACs, and studio monitors include objective measurements using Audio Precision analyzers alongside subjective listening tests. She also serves on the advisory board of the Global Accessibility Reporting Initiative (GARI), evaluating mobile devices for users with visual and hearing impairments.