Arkham Knight Batman Gadgets: Interactive Display Setup Guide
Learn how to build an interactive Arkham Knight Batman gadgets display using NFC triggers, ESP32 microcontrollers, and smart lighting for your collection.
The Ultimate Batcave Tech Upgrade
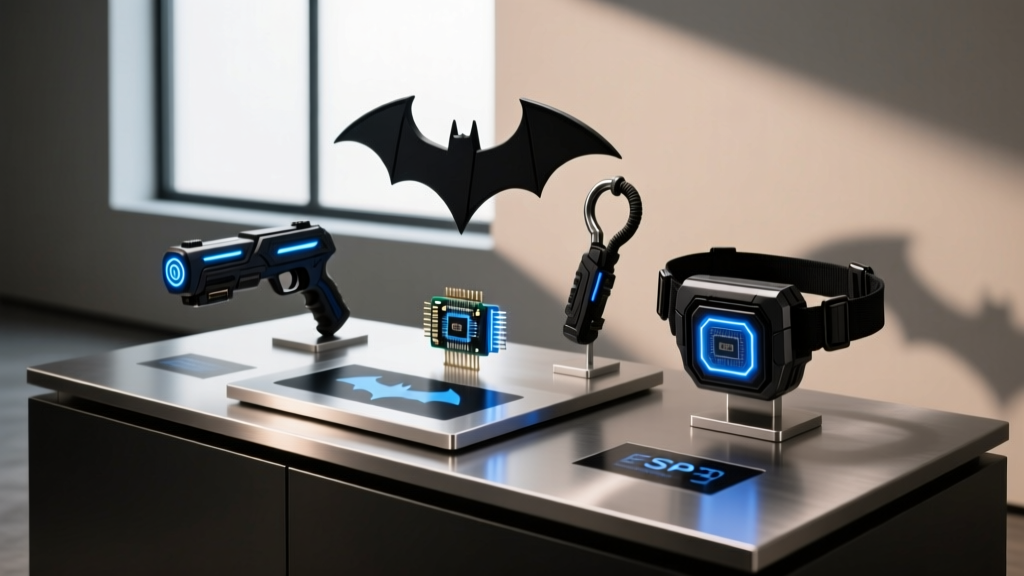
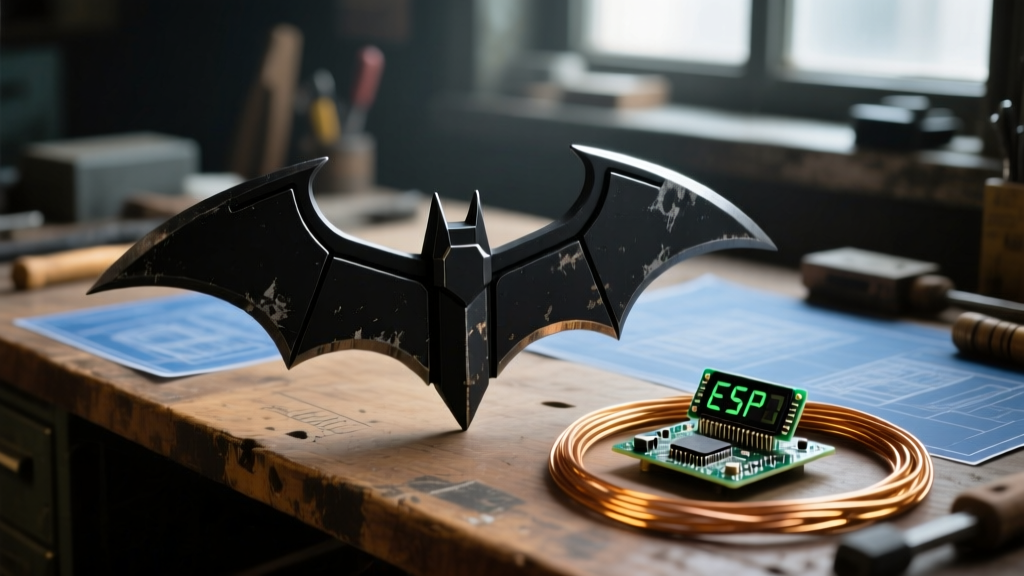
For collectors and tech enthusiasts, the arkham knight batman gadgets represent the pinnacle of tactical, gritty superhero design. From the motorized Tri-Fold Batarang to the Remote Electrical Charge (REC) gun, the arsenal featured in Rocksteady's masterpiece is iconic. However, keeping these high-end 1:1 scale replicas sitting statically on a shelf is a missed opportunity. In 2026, the maker community has pushed the boundaries of interactive displays, transforming static collectibles into responsive tech toys.
This comprehensive setup tutorial will guide you through building an NFC-triggered, smart-lighting-integrated display stand for your Arkham Knight collection. By embedding an ESP32-S3 microcontroller and a PN532 RFID/NFC reader into a custom acrylic base, you can trigger specific Philips Hue lighting scenes and internal replica sound effects the moment you place a gadget on the stand. Whether you are showcasing the Grapnel Gun or the iconic Batarang, this guide provides the exact wiring, code logic, and physical modification steps required to bring your Batcave to life.
Required Hardware and Components
Before tearing into your workbench, you need to source the right components. The ESP32-S3 is our microcontroller of choice due to its native Wi-Fi and Bluetooth capabilities, which are essential for low-latency smart home API calls.
| Component | Model / Specification | Est. Cost | Purpose |
|---|---|---|---|
| Microcontroller | ESP32-S3 DevKitC-1 | $8.50 | Core logic, Wi-Fi API calls |
| NFC/RFID Reader | Adafruit PN532 Breakout | $14.00 | Scanning gadget-embedded tags |
| Smart Lighting | Philips Hue Lightstrip Plus | $35.00 | Dynamic display illumination |
| Power Source | 3.7V 1200mAh LiPo + TP4056 | $9.00 | Internal replica power |
| Interference Shield | Ferrite Sheet (13.56MHz rated) | $4.50 | Preventing metal RFID blocking |
Step 1: Prepping the Arkham Knight Replicas
The physical modification of your replicas requires precision. Many premium arkham knight batman gadgets replicas are constructed from die-cast zinc alloys and dense ABS plastics, which inherently block RFID signals. Our goal is to create a hidden cavity for an NFC tag and a localized vibration motor.
Modifying the Tri-Fold Batarang
Using a Dremel 3000 equipped with a 1/8-inch high-speed cutter bit, carefully hollow out the rear grip section of the Batarang. You only need a cavity measuring 25mm x 15mm x 5mm. Insert a standard NTAG215 NFC sticker into this cavity. Critical Step: Because the Batarang contains steel weight-cores, you must place a 0.3mm ferrite sheet directly behind the NFC tag to absorb eddy currents and prevent the metal from detuning the 13.56 MHz RFID frequency. Seal the cavity with a flush-cut piece of matte-black PLA plastic and a dab of cyanoacrylate glue.
Wiring the REC Gun
For the Remote Electrical Charge gun, the internal volume is much more generous. Remove the six Torx T6 screws on the side panel. Inside, route a 3.7V LiPo battery connected to a TP4056 charging module (accessible via a hidden USB-C port near the barrel). Wire a 3V coin-cell vibration motor to a miniature tilt switch. This ensures that when you pick up the REC gun, it emits a subtle, tactile hum mimicking the game's electrical charge sequence.
Step 2: Programming the ESP32 and NFC Reader
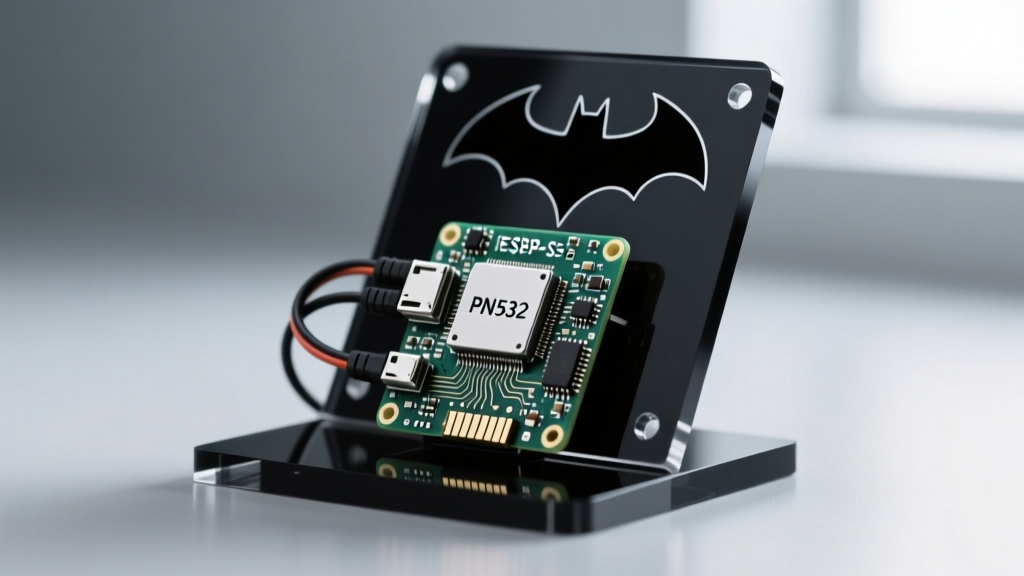
With the replicas prepped, it is time to build the display base. Cut a 12x12 inch sheet of 5mm matte-black acrylic. Use a CNC router or a fine-toothed jigsaw to carve a recessed pocket for the PN532 reader and the ESP32-S3.
I2C Wiring Configuration
The PN532 communicates via I2C, which requires minimal wiring but strict pin adherence on the ESP32-S3 architecture. Follow this exact pinout to avoid bus collisions:
- VCC: Connect to the 3.3V pin on the ESP32 (Do NOT use 5V, or you risk frying the PN532 logic level).
- GND: Connect to any available GND pin.
- SDA: Connect to GPIO 8.
- SCL: Connect to GPIO 9.
Using the Adafruit NFC Shield I2C library, initialize the board in your Arduino IDE. Write a loop that polls for a new NTAG215 UID every 200 milliseconds. When the UID matches your Batarang's specific hex string, trigger a boolean flag to execute the lighting API call.
Step 3: Integrating Philips Hue API v2 for Batcave Lighting
To make the display truly immersive, the moment the Batarang touches the stand, your room's lighting should shift to a deep, tactical amber and shadow-blue. We will use the Philips Hue CLIP API v2, which offers significantly lower latency than the legacy v1 API.
Setting Up the Entertainment Zone
Open the Hue Developer portal and create a new remote application to generate your API key. You will need to map the specific Light IDs of the Hue Lightstrips mounted under your display shelf. According to the official Philips Hue Developer documentation, you should target the /clip/v2/resource/light endpoint using an HTTP PUT request.
In your ESP32 code, utilize the HTTPClient library. When the NFC tag is verified, send a JSON payload that sets the color temperature to 2000K (amber) and dims the brightness to 60%. When the gadget is removed, send a follow-up payload reverting the lights to a cold 6500K (ice blue) at 20% brightness, simulating a dormant Batcave state.
Troubleshooting Common RFID and API Latency Issues
Even with precise wiring, integrating physical arkham knight batman gadgets with digital smart home ecosystems can present edge cases. Here is how to solve the most common hurdles:
- RFID Read Failures on Metal Replicas: If the Grapnel Gun's die-cast barrel is causing read drops, the RF field is being absorbed. Apply a multi-layer flexible ferrite polymer sheet (rated specifically for 13.56 MHz) between the acrylic stand and the PN532 antenna. This focuses the magnetic field upward.
- Wi-Fi API Lag: If the Hue lights take more than 400ms to respond, your ESP32 might be dropping packets due to power-saving sleep states. In your Arduino setup loop, add
WiFi.setSleep(false);to force the Wi-Fi radio into continuous active mode, ensuring sub-100ms API response times. - Ghost Tag Reads: If the system triggers repeatedly while the gadget is resting on the stand, implement a software debounce. Store the last read UID in a variable and enforce a 5-second cooldown timer before allowing the same UID to trigger the lighting sequence again.
FAQ: Arkham Knight Gadget Mods
Can I use a Raspberry Pi instead of an ESP32?
Yes, but it is overkill and less power-efficient. A Raspberry Pi 5 draws roughly 5W to 12W at idle, whereas the ESP32-S3 draws less than 0.5W. Since this display stand will likely remain powered on 24/7 to act as an NFC polling hub, the ESP32 is the superior choice for thermal management and electricity costs.
Will the NFC mods damage the resale value of my replicas?
If done correctly, no. By utilizing existing battery compartments or hollowing out non-structural grip panels, you preserve the exterior aesthetics. Always use reversible adhesives like hot glue or double-sided 3M VHB tape for the internal electronics rather than permanent epoxies, allowing future collectors to easily remove the tech.
Where can I find the exact 3D models for the display stands?
The maker community frequently shares CAD files for Batcave displays on platforms like Printables and Thingiverse. Search for 'Gotham Knight Display Plinth' to find STL files pre-measured to accommodate the 1:1 scale Arkham Knight arsenal, complete with hidden cable-routing channels for your I2C wiring.
By combining physical modding with modern smart-home APIs, you elevate your collection from mere plastic and metal into a living, breathing tribute to the Dark Knight's tech. For more advanced wiring diagrams and ESP32 pinout references, consult the Espressif Arduino-ESP32 documentation before firing up your soldering iron.
Written by
Ryan TanakaRyan Tanaka holds a B.S. in Mechanical Engineering from Oregon State University and is a certified AWS Solutions Architect. He has built over 80 custom electronics projects ranging from CNC machines to IoT sensor networks, and has reviewed development boards, 3D printers, soldering equipment, and maker tools for the past 6 years. Ryan is an active contributor to 12 open-source hardware projects on GitHub and teaches monthly workshops at three hackerspaces across the Pacific Northwest. His reviews combine engineering rigor with accessibility — he evaluates products not just on specs but on documentation quality, community support, and learning curve for beginners. He has presented at Maker Faire Bay Area, Open Hardware Summit, and the Adafruit community showcase, and maintains a popular blog documenting his build processes.