How to Build a Budget Vlogging Studio Using Walmart Gadgets
Learn how to build a professional vlogging studio on a budget. Our step-by-step guide uses affordable Walmart gadgets for lighting, audio, and video.
The Core Walmart Camera Gadgets Haul
Building a dedicated vlogging or product photography space doesn't require a Hollywood budget. In 2026, the democratization of camera gear means you can source remarkably capable equipment from everyday big-box retailers. If you know exactly what to look for, assembling a professional-grade studio using Walmart gadgets is not only possible, but it's also a brilliant way to maximize your ROI. This tutorial walks you through the exact spatial planning, lighting geometry, and audio configuration needed to turn a spare bedroom into a broadcast-ready studio using affordable, accessible tech.
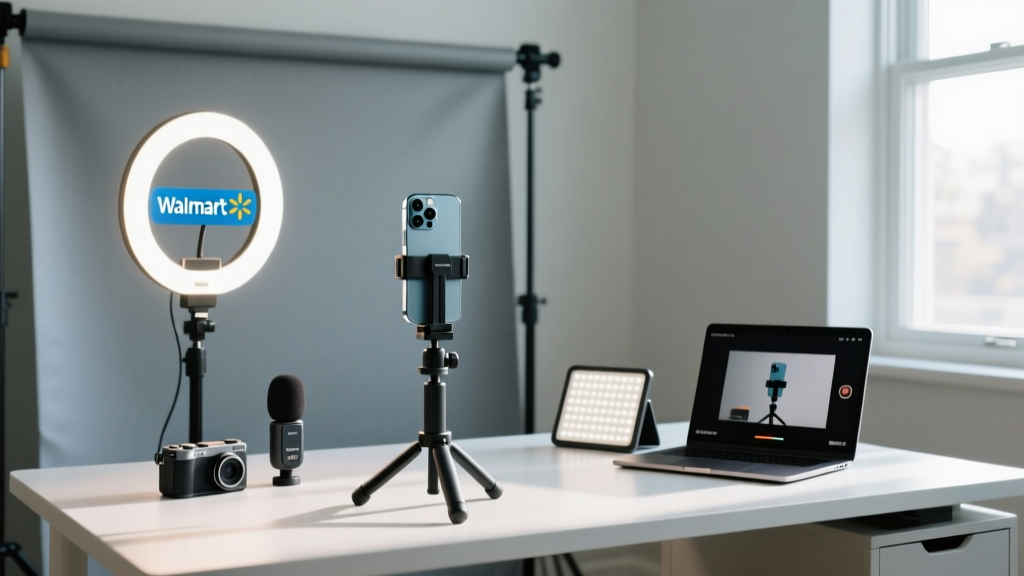
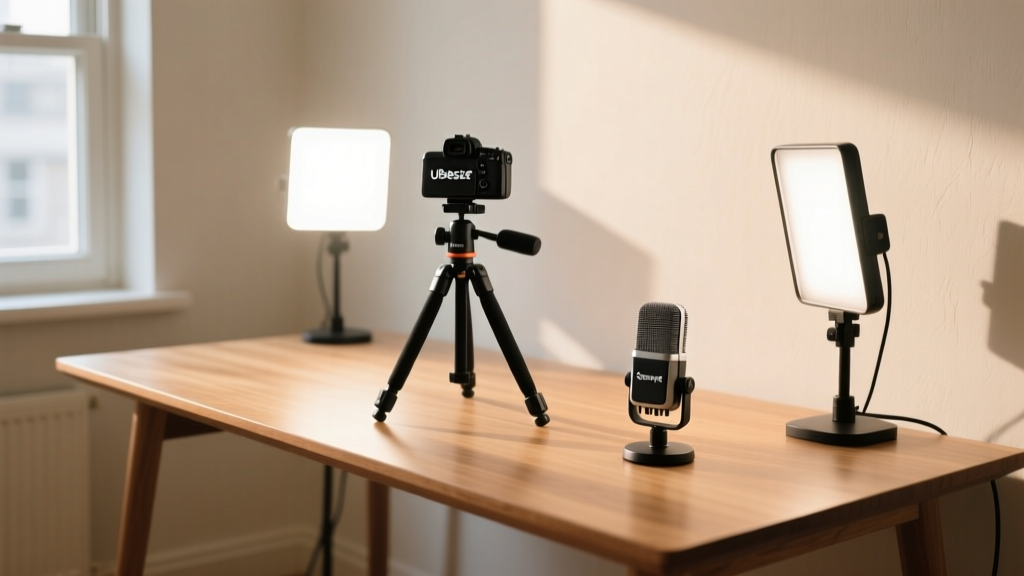
Before we start mounting lights, we need to curate the right gear. Walmart's electronics and camera accessory aisles (and their online marketplace) stock several reliable third-party brands like Neewer, UBeesize, and Sensyne. Here is the exact loadout for a sub-$150 studio upgrade.
| Category | Specific Model (Walmart Stock) | Approx. Price | Key Specification |
|---|---|---|---|
| Support | UBeesize 67' Aluminum Tripod | $28.99 | 11 lbs payload, quick-release plate |
| Key Light | Neewer 2-Pack 17.5' LED Panels | $45.99 | CRI 95+, 5600K daylight, USB-C power |
| Audio | Sensyne Wireless Lavalier Mic | $24.99 | 2.4GHz, 65ft range, omnidirectional |
| Modifier | Mainstays 4-Panel Room Divider | $39.00 | Used as a DIY bounce/diffusion wall |
Step 1: Spatial Mapping and Background Prep
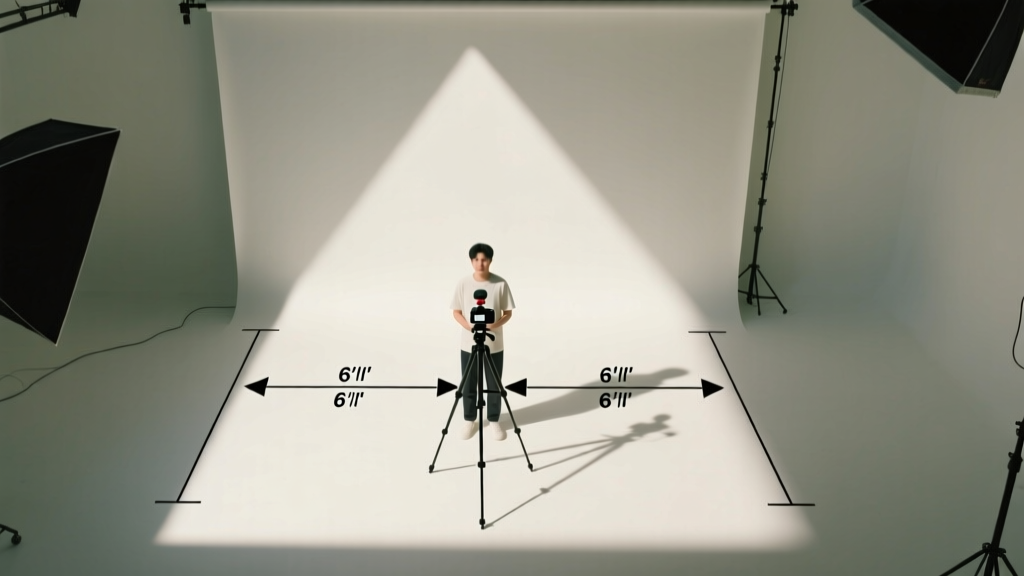
The most common mistake beginners make is pushing their desk or subject right up against a wall. This guarantees harsh, distracting shadows.
- The 6-Foot Rule: Position your subject at least 6 feet away from the background wall. This allows your key light to fall off before hitting the wall, creating natural depth and separation.
- Practical Lighting: Add a cheap Mainstays LED desk lamp ($12) in the deep background, fitted with a warm 2700K smart bulb. This adds a cinematic 'practical' light that contrasts beautifully with your 5600K key light.
Step 2: Configuring the Two-Point Lighting System
Budget LED panels often lack the punch of expensive COB fixtures, so placement is everything. We will use a classic two-point lighting setup, relying on the Color Rendering Index (CRI) to ensure accurate skin tones. The Neewer panels boast a CRI of 95+, which is crucial for avoiding the sickly green/magenta tint common in ultra-cheap LEDs.
Placement and Angles
- Key Light: Mount the first Neewer panel on a spare stand or clamp it to your desk at a 45-degree angle to your face, elevated roughly 12 inches above your eye line. Point it slightly downward. Set the brightness to 80%.
- Fill Light: Place the second panel on the opposite side, at a 135-degree angle, but pull it back to 5 feet away. Dial the brightness down to 30%. This creates a cinematic 2:1 lighting ratio, preserving facial contour without plunging one side of your face into total darkness.
Pro Tip: If the Neewer panels feel too harsh on your skin, use a $5 white shower curtain liner from Walmart's home aisle. Clipping a layer of this plastic over the barn doors acts as a makeshift softbox, scattering the photons and wrapping the light softly around your features.
Step 3: Audio Capture and Gain Staging
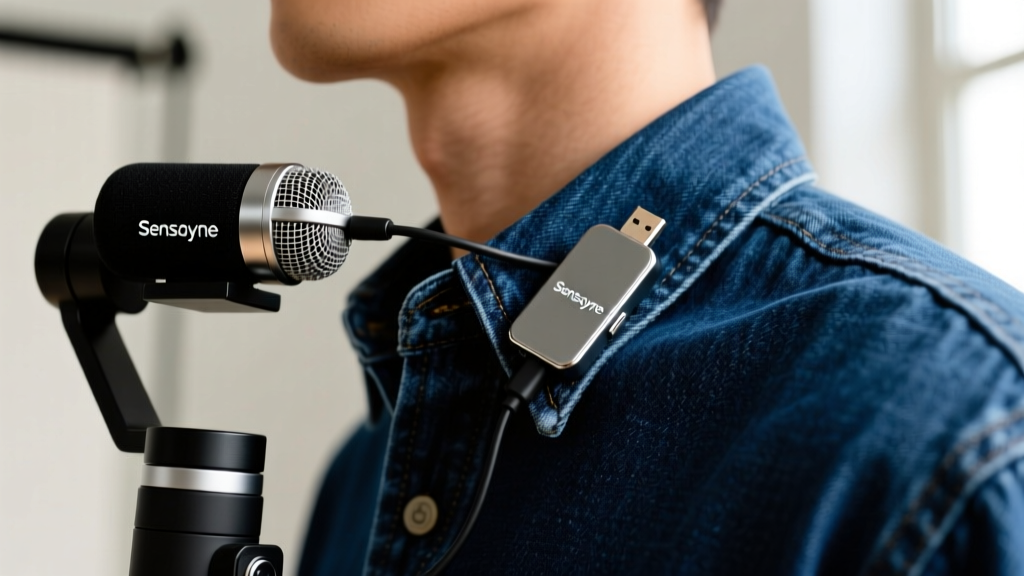
Viewers will forgive 1080p video, but they will click away instantly if the audio is muddy. The Sensyne Wireless Lavalier system is a staple among budget Walmart gadgets, offering plug-and-play USB-C and Lightning receivers.
The Gain Staging Framework
- Transmitter Placement: Clip the mic 6 to 8 inches below your chin. Any higher, and it enters the plosive zone (catching harsh 'P' and 'B' breath blasts).
- Receiver Gain: Plug the receiver into your camera or smartphone. Turn your camera's internal preamp gain almost all the way down (to around -12dB or Level 2). Rely on the Sensyne transmitter's native gain to push the signal. This bypasses the noisy, cheap preamps built into budget mirrorless cameras and smartphones.
Decision Framework: Ring Lights vs. LED Panels
When browsing Walmart gadgets for lighting, you will inevitably face a choice: the ubiquitous ring light or rectangular LED panels.
| Feature | 18-Inch Ring Light | Rectangular LED Panels |
|---|---|---|
| Catchlights | Distinctive circular halo in eyes | Natural square/softbox reflection |
| Shadow Control | Flat, shadowless frontal lighting | Directional, allows for contouring |
| Space Required | High (bulky circular footprint) | Low (flat, easily clamped to shelves) |
| Best Use Case | Beauty, makeup, close-up vlogging | Talking head, product, cinematic depth |
For a versatile studio that handles both vlogging and product B-roll, the rectangular panels win out. They allow you to move the light off-axis, which is critical for revealing texture in product photography.
Optimal Camera Settings for Budget LEDs
Budget LEDs often lack the raw output to let you shoot at ISO 100. Here is the exact baseline exposure triangle to use with the Neewer 17.5-inch panels positioned 3 feet from your subject:
- Aperture: f/2.8 or f/4.0. This provides enough depth of field to keep your face sharp while slightly blurring the background room divider.
- Shutter Speed: 1/60th of a second (assuming 30fps video). This is non-negotiable to avoid the flicker mentioned earlier.
- ISO: 400 to 800. Modern mirrorless cameras handle ISO 800 with minimal noise. If you are using a smartphone, lock the exposure (AE/AF Lock) to prevent the phone from artificially brightening the image and introducing digital grain.
- White Balance: Manually lock your Kelvin to 5600K. Never leave your camera on Auto White Balance (AWB), as the sensor will constantly shift colors if you move your hands or introduce a brightly colored object into the frame.
Troubleshooting Common Budget Setup Flaws
Even with the best techniques, budget gear has quirks. Here is how to solve the three most frequent issues when using entry-level camera accessories.
1. The 60Hz Flicker Effect
If your Neewer LED panels are pulsing or banding on camera, you are experiencing a mismatch between your shutter speed and the alternating current of the LEDs.
The Fix: Ensure your camera's shutter speed is locked to a multiple of your local power grid's frequency. In North America (60Hz), shoot at exactly 1/60th or 1/120th of a second. Avoid arbitrary speeds like 1/80th.
2. Mixed Color Temperature Casts
If your skin looks warm but your background looks blue, you have a mixed-lighting contamination issue. Daylight (5600K) is spilling onto a wall illuminated by tungsten (3200K) bulbs.
The Fix: Black out your windows. According to Adobe's studio lighting guides, controlling ambient spill is just as important as the artificial light you introduce. Use blackout curtains or shoot at night to ensure your 5600K LEDs are the sole light source.
Final Thoughts on Scaling Your Studio
Starting with Walmart gadgets allows you to master the fundamentals of lighting ratios, audio gain staging, and spatial geometry without the barrier of a massive financial investment. Once you outgrow the 17.5-inch LED panels and need the sheer wattage of a 300W COB light to overpower the sun, you can confidently upgrade, knowing your foundational studio skills are already dialed in.
Written by
Tom ReynoldsTom Reynolds holds a CFA (Chartered Financial Analyst) designation and a B.S. in Finance from the University of Texas at Austin. Before entering tech journalism, he spent 6 years as a quantitative analyst at a hedge fund, building cost-benefit models for consumer product investments. Tom has maintained a proprietary database of over 10,000 tech deals for the past 8 years, developing his signature "penny-per-feature" evaluation framework that calculates the true value proposition of every gadget. His budget gadget reviews are known for their financial rigor — he tracks price history across 15+ retailers, calculates cost-per-use over 3-year lifespans, and identifies the exact inflection point where premium features justify their markup. Tom's deal alerts have saved his readers an estimated .3 million since 2018.