Retro Tech Setup: Testing Radical Gadget Hub Reviews
Learn how to properly calibrate vintage CRT monitors and analog audio gear, validating claims from popular Radical Gadget Hub reviews.
The Retro Tech Renaissance and the Review Gap
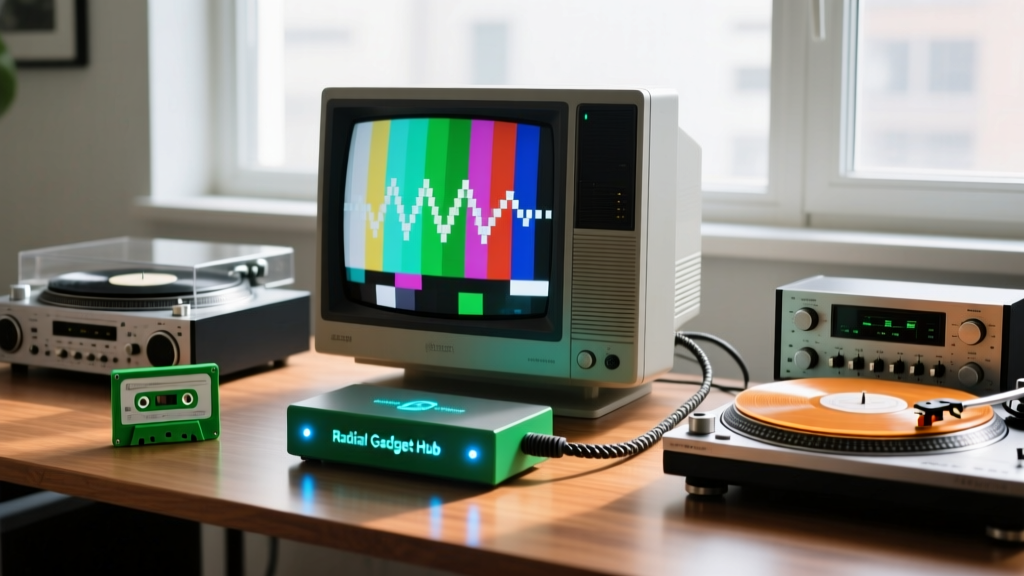
The year 2026 has solidified the retro tech renaissance, transforming vintage-inspired electronics from niche hobbies into premium enthusiast setups. However, navigating the setup process can be treacherous. Many popular Radical Gadget Hub reviews praise the plug-and-play nature of vintage tech, showcasing gorgeous CRT scanlines and warm analog audio. Yet, these mainstream reviews almost universally gloss over the grueling reality of hardware calibration, signal termination, and component aging. They unbox a Sony PVM, plug in an HDMI adapter, and call it a day—completely ignoring the 75-ohm termination switches and geometry convergence required for a true reference-level experience.
This tutorial bridges that gap. We are going to build, calibrate, and validate a premium retro tech desk setup, applying rigorous enthusiast standards to the very gear that casual reviewers often misconfigure.
The Enthusiast Reference Hardware Stack
Before we touch a calibration remote, we need the right foundation. The modern retro desk requires a hybrid approach: authentic vintage displays paired with modern, lossless signal processing. Below is the reference stack we are using for this setup, reflecting current 2026 market pricing for well-maintained enthusiast gear.
| Component | Model | Role | Est. Price (2026) |
|---|---|---|---|
| CRT Monitor | Sony PVM-20M4U | 20-inch 600 TVL Reference Display | $650 - $900 |
| Upscaler / Scanliner | RetroTINK 4K | Zero-Lag RGBS to HDMI Processing | $249 |
| Turntable | Technics SL-1200MK7 | Direct-Drive Analog Audio Source | $1,099 |
| Cartridge | Ortofon 2M Red | Moving Magnet Phono Cartridge | $100 |
Phase 1: CRT Geometry and Convergence Calibration
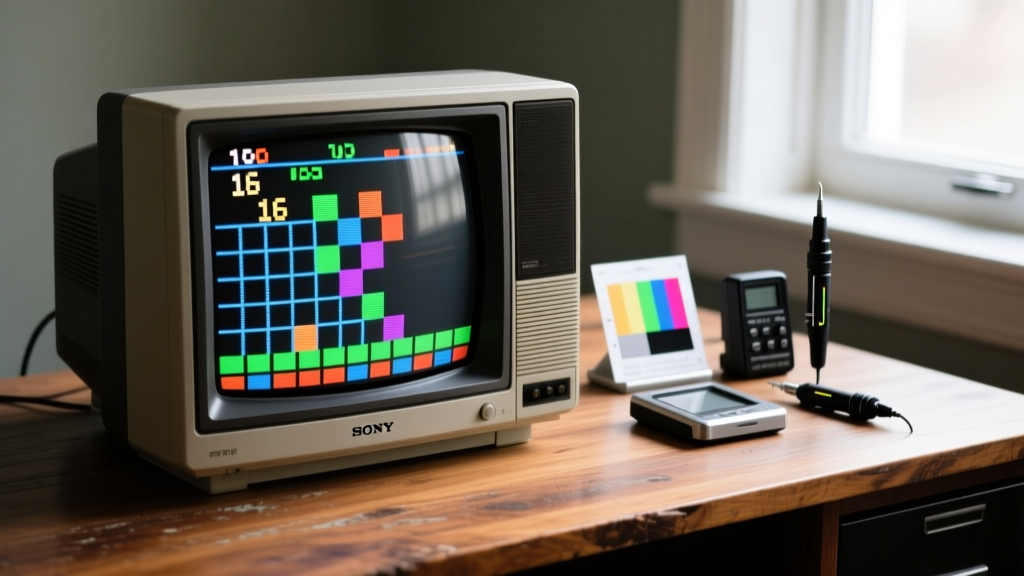
The Sony PVM-20M4U features a 0.25mm aperture grille pitch and 600 TV lines of horizontal resolution. Out of the box, a 20-year-old monitor will suffer from pincushion distortion, tilted raster frames, and color fringing. Casual reviewers often mistake convergence errors for 'vintage charm.' Enthusiasts know it is simply misaligned magnetic fields.
Step-by-Step Calibration Workflow
- Generate the Test Pattern: Connect a console or PC running the 240p Test Suite to the PVM via RGB SCART or BNC. Load the 'Grid' and 'Convergence' patterns.
- Degaussing Protocol: Press the DEGAUSS button on the front panel. Critical Warning: Never degauss more than once every 20 minutes. The monitor's thermistor needs time to cool; rapid cycling will blow the internal fuse.
- Geometry Adjustment: Access the service menu using the original Sony BKM-10R remote (or a programmed IR blaster). Adjust H-Size and V-Size until the grid touches the absolute bezel edges without overscan cropping.
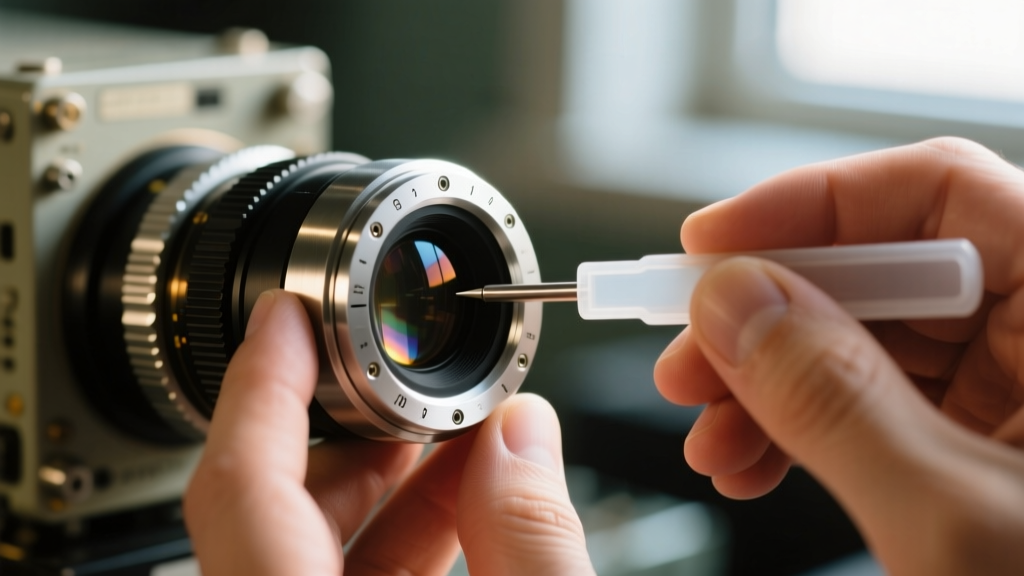
- Convergence Rings: If the red, green, and blue phosphors are misaligned (visible as color fringing on white text), you must physically adjust the convergence rings on the neck of the CRT tube. Use a plastic alignment tool—never metal, which can magnetize and ruin the yoke.
The 75-Ohm Termination Trap
One of the most glaring omissions in standard gadget reviews is the failure to check BNC termination switches. The PVM-20M4U has physical toggle switches next to the R, G, B, and Sync BNC inputs. If you are daisy-chaining cables or using a distribution amplifier, these must be set to High-Z (Un-terminated). If you are running a direct, single cable from your console or RetroTINK, they must be set to 75-Ohm. Failing to terminate a direct analog signal results in a washed-out, overly bright image with severe ghosting artifacts.
Phase 2: Signal Routing via RetroTINK 4K
While native 15kHz signals (240p/480i) look phenomenal on the PVM, modern consoles and PCs require scaling. The RetroTINK 4K is the current gold standard for zero-lag scaling. When configuring the RetroTINK for a CRT display chain, you are not upscaling to 4K; you are utilizing its advanced scanline generation and HDR tone-mapping to feed a pristine 480p signal to modern LCDs, while keeping a parallel analog feed to the PVM.
'The magic of retro hardware isn't just in the silicon; it's in the analog signal chain. A perfectly calibrated CRT will always out-resolve a poorly configured digital scaler.' — CRT Enthusiast Consensus, Shmups Forum 2026
Phase 3: Analog Audio Integration
A true retro tech hub extends beyond video into tactile, analog audio. The Technics SL-1200MK7 provides quartz-locked direct drive stability. However, simply plugging it into a modern desktop DAC will yield terrible results if the physical setup is ignored.

Cartridge Alignment and Tracking Force
- Mounting: Install the Ortofon 2M Red into the headshell. Ensure the stylus guard is on.
- Zero Balance: With the anti-skate dial at 0, float the tonearm so it hovers perfectly parallel to the platter.
- Tracking Force: Rotate the counterweight dial to 1.8 grams (the exact specification for the 2M Red). Too light, and you get sibilance and groove damage; too heavy, and you prematurely wear the vinyl.
- Anti-Skate: Match the anti-skate dial to the tracking force (1.8). This prevents the stylus from pulling toward the center of the record, ensuring balanced stereo channel separation.
Preventative Maintenance: The Capacitor Reality
What the flashy unboxing videos won't tell you is that 25-year-old electrolytic capacitors are ticking time bombs. In 2026, purchasing a vintage PVM or audio receiver without verifying the capacitor health is a massive risk. Use an ESR (Equivalent Series Resistance) meter to test the power supply board. Nichicon and Rubycon capacitors from the late 90s often dry out, leading to the infamous 'whining' coil noise or sudden power supply failure. Budget an additional $150-$300 for a professional recap if you are buying unrefurbished stock from online auctions.
Troubleshooting Matrix: Common Vintage Failures
| Symptom | Probable Cause | Enthusiast Fix |
|---|---|---|
| Image is overly bright/ghosting | Missing 75-ohm termination | Toggle BNC switches to 75-Ohm on direct inputs |
| Horizontal rolling / V-Hold loss | Incorrect Sync type (Composite vs RGB) | Ensure console is outputting CSync; check sync strippers |
| Audio hum / 60Hz ground loop | Shared power circuits with PC | Isolate audio DAC and turntable on a separate power conditioner |
| CRT geometry shifts when warm | Aging convergence yoke adhesives | Allow 30-min warmup before final calibration adjustments |
Final Verdict
Building a retro tech setup in 2026 is an exercise in patience, precision, and respect for analog engineering. While mainstream Radical Gadget Hub reviews might convince you that vintage gear is a simple plug-and-play aesthetic choice, the reality is a deeply rewarding technical pursuit. By properly terminating your BNC signals, physically aligning your CRT convergence rings, and precisely calibrating your analog audio tracking force, you unlock a sensory experience that modern, sterile digital emulators simply cannot replicate. Treat the hardware with the expertise it demands, and your retro hub will remain a benchmark of enthusiast excellence for years to come.
For further reading on analog signal chains and cable pinouts, we highly recommend the extensive documentation available at RetroRGB, which remains the definitive authority on retro AV engineering.
Written by
David OkaforDavid Okafor is an ASE (Automotive Service Excellence) Master Certified Technician with 15 years of professional experience in vehicle diagnostics, aftermarket electronics installation, and fleet management. He holds an Associate Degree in Automotive Technology from Universal Technical Institute and certifications in mobile electronics (MECP Certified Installer). David has installed and reviewed over 800 car tech products — from OBD2 scanners and dash cams to full infotainment system retrofits — in vehicles ranging from economy compacts to luxury SUVs. His popular YouTube channel "AutoTech David" has over 150,000 subscribers and features detailed installation tutorials and product teardowns. He is a regular contributor to the SEMA Show's aftermarket technology showcase and advises two automotive tech startups on product development.