Smart Apartment Gadgets Setup: A Renter-Friendly Guide
Learn how to install smart apartment gadgets without losing your deposit. Step-by-step guide for renter-friendly tech setups, mounts, and automation.
The Renter’s Dilemma: Upgrading Without Drilling
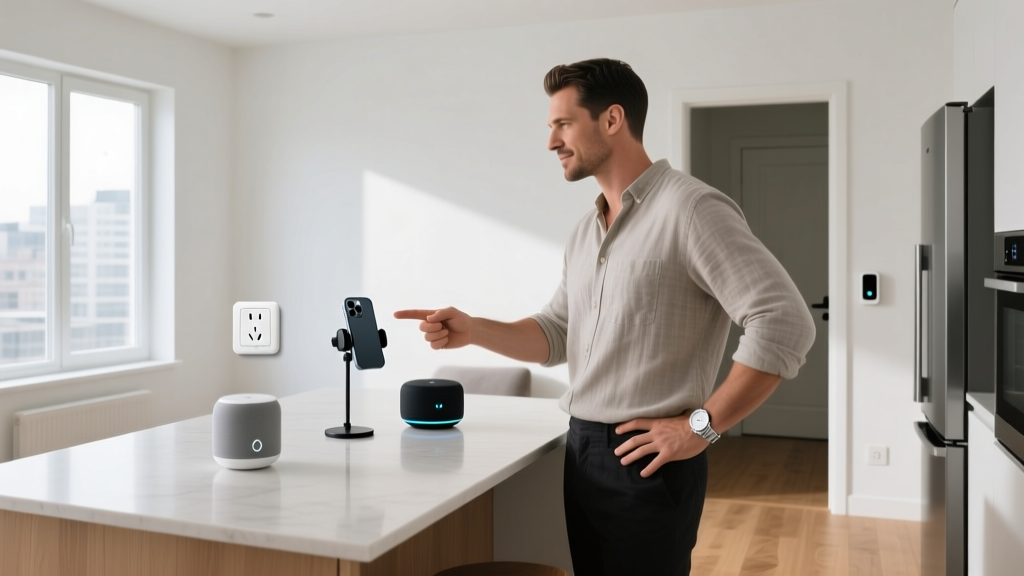
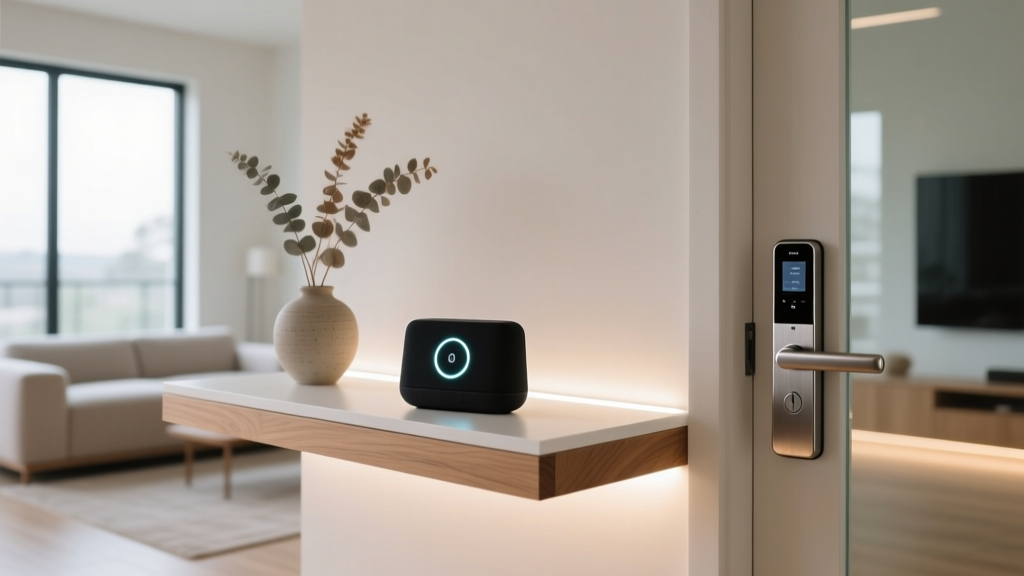
Signing a lease shouldn't mean signing away your right to a fully optimized, tech-forward living space. For years, renters have been forced to choose between upgrading their space with premium tech and getting their security deposit back. Landlords are notoriously strict about unauthorized modifications, particularly when it comes to drilling into drywall, swapping out hardwired fixtures, or altering exterior doors. However, the landscape of apartment gadgets has evolved dramatically. In 2026, the market is saturated with high-performance, renter-friendly smart home devices that require zero permanent alterations.
This tutorial provides a comprehensive, damage-free framework for installing a premium smart home ecosystem in a rental property. We will cover surface preparation, specific gadget installations, cable management, and the crucial move-out removal protocol.
Essential Apartment Gadgets for a Damage-Free Smart Home
Before grabbing a screwdriver, you need to select hardware specifically designed for retrofitting and temporary adhesion. Below is a curated matrix of the best renter-friendly tech currently on the market, complete with pricing and mounting strategies.
| Gadget Category | Top Pick Model | Est. Price | Mounting Method |
|---|---|---|---|
| Smart Lock | August Wi-Fi Smart Lock (4th Gen) | $229 | Retrofit (Interior Thumbturn) |
| Ambient Lighting | Govee Glide Hexa Pro Light Panels | $149 | 3M VHB Adhesive Tape |
| Indoor Security | Ring Indoor Cam (2nd Gen) | $59 | Command Strips / Shelf Rest |
| Air Quality Monitor | Airthings View Plus | $299 | Freestanding / Magnetic Mount |
Step-by-Step Installation Guide for Renter-Friendly Tech
Adhesive-based installations fail 90% of the time due to improper surface preparation. Do not skip the prep work.
Step 1: Prepping Surfaces for Adhesive Mounts
Most premium apartment gadgets rely on 3M VHB (Very High Bond) tape or Command Strips. These adhesives require a completely porous-free, dust-free surface to achieve their rated weight limits.
- Clean: Wipe the wall or door frame with 70% or higher isopropyl alcohol. Do not use household surface cleaners like Pledge or Lysol, as they leave a slippery residue that destroys adhesive bonds.
- Dry: Allow the alcohol to flash off completely (usually 2-3 minutes).
- Apply & Wait: Press the adhesive mount firmly for 30 seconds. Critical: Wait a full 1 hour before attaching the actual gadget. This curing time allows the adhesive to settle into the microscopic pores of the paint.
Step 2: Installing the August Wi-Fi Smart Lock
The August Wi-Fi Smart Lock is the undisputed king of apartment security gadgets because it only replaces the interior thumbturn, leaving the exterior deadbolt and keyhole completely untouched. This means your landlord's master key still works, keeping you compliant with most lease agreements.
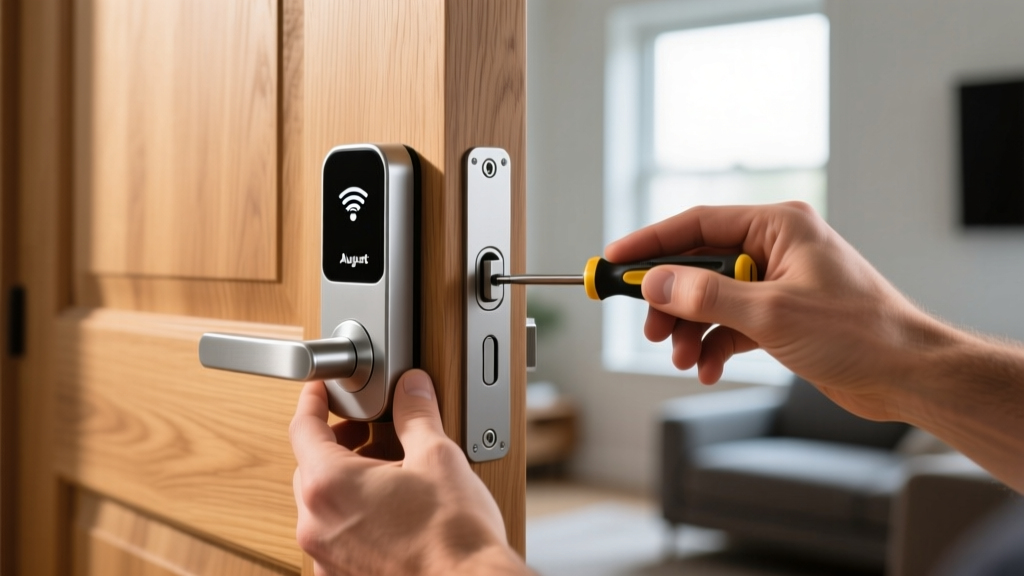
- Use a Phillips head screwdriver to remove the two screws holding your existing interior thumbturn.
- Remove the thumbturn, but leave the exterior deadbolt mechanism in place.
- Slide the August mounting plate over the exposed tailpiece and secure it using the provided set screws (no drilling required).
- Attach the August lock body to the magnetic mounting plate and run the calibration via the August app.
Pro-Tip: If your door has severe weatherstripping that pushes the door outward, use the included August spacer ring to ensure the lock motor doesn't bind against the frame.
Step 3: Mounting Ambient Lighting Without Wall Damage
Hexagonal LED panels like the Govee Glide Hexa Pro transform a bland rental bedroom into an immersive space. However, they are relatively heavy. If your apartment has standard matte or eggshell paint, the VHB tape can actually rip the paint off the drywall upon removal if not handled correctly (more on this in the removal section). For textured walls (like orange peel), adhesive will fail. Instead, utilize a tension-rod shelving unit or lean the panels against a floating shelf to avoid wall contact entirely.
Cable Management: Hiding the Ugly Stuff
Nothing ruins the aesthetic of high-end apartment gadgets like dangling USB-C cables. Since you cannot fish wires through the walls of a rental, surface-mounted raceways are your best friend.
The 2026 Matter Protocol Advantage: When buying new gadgets, always look for the Matter logo. The Matter 1.3 standard ensures that your Thread-enabled devices communicate locally without relying on cloud servers, drastically reducing the need for multiple proprietary hubs and the messy cables that come with them.
For the cables you must run, use the D-Line J-Channel Raceway with removable adhesive backing. Route the channel along the top edge of your baseboards where the wall meets the floor. This area is naturally shadowed and rarely inspected by landlords. Use magnetic cable ties to bundle excess wire length behind your TV stand or desk, keeping the visual footprint minimal.
Move-Out Day: The Safe Removal Protocol
The true test of any renter-friendly setup is how well it comes down. Ripping a 3M Command Strip straight off the wall will almost certainly peel the paint, resulting in a $150+ deduction from your security deposit for drywall repair and repainting.
The Heat and Floss Technique
According to 3M's official removal guidelines, the adhesive must be softened before separation.
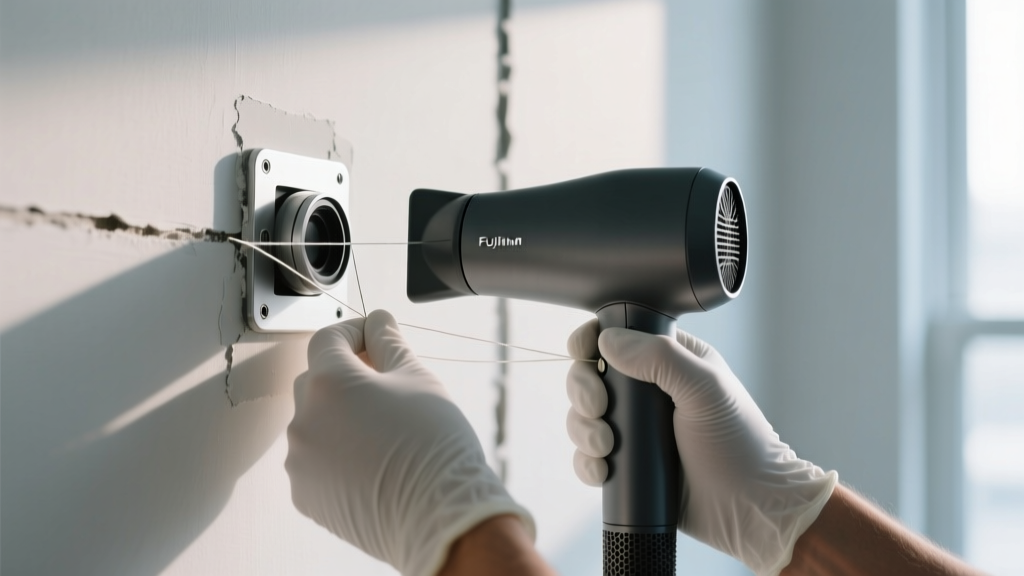
- Apply Heat: Use a hairdryer (or a heat gun on its lowest setting, strictly kept under 150°F) and aim it at the adhesive mount for 45 to 60 seconds. This softens the acrylic adhesive core.
- The Floss Trick: Take a 12-inch piece of standard waxed dental floss. Wrap the ends around your index fingers. Slide the floss behind the top edge of the gadget mount and use a sawing motion to slice through the foam tape.
- Residue Cleanup: Once the gadget is removed, you will likely have a square of foam left on the wall. Roll it off with your thumb. If a sticky residue remains, apply a small amount of Goo Gone or citrus-based solvent, let it sit for 3 minutes, and wipe clean with a microfiber cloth.
Frequently Asked Questions
Can I install a smart thermostat in my apartment?
Usually, no. Most apartments use multi-zone HVAC systems or high-voltage baseboard heaters that are incompatible with standard 24V smart thermostats like the Nest or Ecobee. Furthermore, landlords consider thermostats part of the building's hardwired infrastructure. Stick to smart plug-in AC controllers like the Sensibo Sky for window units, which require zero wiring.
Will smart locks violate my lease agreement?
As noted by The Verge's smart home experts, retrofit locks like the August or Yale Assure (with the retrofit module) are generally lease-compliant because they do not alter the exterior lock cylinder. However, always keep your original thumbturn and screws in a labeled ziplock bag so you can revert the door to its original state in exactly 4 minutes before your move-out inspection.
How do I get a strong Wi-Fi signal in a concrete apartment building?
Concrete and rebar destroy 5GHz and 6GHz Wi-Fi signals. Instead of drilling holes for ethernet-backed mesh nodes, use a Powerline Adapter kit (like the TP-Link AV2000). These send your internet connection through the apartment's existing copper electrical wiring, allowing you to place a mesh node in a dead zone without running ugly cables across the floor.
Written by
David OkaforDavid Okafor is an ASE (Automotive Service Excellence) Master Certified Technician with 15 years of professional experience in vehicle diagnostics, aftermarket electronics installation, and fleet management. He holds an Associate Degree in Automotive Technology from Universal Technical Institute and certifications in mobile electronics (MECP Certified Installer). David has installed and reviewed over 800 car tech products — from OBD2 scanners and dash cams to full infotainment system retrofits — in vehicles ranging from economy compacts to luxury SUVs. His popular YouTube channel "AutoTech David" has over 150,000 subscribers and features detailed installation tutorials and product teardowns. He is a regular contributor to the SEMA Show's aftermarket technology showcase and advises two automotive tech startups on product development.