Setup Guide: Calibrating Portioning Food Gadgets for Meal Prep
Learn how to set up, calibrate, and use smart portioning food gadgets for weekly meal prep. Master macro tracking with precision kitchen tools.
Why Precision Matters in Weekly Meal Prep
Meal prepping is often romanticized as a culinary art, but at its core, it is an exercise in mathematical consistency. Whether you are tracking macronutrients for bodybuilding, managing caloric deficits for weight loss, or simply trying to maintain stable blood sugar levels, eyeballing your servings is a recipe for frustration. According to the National Heart, Lung, and Blood Institute, portion distortion is one of the leading contributors to unintended caloric surplus in modern diets. This is where specialized food gadgets transition from luxury items to absolute necessities.
However, simply purchasing these tools is not enough. Out-of-the-box, digital scales can suffer from factory calibration drift, and smart devices often require firmware updates and app syncing to function optimally. In this comprehensive setup and how-to tutorial, we will walk you through the exact process of configuring, calibrating, and integrating your meal prep gadgets and portioning tools into a seamless weekly workflow.
Essential Portioning Food Gadgets for Your Kitchen
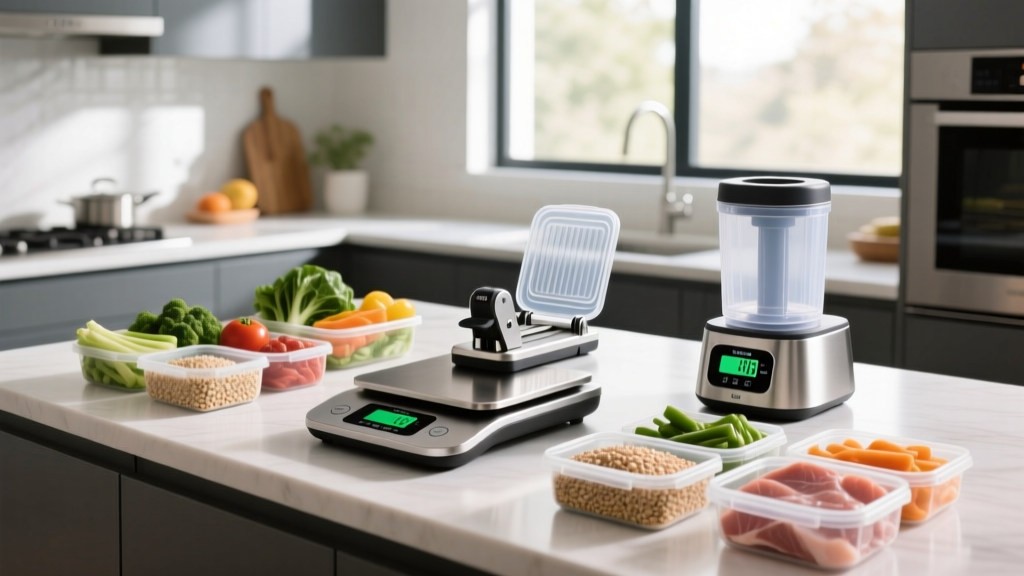
Before we dive into the setup process, let us establish the baseline hardware required for a precision-driven meal prep station. As of 2026, the market is saturated with options, but these three specific models offer the best balance of accuracy, durability, and software integration.
1. The Workhorse: Ozeri Pronto Digital Multifunction Scale (Model ZK14-S)
Retailing at roughly $14.99, the Ozeri Pronto is the gold standard for basic, reliable portioning. It features a 5.25-ounce weighing platform and measures in 1-gram increments up to 11.24 pounds. While it lacks Bluetooth connectivity, its dual-button interface (Power and Tare) makes it incredibly fast for rapid-fire portioning of dense proteins and complex carbohydrates.
2. The Smart Integrator: Drop Connected Kitchen Scale (Model DR-001)
Priced around $99.00, the Drop Scale is essential for users who rely on apps like MyFitnessPal, Cronometer, or Lose It!. The 2026 firmware update improved its Bluetooth 5.2 LE connection stability, allowing real-time macro logging directly from your smartphone or tablet. Its LED ring provides visual feedback when you hit your target portion weight.
3. The Volume Standardizer: OXO Good Grips Stainless Steel Ice Cream Scoop with Release Lever
While scales measure weight, standardizing volume is crucial for uniform cooking and storage. The OXO 2-ounce release scoop (approximately $16.99) is not just for ice cream; it is the ultimate tool for portioning dense, sticky carbs like cooked jasmine rice or quinoa into uniform spheres that fit perfectly into standard glass meal prep containers.
Step-by-Step Setup: Calibrating Your Digital Portioning Tools
Even the most expensive food gadgets will provide flawed data if they are not properly calibrated and configured. Follow these steps to ensure your hardware is ready for the rigors of weekly meal prep.
Step 1: Unboxing and Surface Leveling
Digital scales utilize strain gauge load cells to measure weight. These sensors are highly sensitive to angular displacement. If your kitchen counter has a slight bevel or uneven tile grout, your readings will skew.
- Action: Place a small, rigid cutting board or a marble pastry slab on your counter to create a perfectly flat, uniform surface.
- Verification: Place a standard carpenter's bubble level on the weighing platform. Adjust your surface until the bubble is dead center.
Step 2: Taring and Unit Configuration
Never place food directly on the scale's platform; it creates a sanitation hazard and complicates cleanup. You must master the 'nested bowl' tare technique.
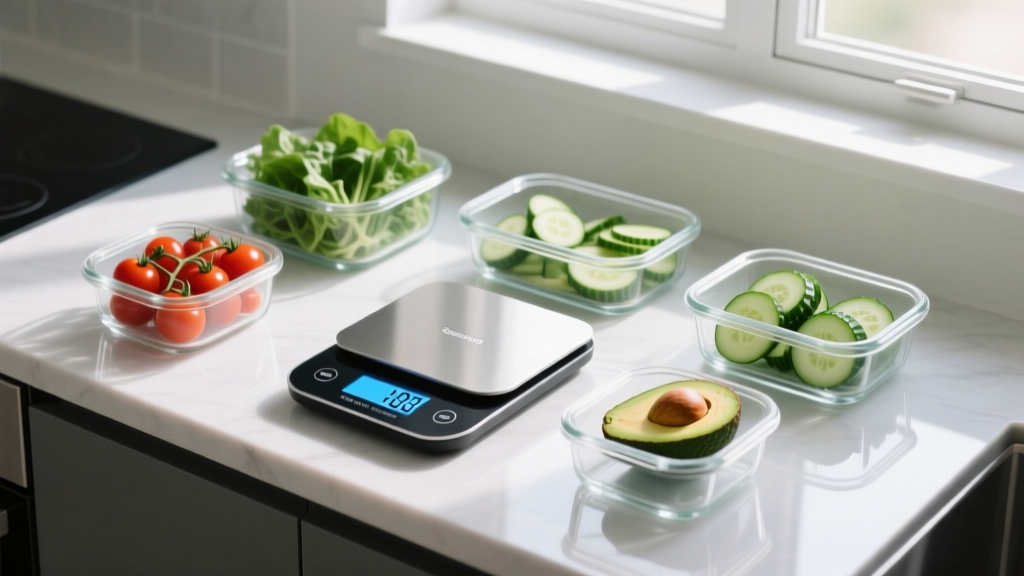
- Place your empty prep bowl or glass meal prep container on the scale.
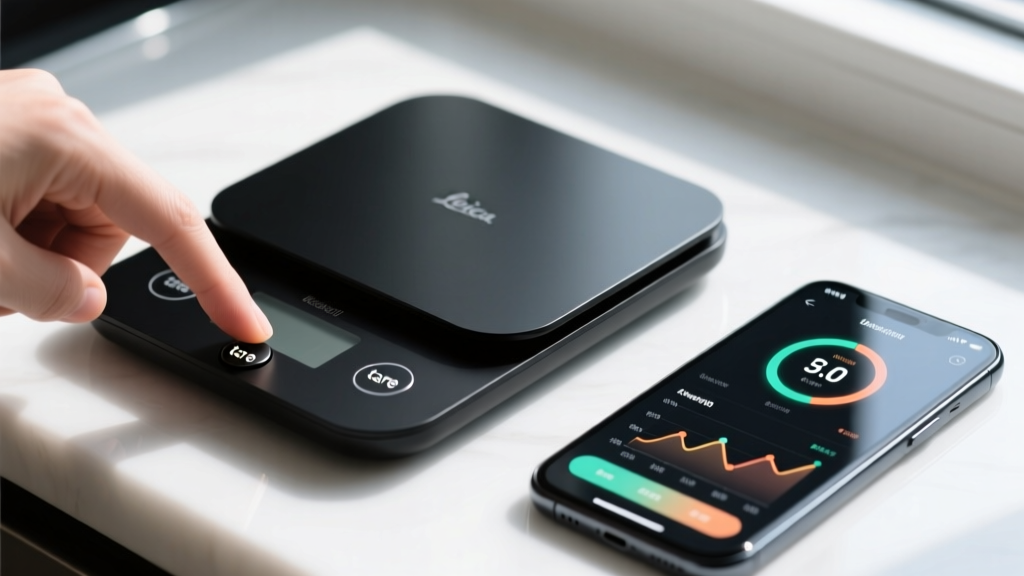
- Press the Tare button. The display must read exactly '0'.
- Add your first ingredient (e.g., grilled chicken breast).
- Press Tare again before adding the next ingredient (e.g., roasted broccoli). This isolates the weight of each component for accurate macro logging.
Pro-Tip: Always ensure your scale is set to grams (g) rather than ounces (oz). Grams provide a 1:1 ratio with standard nutritional databases, eliminating the need for messy decimal conversions that can compound into significant caloric errors over a week.
Step 3: Syncing Smart Scales to Macro Apps
If you are using the Drop Scale or a similar smart device, the initial software handshake is critical.
- Download the proprietary companion app and create your account.
- Navigate to your primary tracking app (e.g., Cronometer) and go to Settings > Devices & Integrations.
- Authorize the API connection. In 2026, most major tracking apps support bi-directional syncing, meaning if you adjust a portion weight in the companion app, it automatically updates your daily macro ledger.
- Test the Sync: Place a 100g calibration weight (or a standard unopened 100g jar of baby food) on the scale and verify that the tracking app registers exactly 100g within 2 seconds.
Portioning Workflow: Dividing Bulk Cooks
The true test of your meal prep gadgets is how they handle bulk division. Cooking 3,000 grams of protein and dividing it into 20 individual containers requires a systematic approach to avoid the 'last portion shortfall'—a common scenario where the final container ends up with significantly less food than the rest.
The Yield-Adjusted Division Framework
Raw weight does not equal cooked weight. Proteins lose roughly 20-25% of their mass to moisture evaporation during cooking, while complex carbohydrates like rice gain up to 200% of their mass through water absorption.
Example Scenario: You start with 2,500g of raw chicken breast. After grilling, the cooked yield is 1,900g. Your target portion is 150g per container.
- Calculation: 1,900g (Total Cooked Weight) ÷ 150g (Target Portion) = 12.66 portions.
- Adjustment: Since you cannot have 0.66 of a portion, you must adjust your target. Divide 1,900g by 12 containers to get 158.3g per container.
- Execution: Set your digital scale to alert or visually monitor the 158g mark. Use the OXO release scoop for any accompanying sticky carbs to ensure uniform volume distribution across all 12 containers.
Troubleshooting Common Calibration Errors
Even high-end food gadgets can develop quirks over time. Use this diagnostic matrix to resolve common portioning anomalies.
| Symptom | Probable Cause | Hardware Fix |
|---|---|---|
| Numbers 'drift' upward or downward while the item is stationary. | Moisture trapped under the load cell feet or uneven surface tension. | Wipe the bottom of the scale and the counter with isopropyl alcohol. Ensure all four rubber feet are making solid contact. |
| Scale displays 'ERR' or 'OUT2' immediately upon placing heavy items. | Overload protection triggered; internal strain gauge is compressed beyond its elastic limit. | Remove the weight immediately. Allow the scale to sit unloaded for 5 minutes to let the sensors reset. Never exceed the max capacity (usually 5kg/11lbs). |
| Smart scale fails to push data to the macro tracking app. | Bluetooth cache corruption or background app refresh disabled on the smartphone. | Clear the Bluetooth cache in your phone's settings. Ensure the companion app has 'Always Allow' background refresh permissions enabled. |
| Tare function adds a negative number instead of resetting to zero. | Button membrane is sticky or failing to register a full press. | Press the button firmly at a 90-degree angle. If the issue persists, the tactile switch may require replacement or the unit needs to be retired. |
Maintenance and Storage of Portioning Gadgets
To maximize the lifespan of your investment, proper maintenance is non-negotiable. The Academy of Nutrition and Dietetics emphasizes that cross-contamination during meal prep is often linked to poorly maintained kitchen tools.
- Never Submerge: Digital scales are not waterproof. Wipe the weighing platform with a damp microfiber cloth and a mild, food-safe sanitizing spray after every session.
- Battery Removal: If you only meal prep on Sundays and store the scale in a drawer for six days, remove the AAA batteries. Battery acid leaks are the number one cause of permanent motherboard failure in budget-friendly models like the Ozeri Pronto.
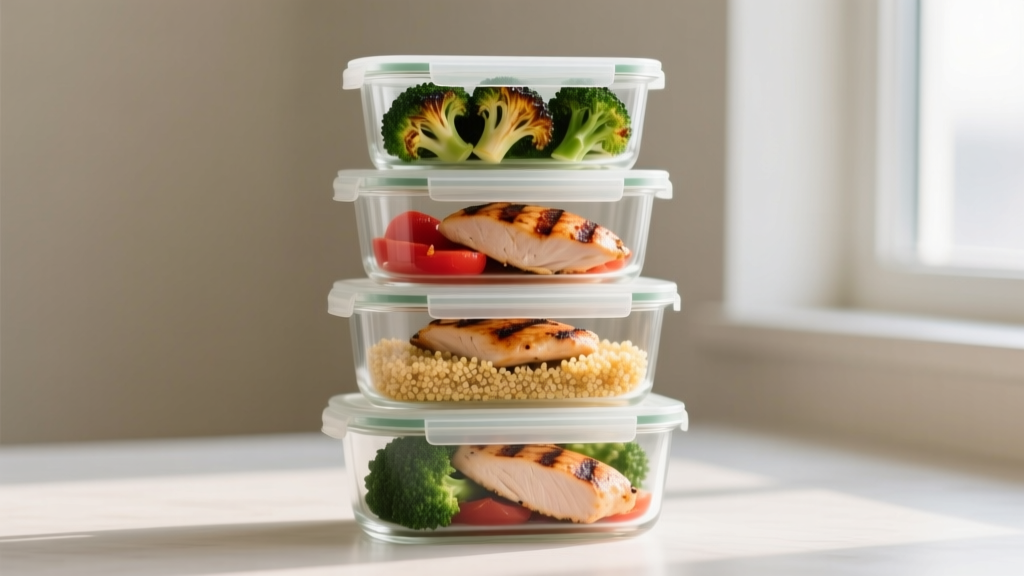
- Container Care: If using glass containers with snap-locking silicone lids, unclip the lids before storing. Keeping them under tension degrades the silicone gasket over time, leading to a loss of the airtight seal that keeps your prepped food fresh.
Frequently Asked Questions
Do I really need a 0.1g resolution scale for meal prep?
For general meal prepping (proteins, carbs, vegetables), a standard 1g resolution scale is perfectly adequate and much faster to use. 0.1g resolution scales (often called jewelry or espresso scales) are only necessary if you are micro-dosing supplements, measuring sodium-heavy spices, or portioning out highly concentrated liquid flavorings where a single gram drastically alters the sodium profile.
Can I use my smart body weight scale to weigh my meal prep containers?
Technically, yes, but it is highly discouraged. Bathroom scales are calibrated for large, shifting masses and typically only measure in 0.1 lb or 50g increments. This lack of granularity makes them useless for precise macro tracking, and bringing kitchen food into the bathroom or bedroom environment is a significant sanitation risk.
How often should I recalibrate my digital kitchen scale?
For the average home meal prepper, recalibrating once every six months is sufficient. You can purchase a cheap 100g or 500g stainless steel calibration weight online. Place it on the scale; if it reads exactly 100g or 500g, your strain gauges are perfectly aligned. If it reads 98g or 103g, it is time to either use the manufacturer's reset sequence or replace the unit.
Written by
Ryan TanakaRyan Tanaka holds a B.S. in Mechanical Engineering from Oregon State University and is a certified AWS Solutions Architect. He has built over 80 custom electronics projects ranging from CNC machines to IoT sensor networks, and has reviewed development boards, 3D printers, soldering equipment, and maker tools for the past 6 years. Ryan is an active contributor to 12 open-source hardware projects on GitHub and teaches monthly workshops at three hackerspaces across the Pacific Northwest. His reviews combine engineering rigor with accessibility — he evaluates products not just on specs but on documentation quality, community support, and learning curve for beginners. He has presented at Maker Faire Bay Area, Open Hardware Summit, and the Adafruit community showcase, and maintains a popular blog documenting his build processes.