Gadget Rescue Rangers Cosplay: Building Hackwrench's Iconic Tech
Master your Gadget Rescue Rangers cosplay with our deep-dive into building Hackwrench's iconic tech, from 3D-printed props to LED wiring.
The Anatomy of Gadget Hackwrench's Arsenal
When it comes to iconic anime and cartoon engineers, Gadget Hackwrench from Chip 'n Dale: Rescue Rangers sits at the absolute top of the pantheon. For cosplayers, pulling off an authentic Gadget Rescue Rangers cosplay requires much more than a purple jumpsuit, yellow gloves, and a blonde ponytail. The true essence of the character lives in her gadgets. As we navigate the convention season in 2026, the standard for prop-making has evolved from foam carving to fully integrated, microcontroller-driven wearables.
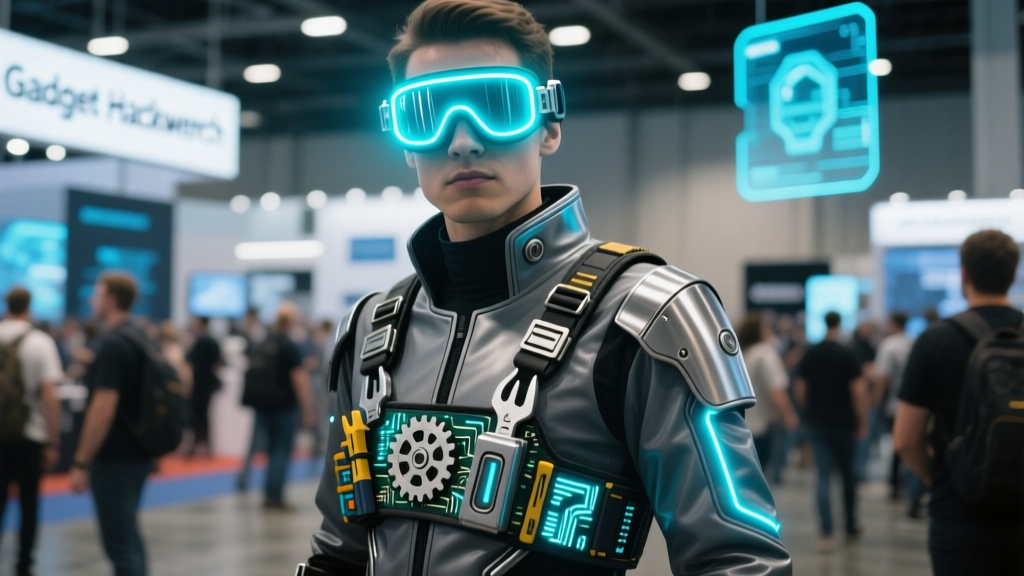
Gadget's arsenal is a masterclass in steampunk-meets-scrapyard engineering. Her toolkit includes the iconic oversized adjustable wrench, a multi-functional toolbelt laden with mysterious gauges, spring-loaded boots, and her signature aviator goggles. To build a cosplay that truly stands out, you need to blend traditional prop-making with modern embedded electronics. In this guide, we will break down the exact components, 3D printing strategies, and off-the-shelf hacks required to bring the Rescue Rangers' chief mechanic to life.
Sourcing and 3D Printing the Core Gadgets
The foundation of any modern Gadget Hackwrench build is 3D printing. While EVA foam is excellent for armor, the rigid, mechanical nature of Gadget's tools demands the precision of resin or high-strength FDM printing.
The Omni-Wrench and Toolbelt
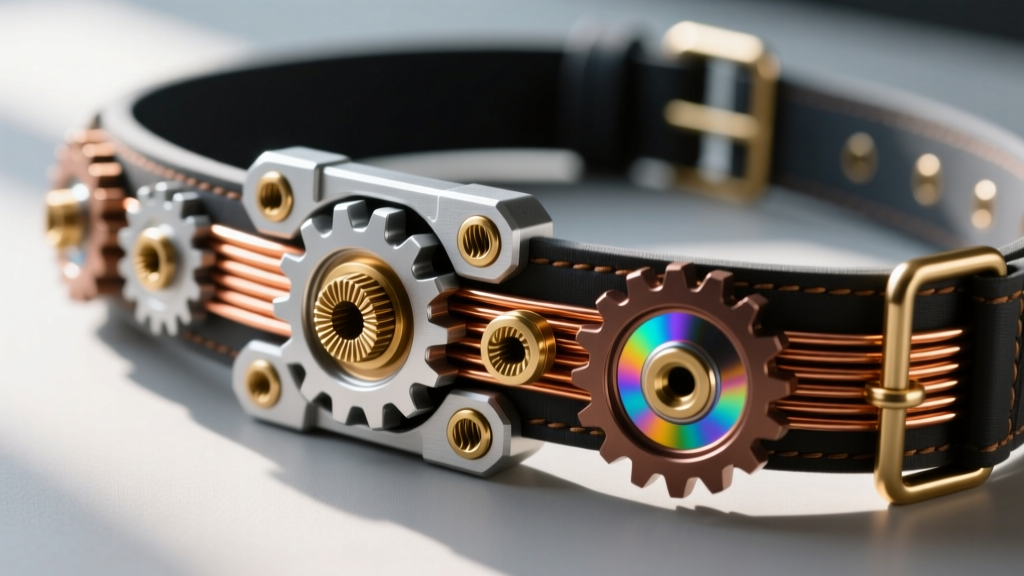
For the oversized wrench, you need a printer with a large build volume or a design that can be sliced and joined. The Elegoo Saturn 4 Ultra is currently the gold standard for mid-sized resin props, offering a 10-inch build plate that can print the wrench head in a single piece. We recommend using ABS-Like V2 resin mixed with a flexible additive (at a 90/10 ratio) to prevent shattering if the prop is dropped on a convention center floor.
- Wall Thickness: Maintain a minimum wall thickness of 3.0mm for structural integrity.
- Infill (FDM): If using an FDM printer like the Bambu Lab X1-Carbon for the toolbelt buckles, use 20% gyroid infill with PETG filament for impact resistance.
- Joinery: Use 5mm brass threaded inserts and M5 machine screws rather than superglue for modular prop assembly.
Wiring the Wearables: LEDs and Servo Mechanics
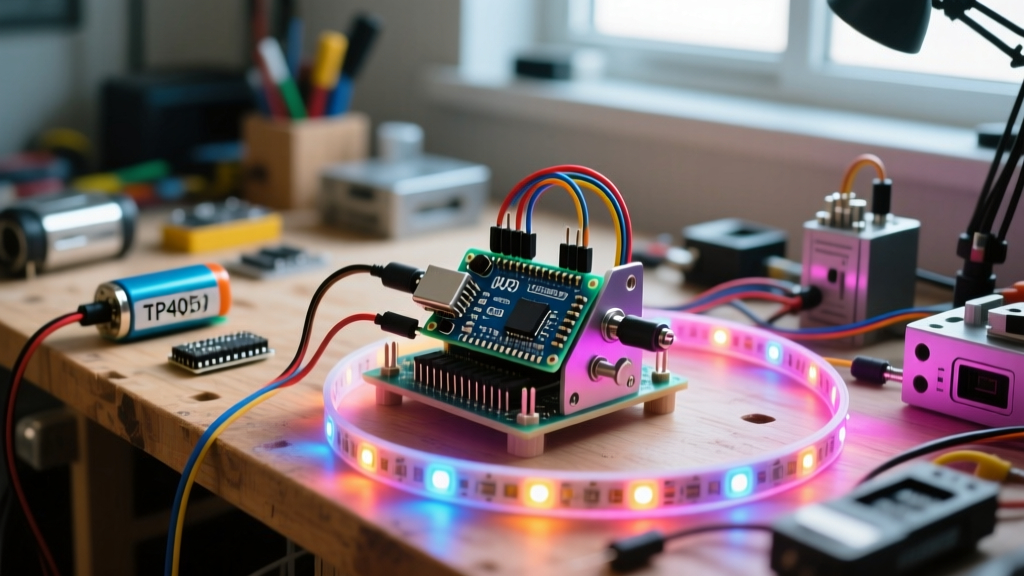
What separates a good cosplay from a legendary one is interactivity. Gadget's goggles and toolbelt gauges shouldn't just be painted; they should light up and move. To achieve this, you need a reliable microcontroller and a stable power delivery system.
For the goggles, addressable LEDs (like the WS2812B NeoPixels) allow you to create a 'scanning' effect, mimicking a heads-up display. For the toolbelt, micro-servos can be used to make physical dials spin or small hatches open when you press a hidden button in your glove.
Microcontroller Comparison for Cosplay Props
| Microcontroller | Price (Approx.) | Best Use Case | Pros & Cons |
|---|---|---|---|
| Arduino Nano Every | $22.00 | Complex toolbelt logic, multiple servo control | Plenty of I/O pins, but slightly bulky for tight spaces. |
| Adafruit Trinket M0 | $11.50 | Goggle LED animations, tight spaces | Incredibly small and supports CircuitPython, but limited pins. |
| Raspberry Pi Pico | $4.00 | Budget builds requiring high processing power | Dual-core and cheap, but requires a custom carrier board for cosplay wiring. |
Power Delivery Warning: Never power servos and LEDs directly from the microcontroller's 5V pin. The current draw will fry your board. Instead, use a 3.7V 18650 Li-ion battery (like the Samsung 30Q) connected to a TP4056 charging module and an MT3608 boost converter to step the voltage up to a stable 5V for your peripherals.
Cool and Unique Finds: Off-the-Shelf Hacks
You don't have to build every single component from scratch. Some of the best cosplay builds utilize real-world tools modified to look like cartoon gadgets. This 'kitbashing' approach saves time and adds an incredible layer of realism to your Gadget Rescue Rangers cosplay.
- The Tape Measure Hack: Buy a standard Stanley PowerLock 16ft tape measure. Disassemble it, sand off the yellow paint, and spray it with a metallic copper primer. Replace the actual metal tape with a stiff yellow nylon ribbon printed with custom measurement markings using a fabric transfer sheet.
- Real Calipers: Purchase a cheap digital caliper from Harbor Freight. Remove the digital readout screen and replace it with a 3D-printed dummy dial that houses a tiny 0.96-inch OLED screen. You can program the screen to display 'Rescue Rangers' error codes when you measure objects.
- The Dremel Mod: Convention safety rules in 2026 strictly prohibit functional rotary tools. Take an old, broken Dremel 3000, gut the motor and internal electronics, and install a high-torque servo with a soft foam 'drill bit' that safely spins when you activate a switch.
'The secret to Gadget's design language is organized chaos. When kitbashing real tools, mix metric and imperial screws, add random copper wire wraps, and use washers as decorative plating. It makes the prop look like it was built in a hurry to save the day.' — Master Prop Maker, The Replica Prop Forum
For more advanced kitbashing techniques and community support, the The Replica Prop Forum (RPF) remains an invaluable resource for cosplayers looking to source obscure mechanical parts.
Troubleshooting Common Cosplay Tech Failures
Even the best-engineered cosplay gadgets can fail on the convention floor. Here is how to troubleshoot the most common issues you will face when building electronic wearables.
1. LED Voltage Drop and Flickering
If you are running a long strip of WS2812B LEDs around your toolbelt, you will notice the lights at the end of the strip turning orange or flickering. This is voltage drop. The Fix: Inject power (both 5V and Ground) into the data line every 30 LEDs, and ensure your wire gauge is at least 20 AWG for power lines.
2. Servo Jitter and Twitching
Micro-servos like the TowerPro MG90S are notorious for jittering when placed near high-current components like LED strips. The Fix: Keep your servo signal wires physically separated from your LED power wires. Additionally, solder a 100µF electrolytic capacitor across the power and ground rails of your servo power bus to smooth out voltage spikes.
3. Battery Swelling and Heat
Trapping 18650 lithium batteries inside a sealed, foam-lined toolbelt can lead to dangerous heat buildup. The Fix: Always design your battery enclosures with passive ventilation holes and use a battery management system (BMS) that includes over-discharge and thermal protection.
Frequently Asked Questions
How heavy should the toolbelt be for all-day wear?
Aim to keep the total weight of the toolbelt under 4 pounds (1.8 kg). Use hollow 3D prints with internal ribbing instead of solid infill, and distribute the weight evenly across your hips using a wide, padded leather or canvas belt base.
Can I use PLA filament for the goggles?
No. PLA has a low glass transition temperature (around 60°C/140°F). If you leave your cosplay in a hot car or wear it under hot convention hall lights, PLA goggles will warp and deform. Always use PETG, ABS, or ASA for wearable props.
Where can I find the exact color codes for Gadget's outfit?
Gadget's jumpsuit is a specific shade of light purple/lavender. For fabric dyeing, Rit DyeMore in 'Royal Purple' diluted at a 1:4 ratio with water yields the most accurate screen-matched color for synthetic fabrics.
Written by
Tom ReynoldsTom Reynolds holds a CFA (Chartered Financial Analyst) designation and a B.S. in Finance from the University of Texas at Austin. Before entering tech journalism, he spent 6 years as a quantitative analyst at a hedge fund, building cost-benefit models for consumer product investments. Tom has maintained a proprietary database of over 10,000 tech deals for the past 8 years, developing his signature "penny-per-feature" evaluation framework that calculates the true value proposition of every gadget. His budget gadget reviews are known for their financial rigor — he tracks price history across 15+ retailers, calculates cost-per-use over 3-year lifespans, and identifies the exact inflection point where premium features justify their markup. Tom's deal alerts have saved his readers an estimated .3 million since 2018.