7 Best Budget 3D Printed Gadgets for Makers (2026)
Discover the best budget 3D printed gadgets for 2026. From cheap filament tools to smart home hacks, upgrade your maker space without breaking the bank.
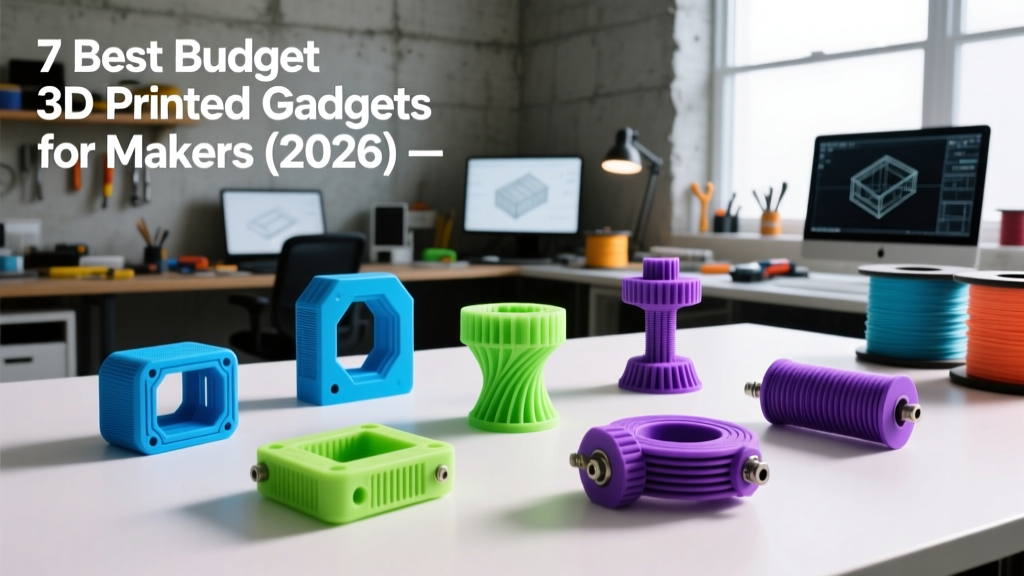
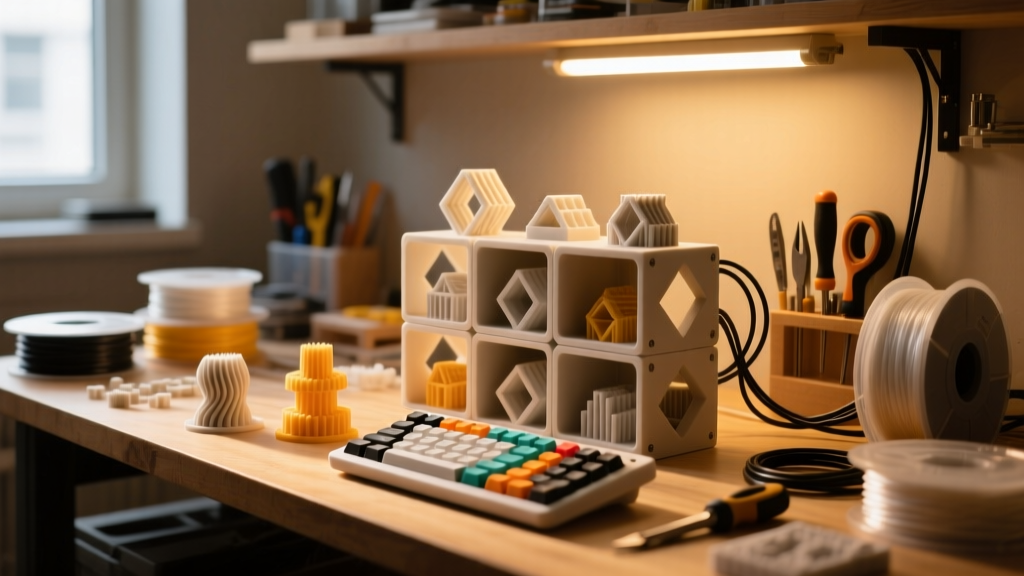
The 2026 Maker's Dilemma: High Tech on a Shoestring Budget
As we navigate through 2026, the barrier to entry for desktop fabrication has never been lower, yet the cost of premium commercial electronics continues to climb. For hackers, crafters, and DIY engineers, the sweet spot lies in combining ultra-cheap microcontrollers with high-quality, home-manufactured enclosures. The result? A new generation of 3D printed gadgets that rival commercial products in functionality but cost a fraction of the price.
Whether you are running a well-tuned Bambu Lab P1S or a heavily modified, belt-driven Ender 3 from a decade ago, the true value of your machine is measured by the utility it brings to your workbench. In this budget-friendly roundup, we are skipping the decorative trinkets and focusing strictly on high-ROI, functional 3D printed gadgets that solve real problems in the maker space.
The Framework: Evaluating Budget 3D Printed Gadgets
Before firing up your slicer, it is crucial to apply a strict decision framework to any budget gadget project. A cheap print is only a bargain if it does not fail under real-world conditions. When evaluating the projects below, we scored them on three metrics:
- Hardware Cost Efficiency: The total Bill of Materials (BOM) must remain under $20, leveraging cloned components and bulk-buy electronics where appropriate.
- Material Resilience: We specify exact filament types. Printing a soldering accessory in standard PLA (which softens at 60°C) is a recipe for disaster; we prioritize PETG and ASA for thermal environments.
- Time-to-Utility Ratio: Gadgets must print in under 6 hours on a standard 0.4mm nozzle, ensuring you aren't tying up your printer for days for a minor convenience tool.
Top Budget 3D Printed Gadgets for Your Workbench
1. The Gridfinity Modular Storage System
Originally designed by Zack Freedman, the Gridfinity system remains the undisputed king of workbench organization in 2026. While you can buy commercial bins, 3D printing your own allows for hyper-customized compartments for specific multimeters, calipers, and spools of wire.
The Budget Build: Instead of using expensive premium filaments, buy bulk 1.75mm PLA from brands like Sunlu or Elegoo (often dropping to $12-$14 per kilogram during sales). To add weight to the baseplates without buying expensive metal plates, use the "weighted baseplate" STL variants and fill the cavities with cheap drywall sand or spare steel nuts sealed with a drop of CA glue.
- Filament Cost: ~$2.50 per 1000cm³ bin
- Print Time: 45 minutes per standard 2x2 bin (0.2mm layer height, 15% Gyroid infill)
- Pro Tip: Use a 0.6mm nozzle for baseplates to cut print time in half without sacrificing structural integrity.
2. Custom Macro Keypad (Arduino Pro Micro Clone)
Commercial macro pads easily exceed $80. By combining a 3D printed enclosure with cloned microcontrollers, you can build a highly tactile, customizable input device for CAD software shortcuts or streaming for under $15.
The Budget Build: Source an ATmega32U4-based Pro Micro clone from AliExpress or Amazon (approx. $4.50). For switches, skip the $1.00+ name-brand Cherry MX switches and opt for Outemu or Akko clones, which cost about $0.15 each and offer excellent tactile feedback. Wire the matrix using spare copper wire from old Ethernet cables.
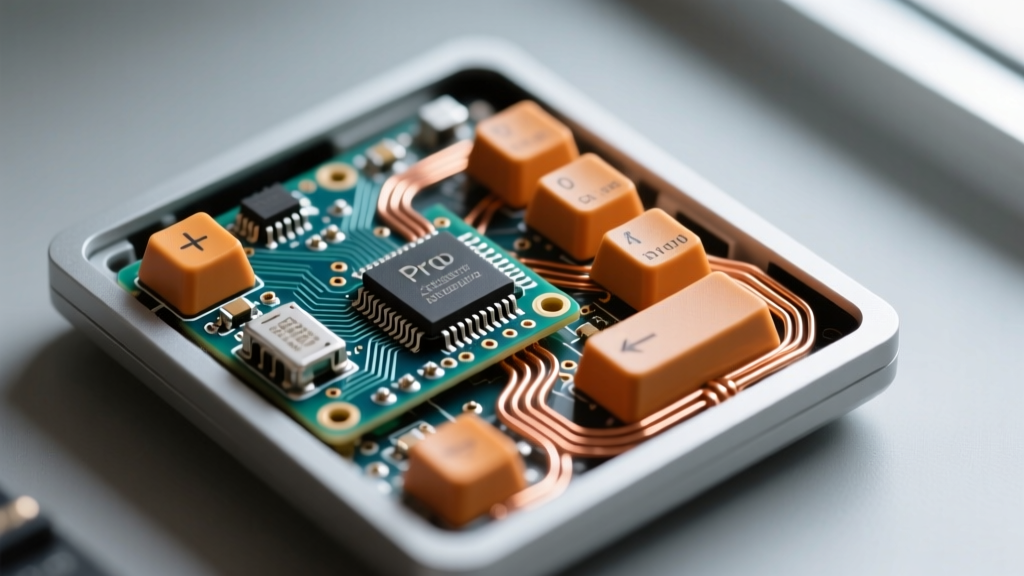
- Hardware Cost: $4.50 (MCU) + $1.50 (Switches) + $2.00 (Knob/Encoder)
- Filament Cost: ~$0.60 (60g of PLA)
- Failure Mode to Avoid: Do not glue the MCU directly to the case. Use M2 heat-set inserts (a $6 pack of 100 will last you years) so you can open the case to fix cold solder joints.
3. Active Carbon Fume Extractor for Soldering
Desktop air purifiers designed for electronics workbench use often cost upwards of $150. A 3D printed active fume extractor is an essential safety gadget that pulls solder flux smoke through an activated carbon filter before it reaches your lungs.
The Budget Build: The core of this gadget is a 40mm blower fan (like a generic 5V USB centrifugal fan, ~$5) and a cut-to-size activated carbon filter sheet (~$4 for a multi-pack). The enclosure must be printed in PETG or ABS. Standard PLA will warp and deform if left too close to a hot soldering iron tip resting in a nearby stand.
Material Warning: Never use PLA for thermal-adjacent gadgets. The glass transition temperature of PLA is roughly 60°C (140°F). A soldering iron handle resting against a PLA fume extractor nozzle will permanently deform the print within minutes.
4. ESP32-C3 Smart Home Sensor Nodes
With the Matter protocol fully matured in 2026, integrating DIY sensors into Apple Home, Home Assistant, and Google Home is seamless. Commercial Zigbee or Wi-Fi temp/humidity sensors cost $20-$30 each. You can print and build your own for pennies.
The Budget Build: The ESP32-C3 SuperMini board is a marvel of budget engineering, often available for $2.80. Pair it with a BME280 sensor module ($3.50) for highly accurate temperature, humidity, and barometric pressure readings. Design a vented, snap-fit enclosure in PETG to ensure accurate ambient air flow while preventing dust ingress.
- Total BOM: $6.30 + $0.30 in filament
- Print Settings: 3 walls, 20% infill. Use a "louvered" or "mesh" STL design for the outer shell to allow sensor breathing.
5. Under-Desk Cable Management Clips & Spool Hubs
Cable management is the unsung hero of a productive maker space. While you can buy adhesive clips, they fail on textured wood or metal desks. 3D printed C-clamp style cable hubs that grip the edge of your desk are vastly superior and entirely reusable.
The Budget Build: Print these in TPU (flexible filament) if you want the clips to grip cables tightly without scratching them, or use PLA with a TPU lining glued to the contact points. Design a central hub that accepts standard 1/4-20 UNC threaded inserts, allowing you to mount cheap articulating arms for holding LED light strips or webcam mounts.
Cost Breakdown: Filament vs. Hardware Components
Understanding where your money actually goes is critical for budget makers. As shown in the table below, the cost of plastic is almost negligible compared to the electronic guts of the gadget.
| Gadget Project | Filament Type | Plastic Cost (approx.) | Electronics BOM | Total Cost | Print Time (0.4mm Nozzle) |
|---|---|---|---|---|---|
| Gridfinity 2x2 Bin | Bulk PLA | $0.45 | $0.00 | $0.45 | 45 mins |
| Custom Macro Keypad | PLA / Silk PLA | $0.60 | $8.00 | $8.60 | 2.5 hours |
| Soldering Fume Extractor | PETG | $1.10 | $9.00 | $10.10 | 3.5 hours |
| ESP32 Sensor Node | PETG | $0.30 | $6.30 | $6.60 | 1.5 hours |
| Desk Clamp Cable Hub | TPU 95A | $0.85 | $0.50 (Inserts) | $1.35 | 1 hour |
Pro Tips for Maximizing Budget Prints in 2026
- Calibrate for Cheap Filament: Budget PLA often has slight diameter inconsistencies (±0.05mm). Run a fresh flow rate calibration and pressure advance test every time you open a new, budget-brand spool to avoid ghosting and dimensional inaccuracies on snap-fit parts.
- Embrace Heat-Set Inserts: Stop designing parts with self-tapping screw holes. They strip out after one or two disassemblies. A $15 soldering iron tip designed for brass inserts and a $6 pack of M2/M3 brass inserts will make your budget 3D printed gadgets feel like injection-molded commercial products.
- Optimize Slicer Profiles for Utility: For structural gadgets (like clamps or brackets), increase your wall count to 4 or 5, but drop your infill to 10-15%. Parts derive the vast majority of their tensile and compressive strength from the outer perimeters, not the internal grid.
FAQ: Budget 3D Printing in 2026
Is it cheaper to buy or 3D print smart home gadgets?
For basic enclosures and custom mounts, 3D printing is significantly cheaper and offers perfect dimensional accuracy for your specific space. However, for high-voltage components (like 120V/240V AC relays), buying certified commercial smart plugs is safer and more cost-effective due to the rigorous safety testing they undergo. Always keep high-voltage AC out of DIY 3D printed enclosures unless you are using certified, isolated power modules.
What is the best budget filament for functional maker tools?
PETG is the undisputed champion of budget functional prints. It costs only marginally more than PLA (roughly $16-$20 per kilogram) but offers vastly superior UV resistance, thermal tolerance (up to ~75°C), and slight flexibility, making it ideal for snap-fits, brackets, and outdoor sensor housings.
Where can I find reliable STL files for these gadgets?
Platforms like Printables and Thangs are excellent resources. When searching, filter by "Make" or "Prints" to ensure you are downloading a file that the community has already verified for printability, rather than an untested CAD export.
Final Thoughts
The true power of the maker movement in 2026 isn't about owning the most expensive resin printer or the highest-tier laser cutter. It is about the intersection of digital fabrication and cheap, accessible silicon. By focusing on high-utility, 3D printed gadgets that solve daily workbench friction points, you can build a highly customized, professional-grade maker space on a strict budget. Pick a project from the list above, slice it up, and get printing.
Written by
Tom ReynoldsTom Reynolds holds a CFA (Chartered Financial Analyst) designation and a B.S. in Finance from the University of Texas at Austin. Before entering tech journalism, he spent 6 years as a quantitative analyst at a hedge fund, building cost-benefit models for consumer product investments. Tom has maintained a proprietary database of over 10,000 tech deals for the past 8 years, developing his signature "penny-per-feature" evaluation framework that calculates the true value proposition of every gadget. His budget gadget reviews are known for their financial rigor — he tracks price history across 15+ retailers, calculates cost-per-use over 3-year lifespans, and identifies the exact inflection point where premium features justify their markup. Tom's deal alerts have saved his readers an estimated .3 million since 2018.