How to Integrate Scientific Gadgets Into Smart Homes
Learn how to connect lab-grade scientific gadgets and environmental sensors to your smart home hub for precision climate and air quality automation.
The Rise of the Domestic Laboratory
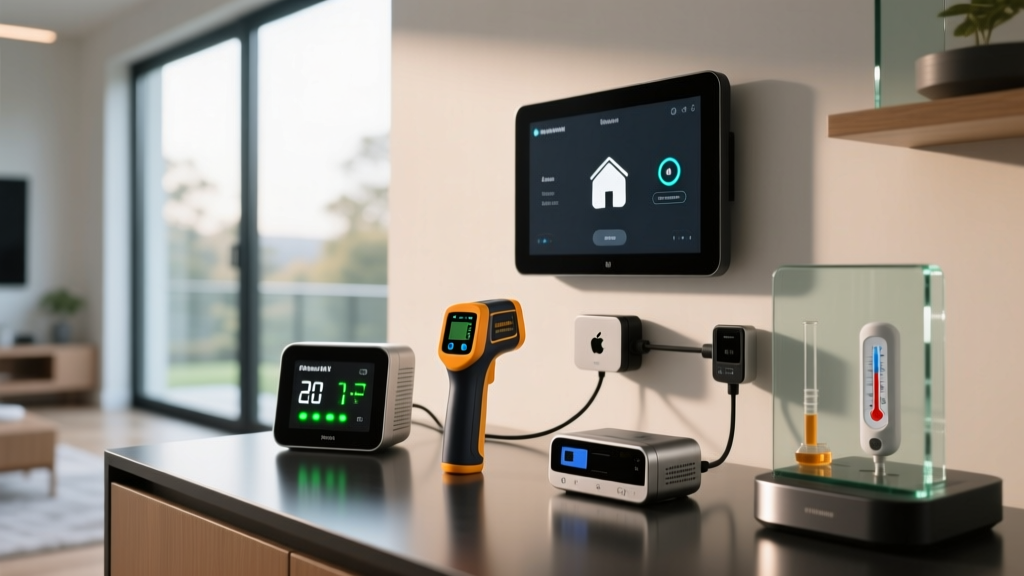
Most smart homes are little more than automated light switches and voice-activated speakers. But for true tech enthusiasts, a home should be a responsive, data-driven environment. By integrating scientific gadgets—lab-grade environmental sensors, precision weather stations, and spectrometers—into your local smart home hub, you transition from basic automation to advanced environmental engineering.
According to the EPA's Guide to Indoor Air Quality, indoor pollutant levels can be two to five times higher than outdoor levels. Relying on a $30 smart plug and a basic thermostat won't cut it. In this tutorial, we will build a precision environmental automation loop using Home Assistant, Bluetooth Low Energy (BLE) proxies, and high-fidelity scientific instruments.
Essential Scientific Gadgets for Home Automation
Consumer-grade air quality monitors often use cheap metal-oxide-semiconductor (MOS) sensors that drift wildly and cross-react to harmless VOCs (like peeling an orange). To build a reliable automation pipeline, you need scientific gadgets equipped with NDIR (Non-Dispersive Infrared) and laser-scattering particulate counters.
| Device | Primary Metric | Protocol | Approx. Price | Polling Rate |
|---|---|---|---|---|
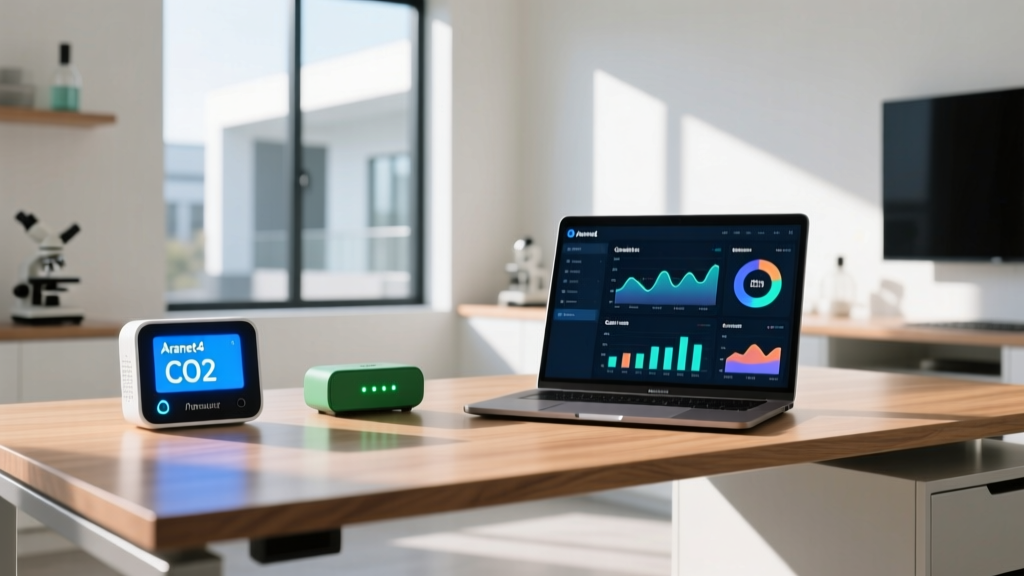
| Aranet4 Home | NDIR CO2, Temp, RH | BLE / Matter | $249 | 1 min |
| Awair Element | VOC, PM2.5, CO2 | Wi-Fi / Local API | $299 | 5 sec |
| WeatherFlow Tempest | Ultrasonic Wind, UV | 915MHz / UDP | $399 | 3 sec |
Step-by-Step: Bridging Lab Sensors to Home Assistant
We will use Home Assistant Green ($99) as our central nervous system. Cloud-dependent hubs introduce latency and privacy risks that are unacceptable when managing HVAC systems based on real-time CO2 thresholds.
Step 1: Provisioning the BLE Proxy Mesh
Scientific gadgets like the Aranet4 prioritize battery life by broadcasting via Bluetooth Low Energy (BLE). To read this data across a 2,500 sq. ft. home, you need a BLE Proxy mesh.
- Purchase 3-4 ESP32 development boards ($6 each).
- Flash them with the official ESPHome Bluetooth Proxy firmware via the Home Assistant web installer.
- Plug them into USB power adapters in central locations (hallways, stairwells).
- Home Assistant will automatically detect the proxies and ingest the Aranet4's encrypted BLE advertisements.
Step 2: Calibrating the NDIR Sensor
Before automating, you must establish a baseline. Take your Aranet4 outside for 15 minutes. The ambient outdoor CO2 is roughly 420 ppm. Use the companion app to force a manual calibration at this baseline. Skipping this step will result in 'sensor drift,' causing your HVAC automations to trigger prematurely.
Step 3: Building the HVAC Automation Logic
Now we tie the data to physical action. Let's assume you have a smart relay (like a Shelly Plus 1, $22) wired to your home's ERV (Energy Recovery Ventilator) or a smart plug controlling a commercial HEPA scrubber.
Navigate to Settings > Automations & Scenes and create a new automation. We want the ventilation to kick on when CO2 exceeds 800 ppm (the threshold where cognitive decline begins) and turn off when it drops below 500 ppm to prevent short-cycling.
alias: 'ERV CO2 Demand Control'
description: 'Trigger ventilation based on NDIR CO2 thresholds'
trigger:
  - platform: numeric_state
    entity_id: sensor.aranet4_home_co2
    above: 800
    id: co2_high
  - platform: numeric_state
    entity_id: sensor.aranet4_home_co2
    below: 500
    id: co2_low
condition: []
action:
  - choose:
      - conditions:
          - condition: trigger
            id: co2_high
        sequence:
          - service: switch.turn_on
            target:
              entity_id: switch.erv_relay
      - conditions:
          - condition: trigger
            id: co2_low
        sequence:
          - service: switch.turn_off
            target:
              entity_id: switch.erv_relay
mode: restart
Pro-Tip: Always use mode: restart for threshold-based environmental automations. If the CO2 spikes, drops, and spikes again within your delay window, restarting the automation prevents the system from getting stuck in an 'off' state while the air remains stale. For deeper logic structures, consult the Home Assistant Automation Triggers documentation.
Advanced Data Logging with InfluxDB and Grafana
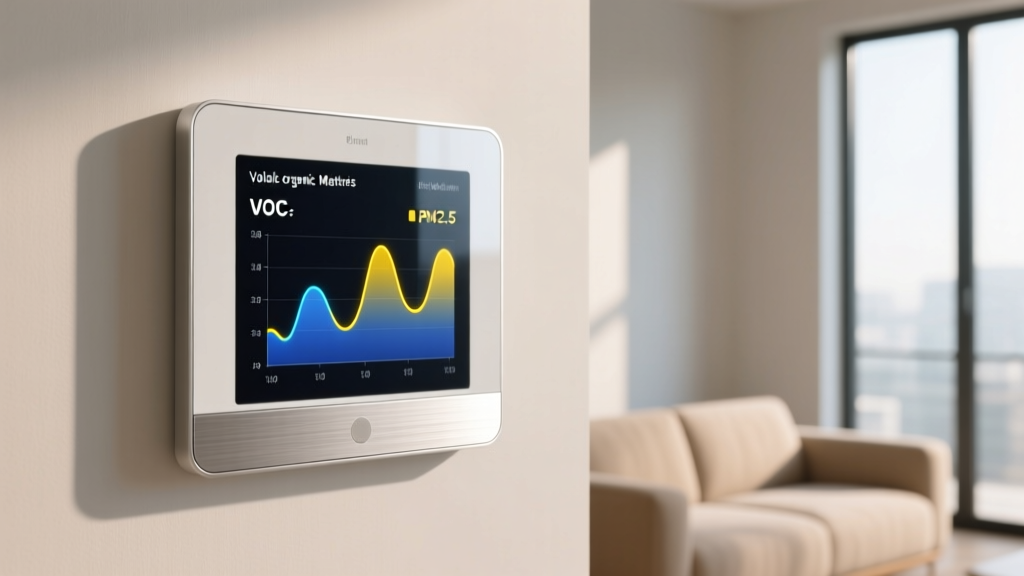
Scientific gadgets generate massive amounts of telemetry. Home Assistant's default SQLite database will bloat and slow down your dashboard if you log PM2.5 data every 5 seconds.
To solve this, install the InfluxDB and Grafana add-ons from the Home Assistant store. Configure InfluxDB with a retention policy of 365d (one year) and a downsampling continuous query that averages data into 1-hour buckets after 30 days. This allows you to build stunning Grafana dashboards that correlate your Tempest weather station's outdoor wind speed with your Awair Element's indoor VOC off-gassing rates, revealing non-obvious insights about your home's building envelope.
Troubleshooting Sensor Drift and Interference
Integrating lab equipment into a residential RF environment comes with unique edge cases. Here is how to handle the most common failure modes:
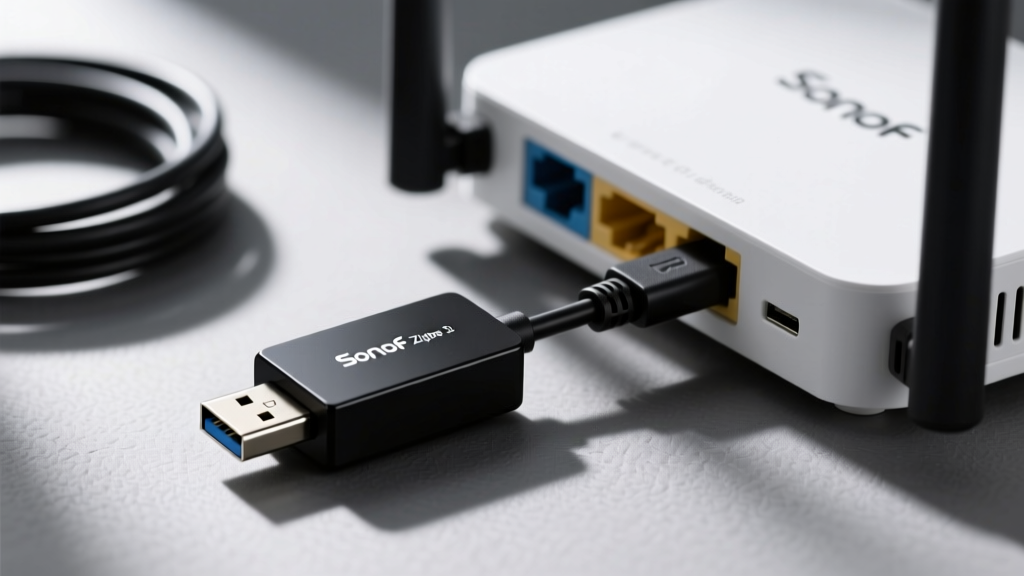
- USB 3.0 Noise Floor: If your Zigbee or Thread dongle is plugged directly into your server's USB 3.0 port, the 2.4GHz noise floor will obliterate your sensor mesh. Solution: Always use a 3-foot USB 2.0 extension cable to move the dongle away from the server chassis.
- MOS Sensor Burn-In: If using a device with a metal-oxide VOC sensor, it requires a 72-hour continuous power 'burn-in' period to stabilize the heating element. Do not calibrate or automate during this window.
- BLE Advertisement Drops: If your Aranet4 shows 'unavailable' intermittently, check your ESP32 proxy placement. BLE signals are easily absorbed by human bodies and drywall. Mount proxies at ceiling height.
FAQ: Scientific Smart Home Integration
Can I use Matter to connect these scientific gadgets?
As of 2026, Matter 1.3 supports advanced sensor clusters, including air quality and flow sensors. However, many legacy lab-grade devices still rely on proprietary BLE or local UDP APIs. Using Home Assistant as a bridge allows you to expose these non-Matter scientific gadgets to Apple Home or Google Home via Matter Bridge.
How often should I replace the PM2.5 laser sensor?
Laser-scattering particulate sensors (like the Plantower PMS5003 found in many high-end monitors) have a rated lifespan of roughly 8,000 continuous hours (about 3 years). If you live in a high-dust or wildfire-prone area, expect to replace the fan or sensor module every 18-24 months to maintain ±10% accuracy.
Is local processing necessary for environmental automation?
Absolutely. If a winter storm knocks out your ISP, a cloud-dependent smart home will fail to trigger your exhaust fans when CO2 or radon levels spike. Local processing via Home Assistant ensures your scientific gadgets continue to protect your health regardless of internet connectivity.
Written by
Lena ChenLena Chen earned her M.S. in Human-Computer Interaction from Carnegie Mellon University and a B.S. in Electrical Engineering from the University of Washington. She has spent the past decade specializing in smart home architecture and IoT ecosystems, helping over 200 homeowners design fully connected living spaces. Lena is a certified Matter protocol consultant and has published peer-reviewed research on voice-first interface design in the ACM Digital Library. Her reviews of smart home products combine deep technical analysis with real-world usability testing, evaluating everything from Zigbee mesh stability to Alexa skill responsiveness. She regularly speaks at CEDIA Expo and CES smart home panels.