Gadget Shopping for USB-C Hubs: Setup & Config Guide
Master your gadget shopping for USB-C hubs and docking stations. Learn how to choose, configure, and troubleshoot multi-port adapters for any setup.
The Connectivity Bottleneck: Why Your Adapter Matters
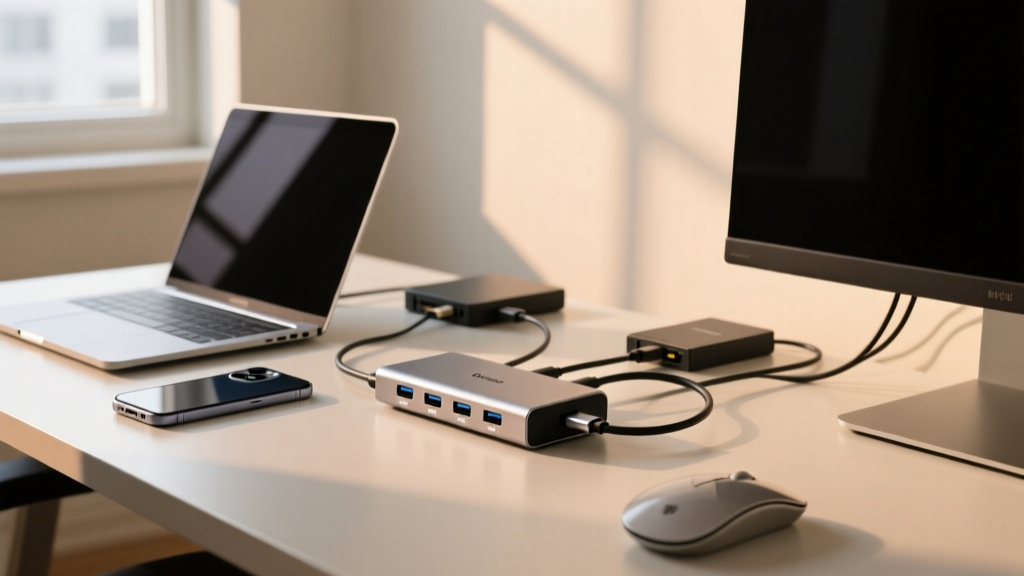
When your gadget shopping cart includes a premium $3,000 thin-and-light laptop, bottlenecking it with a poorly engineered $20 adapter is a critical error. Modern laptops have sacrificed port variety for sleek chassis designs, shifting the burden of connectivity to external USB-C hubs, multi-port adapters, and full-blown docking stations. However, navigating the labyrinth of USB-IF naming conventions, DisplayPort Alt Mode limitations, and Power Delivery (PD) negotiation curves can turn a simple desk setup into a frustrating troubleshooting marathon.
This guide cuts through the marketing fluff. We will break down the exact technical specifications you need to look for, how to properly configure your hardware for maximum bandwidth, and how to troubleshoot the hidden issues that cause flickering monitors and dropped peripherals.
Decision Matrix: Hub vs. Docking Station vs. Adapter
Before diving into configuration, it is vital to categorize the hardware. The terms 'hub', 'dock', and 'adapter' are often used interchangeably by retailers, but they represent fundamentally different silicon architectures.
| Category | Underlying Tech | Max Bandwidth | Power Delivery | Typical Price | Best Use Case |
|---|---|---|---|---|---|
| Multi-Port Adapter | USB 3.0 / 3.2 Gen 1 | 5 Gbps | Pass-through (60W-100W) | $30 - $70 | Travel, basic peripherals, 1x 4K@60Hz |
| USB-C Hub | USB 3.2 Gen 2 / USB4 | 10 - 20 Gbps | Pass-through (up to 100W) | $60 - $150 | Desktop expansion, dual 1080p or 1x 4K |
| TB4 / USB4 Dock | Thunderbolt 4 / USB4 | 40 Gbps | Active Host Charging (90W+) | $250 - $450 | Workstations, dual 4K@60Hz, eGPUs, NAS |
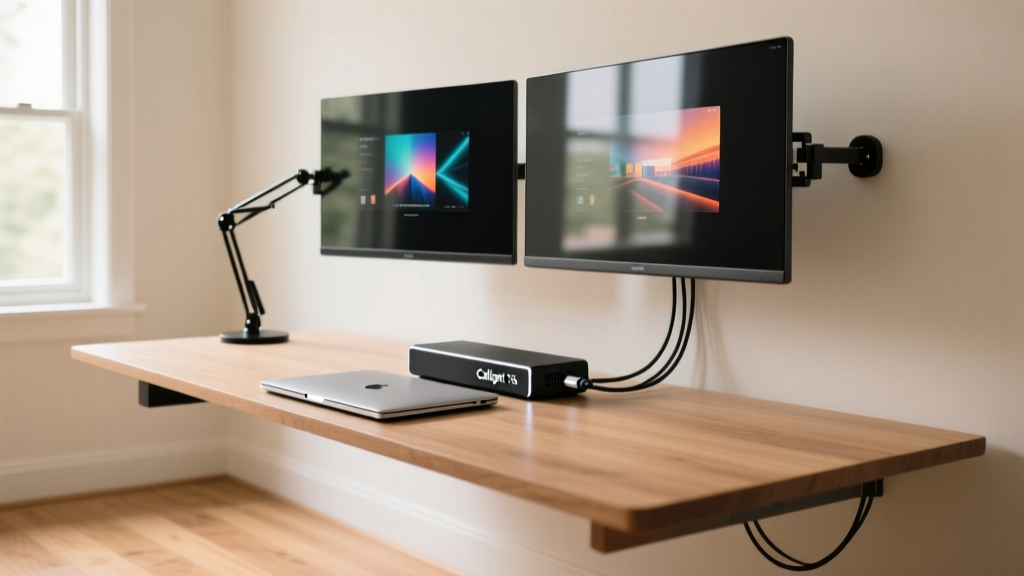
If your workflow involves dual 4K monitors at 60Hz, high-speed NVMe external storage, and a wired 2.5GbE ethernet connection, you must invest in a Thunderbolt 4 or USB4 docking station like the CalDigit TS4 Thunderbolt 4 Dock. Standard USB-C hubs simply lack the PCIe lanes to handle simultaneous high-bandwidth data and uncompressed video streams.
Step-by-Step: Configuring Your Flagship Dock
Once you have selected the right hardware, proper physical and logical configuration is required to ensure stable operation. Let us use the CalDigit TS4 (18 ports, $399) and the Anker Apex 777 (12 ports, $250) as our reference architectures.
Step 1: Power Delivery (PD) Negotiation
A common misconception is that plugging a 100W USB-C charger into a hub's pass-through port will deliver 100W to your laptop. This is false. The hub's internal controller reserves a portion of that power to run its own chipset, downstream ports, and RGB lighting.
- Pass-through Hubs: If you plug in a 100W charger, expect roughly 85W to 87W to reach the host laptop. Always use a charger that exceeds your laptop's maximum draw by at least 15W.
- Powered Docks: Flagship docks like the TS4 use massive 180W AC power bricks. The dock's internal power supply dynamically allocates exactly 98W to the host via PD 3.0, while reserving the remaining 82W for bus-powered external hard drives and charging downstream devices.
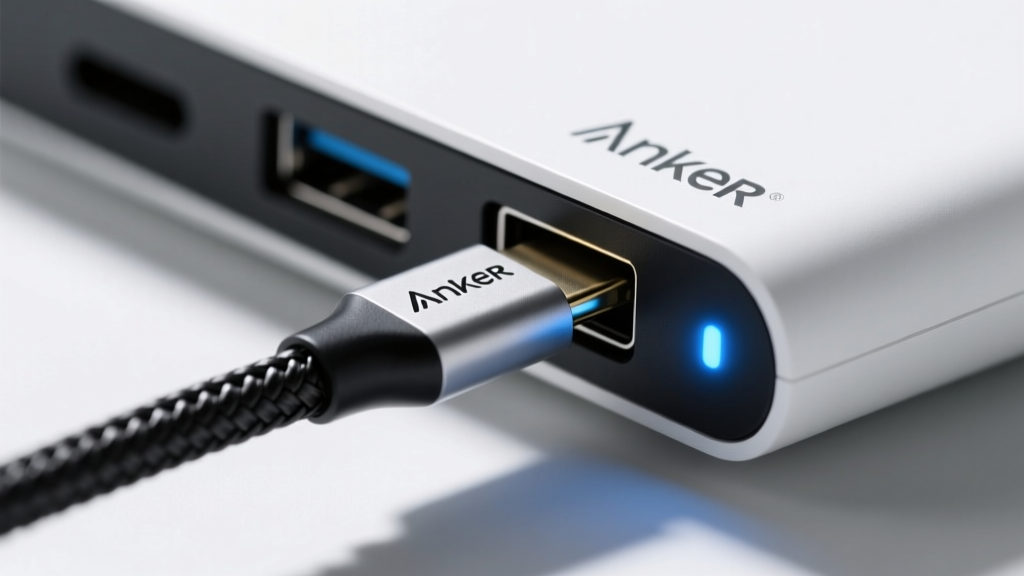
Pro-Tip: Always connect the dock's power cable and wait 3 seconds for the internal capacitors to charge before connecting the Thunderbolt cable to your laptop. This prevents 'handshake' failures during PD negotiation.
Step 2: DisplayPort Alt Mode & Bandwidth Allocation
Driving multiple high-resolution displays over a single cable requires understanding Display Stream Compression (DSC). According to the Thunderbolt Technology Network, a standard 40Gbps connection reserves roughly 32Gbps for video and 8Gbps for USB/PCIe data.
If you are connecting dual 4K monitors at 60Hz:
- Ensure your monitors support DSC (DisplayPort 1.4 with DSC). Without DSC, a single TB4 cable cannot natively push two uncompressed 4K@60Hz signals.
- Connect the primary monitor to the dock's DisplayPort 1.4 output, and the secondary monitor to the downstream Thunderbolt/USB-C port using a high-quality USB-C to DisplayPort 1.4 cable.
- Avoid using HDMI adapters for dual-monitor setups unless the dock explicitly features dual independent HDMI 2.1 controllers. Most hubs split a single DisplayPort signal via an MST (Multi-Stream Transport) hub, which macOS notoriously struggles with, resulting in mirrored displays rather than extended desktops.
Step 3: Thermal Management & Placement
High-speed data controllers generate significant heat. The aluminum casings on premium hubs are not just for aesthetics; they act as passive heatsinks. Never stack a USB-C hub on top of your laptop's exhaust vent, and avoid burying it under paperwork. If the internal chipset exceeds 85°C, it will aggressively throttle PCIe transfer speeds to prevent silicon damage.
Troubleshooting the Silent Killer: EMI Interference
If your wireless mouse is stuttering, or your Bluetooth headphones are dropping audio while connected to your USB-C hub, you are experiencing Electromagnetic Interference (EMI).
The USB-IF USB4 Specification acknowledges that unshielded USB 3.0 and USB-C data cables generate broadband RF noise that heavily overlaps with the 2.4GHz spectrum. When you plug a Logitech Unifying or Bolt receiver directly into an unshielded USB-C hub, the data transfer noise will drown out the wireless signal.
The Fix: Never plug a 2.4GHz wireless dongle directly into your hub. Use a short, 6-inch USB 2.0 extension cable to move the receiver away from the hub's noisy data bus, or plug the receiver directly into the laptop's built-in USB-A port if available.
Cable Selection: The Hidden Bottleneck
Your dock is only as fast as the cable connecting it to your machine. Not all USB-C cables are created equal. To achieve the full 40Gbps bandwidth and 100W+ charging required for a docking station, you must use an Active Thunderbolt 4 or certified USB4 40Gbps cable.
- Passive Cables: Generally max out at 2 meters for 40Gbps. Beyond 2 meters, signal degradation occurs unless the cable features an active E-Marker chip with a built-in signal repeater.
- E-Marker Chips: These microscopic chips inside the cable connector communicate with the host and dock to confirm the cable can safely handle 5 Amps of current. If you use a cheap, uncertified cable, the system will default to a safe, low-power mode (usually 60W and 10Gbps), crippling your expensive dock.
Frequently Asked Questions
Why does my external NVMe drive disconnect during large file transfers?
This is almost always a power starvation issue. NVMe enclosures can draw up to 15W during sustained write operations. If your hub is unpowered (drawing all power from the laptop) or the hub's internal power allocation is misconfigured, the voltage drops below the 5V threshold, causing the drive's controller to panic and disconnect. Always use a powered dock for sustained NAS backups or video editing off external SSDs.
Can I use a Thunderbolt 4 dock with a standard USB-C laptop?
Yes, but with severe limitations. Thunderbolt 4 docks are backward compatible with standard USB-C (USB 3.2 Gen 2), but the bandwidth will drop from 40Gbps to 10Gbps. You will lose the ability to run dual 4K displays, and your downstream Thunderbolt ports will function only as standard USB 10Gbps ports. Always match your dock's protocol to your laptop's host port capabilities to maximize your gadget shopping investment.
Written by
Ryan TanakaRyan Tanaka holds a B.S. in Mechanical Engineering from Oregon State University and is a certified AWS Solutions Architect. He has built over 80 custom electronics projects ranging from CNC machines to IoT sensor networks, and has reviewed development boards, 3D printers, soldering equipment, and maker tools for the past 6 years. Ryan is an active contributor to 12 open-source hardware projects on GitHub and teaches monthly workshops at three hackerspaces across the Pacific Northwest. His reviews combine engineering rigor with accessibility — he evaluates products not just on specs but on documentation quality, community support, and learning curve for beginners. He has presented at Maker Faire Bay Area, Open Hardware Summit, and the Adafruit community showcase, and maintains a popular blog documenting his build processes.