Unique Anime Gadgets for Transforming Cosplay Tech
Discover unique anime gadgets for transforming your cosplay and desk setup. Explore motorized props, smart lighting, and modular tech for 2026.
The Mechanics of Anime Transformation: Moving Beyond Static Props
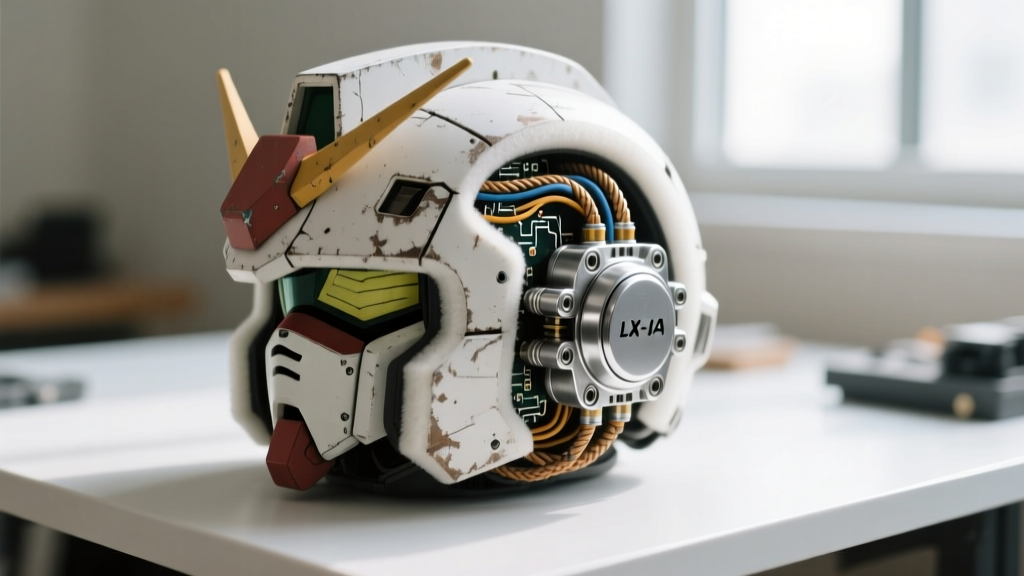
The era of static EVA foam and rigid 3D-printed cosplay is officially over. In 2026, the most impressive anime gadgets for transforming your cosplay and desk setups rely on embedded microcontrollers, serial bus actuators, and flexible high-density LED matrices. Whether you are engineering a motorized Gundam faceplate that snaps shut on voice command or building a Ghost in the Shell thermoptic camouflage visor, true transformation requires a deep understanding of electromechanical integration. This guide bypasses surface-level recommendations to provide the exact component specifications, power architectures, and failure-mode troubleshooting required to build reliable, moving anime tech.
Top Mechanical Gadgets for Transforming Cosplay Armor
LewanSoul LX-16A Serial Bus Servos for Mecha Helmets
Standard PWM (Pulse Width Modulation) servos require a dedicated GPIO pin for every single motor. If you are building a transforming Evangelion helmet with motorized cheek guards, a retractable visor, and articulating ear fins, you will quickly run out of pins on a standard microcontroller. The solution is the LewanSoul LX-16A serial bus servo. Priced around $14 to $18 per unit in 2026, these servos offer 17kg/cm of torque and utilize a UART-based serial protocol.
Because they operate on a serial bus, you can daisy-chain up to 253 servos on a single TX/RX pin pair. The LX-16A also features built-in temperature and voltage sensors, allowing your code to halt transformation sequences if the internal gears overheat during a convention hall photo shoot. When programming these via an ESP32-S3, utilize the LewanSoul-ESP32 library to send hex commands directly to the servo IDs, ensuring sub-millisecond latency for synchronized mechanical snapping.
WS2812B Flexible Matrix Panels for Emotive Visors
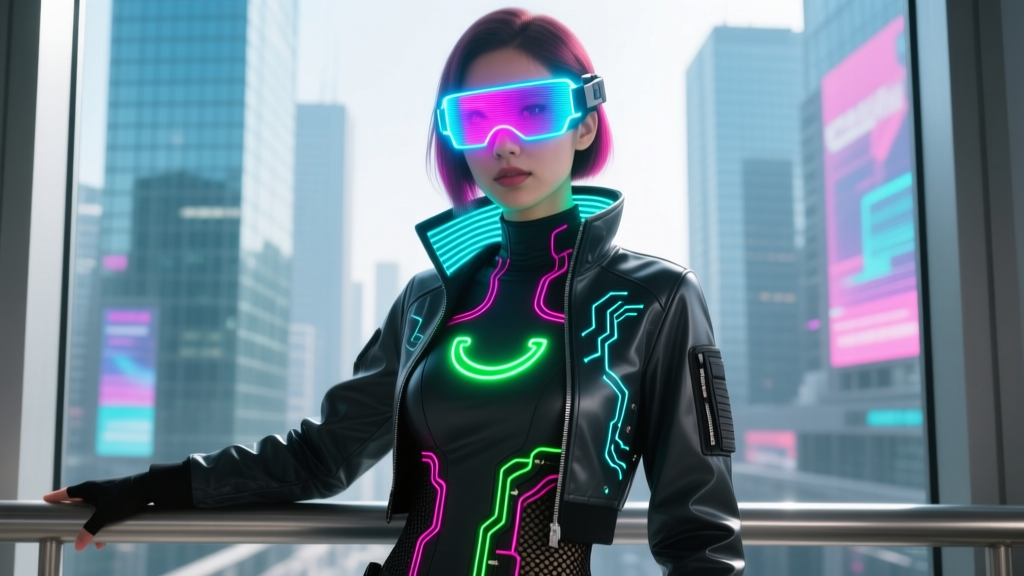
For digital transformation, rigid LED strips are obsolete. The WS2812B 8x32 flexible matrix panels (typically $22-$28 each) allow you to wrap high-density pixel art around curved anime visors and masks. With a pixel pitch of roughly 4mm, these panels can render smooth, scrolling anime expressions or tactical HUD elements. However, the primary failure mode for flexible matrices in cosplay is voltage drop and heat trapping.
- Power Injection: You must inject 5V power every 50 pixels. For a standard 256-pixel visor, solder 22AWG silicone wire directly to the VCC and GND pads at the 1st, 128th, and 256th pixel rows.
- Thermal Management: When sealed inside an EVA foam or resin helmet, WS2812B panels running at 100% white brightness can reach 65°C (149°F), warping the foam. Limit global brightness to 40% in your code, or use a step-down buck converter to run the panels at 4.5V instead of 5V, which drastically reduces heat output while maintaining vibrant colors.
Power Architecture: Fueling the Transformation
The most common reason transforming anime gadgets fail mid-convention is inadequate power delivery. A 2S LiPo (Lithium Polymer) battery pack rated at 7.4V and 2200mAh is the gold standard for motorized cosplay. According to battery safety guidelines from Adafruit's LiPo documentation, you must always use a low-voltage alarm to prevent the battery from dropping below 3.2V per cell, which causes irreversible chemical damage.
To safely distribute this power, you need a split-rail architecture:
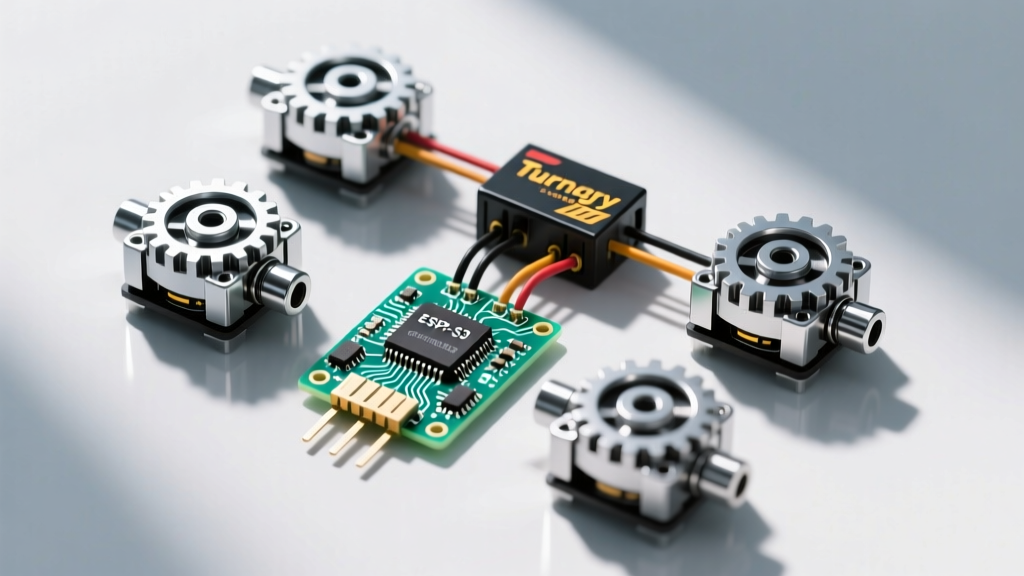
- Motor Rail (6V - 8.4V): Connect the raw 2S LiPo output to a Turnigy 8-15A UBEC (Universal Battery Eliminator Circuit). Set the UBEC output to 6.0V and wire it directly to the power rails of your LX-16A servos.
- Logic Rail (3.3V / 5V): Use a secondary, smaller 5V step-down buck converter to power your ESP32-S3 microcontroller and the data lines of your LED matrices. Keeping the logic and motor power rails separate prevents the massive current spikes of starting a servo from causing brownouts that reboot your microcontroller.
Microcontroller Selection for Anime Tech
Choosing the right brain for your transforming gadget dictates your wiring complexity and wireless capabilities. Based on current 2026 hardware availability, here is how the top contenders compare for cosplay integration.
| Microcontroller | Avg. Price | Wireless | Best Use Case | Drawbacks |
|---|---|---|---|---|
| ESP32-S3 | $12 - $15 | Wi-Fi / BLE 5.0 | Voice-activated transformations, app-controlled HUDs | 3.3V logic requires level shifters for 5V components |
| Raspberry Pi Pico W | $6 - $8 | Wi-Fi / BLE | Complex LED animations, CircuitPython integration | Lower clock speed struggles with high-framerate matrix rendering |
| Arduino Nano Every | $10 - $12 | None | Simple, offline mechanical triggers and limit switches | No wireless, limited SRAM for complex audio/visual queues |
For comprehensive integration, the ESP32-S3 remains the undisputed champion. Its dual-core 240MHz processor easily handles FastLED matrix rendering on one core while managing UART serial commands for servos on the second core. For detailed pinout configurations and deep-sleep current consumption metrics, refer to the official Espressif ESP32-S3 technical documentation.
Troubleshooting Common Transformation Failures
When your anime gadget fails to transform on cue, the issue is rarely a software bug; it is almost always a hardware or power delivery fault. Use this diagnostic framework to isolate the problem.
Symptom: Servos Jitter or Twitch Randomly
- Cause: Signal noise or voltage sag on the logic line. When multiple servos draw current simultaneously, the voltage dips, causing the microcontroller's UART signal to corrupt.
- Fix: Add a 100µF electrolytic capacitor across the 5V and GND rails near the microcontroller to smooth out transient voltage drops. Ensure your serial data wires are kept at least 2cm away from the high-current motor power wires to prevent electromagnetic interference (EMI).
Symptom: LED Matrix Flickers or Displays Static
- Cause: Data line degradation over long wire runs. The WS2812B protocol is highly sensitive to wire length between the microcontroller and the first pixel.
- Fix: The data wire from the ESP32 to the first LED must be no longer than 50cm. If you need a longer run, solder a sacrificial 'null' pixel at the end of the short wire to act as a signal repeater, then run your extended wires to the main matrix. Additionally, place a 300-ohm resistor on the data line to prevent voltage spikes from destroying the first pixel's data-in chip.
Symptom: Helmet Transformation is Sluggish or Stalls
- Cause: Mechanical binding or insufficient torque multiplication. EVA foam and 3D-printed PLA create high friction on pivot joints.
- Fix: Never rely on the servo horn rubbing directly against foam. Install miniature 608ZZ ball bearings (8mm inner diameter) at all pivot points. Use M3 steel shoulder screws to secure the moving plates, ensuring the screw threads only bite into the stationary frame while the shoulder spins freely inside the bearing. This reduces mechanical friction by up to 80%, allowing a 17kg/cm servo to move heavy mecha faceplates effortlessly.
Building reliable anime gadgets for transforming your cosplay requires respecting the laws of physics and electrical engineering. By selecting serial bus architectures, implementing split-rail power delivery, and diagnosing hardware faults systematically, you can create props that perform flawlessly under the demanding conditions of a convention floor.
Written by
Ryan TanakaRyan Tanaka holds a B.S. in Mechanical Engineering from Oregon State University and is a certified AWS Solutions Architect. He has built over 80 custom electronics projects ranging from CNC machines to IoT sensor networks, and has reviewed development boards, 3D printers, soldering equipment, and maker tools for the past 6 years. Ryan is an active contributor to 12 open-source hardware projects on GitHub and teaches monthly workshops at three hackerspaces across the Pacific Northwest. His reviews combine engineering rigor with accessibility — he evaluates products not just on specs but on documentation quality, community support, and learning curve for beginners. He has presented at Maker Faire Bay Area, Open Hardware Summit, and the Adafruit community showcase, and maintains a popular blog documenting his build processes.