Beginner vs Expert BBQ Gadgets: The Ultimate Upgrade Guide
Discover the crucial differences between beginner and expert BBQ gadgets. Learn which grilling tools to buy first and when to upgrade your arsenal.
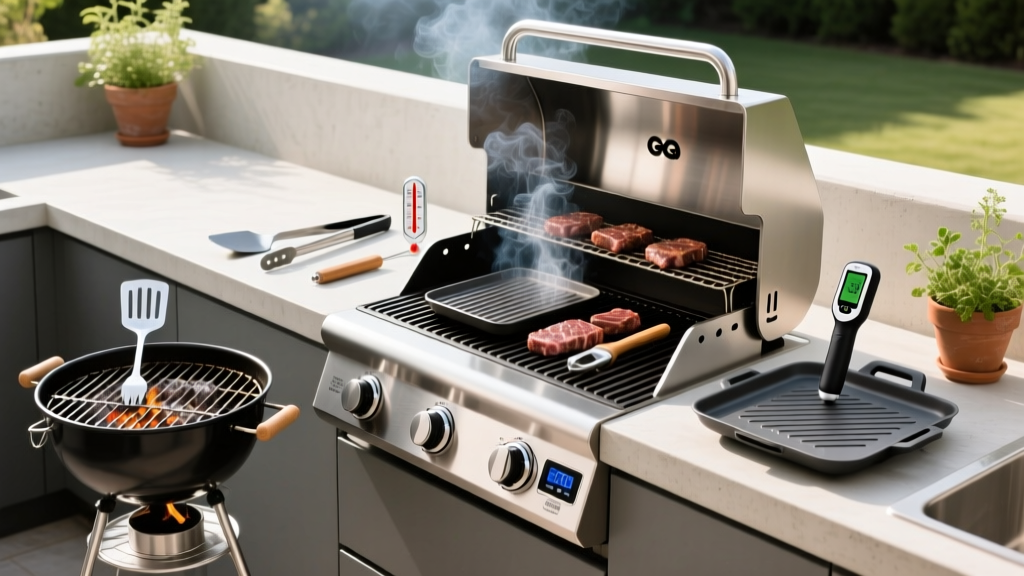
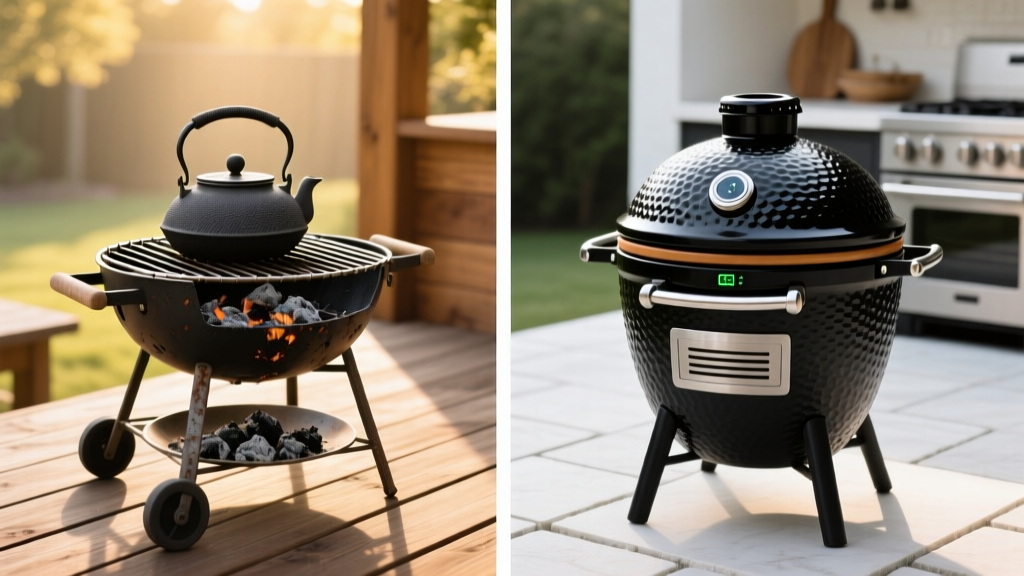
The Great Grill Divide: Where Do You Stand?
Walk into any big-box store in early spring, and you will be greeted by an aisle overflowing with brightly packaged bbq gadgets. From motorized rotisseries to novelty branding irons, the market is saturated with tools designed to separate novices from their hard-earned cash. But there is a massive chasm between the gear a beginner buys to flip a few burgers and the precision instruments an expert pitmaster relies on to execute a 14-hour brisket smoke.
The transition from a backyard novice to a seasoned griller is rarely about buying a more expensive grill; it is almost entirely about upgrading the ancillary tools you use to manipulate heat, meat, and fire. Many novice grillers fall into the trap of buying cheap, gimmicky bbq gadgets that fail mid-cook, while experts invest in high-thermal-mass, ergonomically sound equipment. In this guide, we break down the metallurgy, thermodynamics, and practical realities of beginner versus expert grilling gear, providing a clear roadmap for your next upgrade.
The Core Arsenal: A Side-by-Side Comparison
Before we dive into the science of why expert tools perform better, let us look at the fundamental differences in the core toolkit. The table below highlights the most common failure points of entry-level gear and the professional-grade solutions that replace them.
| Tool Category | Beginner Gadget (The Trap) | Expert Standard (The Upgrade) | Why It Matters |
|---|---|---|---|
| Tongs | 12-inch stamped steel with scalloped edges ($8) | Kuma Tools 18-inch Pro Tongs ($25) | Longer reach prevents radiant heat burns; flat tips preserve meat crusts. |
| Thermometer | Built-in lid dial thermometer ($0 - Included) | ThermoWorks Thermapen ONE ($105) | Lid dials measure air temp 3 inches above the grate, often off by 50°F+. |
| Spatula | Thin, flexible stainless steel with a wooden handle ($12) | GrillGrate Custom 17-inch Heavy-Duty Spatula ($35) | Thick steel prevents bending under the weight of a 16oz brisket point. |
| Fire Starter | Lighter fluid and paraffin cubes ($10) | Looftlighter X Electric Igniter ($99) | Zero chemical taint; achieves ignition in 60 seconds with pure hot air. |
Metallurgy and Build Quality: The Hidden Cost of Cheap Gear
When evaluating expert-level bbq gadgets, the focus shifts from novelty to material science. The vast majority of entry-level grilling tools are manufactured from 400-series stainless steel. While this metal is magnetic and relatively inexpensive to stamp, it contains lower levels of nickel and chromium. When exposed to the high humidity, acidic marinades, and intense heat of a grill environment, 400-series steel is highly susceptible to pitting and surface rust within a single season.
Expert tools, conversely, are typically forged from 300-series (specifically 304-grade) stainless steel. This alloy contains at least 18% chromium and 8% nickel, creating a passive oxide layer on the surface that makes it virtually impervious to rust and corrosion. When you pay $35 for an expert-grade spatula instead of $10 for a beginner one, you are not just paying for a brand name; you are paying for a tool that will not snap at the weld when you attempt to flip a heavy, bone-in Tomahawk ribeye.
Expert Insight: 'The handle attachment is where 90% of cheap BBQ tools fail. Look for full-tang construction where the steel of the tool extends all the way through the handle, secured by heavy-duty rivets rather than spot welds or glued-on plastic grips that will melt under high ambient heat.' — Adapted from tool testing methodologies at Serious Eats.
Thermodynamics: Guesswork vs. Precision
The single biggest differentiator between a beginner and an expert is how they manage temperature. Beginners rely on visual cues and the notoriously inaccurate bimetallic dial thermometers built into grill hoods. These dials measure the ambient air temperature at the very top of the dome, not the cooking surface. In a standard 22-inch kettle grill, the dome thermometer can read 75°F higher than the actual grate temperature where the meat sits.
The Beginner Approach: The Dome Dial and the Hand Test
Novices often use the 'hand test' (holding a hand over the grate to count seconds) to gauge heat. This is wildly inconsistent and dangerous. Furthermore, relying on the dome dial leads to the classic beginner mistake: constantly venting and choking the grill, causing massive temperature swings that dry out poultry and stall pork shoulders.
The Expert Approach: Grate-Level Probes and Instant Reads
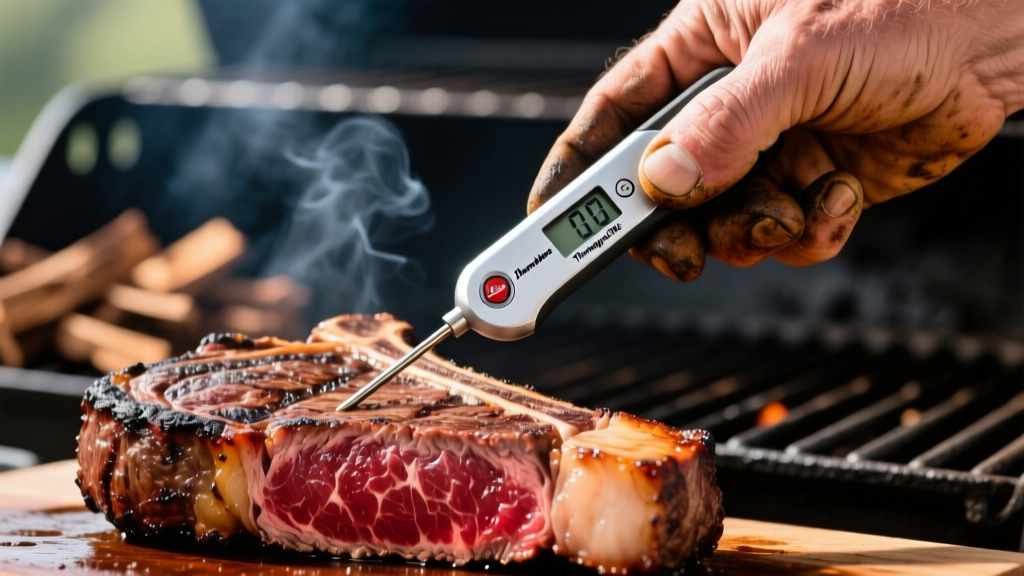
Experts understand that thermal accuracy is non-negotiable. They utilize dual-probe systems that monitor both the ambient grate temperature and the internal temperature of the protein simultaneously. For instant readings, the industry standard remains the ThermoWorks Thermapen ONE. It utilizes a thermocouple sensor rather than a cheap thermistor, delivering a highly accurate reading (±0.5°F) in just one second. This speed is critical when checking steaks over a 600°F direct-heat fire, as leaving the lid open for 10 seconds to wait for a slower digital thermometer will cause the grill's thermal mass to plummet.
Fire Management: Chemical Ignition vs. Thermal Control
How you start your fire dictates the flavor profile of your cook. Beginners frequently reach for liquid lighter fluid. This petroleum-based accelerant not only coats the meat in volatile organic compounds (VOCs) and soot, but it also creates an uncontrolled, explosive initial burn that makes temperature stabilization nearly impossible for the first 45 minutes of the cook.
Experts manage fire through airflow and thermal mass. The progression usually starts with a standard charcoal chimney, but true pitmasters often upgrade to forced-air electric starters. Gadgets like the Looftlighter X blast 1,100°F air directly into the charcoal pile, igniting a localized fire in 60 seconds without a single drop of chemicals. This allows the expert to build a 'minion snake' or a targeted two-zone fire with absolute precision, ensuring clean, blue smoke from the very first minute of the cook.
The BBQ Gadget Progression Framework
You do not need to drop $500 on your first day of grilling. Upgrading your bbq gadgets should follow a logical progression based on your cooking frequency and the complexity of the meats you are attempting. Use this framework to allocate your budget effectively.
Phase 1: The Backyard Novice (Budget: $50 - $100)
Goal: Establish baseline safety and prevent ruined meals.
Must-Have Gadgets:
- Weber Rapidfire Chimney Starter ($20): Eliminates the need for lighter fluid and provides a consistent measure of charcoal volume.
- ThermoWorks ThermoPop 2 ($35): A budget-friendly, highly accurate rotating instant-read thermometer to ensure chicken and pork are cooked to safe, non-dry temperatures.
- Basic 16-inch Spring-Loaded Tongs ($15): Look for a scalloped edge for grip, but ensure the spring tension is stiff enough to hold a 2lb pork chop.
Phase 2: The Weekend Warrior (Budget: $150 - $300)
Goal: Master two-zone cooking and indirect smoking.
Must-Have Gadgets:
- ThermoWorks Smoke X2 ($139): A leave-in probe system with a base station that allows you to monitor long smokes from the patio without hovering over the grill.
- Kick Ash Basket ($45): A heavy-duty steel basket that fits inside your kettle or Kamado, allowing you to easily separate unburned lump charcoal from ash, saving fuel and improving airflow.
- Heavy-Duty Welded Spatula ($35): Essential for safely maneuvering large cuts like Boston butts or whole packers.
Phase 3: The Pitmaster (Budget: $400+)
Goal: Automation, speed, and competition-level consistency.
Must-Have Gadgets:
- MEATER Plus Wireless Probe ($149): Completely wire-free probes that connect to your smartphone, utilizing cloud servers to send you alerts if your smoker temperature drops or your brisket hits the target pull temp.
- BBQ Dragon Fan System ($45+): A variable-speed blower that clips to your grill's bottom vent, controlled by a PID algorithm to hold your smoker at exactly 225°F for 16 hours straight.
- Thermal Insulating Welding Gloves ($40): Aramid-fiber gloves rated for 1,400°F, allowing you to physically grab and move hot grill grates or adjust burning logs without tools.
Final Verdict: Buy Nice or Buy Twice
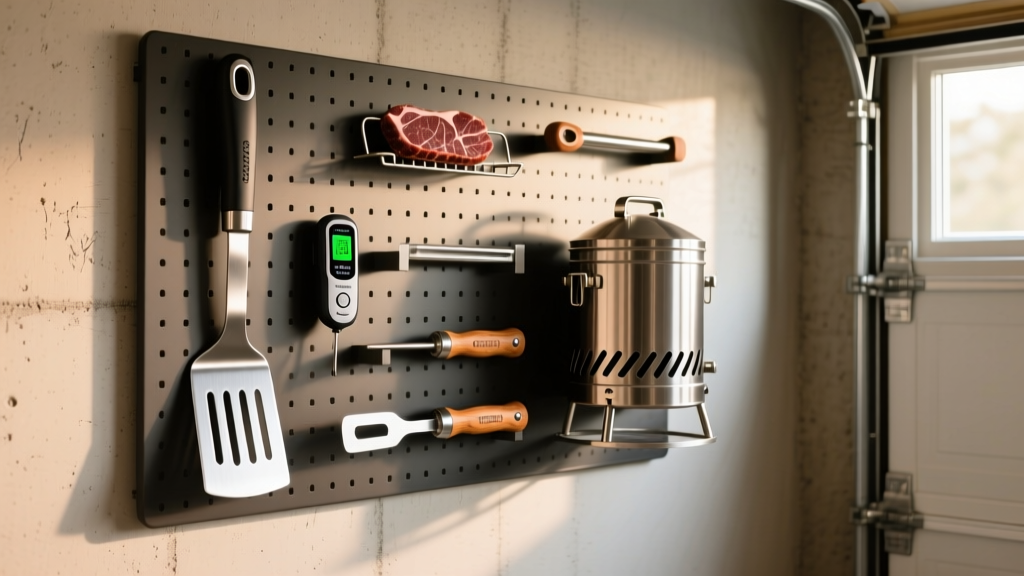
The world of bbq gadgets is filled with distractions. Motorized taco holders, laser-guided cutting boards, and app-connected salt shakers are marketing gimmicks designed to extract money from beginners who think technology can replace technique. True experts know that the best grilling gadgets are fundamentally simple, incredibly durable, and focused entirely on thermal management and physical leverage.
If you are currently relying on a fork to flip your steaks and the dome dial to tell you when your chicken is done, it is time to pivot. Start by investing in a high-quality instant-read thermometer and a proper charcoal chimney. Once you experience the difference that precision and clean fire make to your final product, the rest of the upgrades will naturally follow. Stop buying gadgets that end up in the landfill, and start investing in tools that will outlast your grill.
Written by
Priya SharmaPriya Sharma holds a Ph.D. in Acoustical Engineering from the University of Southampton and a B.Tech in Electronics from IIT Delhi. She has spent 9 years as a consumer electronics journalist, with deep specialization in audio equipment, camera systems, and assistive technology. Priya is an active member of the Audio Engineering Society (AES) and has co-authored papers on spatial audio perception published in the Journal of the Acoustical Society of America. Her reviews of headphones, portable DACs, and studio monitors include objective measurements using Audio Precision analyzers alongside subjective listening tests. She also serves on the advisory board of the Global Accessibility Reporting Initiative (GARI), evaluating mobile devices for users with visual and hearing impairments.