Best Gadget for Men 2026: Beginner vs Expert EDC Guide
Discover the best gadget for men in 2026 by comparing beginner hype with expert EDC choices. Learn which multi-tools, lights, and power banks deliver.
The "Spec Sheet" Trap: Where Beginners Go Wrong
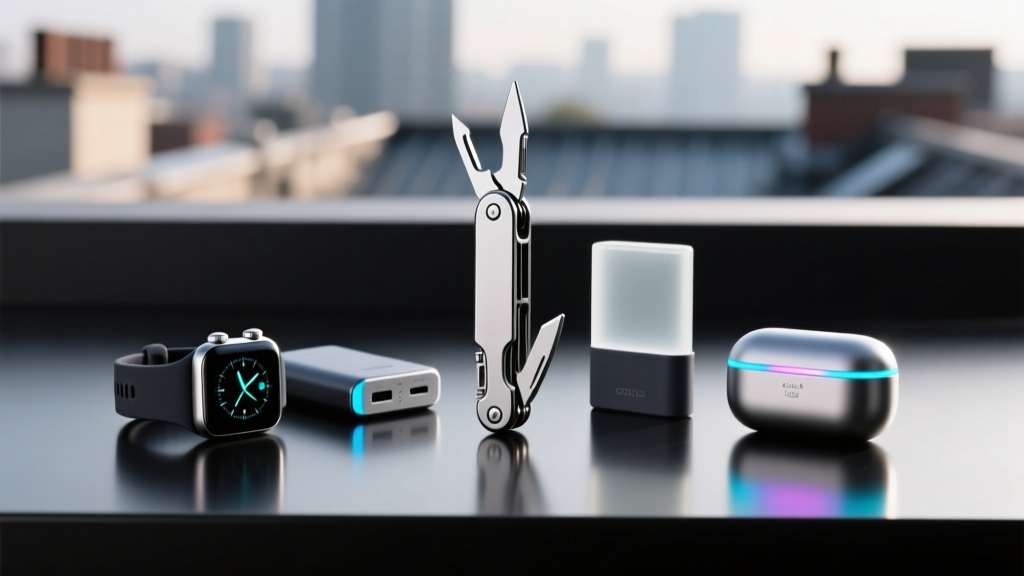
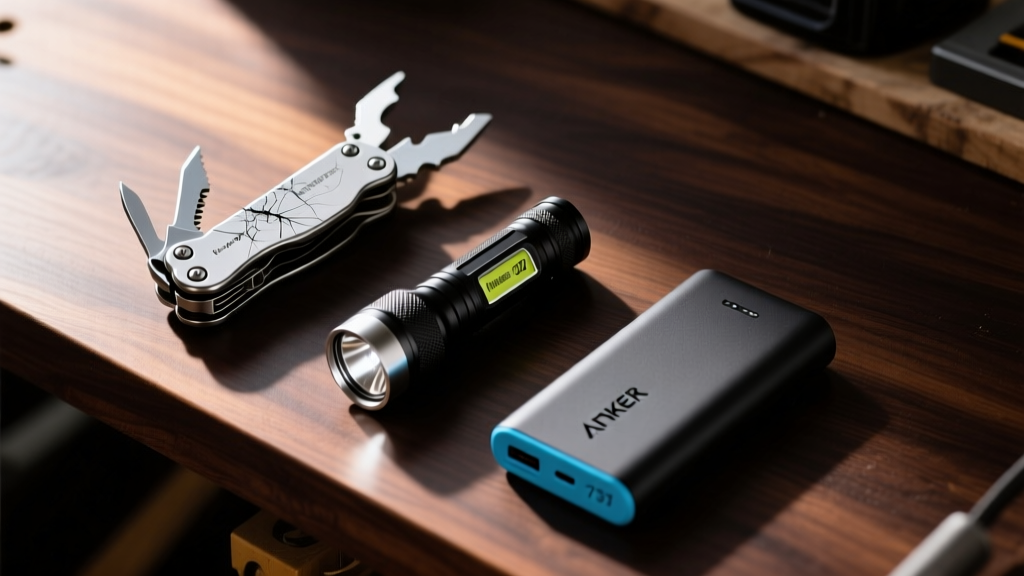
When guys first start building their everyday carry (EDC) or looking for the best gadget for men, they almost always fall into the spec sheet trap. Beginners optimize for maximum numbers: the highest lumen count, the most tools crammed into a single chassis, or the largest milliamp-hour (mAh) battery rating. Experts, however, optimize for entirely different metrics: thermal management, carry ergonomics, metallurgy, and charge cycles. The gap between a novice's Amazon wishlist and an expert's pocket dump is vast, and it usually comes down to a fundamental misunderstanding of real-world failure modes.
A beginner buys a 10,000-lumen tactical flashlight for $40, only to find it becomes too hot to hold after 45 seconds and steps down to 800 lumens. An expert buys a $70 light that sustains its output and features an OLED screen to monitor battery drain. This guide dissects the exact hardware choices that separate the hype from the reality in 2026.
The 2026 EDC Matrix: Hype vs. Reality
Before diving into the metallurgy and circuitry, here is a direct comparison of how beginners and experts approach the three core pillars of men's tech and utility gadgets.
| Category | Beginner Pick (The Hype) | Expert Pick (The Reality) | The Core Difference |
|---|---|---|---|
| Illumination | Generic 10,000 Lumen "Tactical" Torch ($35) | Nitecore EDC27 or Olight Warrior Mini 3 ($70-$90) | Thermal throttling and sustained output vs. peak 30-second bursts. |
| Multi-Tool | 30-in-1 Stamped Steel Monolith ($45) | Leatherman ARC or Surge ($150-$230) | Pivot tolerance, locking mechanisms, and premium steel (MagnaCut). |
| Power | 20,000mAh Brick with 18W USB-A ($25) | Anker Prime 27,650mAh or Sharge Storm2 ($130-$180) | USB-C PD 3.1, PPS protocol, and bidirectional fast charging. |
Illumination: Raw Lumens vs. Thermal Management
The most common mistake in beginner EDC lighting is chasing raw lumen numbers without understanding thermal step-down. When an LED is driven at 5,000+ lumens, it generates massive heat. In a compact aluminum or titanium body, that heat has nowhere to go. Cheap flashlights lack advanced thermal regulation, meaning the internal driver will aggressively slash the output to prevent the LED from burning out. You might buy a light advertised at 8,000 lumens, but you are only getting that output for roughly 40 seconds before it drops to a fraction of the rated power.
Why Experts Choose the Nitecore EDC27
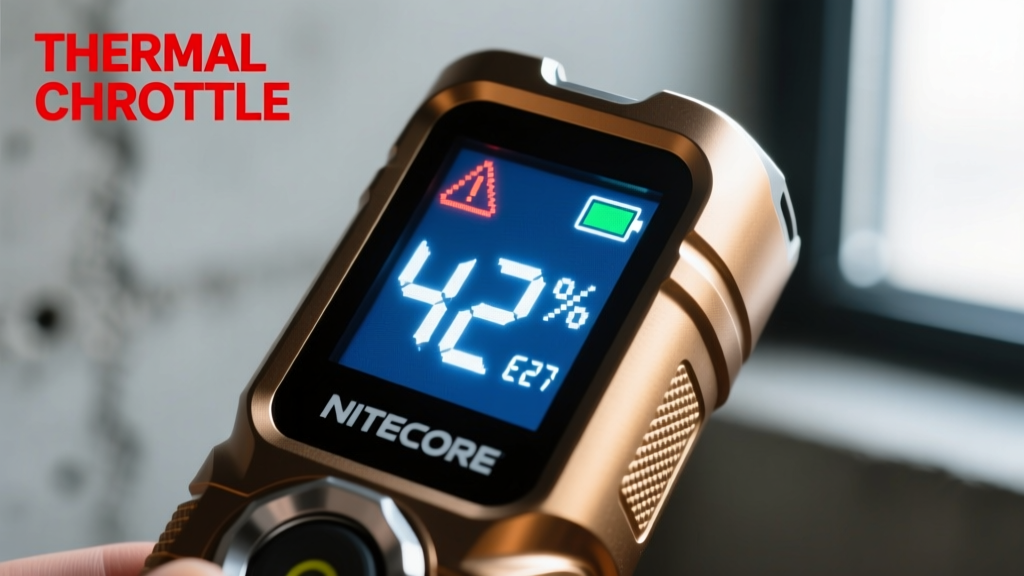
Experts gravitate toward tools like the Nitecore EDC27 (retailing around $70). Instead of relying on a single massive LED, it uses a dual-core laser-driven system paired with a high-efficiency reflector. More importantly, it features a built-in OLED display that provides real-time telemetry. You can see exactly how many lumens are currently being output, the remaining battery life in hours and minutes, and the internal temperature. If the light begins to thermally throttle, the screen tells you exactly why, removing the guesswork. According to extensive testing by flashlight enthusiasts on platforms like CandlePowerForums, the EDC27 sustains a highly usable 1,000-lumen output for over an hour without becoming too hot to hold, which is vastly more practical than a 45-second burst of blinding light.
Don't just look at lumens (total light output); look at candela (beam intensity). A beginner wants 5,000 lumens to flood a yard. An expert wants 15,000 candela to punch through fog, rain, or smoke at 200 meters. The best gadget for men in the lighting category balances both, offering a spill beam for peripheral vision and a hot spot for distance.
Multi-Tools: Stamped Steel vs. Forged Magnacut
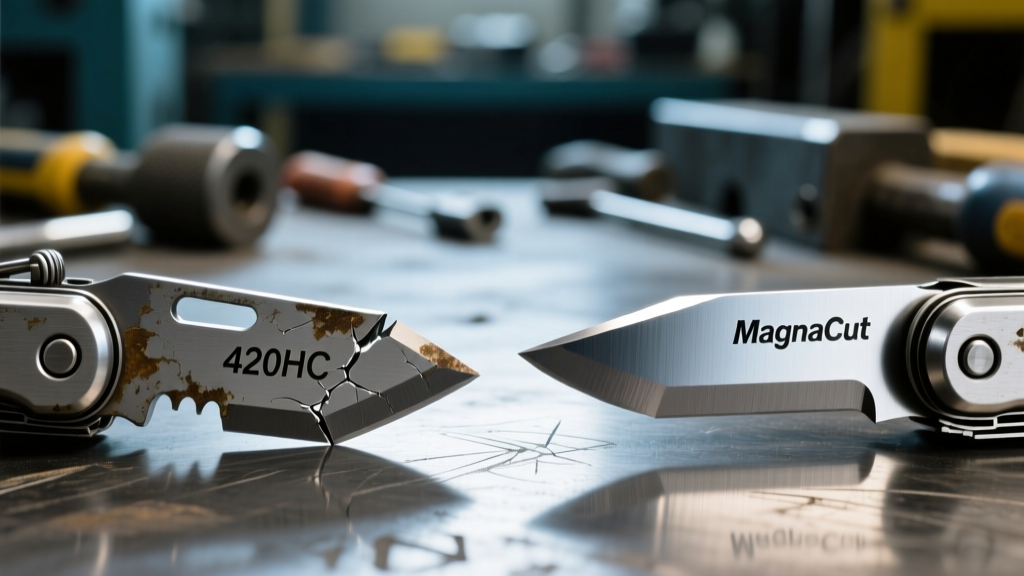
Multi-tools are the backbone of any practical EDC loadout. Beginners are easily swayed by the "more is better" philosophy, buying heavy, bulky tools with 30 different attachments, including niche items like a shoe scraper or a protractor. The reality of these budget tools is poor pivot tolerance, wobbly pliers, and blades made from soft 420HC or 3Cr13 stainless steel that dull after cutting a few pieces of cardboard.
Experts look at the Wirecutter's rigorous multi-tool testing and prioritize structural rigidity, one-handed deployment, and blade metallurgy. The current gold standard for high-end EDC is the Leatherman ARC ($230). The ARC is revolutionary because it is the first multi-tool to feature a blade made from MagnaCut steel.
The Metallurgy Advantage
MagnaCut is a powdered metallurgy steel originally designed for high-end pocket knives. It offers a rare trifecta: extreme edge retention, high toughness (resistance to chipping), and excellent corrosion resistance. A beginner's 420HC blade will require stropping or sharpening after a week of heavy use. The MagnaCut blade on the ARC will hold a working edge through months of cutting zip-ties, breaking down boxes, and stripping wire. Furthermore, the ARC uses a magnetic bit retention system and smooth, one-handed deployment for all major tools, eliminating the fingernail-breaking frustration of older designs.
"The transition to MagnaCut in multi-tools is the biggest leap in EDC metallurgy since the introduction of S30V to production knives. It completely eliminates the compromise between a blade that holds an edge and a blade that won't snap under lateral stress."
— Custom knife maker and metallurgy analyst, Larrin Thomas (KnifeSteelNerds)
Power Delivery: The USB-C PD 3.1 Bottleneck
Carrying a high-capacity power bank is useless if it takes four hours to charge your laptop or phone. Beginners buy power banks based solely on mAh capacity, ignoring the output protocol. A 20,000mAh brick with a standard 18W USB-C output will trickle-charge a modern smartphone and completely fail to charge a MacBook or high-end Windows laptop under load.
Understanding PPS and PD 3.1
Experts look for USB-C Power Delivery (PD) 3.1 and PPS (Programmable Power Supply) compatibility. According to the USB Implementers Forum (USB-IF), PD 3.1 allows for up to 240W of power transfer, but the real magic for EDC is PPS. PPS allows the power bank and the device to negotiate the exact voltage and current needed in real-time, drastically reducing heat generation during the charge cycle.
The Anker Prime 27,650mAh Power Bank (250W) is a prime example of expert-tier power management. It features a smart digital display showing exact input/output wattage and battery health. More importantly, it utilizes dual USB-C ports that can output 140W and 100W simultaneously. This means you can fast-charge a 16-inch MacBook Pro and a flagship smartphone at their maximum native charging speeds at the exact same time, a feat impossible for beginner-grade power bricks.
An expert power bank is only as good as its cable. If you pair a 140W PD 3.1 power bank with a standard 3A USB-C cable, the system will default to 60W for safety. You must use a 5A, E-marker certified USB-C cable (usually included with premium power banks) to unlock wattages above 60W.
Decision Framework: Building Your 2026 Loadout
If you are upgrading from beginner gear to expert-level tools, do not replace everything at once. Use this budget allocation framework to maximize your ROI:
- Phase 1: Illumination ($70 - $100). Upgrade your flashlight first. The safety and utility of a reliable, thermally stable light source yield immediate daily returns. Look for OLED displays and High CRI (Color Rendering Index) emitters for accurate color perception in the dark.
- Phase 2: Power Infrastructure ($130 - $180). Move to a PD 3.1 power bank with a digital display. Ensure you buy the correct 5A E-marker cables to support the wattage. This eliminates the anxiety of dead laptops and phones during travel or field work.
- Phase 3: The Primary Blade ($150 - $250). Finally, invest in a premium multi-tool with modern steel (MagnaCut, S35VN, or CPM-154). The upfront cost is high, but the tool will outlast you and can be passed down as an heirloom.
The Final Verdict
Finding the best gadget for men is not about buying the most expensive item or the one with the longest list of features on the box. It is about understanding the engineering constraints of portable technology. Beginners buy specs; experts buy sustained performance, premium materials, and intelligent thermal and electrical management. By shifting your focus from raw numbers to real-world reliability, your everyday carry will transform from a heavy pocket burden into a highly efficient, professional toolkit.
Written by
David OkaforDavid Okafor is an ASE (Automotive Service Excellence) Master Certified Technician with 15 years of professional experience in vehicle diagnostics, aftermarket electronics installation, and fleet management. He holds an Associate Degree in Automotive Technology from Universal Technical Institute and certifications in mobile electronics (MECP Certified Installer). David has installed and reviewed over 800 car tech products — from OBD2 scanners and dash cams to full infotainment system retrofits — in vehicles ranging from economy compacts to luxury SUVs. His popular YouTube channel "AutoTech David" has over 150,000 subscribers and features detailed installation tutorials and product teardowns. He is a regular contributor to the SEMA Show's aftermarket technology showcase and advises two automotive tech startups on product development.