Beyond the PDF Gadget Manual: Custom Mechanical Keyboards Guide
Discover the ultimate 2026 buyer's guide for custom mechanical keyboards and macro pads. Learn about HE switches, QMK PCBs, and gasket mounts.
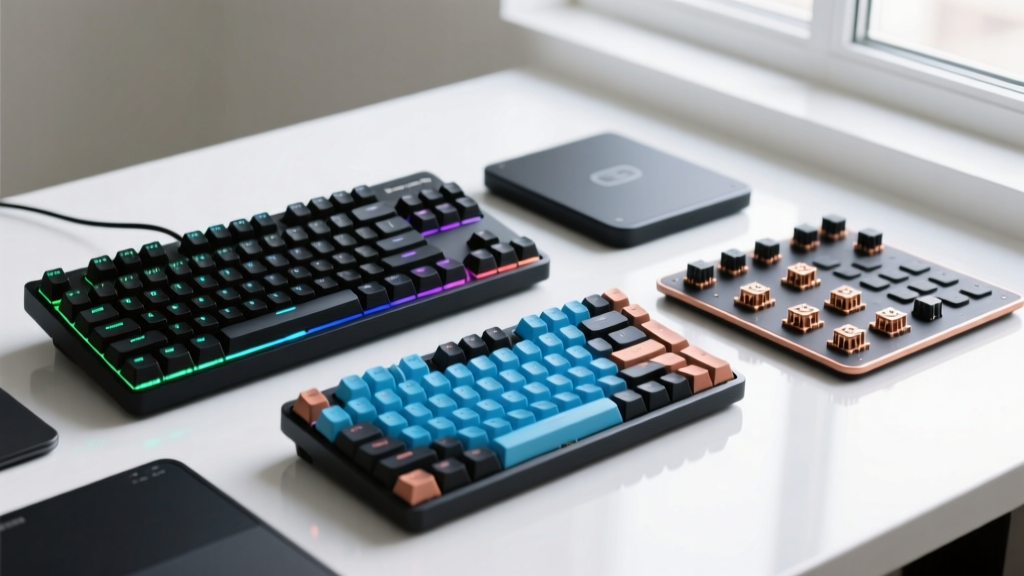
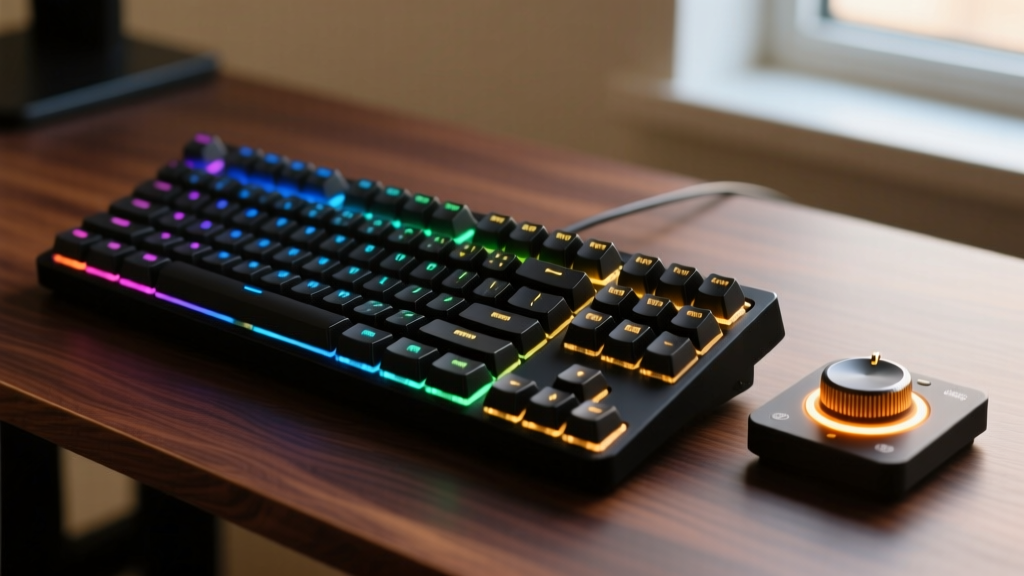
The world of custom input devices has evolved far beyond simple membrane boards and off-the-shelf gaming peripherals. In 2026, building a custom mechanical keyboard or a dedicated macro pad is a blend of acoustic engineering, ergonomic science, and firmware programming. While many beginners start their journey by downloading a generic PDF gadget schematic or a basic wiring diagram from a forum, true enthusiasts know that crafting the perfect input device requires a much deeper understanding of hardware synergies, actuation curves, and mounting styles.
Whether you are a competitive gamer looking for the sub-millisecond response of Hall Effect (HE) switches, a video editor needing a tactile rotary dial, or a programmer seeking the perfect thock from a gasket-mounted 65% layout, this comprehensive buyer’s guide will walk you through the exact components, costs, and configurations you need to build your ultimate setup.
The 2026 Landscape: Hall Effect and Rapid Trigger
If you are still relying on traditional physical contact switches for gaming, you are leaving performance on the table. The defining trend of the mid-2020s is the mass adoption of Hall Effect (HE) magnetic switches. Unlike mechanical switches that rely on a metal leaf making physical contact, HE switches use magnets and sensors to detect the exact depth of the keypress.
This enables Rapid Trigger technology—a feature that resets the switch the moment you lift your finger, rather than waiting for it to pass a fixed physical reset point. Devices like the Wooting 80HE have set the gold standard, but the custom market has caught up. Barebone HE kits from brands like DrunkDeer and Keychron now allow you to build your own magnetic keyboards with full QMK/VIA support, combining the raw speed of 8KHz polling rates with the acoustic customization of the hobbyist scene.
Switch Selection: The Heart of Your Input Device
Choosing the right switch dictates the sound, feel, and performance of your build. In 2026, the market is split between high-end tactile mechanical switches and precision magnetic switches. Below is a comparison of the top enthusiast switches currently dominating the market.
| Switch Model | Type | Actuation / Bottom-Out | Price (per 10) | Best Use Case |
|---|---|---|---|---|
| Gateron Magnetic Jade | Hall Effect (Linear) | Variable / 50g | $4.50 | Competitive Gaming (Rapid Trigger) |
| Gazzew Boba U4T | Mechanical (Tactile) | 45g / 62g | $6.50 | Typing & Programming (Deep Thock) |
| Cherry MX2A Linear | Mechanical (Linear) | 45g / 55g | $5.00 | Office & Mixed Use (Smooth & Reliable) |
| KTT Wine Red | Mechanical (Linear) | 43g / 50g | $2.20 | Budget Builds (Deep, Muted Sound) |
Pro Tip: If you are building an HE board, ensure your PCB specifically supports 0.1mm actuation adjustments via software. Buying magnetic switches for a standard hot-swap PCB will result in non-functional keys.
Plate Materials and Mounting Styles
The way your PCB and switches are suspended inside the keyboard case drastically alters the typing experience. The era of rigid, top-mounted aluminum trays is over for typists seeking comfort and premium acoustics.
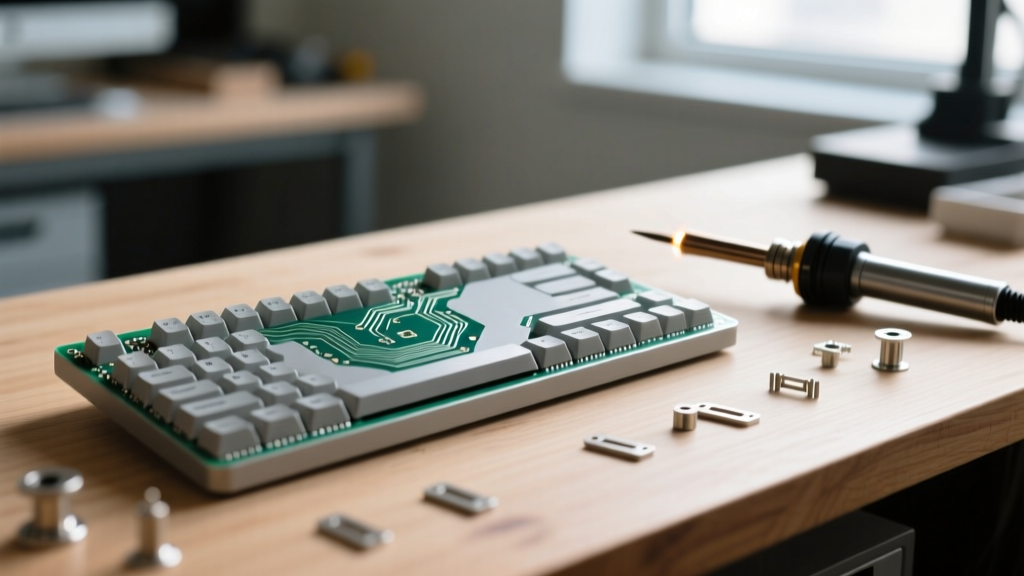
The Gasket Mount Standard
Gasket mounting sandwiches the keyboard plate between strips of PORON foam, isolating it from the hard case. This provides a cushioned, flexible typing feel. However, the plate material dictates how that flex behaves:
- Flex-Cut FR4 ($25 - $35): The current enthusiast favorite. It offers a deep, resonant "thock" and moderate flex. The fiberglass material naturally dampens high-pitched frequencies.
- POM ($30 - $45): A semi-flexible plastic that yields a very soft typing feel and a muted, marbly sound profile. Excellent for linear switches.
- Polycarbonate (PC) ($20 - $30): Highly flexible and produces a higher-pitched, clacky sound. Best paired with tactile switches to balance the acoustic profile.
Beyond the Keyboard: Custom Macro Pads and Dials
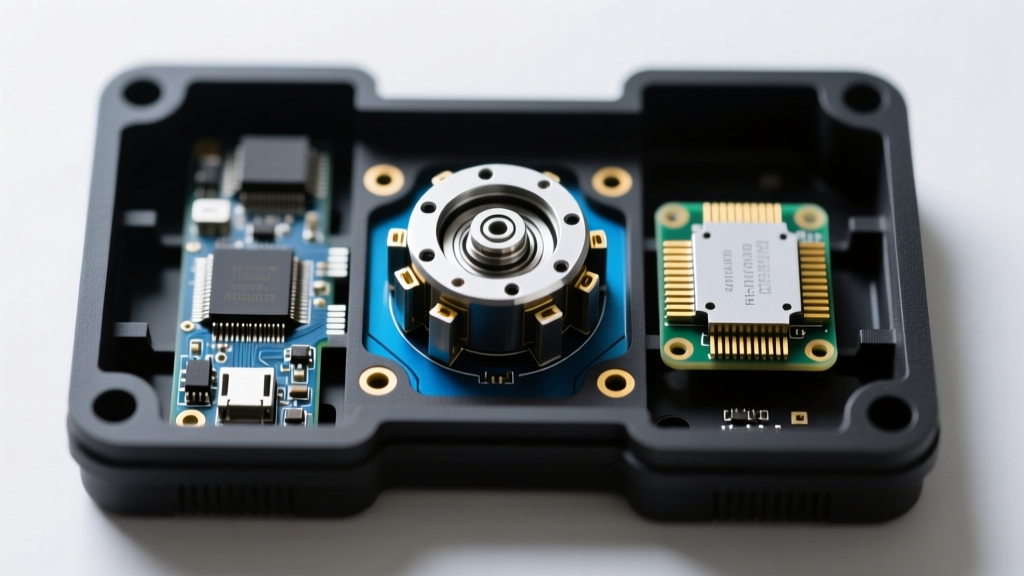
A custom mechanical keyboard is only half the battle for power users. Dedicated macro pads and rotary input devices have become essential for digital artists, CAD engineers, and video editors. Instead of relying on a standard PDF gadget cheat sheet to remember complex software shortcuts, you can map entire macro sequences to a single dial or button.
Top Custom Input Devices for Productivity
- TourBox Elite ($169): While not a traditional mechanical pad, its combination of a scroll wheel, dial, and convex buttons is unmatched for Adobe Lightroom and Blender workflows. Its haptic feedback motor provides physical notches when scrolling through timelines.
- Custom QMK Macro Pads ($40 - $120): Sites like Thocstock and various Etsy creators sell 3D-printed or CNC-machined 6-key to 12-key macro pads with rotary encoders. Running on open-source firmware, you can program a single dial to adjust brush size in Photoshop while the button acts as a layer toggle.
- Stream Deck Pedal ($99): Often overlooked, foot pedals mapped via QMK or proprietary software allow editors to play/pause timelines or toggle push-to-talk without taking their hands off the keyboard and mouse.
Budgeting Your Build: Real 2026 Pricing
Building a custom keyboard is an investment. To help you plan, here is a realistic budget breakdown for a premium 65% custom mechanical build in 2026. Prices reflect the current enthusiast market, excluding shipping and group-buy wait times.
| Component | Example Product | Estimated Cost |
|---|---|---|
| Barebones Kit (Case, PCB, Foam) | Mode Sonnet or QK65 | $160 - $220 |
| Switches (70 units) | Gazzew Boba U4T | $45 - $55 |
| Keycaps (PBT Dye-Sub or Doubleshot) | GMK Botanical or MT3 Susuwatari | $90 - $140 |
| Stabilizers | Staebies or OwLab V2 | $18 - $25 |
| Lube & Modding Tools | Krytox 205g0, Switch Puller | $20 - $30 |
| Total Estimated Cost | Complete 65% Build | $333 - $470 |
Firmware Flashing: QMK vs. ZMK
Hardware is useless without the right software brain. In 2026, the custom input space is dominated by two open-source firmware ecosystems:
QMK (Quantum Mechanical Keyboard)
The undisputed king of wired custom keyboards. QMK allows for infinite customization, including complex macros, tap-dances, and RGB matrix control. You can browse the QMK Firmware Repository on GitHub to find the exact C-code configurations for thousands of community-designed PCBs. The learning curve is steep, but the VIA web interface has made real-time key remapping accessible to non-coders.
ZMK Firmware
If you are building a wireless custom board (like a Corne or Sweep split keyboard), ZMK is the standard. Built on the Zephyr RTOS, ZMK offers incredible power efficiency over Bluetooth Low Energy (BLE). A well-tuned ZMK split keyboard can run for 3 to 6 months on a single set of 110mAh LiPo batteries.
Frequently Asked Questions (FAQ)
Do I need to solder to build a custom keyboard?
No. In 2026, 95% of enthusiast PCBs feature "hot-swap" sockets (usually Kailh or Gateron). These allow you to push switches directly into the PCB using a simple metal extraction tool. Soldering is only required if you are building a niche ortholinear board, adding custom RGB strips, or working with a budget barebones kit that lacks hot-swap functionality.
What is "Rapid Trigger" and is it worth the upgrade?
Rapid Trigger allows a key to reset the moment it moves upward, even by 0.1mm, rather than waiting to cross a fixed actuation point. For competitive FPS gamers playing titles like Valorant or Counter-Strike 2, it provides a measurable advantage in counter-strafing. For typists, however, it can cause accidental double-taps if the sensitivity is set too high.
How do I tune my stabilizers to eliminate rattle?
Stabilizer rattle ruins the sound of a custom build. The golden standard for tuning is the "Holee Mod" (applying a tiny strip of medical tape to the stem housing) combined with dielectric grease on the metal wire. Finish by lightly lubricating the stem with Krytox 205g0. This process takes about 45 minutes for a full board but transforms a rattling spacebar into a solid, deep thud.
Building a custom mechanical keyboard or macro pad is a deeply personal endeavor. By looking past basic documentation and understanding the physics of your switches, the acoustics of your plate, and the power of your firmware, you can create an input device that is perfectly tailored to your hands and your workflow.
Written by
Sarah KimSarah Kim holds certifications from both NASM (National Academy of Sports Medicine) and ACE (American Council on Exercise), along with a B.S. in Kinesiology from UCLA. She has spent 7 years bridging the gap between exercise science and consumer technology, evaluating fitness trackers, smart scales, sleep monitors, and recovery devices with clinical precision. Sarah has tested over 200 health-focused wearables in controlled lab settings and real-world training environments, comparing device data against gold-standard medical equipment like ECG monitors and DEXA scans. She consults for three fitness app companies on data accuracy standards and has presented research on wearable reliability at the American College of Sports Medicine (ACSM) annual conference. Her reviews emphasize clinical validity over marketing claims.