How to Set Up the Best Office Gadgets for Maximum Productivity
Learn how to integrate and set up the best office gadgets in your home workspace. Follow our step-by-step tutorial for ergonomic and tech optimization.
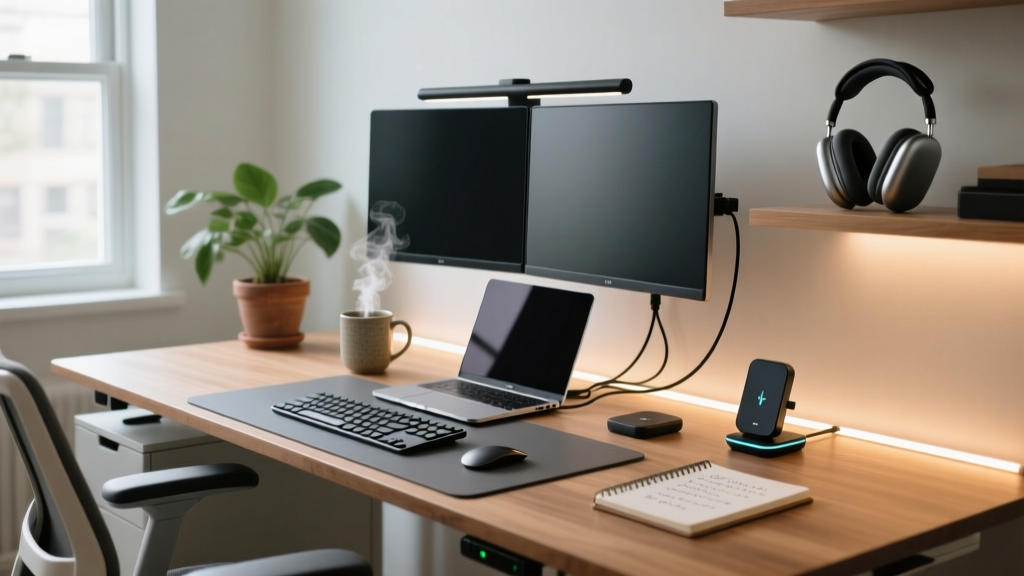
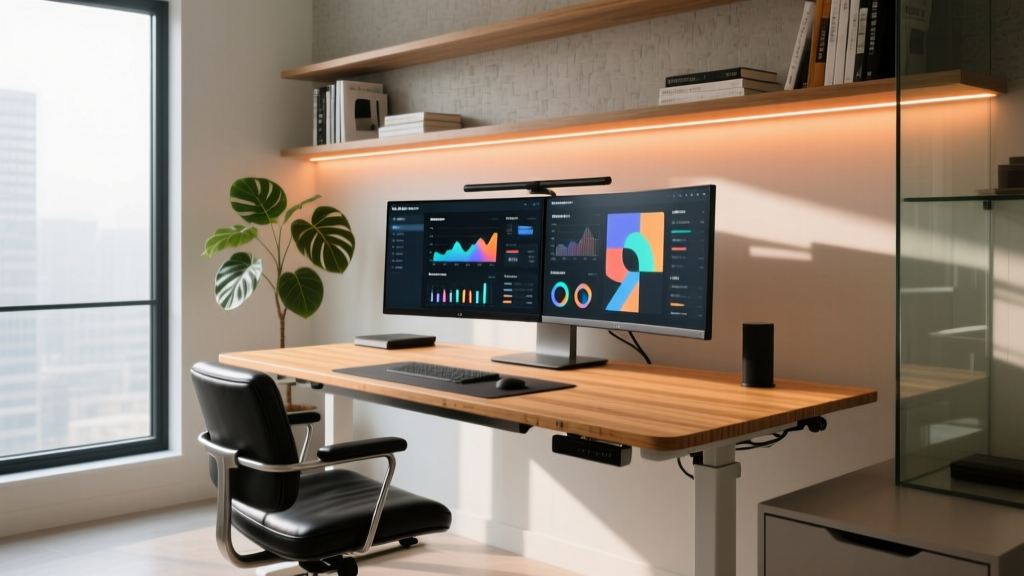
As we navigate the hybrid work landscape of 2026, the definition of a productive workspace has evolved far beyond a simple laptop on a kitchen table. Today, building a high-performance home office requires a strategic synthesis of ergonomics, smart automation, and precision hardware. However, simply purchasing the best office gadgets is only half the battle; the true return on investment comes from meticulous calibration and setup.
In this comprehensive tutorial, we will walk you through the exact measurements, placement strategies, and software routines required to transform a pile of premium tech into a cohesive, fatigue-free productivity engine. Whether you are upgrading your current desk or building a new command center from scratch, this guide provides the actionable frameworks you need.
Phase 1: The Ergonomic Foundation and Smart Desk Calibration
The centerpiece of any modern workspace is an adjustable smart desk. For this setup, we are utilizing the Uplift V2-Commercial, a staple in high-end home offices due to its 355-pound lifting capacity and rapid 1.5-inch-per-second adjustment speed. But a smart desk is only effective if calibrated to your specific biomechanics.
Step 1: Establishing Your Biometric Presets
According to the Cornell University Ergonomics Research Group, the ideal desk height is dictated by your elbow resting angle, not your overall height. Follow these steps to program your desk's memory keypad:
- Sitting Posture (Preset 1): Sit in your chair with your feet flat on the floor (or on a footrest). Bend your elbows to exactly 90 degrees. Measure the distance from the floor to your elbow. For a user who is 5'9", this typically translates to a desk height of 28.5 to 29.5 inches. Press and hold '1' on the keypad to save.
- Standing Posture (Preset 2): Stand up wearing your standard work shoes. Again, bend your elbows to 90 degrees. For the same 5'9" user, the optimal standing height is usually between 41.5 and 42.5 inches. Save this to Preset '2'.
- Anti-Fatigue Mat Integration: Place the Ergodriven Topo Mat at the base of the desk. Its terraced edges encourage micro-movements, reducing lower back strain by up to 40% during standing intervals.
Expert Insight: Set your smart desk's built-in timer to remind you to change positions every 45 minutes. Alternating between sitting and standing at a 2:1 ratio (30 minutes sitting, 15 minutes standing) is proven to mitigate the cardiovascular risks associated with sedentary work.
Phase 2: Visual Real Estate and Precision Lighting
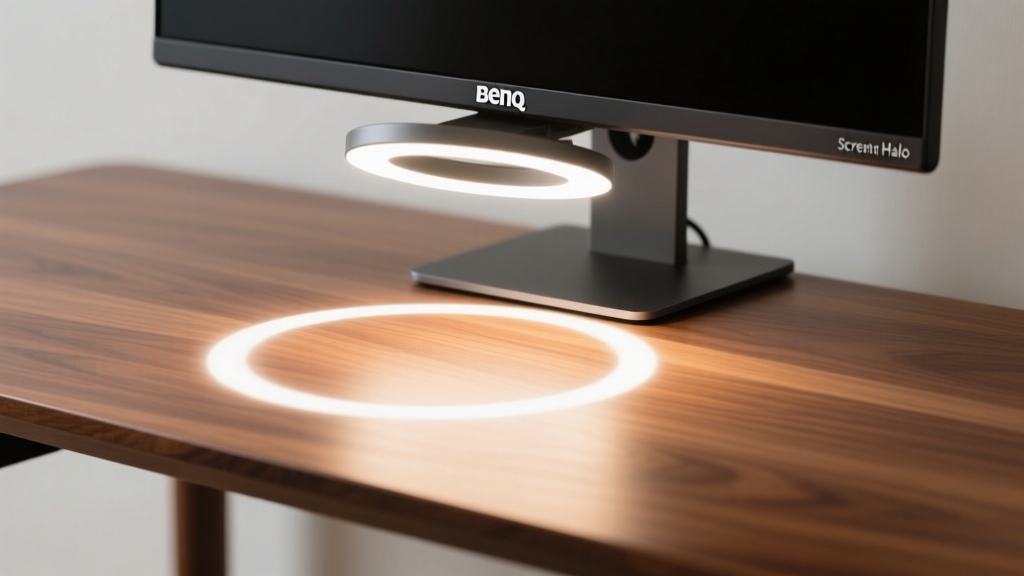
Staring at a screen for eight hours requires careful management of focal distances and ambient light to prevent Computer Vision Syndrome (CVS). We recommend pairing the Dell U3423WE 34-inch Ultrawide with the Ergotron HX Dual Monitor Arm and the BenQ ScreenBar Halo.
Step 2: Monitor Arm Torque and Focal Distance
The Ergotron HX is a heavy-duty arm capable of holding up to 42 lbs, but it requires precise tension adjustment to prevent your monitor from slowly drooping throughout the day.
- Tension Calibration: Using the included hex key, turn the tension screw clockwise until the monitor stays perfectly level when you let go. For the 14 lb Dell U3423WE, this is usually about 6 to 8 full rotations past the initial resistance point.
- Focal Distance: Position the center of the screen exactly 22 to 26 inches from your eyes (roughly an arm's length away).
- Vertical Alignment: The top bezel of the monitor should be exactly at or slightly below your seated eye level, forcing a slight 15-degree downward gaze, which reduces tear evaporation and dry eyes.
Step 3: Automating Task and Bias Lighting
Lighting is the most overlooked aspect of workspace setup. The Illuminating Engineering Society (IES) recommends a target of 500 lux on the desk surface for reading and paperwork, while screen viewing requires lower ambient light to prevent glare.
- Task Lighting: Mount the BenQ ScreenBar Halo on top of your monitor. Use the wireless dial to set the auto-dimming sensor. Ensure the asymmetric optical engine is angled downward so the light hits your keyboard and documents without casting a single lumen onto the screen itself.
- Bias Lighting: Attach a Govee Glide Hexa Pro light panel setup to the wall directly behind your monitor. Sync it to a warm white (3500K) at 20% brightness. This reduces the pupillary strain caused by the high contrast between a bright screen and a dark wall.
Phase 3: Audio Isolation and AI Communication
In 2026, AI-driven audio processing has made dedicated DSP microphones and soundbars essential for remote collaboration. The AnkerWork B600 Video Conference Soundbar is our top pick for its 4-mic array and AI noise cancellation.
Step 4: Positioning for Beamforming Accuracy
Unlike omnidirectional mics, the B600 uses beamforming to isolate your voice. To maximize this technology:
- Place the soundbar exactly 24 inches (2 feet) directly in front of you, centered below your monitor.
- Angle the device slightly upward toward your mouth using the built-in kickstand.
- In the AnkerWork software, set the AI Noise Gate threshold to -40dB. This will successfully filter out the sound of mechanical keyboard switches (like the Cherry MX Browns) and HVAC hum, while letting your voice pass through crystal clear.
The Ultimate Gadget Placement & Calibration Matrix
To ensure you don't miss any critical measurements, refer to this quick-setup matrix before finalizing your workspace:
| Gadget Category | Recommended Model | Optimal Placement / Measurement | Calibration Metric |
|---|---|---|---|
| Smart Desk | Uplift V2-Commercial | Floor to 29.5" (Sit) / 42.5" (Stand) | Elbow rest at exactly 90° |
| Monitor Arm | Ergotron HX | 22-26" from eyes | Top bezel at seated eye level |
| Task Lighting | BenQ ScreenBar Halo | Centered on top monitor bezel | 500 lux on desk surface |
| Conference Audio | AnkerWork B600 | 24" from user, centered | AI noise gate at -40dB |
| Power Delivery | Anker Prime 100W GaN | Mounted under desk, 12" from edge | Output split: 65W Laptop / 35W Phone |
Phase 4: Cable Management and Power Delivery
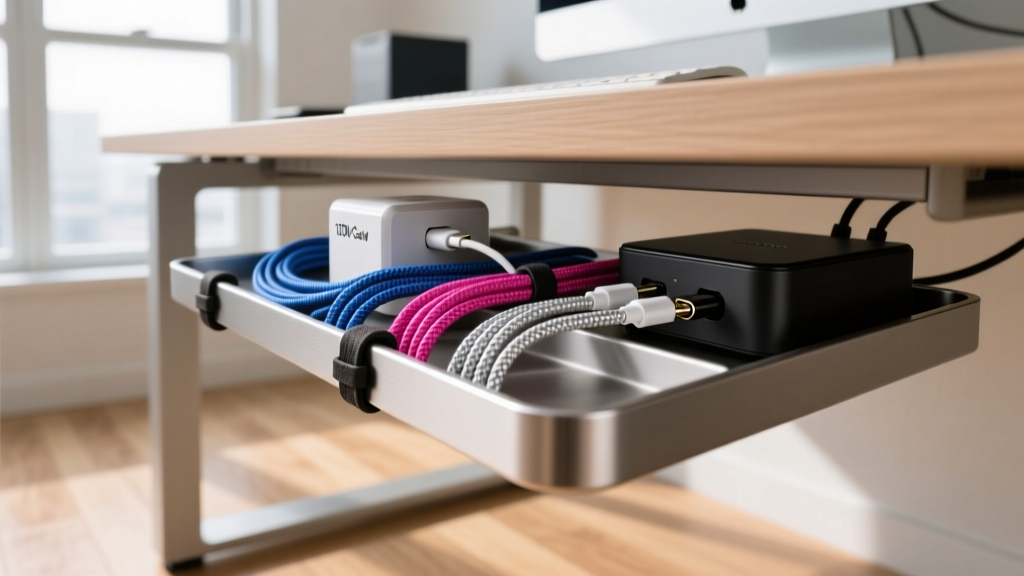
A cluttered desk leads to a cluttered mind. The final step in setting up the best office gadgets is eliminating visual noise through strategic power routing.
Step 5: Implementing a GaN and Tray System
Ditch the massive power bricks that came with your devices. Instead, utilize a high-density Gallium Nitride (GaN) charger like the Anker Prime 100W Wall Charger.
- Under-Desk Routing: Install a Eveo Cable Management Tray (120V rated) directly beneath the back edge of your desk. Secure it using the pre-drilled pilot holes to avoid splitting the desktop.
- The Single-Cable Dream: Run a single 100W USB-C braided cable from the GaN charger up through a desk grommet to your laptop. This provides full power delivery while simultaneously handling data if connected via a Thunderbolt 4 hub.
- Velcro Ties over Zip Ties: Use reusable Velcro cable wraps to bundle excess slack. This allows you to easily adjust monitor arm heights without ripping out permanent zip ties.
Frequently Asked Questions (FAQ)
Do I need a dual monitor setup, or is an ultrawide better for productivity?
For most knowledge workers in 2026, a 34-inch or 38-inch ultrawide (like the Dell U3423WE) is superior to dual monitors. It eliminates the central bezel gap, allowing you to snap three windows side-by-side seamlessly. It also requires only one monitor arm and one power cable, drastically simplifying your setup.
How often should I recalibrate my ergonomic setup?
You should perform a full recalibration every 6 months, or whenever you change your primary desk chair, footwear, or monitor size. Small shifts in your seating position can drastically alter the required desk height and monitor arm tension.
Can smart home gadgets integrate with my office equipment?
Absolutely. By using a Philips Hue Bridge or Matter-compatible smart plug, you can create an 'Office Mode' routine. For example, tapping a single Elgato Stream Deck button can raise your smart desk to standing height, turn your bias lights to 5000K daylight, and activate your AnkerWork soundbar's Bluetooth pairing simultaneously.
Conclusion
Integrating the best office gadgets into your home workspace is an exercise in precision. By treating your desk height, monitor distance, lighting lux levels, and audio beamforming as exact science rather than arbitrary guesswork, you unlock the true potential of your hardware. Take the time to measure, calibrate, and route your setup using the frameworks provided above, and you will build a 2026-ready command center that actively protects your health while maximizing your daily output.
Written by
Marcus WebbMarcus Webb served as a U.S. Army logistics officer for 8 years, where he managed field equipment procurement and tactical gear evaluation across three combat deployments. After honorable discharge, he earned a certification from the Professional Knife Makers Association and became a certified Wilderness First Responder (WFR). Marcus has tested over 500 EDC products in extreme environments — from -40°F in Alaska to 120°F in the Mojave Desert — using military-spec testing protocols. His reviews of multi-tools, tactical flashlights, and survival gear are known for their rigorous methodology: controlled drop tests from 6 feet, 120-minute water submersion at 2 meters, and lateral torque testing at 45 Nm. He is a member of the Blade Show judging panel and contributes to OutdoorGearLab.