Go Gadget Go: The Ultimate Mini PC Setup Tutorial
Learn how to build, configure, and optimize mini PCs and single-board computers. Our step-by-step setup tutorial ensures peak compact desktop performance.
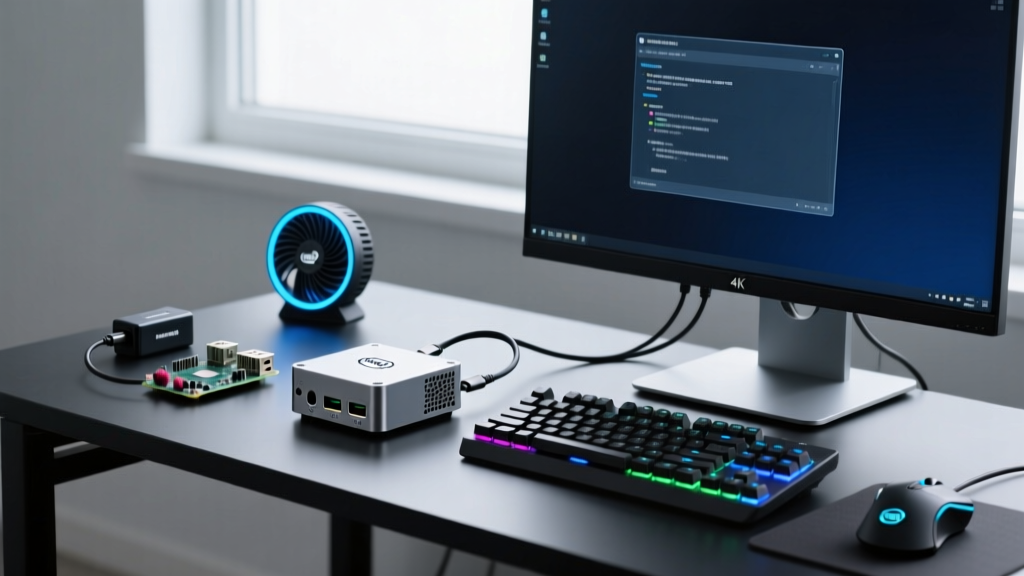
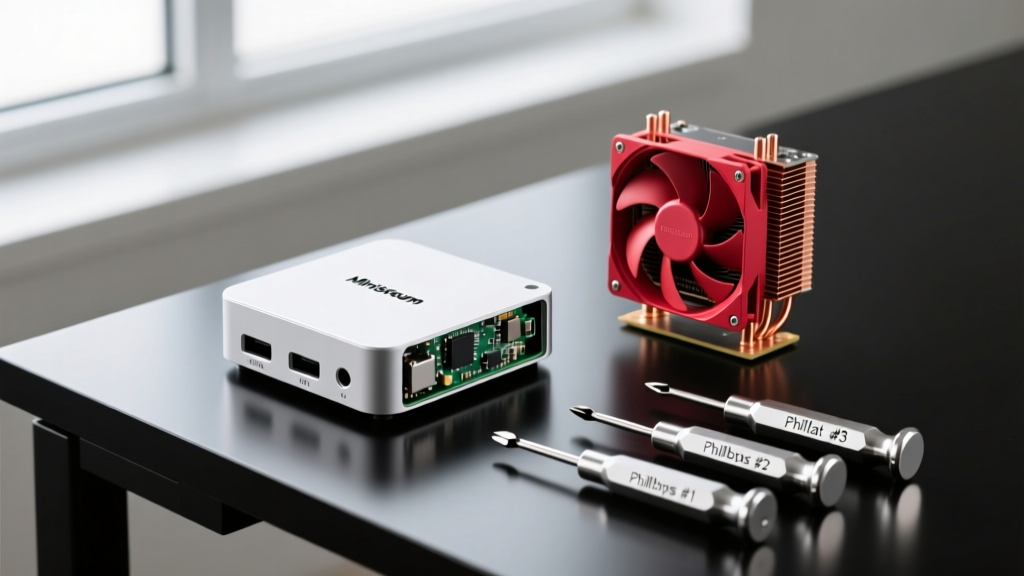
When you are finally ready to ditch the massive mid-tower chassis, clear off your desk, and say go gadget go, transitioning to a mini PC or Single-Board Computer (SBC) requires a fundamental shift in how you approach computing. Compact desktops have evolved from underpowered media streamers into AI-accelerated workhorses. As of 2026, with the integration of dedicated Neural Processing Units (NPUs) and PCIe Gen 4.0 storage in sub-liter chassis, the performance-to-size ratio has never been more compelling. However, the physical constraints of these devices mean that assembly, thermal management, and OS deployment require meticulous attention to detail. This comprehensive setup tutorial will guide you through building, flashing, and optimizing the ultimate compact desktop.
Hardware Selection: Mini PCs vs. Single-Board Computers
Before reaching for your precision screwdriver set, you must select the right foundation for your build. The market is currently dominated by three distinct architectures, each catering to different enthusiast use cases. Below is a comparison of the top-tier compact options available this year.
| Feature | Minisforum UM790 Pro | Raspberry Pi 5 (8GB) | Intel NUC 14 Pro |
|---|---|---|---|
| CPU / SoC | AMD Ryzen 9 7940HS | Broadcom BCM2712 (Arm Cortex-A76) | Intel Core Ultra 7 155H |
| Base Price | ~$550 (Barebone) | ~$80 (Board Only) | ~$650 (Barebone) |
| TDP Range | 35W - 54W | 5W - 12W | 15W - 28W |
| Max RAM | 64GB DDR5-5600 (SO-DIMM) | 8GB LPDDR4X (Soldered) | 96GB DDR5-5600 (SO-DIMM) |
| Best For | Emulation, Heavy Multitasking | Home Assistant, IoT, Linux Tinkering | AI Workloads, Proxmox, Office |
For enthusiasts building a homelab or routing server, the Raspberry Pi 5 remains the undisputed king of low-power SBCs. However, if you need raw multi-threaded performance for local LLM inference or heavy Docker containerization, the Intel NUC 14 Pro or AMD-based Minisforum units are mandatory. For a deeper dive into current market leaders, check out this comprehensive mini PC roundup by Tom's Hardware.
Step-by-Step Assembly and Physical Setup
Unlike standard ATX builds, compact desktops leave zero margin for error regarding component clearance and thermal pad thickness. Follow these exact steps to ensure hardware longevity.
1. RAM and NVMe Installation
When installing DDR5 SO-DIMM memory into a barebone unit like the NUC 14 Pro, ensure the modules are fully seated until the side clips audibly snap. For NVMe storage, mini PCs typically utilize M.2 2280 drives. Critical detail: Most compact chassis use M2x3mm screws for the NVMe standoff. Do not force an M3 screw, as you will strip the brass standoff and potentially damage the motherboard trace.
2. Thermal Paste and Pad Application
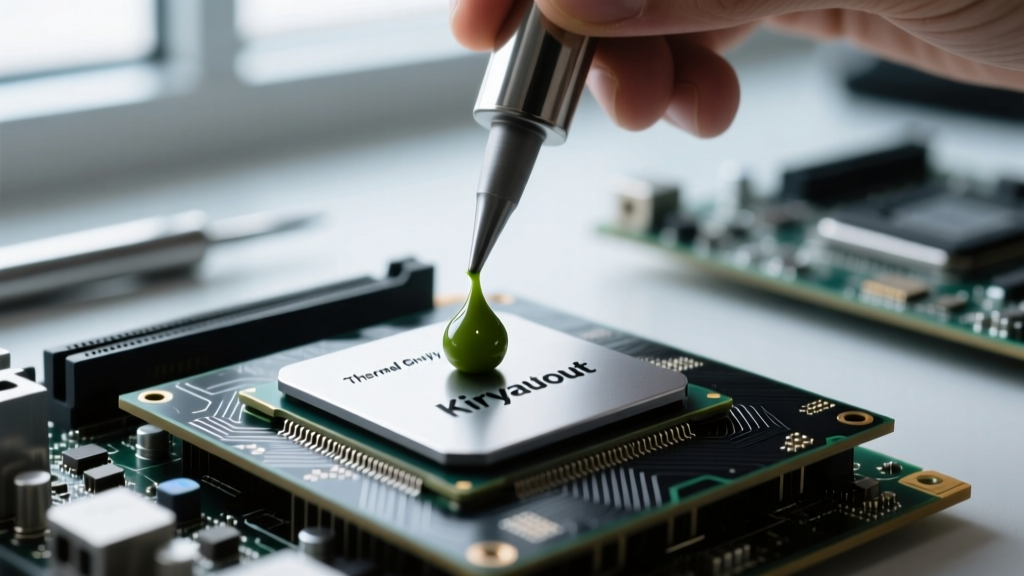
Many barebone mini PCs ship with pre-applied thermal paste, but enthusiast builds demand better. If repasting, clean the IHS with 99% isopropyl alcohol and apply a precise pea-sized drop of high-viscosity paste like Thermal Grizzly Kryonaut. For the NVMe SSD and VRAM chips, measure the gap carefully. Using a 1.0mm thermal pad on a component that requires 1.5mm will result in poor contact and immediate thermal throttling, while a 1.5mm pad on a 1.0mm gap will prevent the chassis from closing properly.
3. Power Supply Verification
⚠️ Enthusiast Warning: The Raspberry Pi 5 strictly requires an official 27W USB-C PD power supply (5V/5A). Using a standard 20W phone charger will trigger a firmware-level brownout warning, limiting USB current output to 600mA and causing external SSDs to randomly disconnect under load.
BIOS Configuration and OS Deployment
Once the hardware is assembled, the software foundation must be laid. The deployment strategy varies wildly between x86 mini PCs and ARM-based SBCs.
Flashing the OS on x86 Compact Desktops
For Windows 11 or Proxmox VE deployments on the Minisforum or Intel NUC, use Rufus (v4.x or later). When creating the bootable USB, select GPT partition scheme and target UEFI (non CSM). Upon first boot, mash the F2 or Del key to enter the BIOS. Navigate to the Boot tab and ensure Secure Boot is temporarily disabled if you are installing a custom Linux distribution or Home Assistant OS, as third-party EFI signatures are often rejected by default.
Deploying Raspberry Pi OS via Imager
For the Pi 5, use the official Raspberry Pi Imager. Click the gear icon (advanced settings) before flashing to pre-configure your hostname, enable SSH, and inject your Wi-Fi credentials. This headless setup saves you from needing a dedicated micro-HDMI monitor for the initial boot.
Post-Install Optimization and Benchmarking
To truly embrace the "go gadget go" ethos, you must tune your compact desktop to punch above its weight class while maintaining acoustic sanity.
- Undervolting x86 CPUs: Use the Universal x86 Tuning Utility (UXTU) to apply a -10mV to -15mV curve optimizer offset on AMD Ryzen mini PCs. This reduces peak temperatures by 4-6°C without sacrificing multi-core Cinebench scores.
- Pi 5 Overclocking: Edit the
/boot/firmware/config.txtfile on your Pi 5. Addarm_freq=2800andover_voltage_delta=50000. Note: The Pi 5 will hard-throttle at 85°C, making the official Active Cooler an absolute necessity for this overclock. - Fan Curve Tuning: In the Intel NUC BIOS (F7 menu), navigate to Cooling > Fan Duty Cycle. Set the minimum duty cycle to 15% and the ramp-up threshold to 65°C to eliminate the annoying idle whine common in early BIOS revisions.
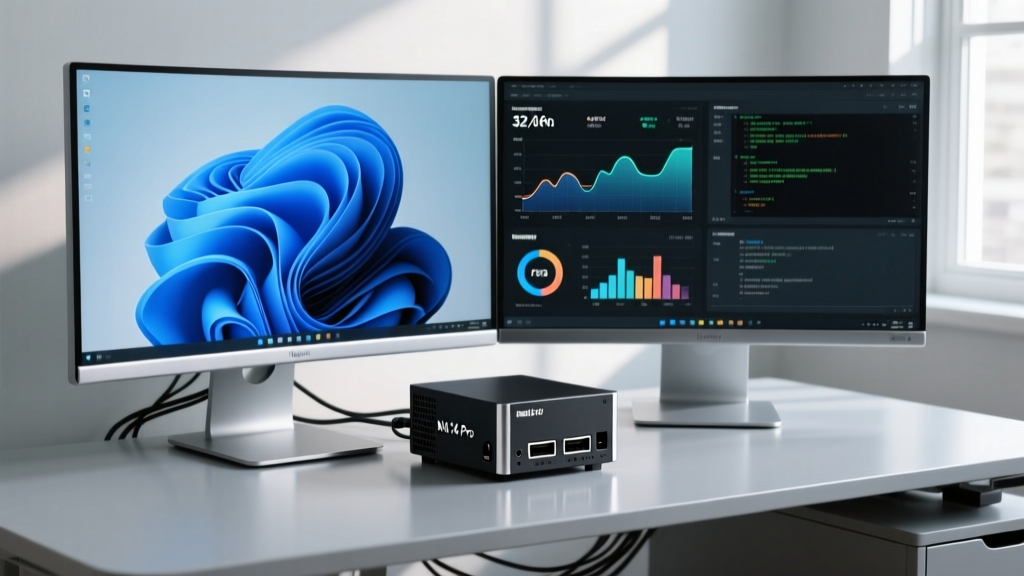
For detailed architectural specifications and thermal design power limits, always refer to the official Intel NUC 14 Pro brief to ensure your aftermarket cooling solutions align with the manufacturer's airflow requirements.
Troubleshooting Common Boot and Thermal Issues
Compact form factors introduce unique failure modes. Use this diagnostic matrix to resolve common setup hurdles.
| Symptom | Probable Cause | Enthusiast Fix |
|---|---|---|
| NVMe SSD missing in BIOS | PCIe bifurcation error or loose M.2 key | Reseat the drive at a 30-degree angle. Update BIOS to the latest microcode to patch Gen4 handshake bugs. |
| System reboots during stress tests | Transient power spikes tripping the external PSU | Lower the PL2 (Turbo Power Limit) in BIOS by 5W. Ensure the OEM power brick is used, not a third-party GaN charger. |
| USB devices drop randomly (Pi 5) | Brownout due to insufficient USB-C PD current | Flash the latest bootloader EEPROM via rpi-eeprom-update and switch to the official 27W 5V/5A power supply. |
| Loud coil whine under load | VRM switching frequency resonance | Enable 'Spread Spectrum' in the BIOS advanced power settings to diffuse the EMI and reduce audible whine. |
Frequently Asked Questions (FAQ)
Can I use a mini PC as a daily driver for gaming?
Yes, but with caveats. Mini PCs with AMD Radeon 780M or Intel Arc integrated graphics can comfortably handle 1080p gaming at medium settings for esports titles and older AAA games. For modern 2026 releases, you will need an external GPU (eGPU) enclosure connected via USB4 or Thunderbolt 4, which adds significant cost and desk footprint.
Do I need to replace the thermal paste on a brand-new mini PC?
Out of the box, most reputable brands use adequate factory paste. However, if you plan to run sustained all-core workloads (like rendering or local AI inference), repasting with a high-quality compound like Honeywell PTM7950 phase-change material will yield a 3°C to 5°C improvement and vastly reduce long-term pump-out degradation.
How do I mount a Raspberry Pi 5 inside a standard 19-inch server rack?
You will need a 3D-printed or commercially available 1U rackmount sled designed for SBCs. Ensure the sled features a passive airflow channel or integrates a 40mm Noctua NF-A4x10 PWM fan, as rack environments often trap exhaust heat, leading to rapid thermal throttling of the BCM2712 SoC.
Written by
Lena ChenLena Chen earned her M.S. in Human-Computer Interaction from Carnegie Mellon University and a B.S. in Electrical Engineering from the University of Washington. She has spent the past decade specializing in smart home architecture and IoT ecosystems, helping over 200 homeowners design fully connected living spaces. Lena is a certified Matter protocol consultant and has published peer-reviewed research on voice-first interface design in the ACM Digital Library. Her reviews of smart home products combine deep technical analysis with real-world usability testing, evaluating everything from Zigbee mesh stability to Alexa skill responsiveness. She regularly speaks at CEDIA Expo and CES smart home panels.