Setting Up Tech Gadgets for Father's Day: A Smart Workshop Guide
Learn how to install, configure, and calibrate top tech gadgets for Father's Day, transforming a standard garage into a connected smart workshop.
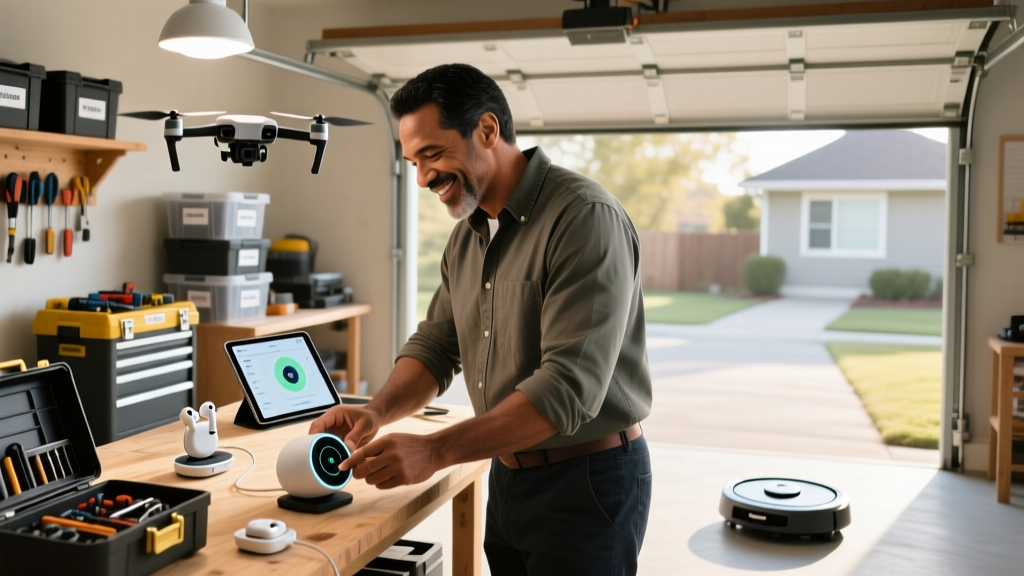
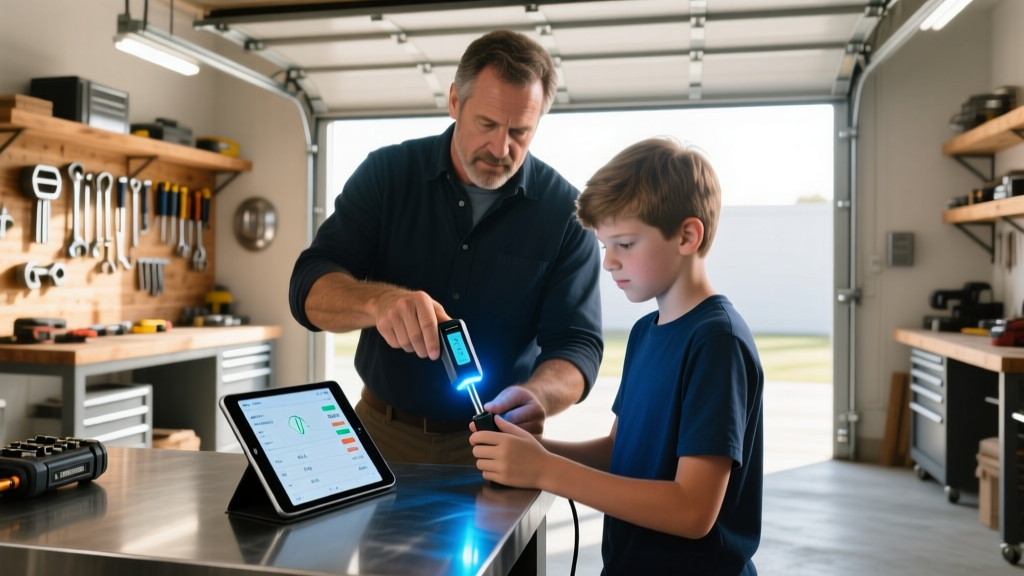
The Hidden Complexity of Connected Workshop Tools
Unboxing the latest tech gadgets for Father's Day is only the first step. While consumer smart home devices like thermostats and speakers offer plug-and-play simplicity, professional-grade connected workshop tools require rigorous network segmentation, precise calibration, and environmental configuration. A smart 1/2-inch torque wrench or a Wi-Fi-enabled dust extractor is useless—and potentially dangerous—if deployed on an unsecured, congested 2.4GHz network without proper baseline calibration.
This guide bypasses the marketing fluff and details the exact technical procedures required to integrate high-end smart workshop gadgets into a cohesive, safe, and accurate ecosystem. We will focus on three core categories: network infrastructure, precision torque calibration, and automated particulate management.
Phase 1: Network Segmentation for Industrial IoT
Most connected workshop tools utilize Bluetooth Low Energy (BLE 5.2) for direct tool-to-phone telemetry and 2.4GHz Wi-Fi for cloud syncing firmware updates and usage logs. Placing these tools on your primary home network exposes your personal data to unpatched IoT vulnerabilities and causes signal interference from tool telemetry.
Configuring the IoT VLAN
- Access Router Admin Panel: Log into your router (e.g., UniFi Dream Machine, ASUS RT-AX86U) and navigate to the VLAN or Guest Network settings.
- Create a Dedicated SSID: Name it Workshop_IoT. Restrict it strictly to the 2.4GHz band, as most tool Wi-Fi chips lack 5GHz radios to save battery and reduce cost.
- Enable Client Isolation: This prevents the smart tools from communicating with each other or accessing your main network's PCs and NAS drives. They should only have outbound internet access for firmware checks.
- Disable WPA3 Transition Mode: Many older IoT chips in power tools fail to handshake with WPA3. Force WPA2-AES Personal for this specific SSID to ensure reliable connection.
According to the Wi-Fi Alliance IoT security guidelines, isolating low-power industrial devices on a restricted subnet is the most effective defense against lateral network attacks.
Phase 2: Smart Torque Wrench Calibration and Pairing
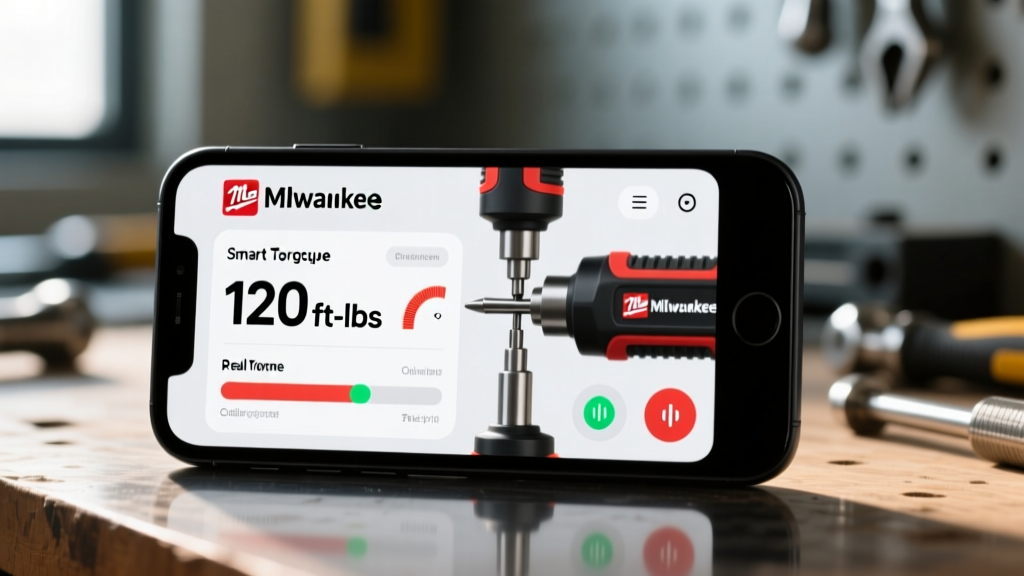
The centerpiece of many high-end Father's Day tool gifts is the smart torque wrench (such as the Milwaukee M18 FUEL or ACDelco ARM601-4). These tools use internal strain gauges to measure applied force, but out-of-the-box accuracy can drift during shipping. Proper setup requires digital calibration verification before the first use.
Step-by-Step Calibration Protocol
Do not rely solely on the factory calibration certificate. Environmental temperature changes in a garage can affect the piezoelectric sensors inside the tool.
- Thermal Acclimation: Leave the smart torque wrench in the workspace for at least 4 hours. Sensors calibrated at 70°F (21°C) will yield skewed readings in a 50°F garage.
- App Pairing via BLE: Open the manufacturer's proprietary app. Hold the tool's 'Mode' and 'Power' buttons simultaneously for 5 seconds to force it into BLE pairing mode. Do not use your phone's native Bluetooth settings menu; the app must handle the handshake to register the tool's serial number.
- Zero-Point Reset: With no load applied, select 'Zero Calibration' in the app. This establishes the baseline voltage of the strain gauge.
- Verification Test: Apply force to a certified mechanical torque tester. If the tool reads 100 ft-lbs but the mechanical tester reads 98 ft-lbs, use the app's 'Offset Adjustment' feature to apply a -2% correction factor.
"Regular verification against a traceable standard is critical. Even digital torque wrenches can drift by 2-4% after being dropped or subjected to extreme temperature fluctuations." — National Institute of Standards and Technology (NIST) Torque Guidelines
Phase 3: Automated Particulate Management Setup
Smart dust extractors (like the Festool CT SYS Wi-Fi or Makita VC4210M) are not just vacuums; they are automated environmental control systems. They pair directly with the Bluetooth modules inside your sanders and saws, triggering suction the millisecond the tool's motor spins up.
Configuring Auto-Start Thresholds
The primary setup challenge with smart extractors is configuring the auto-start delay and suction ramp-up. If the vacuum ramps up too slowly, the initial burst of sawdust escapes the hood.
- Link the Tool Module: Insert the Bluetooth remote module into the sander/saw. In the extractor's app, scan for the tool's MAC address.
- Set the Pre-Start Delay: Configure the extractor to turn on 0.5 seconds before the tool's motor engages (if the tool's firmware supports pre-spin signaling) or instantly upon detecting the current draw.
- Adjust the Post-Stop Run-On: Set the vacuum to run for an additional 7 seconds after the tool stops. This clears the hose of suspended particulate matter, preventing clogs and maintaining static pressure for the next cut.
- Filter Cleaning Interval: Program the automatic pneumatic filter shaker to pulse every 15 seconds. This is non-negotiable for fine drywall or MDF dust, which blinds HEPA filters in under three minutes of continuous use.
Performance Matrix: Analog vs. Smart Workshop Ecosystems
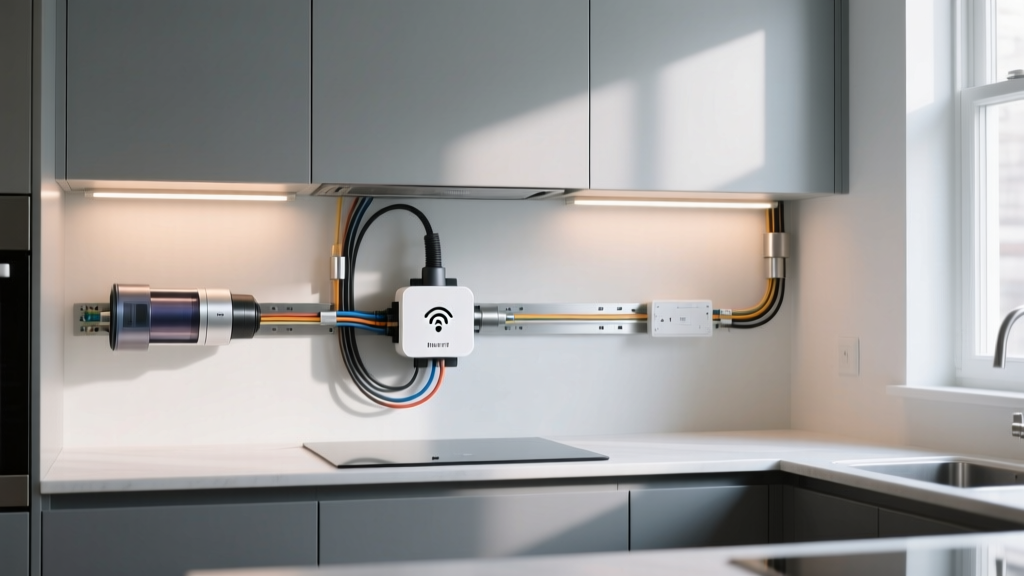
Understanding the real-world return on investment helps justify the premium price tag of these tech gadgets for Father's Day. Below is a data-driven comparison of traditional setups versus fully integrated smart configurations.
| Metric | Traditional Analog Tools | Integrated Smart Ecosystem |
|---|---|---|
| Torque Accuracy Verification | Manual dial indicator (15+ mins) | App-based digital offset (3 mins) |
| Dust Capture Efficiency | ~75% (Manual switch delays) | ~98% (Automated synchronized start) |
| Maintenance Logging | Paper logbook or memory | Cloud-synced usage hours & alerts |
| Initial Setup Time | 0 minutes (Unbox and use) | 2 to 4 hours (Network & calibration) |
Troubleshooting Common Smart Tool Setup Failures
Even with meticulous preparation, RF (Radio Frequency) interference in a garage environment can disrupt tool connectivity. Here are the most common failure modes and their precise fixes.
Failure Mode 1: BLE Dropping During High-Load Welding
Symptom: The torque wrench app disconnects and fails to log data when a MIG/TIG welder is active in the same bay.
Cause: Arc welding generates massive electromagnetic interference (EMI) across the 2.4GHz spectrum, completely drowning out low-power BLE signals.
Fix: Do not attempt to log data in real-time during welding operations. Switch the smart tool to 'Offline Memory Mode' via the app before starting. The tool will store up to 500 torque events in its onboard flash memory and batch-sync to the phone once the welder is powered down and EMI clears.
Failure Mode 2: Extractor Auto-Start Ghosting
Symptom: The smart dust extractor turns on randomly when no power tools are in use.
Cause: The extractor's current-sensing circuit is detecting voltage spikes from other heavy appliances on the same 20-amp circuit (e.g., a garage refrigerator compressor kicking on).
Fix: Isolate the dust extractor onto a dedicated 20-amp circuit with no other inductive loads. Alternatively, disable current-sensing auto-start and rely exclusively on the Bluetooth tool-module trigger, which ignores electrical noise entirely.
Finalizing the Smart Workshop
Transforming a standard garage into a connected, data-driven workspace requires patience and technical rigor. By properly segmenting your IoT network, adhering to strict thermal calibration protocols for precision instruments, and automating your environmental controls, the tech gadgets received for Father's Day transition from novelty gifts into indispensable, professional-grade assets. Document your network settings, save your calibration profiles to the cloud, and ensure all firmware is updated before the first major project begins.
Written by
Sarah KimSarah Kim holds certifications from both NASM (National Academy of Sports Medicine) and ACE (American Council on Exercise), along with a B.S. in Kinesiology from UCLA. She has spent 7 years bridging the gap between exercise science and consumer technology, evaluating fitness trackers, smart scales, sleep monitors, and recovery devices with clinical precision. Sarah has tested over 200 health-focused wearables in controlled lab settings and real-world training environments, comparing device data against gold-standard medical equipment like ECG monitors and DEXA scans. She consults for three fitness app companies on data accuracy standards and has presented research on wearable reliability at the American College of Sports Medicine (ACSM) annual conference. Her reviews emphasize clinical validity over marketing claims.