How to Set Up the Coolest Gadgets for Teenagers (2026 Guide)
Master the setup of the coolest gadgets for teenagers in 2026. Step-by-step tutorials for study lights, portable monitors, and wireless drawing tablets.
Beyond the Unboxing: Configuring Teen Tech for Peak Performance
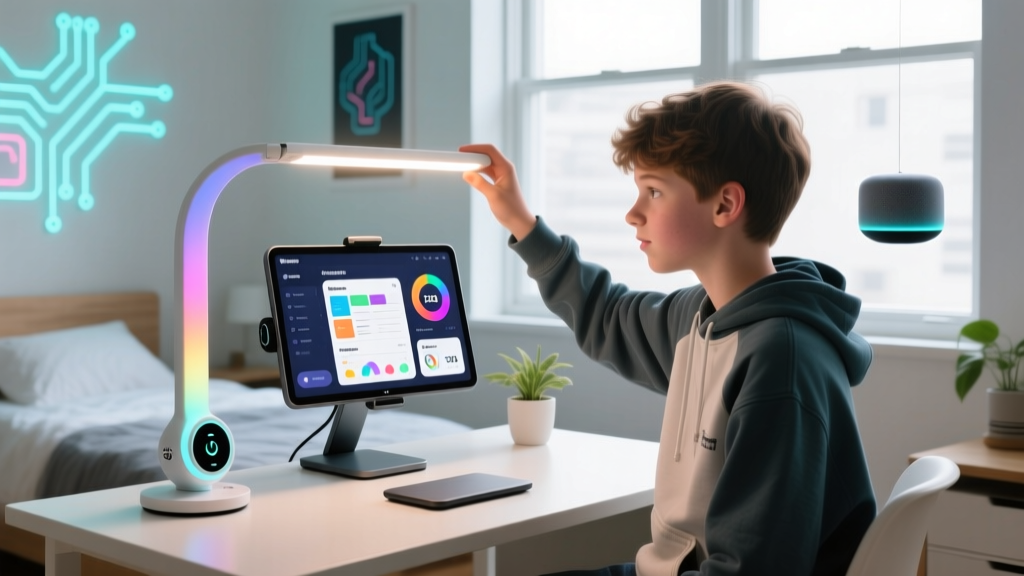
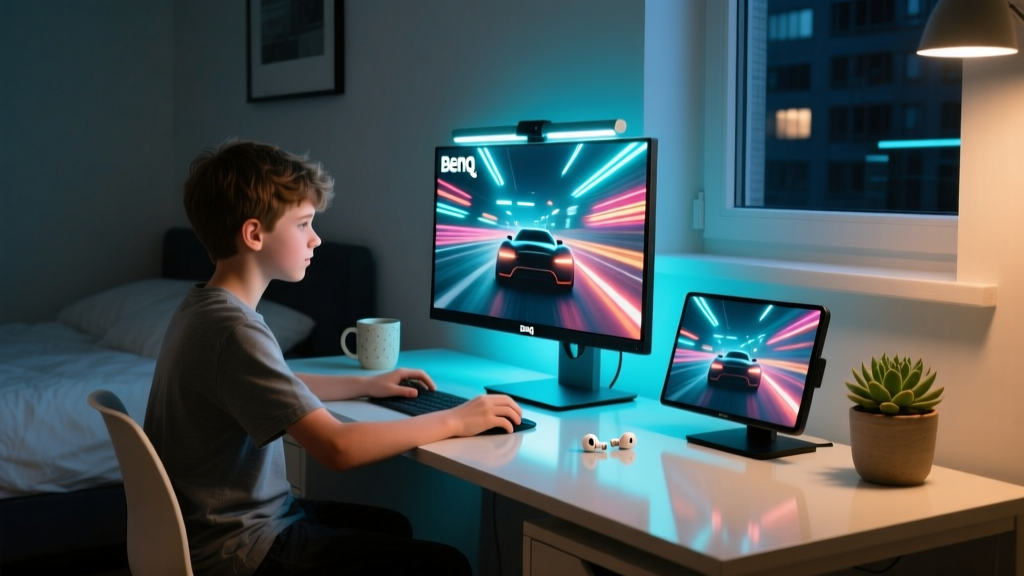
When unboxing the coolest gadgets for teenagers, the initial setup dictates long-term usability, battery health, and ergonomic safety. A premium piece of hardware will underperform if its firmware, power delivery, and software drivers are not correctly calibrated. This tutorial bypasses generic quick-start guides and provides exact, step-by-step configuration protocols for three of the most popular devices in the 2026 teen tech ecosystem: the BenQ ScreenBar Halo (study focus), the KTC H3E18 18-inch Portable Gaming Monitor (entertainment), and the XPPen Deco Pro MW Gen 2 (digital art).
Proper configuration is not just about making the device turn on; it is about mitigating physical strain and eliminating input latency. According to the American Academy of Ophthalmology, improper screen glare and incorrect ambient lighting are primary drivers of digital eye strain in adolescents. Furthermore, ergonomic guidelines from the CDC National Institute for Occupational Safety and Health (NIOSH) emphasize that monitor height and peripheral placement directly impact cervical spine health during extended study or gaming sessions.
Step-by-Step: Configuring the BenQ ScreenBar Halo for Eye Strain Reduction
The BenQ ScreenBar Halo is a monitor-mounted light bar designed to illuminate desk space without casting glare on the screen. However, its auto-dimming sensor and asymmetric optical design require precise physical alignment to function correctly.
Mounting and Power Delivery Specifications
The most common failure mode during ScreenBar setup is insufficient power delivery. The Halo requires a strict 5V/1A (5 Watts) power input.
- Do not plug the USB cable directly into the back of most standard monitors. Many monitor USB-A ports only output 5V/0.5A, which will cause the light bar to flicker or fail to power the wireless puck controller.
- Do plug the included USB-C to USB-A cable directly into a dedicated 5W wall adapter or a high-output motherboard USB 3.0 port (usually colored blue or red).
For curved monitors (1000R to 1800R), swap the standard gravity pivot clamp for the included curved monitor adapter. Ensure the counterweight rests flush against the back of the display to prevent the bar from slowly drooping over time.
Calibrating the Auto-Dimming Sensor
- Press and hold the auto-dimming button on the wireless puck for 3 seconds until the indicator flashes.
- Clear the desk area directly beneath the light bar. The downward-facing ambient light sensor calculates lux based on the reflection off your desk surface.
- If your desk is dark (e.g., matte black or dark walnut), the sensor will overcompensate and push the brightness to 100%. Place a light-colored desk mat (minimum 400x800mm, reflectance >60%) under the sensor zone to achieve the target 500-lux study environment.
Ensure no webcam, microphone, or sticky note is placed within 2 inches of the front sensor array. Obstructions will cause the Halo to continuously cycle brightness levels as it attempts to read the ambient room light.
Tutorial: Optimizing the KTC H3E18 Portable Monitor for Console Gaming
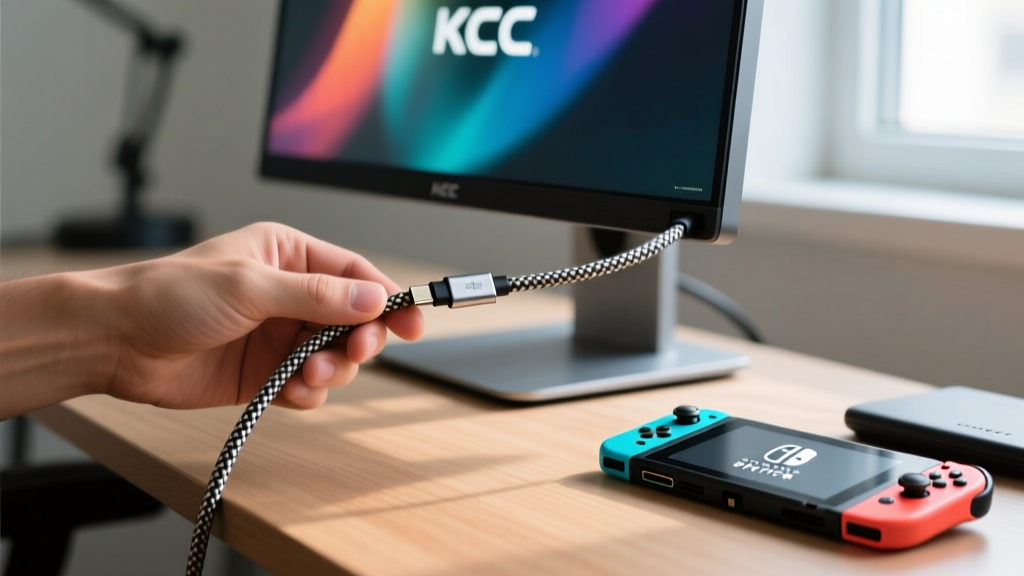
The KTC H3E18 is an 18-inch, 144Hz portable IPS monitor heavily favored by teens for local multiplayer and Switch/Steam Deck gaming. Out of the box, it defaults to a 60Hz refresh rate and 50% brightness to conserve power. Here is how to unlock its full 144Hz capability and configure Power Delivery (PD) passthrough.
USB-C PD Passthrough Wiring
To game on a console while keeping the monitor powered, you must utilize the monitor's PD passthrough architecture correctly. The H3E18 features two USB-C ports and one Mini-HDMI port.
- Connect your console's video output (e.g., Switch dock or Steam Deck) to the USB-C (Video/PD) port using a certified USB-C 3.1 Gen 2 cable.
- Connect the included 100W GaN wall charger to the secondary USB-C (Power Only) port.
- Access the monitor's OSD (On-Screen Display) menu using the physical dial on the right edge. Navigate to System > Power Delivery and set the output limit to 15W. This ensures the monitor reserves enough power to drive the 144Hz panel at max brightness (300 nits) while passing the remaining wattage to the console.
Refresh Rate vs. Battery Drain Matrix
When running the monitor off an internal power bank rather than wall power, refresh rate directly impacts battery drain. Use this matrix to plan your gaming sessions:
| Refresh Rate | Panel Power Draw | Est. Runtime (20,000mAh Bank) | Best Use Case |
|---|---|---|---|
| 60Hz | ~6.5 Watts | 4.5 - 5 Hours | Turn-based RPGs, visual novels, movie playback |
| 120Hz | ~9.2 Watts | 3 - 3.5 Hours | Fast-paced shooters, racing games |
| 144Hz | ~11.5 Watts | 2 - 2.5 Hours | Competitive eSports titles, rhythm games |
Guide: Pairing and Calibrating the XPPen Deco Pro MW Gen 2 for Digital Art
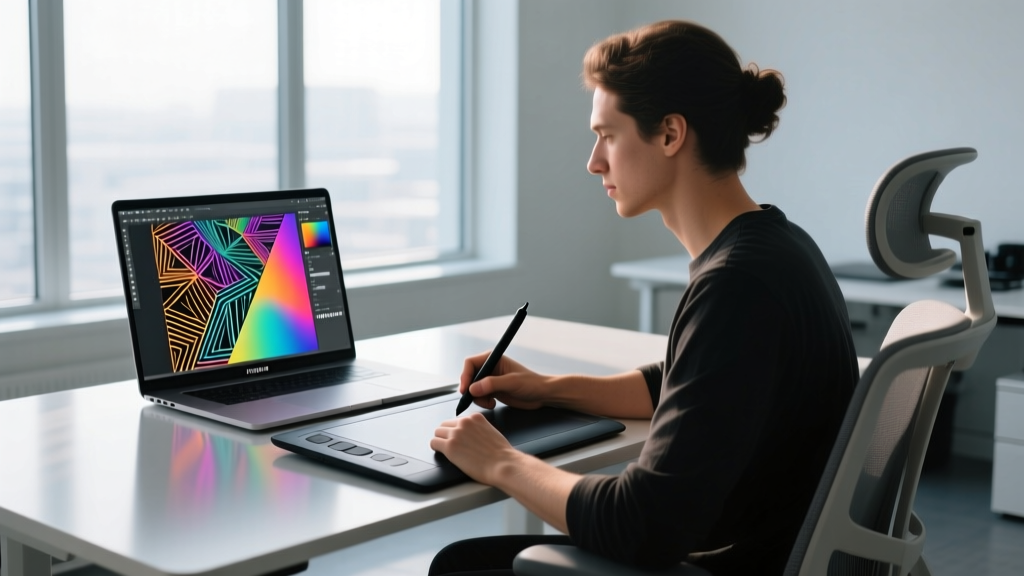
For teens pursuing digital illustration, the XPPen Deco Pro MW Gen 2 offers 8,192 pressure levels and a customizable dial wheel. The default Bluetooth connection often introduces unacceptable latency for fast inking. Follow this protocol to optimize the tablet for professional-grade software like Clip Studio Paint.
Bluetooth vs. 2.4GHz Dongle Latency Test
The tablet supports both Bluetooth 5.0 and a 2.4GHz USB-A wireless dongle. According to Bluetooth SIG standards, BLE (Bluetooth Low Energy) prioritizes power efficiency over raw throughput.
- Bluetooth 5.0: Average latency of 12-18ms. Noticeable line lag when executing rapid cross-hatching or whip-pan strokes.
- 2.4GHz Dongle: Average latency of 3-5ms. Virtually indistinguishable from a wired USB-C connection.
Action: Always use the 2.4GHz dongle for active drawing sessions. Reserve Bluetooth for low-intensity tasks like photo editing in Lightroom or navigating the OS.
Pressure Sensitivity Calibration in Clip Studio Paint
Hardware drivers only provide a baseline curve. To match the tablet's pressure curve to the teen artist's specific hand weight, calibrate directly inside the drawing software:
- Open Clip Studio Paint and navigate to File > Preferences > Tablet.
- Set the tablet service to Wintab (do not use Tablet PC mode, as it disables the physical dial wheel shortcuts).
- Open the Window > Brush Property palette. Select the 'G-Pen' sub-tool.
- Click the wrench icon to open Sub Tool Detail. Navigate to Ink > Brush Size.
- Click the graph icon next to the size slider. Draw a continuous S-curve: anchor the bottom left at (10%, 5%) to prevent accidental dotting on light rests, and pull the top right to (85%, 100%) to allow maximum line weight without requiring the artist to bottom-out the stylus nib.
Troubleshooting Matrix: When Gadgets Do Not Sync
Even with perfect configuration, firmware mismatches and HDCP (High-bandwidth Digital Content Protection) handshakes can cause device failures. Use this decision matrix to diagnose common setup issues.
| Symptom | Root Cause | Exact Fix |
|---|---|---|
| Portable monitor shows 'No Signal' when Switch is docked. | HDCP 2.2 handshake failure via USB-C. | Switch to the Mini-HDMI port using an HDMI-to-Mini-HDMI cable. USB-C video on the Switch requires proprietary Nintendo voltage negotiation. |
| XPPen dial wheel scrolls browser pages instead of zooming canvas. | Windows Ink overriding native driver mapping. | Open XPPen PenTablet settings. Uncheck 'Enable Windows Ink'. Restart Clip Studio Paint to restore application-specific dial mapping. |
| BenQ Halo wireless puck is unresponsive. | Puck battery depleted or 2.4GHz interference. | Replace the CR2032 coin cell battery. Move Wi-Fi routers at least 3 feet away from the monitor to clear the 2.4GHz spectrum. |
Final Configuration Checklist
Before handing these devices over for daily use, verify the following baseline settings to ensure longevity and optimal performance:
- [ ] Monitor Light Bar: Sensor is unobstructed, color temperature set to 3500K for evening study to minimize circadian rhythm disruption.
- [ ] Portable Monitor: OSD blue-light filter is set to Level 1 (not Level 2, which severely distorts game colors), and overdrive is set to 'Normal' to prevent inverse ghosting artifacts.
- [ ] Drawing Tablet: Firmware updated via the official XPPen desktop utility, and stylus nibs are checked for flat spots that could scratch the matte film.
By treating the setup process as a critical phase rather than an afterthought, teenagers can extract the maximum functional, ergonomic, and creative value from their tech investments.
Written by
Nina PetrovaNina Petrova holds a Master's degree in Child Development from the Erikson Institute and a B.S. in Nursing from the University of Illinois at Chicago. She worked as a pediatric nurse for 6 years before transitioning to family technology consulting, bringing clinical rigor to her evaluations of kid-friendly gadgets, educational toys, and parental control software. Nina has reviewed over 400 children's tech products, testing each for safety compliance (CPSC and ASTM standards), developmental appropriateness across age groups, screen-time impact, and data privacy practices. She serves on the Children's Technology Review advisory board and has testified before the FTC on children's data protection in connected toys. Her reviews are trusted by parents and educators alike for their evidence-based approach to balancing technology benefits with child safety.