Hardwiring Essential Car Gadgets for Guys: Dash Cams & OBD Scanners
Master the installation of top car gadgets for guys. Learn step-by-step hardwiring for dash cams and OBD-II scanner integration with expert electrical tips.
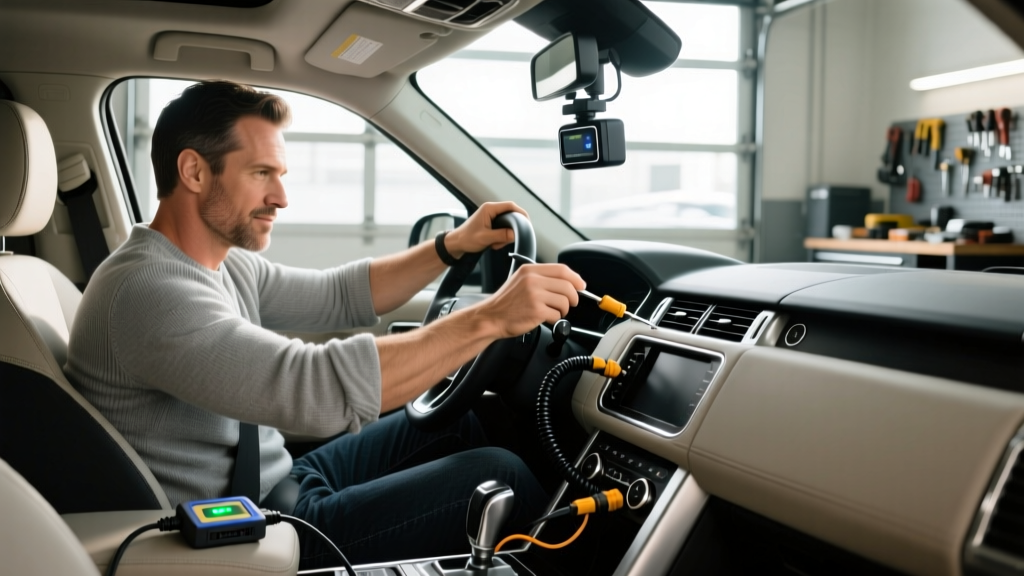
The Case for Hardwiring vs. Cigarette Lighter Power
Plugging your dash cam or telemetry tracker into the 12V cigarette lighter socket is the default for beginners, but it severely limits the functionality of premium automotive electronics. Relying on the auxiliary port leaves cables draped across your dashboard, creates a blind spot hazard, and completely disables parking surveillance mode. According to the National Highway Traffic Safety Administration (NHTSA), loose cables and obstructed sightlines contribute to visual and manual driving distractions. Hardwiring your setup directly to the vehicle's fuse box eliminates these risks, frees up your auxiliary port for fast charging, and enables 24/7 impact monitoring.
Essential Toolkit for 2026 Automotive Electronics
Skip the cheap Amazon wiring kits that include undersized wire and brittle fuse taps. A professional-grade installation requires specific tools to ensure a safe, fire-proof connection.
- Digital Multimeter: Essential for identifying constant vs. switched power sources.
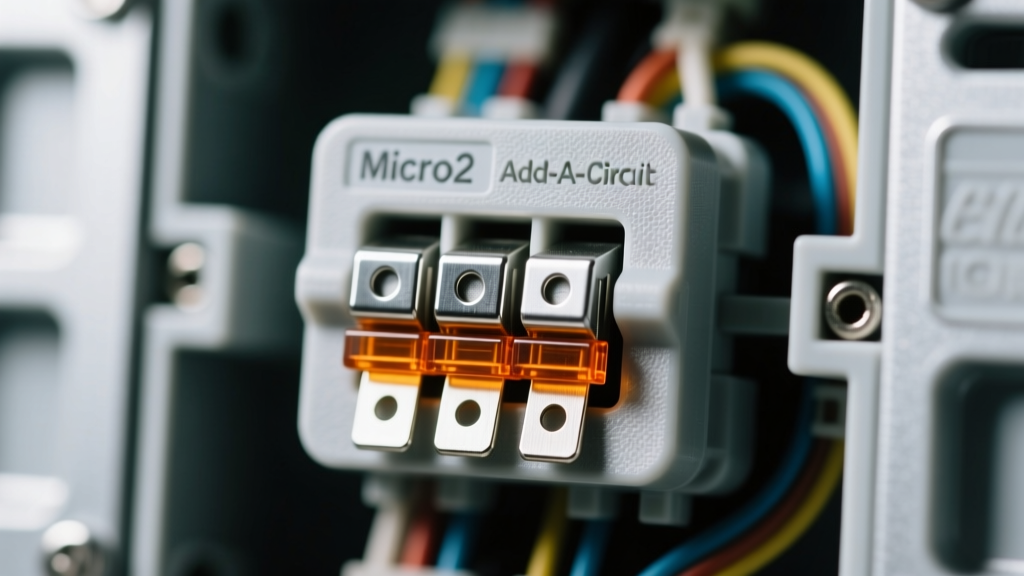
- Add-A-Circuit Fuse Taps (Micro2 or Low-Profile Mini): Match the exact fuse profile of your specific vehicle. Do not use generic 'universal' taps.
- Ni-Cro-Lite Circuit Tester: For quick visual confirmation of live circuits without piercing wire insulation.
- 18 AWG Tinned Copper Wire & Heat Shrink Tubing: For extending ground wires and ensuring corrosion-resistant connections.
- Nylon Trim Removal Kit: To safely pry A-pillars and headliners without snapping plastic retention clips.
Phase 1: Hardwiring the Viofo A229 Pro 3-Channel Dash Cam
The Viofo A229 Pro (retailing around $380 in 2026) features Sony STARVIS 2 sensors that require stable voltage for its parking mode to function. The hardwire kit includes three wires: Yellow (Constant 12V), Red (Switched/ACC 12V), and Black (Ground).
Step 1: Routing the Cable and Finding the Fuse Box
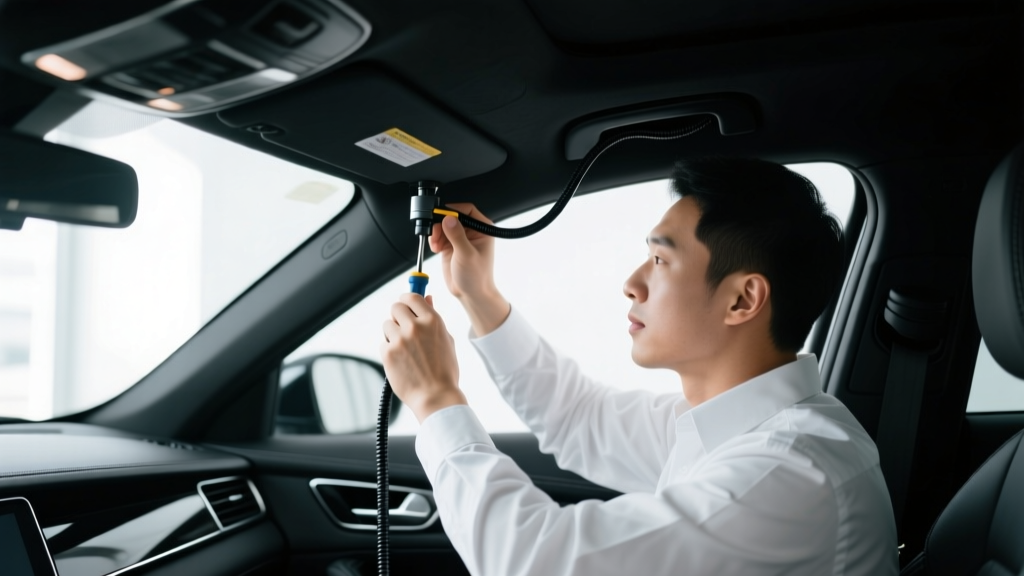
Tuck the mini-USB or USB-C power cable into the headliner above the rearview mirror. Run the cable down the passenger-side A-pillar. Critical Safety Note: You must route the cable behind the side-curtain airbag deployment zone, not across it. Use zip ties to secure the wire to the factory wiring harness behind the trim.
Step 2: The Add-A-Circuit Orientation Rule (Crucial Step)
This is where 90% of DIY installations fail. An Add-A-Circuit fuse tap has two slots: one for the original car circuit, and one for your new accessory. If you plug the tap in backward, the accessory fuse will power the car's original circuit, meaning your dash cam will stay on when the car is off, or worse, the original car circuit loses overcurrent protection.
- Pull the original fuse (e.g., the 10A radio fuse for ACC power) and insert it into the slot closest to the prongs on the fuse tap.
- Insert the dash cam fuse (usually 2A or 5A) into the slot furthest from the prongs.
- Use your multimeter to test the 'load side' vs 'line side' of the empty fuse slot in the car. The prongs of the fuse tap must receive power from the vehicle's fuse block first, pass through the original fuse, and then pass through the accessory fuse.
Step 3: Grounding and Voltage Cutoff Configuration
Attach the black ground wire to an unpainted, factory metal bolt in the kick panel. Do not use plastic trim screws or painted surfaces. Once powered on, access the Viofo app settings to configure the parking mode voltage cutoff. AAA automotive testing guidelines indicate that modern AGM (Absorbent Glass Mat) batteries should not drop below 12.2V, whereas standard flooded lead-acid batteries can safely drop to 11.8V before risking cranking failure. Set your hardwire kit cutoff to 12.2V if your vehicle uses an AGM battery or if you are a daily driver.
Phase 2: Integrating the OBDLink MX+ for Real-Time Telemetry
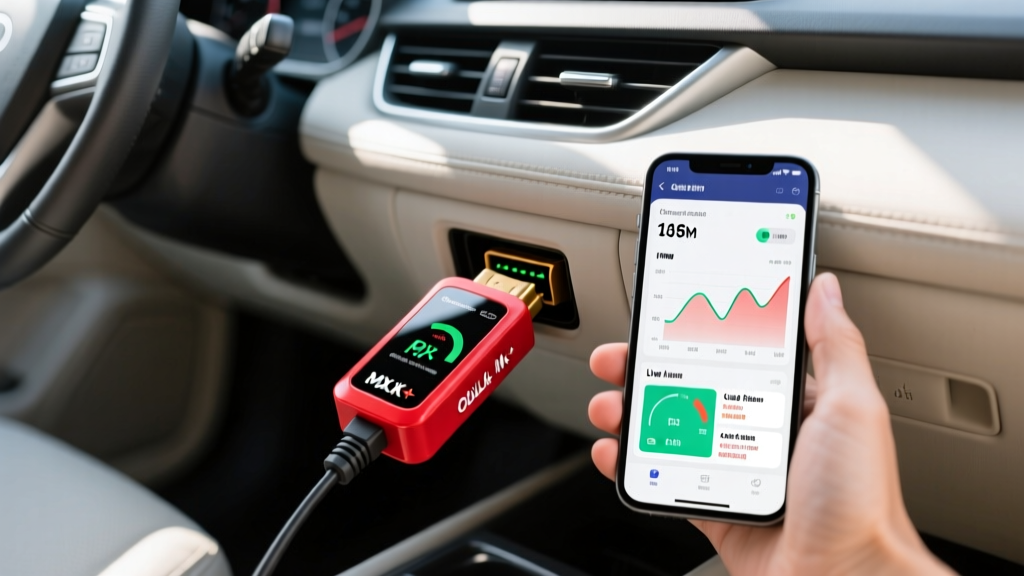
While dash cams capture the exterior, OBD-II scanners capture the mechanical soul of the car. The OBDLink MX+ ($139) is the gold standard for enthusiasts. Unlike cheap $15 ELM327 clones that max out at basic emissions data, the MX+ utilizes the STN1110 chipset, processing data 4x faster and supporting all 5 OBD-II protocols (CAN, KWP2000, ISO9141-2, J1850 VPW, J1850 PWM).
Installation and App Pairing
Locate the OBD-II port, typically within 18 inches of the steering column. Plug the MX+ directly into the port. The LED will flash red, then turn solid green when paired via Bluetooth to your iOS or Android device. For BMW/Mini/Toyota owners, the MX+ unlocks advanced coding via apps like BimmerCode or FORScan, allowing you to change vehicle behaviors (like disabling the auto start/stop feature or folding mirrors on lock) without visiting a dealer.
Scanner Comparison Matrix for DIY Coding
| Scanner Model | Chipset / Protocol | Max Data Rate | Best Use Case | 2026 Price |
|---|---|---|---|---|
| OBDLink MX+ | STN1110 / All 5 Protocols | 2 Mbps | Advanced Coding (BimmerCode/FORScan), High-speed telemetry | $139 |
| Vgate iCar Pro 4.0 | Standard ELM327 / BLE | 500 Kbps | Basic code reading, Torque Pro live data | $35 |
| Carly Universal | Proprietary / CAN | 1 Mbps | Brand-specific deep coding (Requires $50/yr sub) | $69 + Sub |
Troubleshooting Battery Drain and Boot-Loop Failures
Even with a perfect physical installation, software and electrical mismatches can cause headaches. Use this diagnostic framework if your setup misbehaves:
If your dash cam continuously restarts every 30 seconds, your ACC fuse tap is likely pulling power from a 'data bus' circuit (like a CAN-bus module) rather than a simple resistive load circuit. Modern cars pulse data lines to check for bulb outages or module health. This pulsing tricks the dash cam into thinking the car is turning on and off. Fix: Move the Red (ACC) tap to the 12V cigarette lighter fuse, the rear wiper fuse, or the heated seat fuse, which provide clean, uninterrupted switched power.
Parasitic Draw Testing
If you return to a dead battery, your hardwire kit's low-voltage cutoff relay may be failing. To test this, set your multimeter to the 10A amperage setting, disconnect the negative battery terminal, and place the multimeter in series between the negative post and the disconnected cable. Wait 20 minutes for the car's modules to go to sleep. A normal parasitic draw is between 30mA and 50mA (0.03A - 0.05A). If the draw remains above 150mA, unplug the dash cam's hardwire kit. If the draw drops to normal, the hardwire kit's internal relay is stuck closed and must be replaced immediately to prevent permanent battery sulfation.
Final Cable Management & Calibration
Before reassembling the A-pillar trim, power cycle the vehicle. Verify that the dash cam announces 'Parking Mode Activated' when the ignition is turned off, and 'Recording Started' when the engine cranks. Secure all loose wiring with Tesa cloth automotive tape—never use vinyl electrical tape under dashboards, as the adhesive melts into a sticky residue in summer heat. Snap the A-pillar clips back into place, ensuring the side-curtain airbag is unobstructed. With the Viofo A229 Pro hardwired and the OBDLink MX+ tucked neatly under the dash, your vehicle is now equipped with professional-grade surveillance and diagnostic capabilities.
Written by
Emma LarssonEmma Larsson holds an M.A. in International Relations from Sciences Po Paris and a B.A. in Communications from Stockholm University. A digital nomad since 2017, she has worked from over 45 countries across six continents, building deep expertise in portable power solutions, travel routers, compact computing, and connectivity gadgets that survive international travel. Emma is a certified member of the Travel Technology Association and has advised three travel gear startups on product-market fit for remote workers. Her reviews evaluate products against real travel scenarios — TSA compliance, voltage compatibility across 200+ countries, durability through 50+ checked bag cycles, and battery life under airplane mode vs. active use. She has been featured in Condé Nast Traveler's "Tech-Savvy Traveler" series and speaks at Remote Work Summit events.