How to Hardwire a USB C Car Gadget to Your Fuse Box Safely
Learn how to safely hardwire a USB C car gadget to your fuse box. Step-by-step tutorial for clean routing, fuse tapping, and parking mode setup.

Why Hardwire Your USB C Car Gadget?
The automotive tech landscape has shifted dramatically. With the universal adoption of USB-C Power Delivery (PD 3.1) standards in 2026, high-end dash cams, OBD-II diagnostic scanners, and ambient lighting kits now demand stable, high-wattage power. Relying on a 12V cigarette lighter adapter for your favorite USB C car gadget is no longer just an aesthetic compromise; it is a functional bottleneck. Adapters vibrate loose on rough roads, occupy valuable console real estate, and often fail to negotiate the proper PD handshake required to keep modern gadgets powered during engine start-stop cycles.
Hardwiring directly to your vehicle's fuse box provides a permanent, clean, and reliable power delivery method. More importantly, it unlocks advanced features like 24/7 parking surveillance and automated wake-up modes. In this comprehensive tutorial, we will walk through the exact process of installing a USB-C hardwire kit, ensuring you protect both your vehicle's electrical system and your gadget's internal battery.
Tools and Materials Checklist
Before popping any trim panels, gather the correct tools. Attempting this with household pliers will result in damaged panels and blown fuses. Below is the exact loadout recommended by professional automotive electricians.
| Item | Specification / Model | Estimated Cost | Purpose |
|---|---|---|---|
| Digital Multimeter | AstroAI DM6000AR or similar | $25 - $35 | Testing constant vs. switched 12V circuits |
| Fuse Tap (Add-A-Circuit) | Matched to your car (Micro2, ATO, Mini, or Low-Profile Mini) | $8 - $12 | Splicing power without cutting factory wires |
| USB-C Hardwire Kit | VIOFO 3-Wire USB-C PD Kit (with low-voltage cutoff) | $20 - $30 | Stepping down 12V to 5V/9V/12V USB-C PD safely |
| Trim Removal Tools | Nylon pry tool set (non-marring) | $10 | Removing A-pillar and dash panels safely |
| Wire Strippers & Crimpers | Knoweasy Precision Crimper | $15 | Attaching spade connectors to the ground wire |
Pro Tip: Never guess your fuse type. Modern vehicles (2020-2026) heavily utilize Micro2 and Low-Profile Mini fuses. Pull an existing fuse and match it visually or consult your owner's manual before ordering your fuse tap.
Step 1: Locating the Right Fuse (Constant vs. Switched)
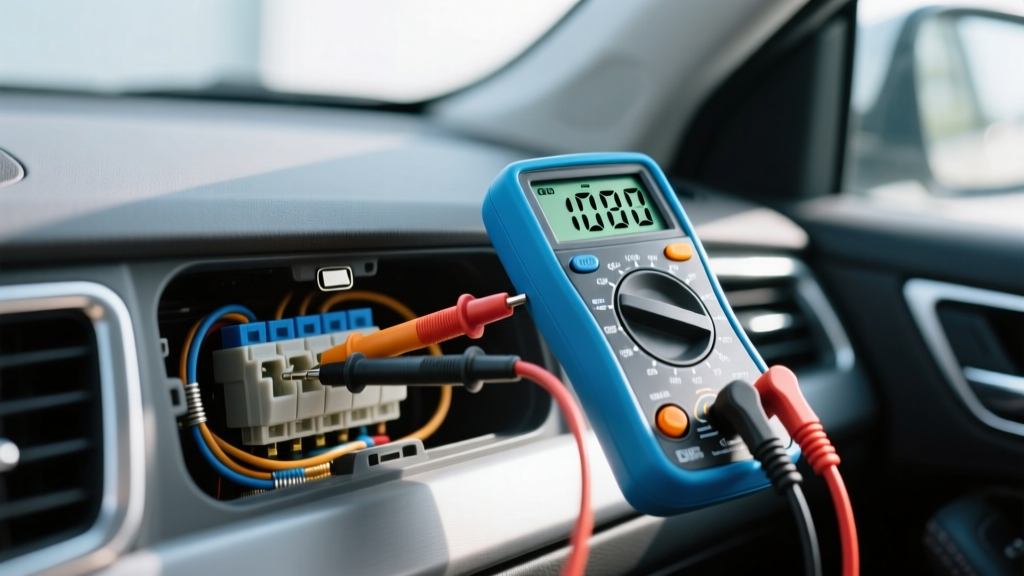
To enable parking mode on a dash cam or keep an OBD scanner alive for remote telemetry, your USB C car gadget requires two distinct power sources: a switched (ACC) fuse and a constant (BAT) fuse. The switched fuse turns off when you remove the key or open the door, signaling the gadget to enter standby. The constant fuse provides continuous battery power for background recording.
Testing with a Multimeter
- Set your multimeter to DC Voltage (20V setting).
- Ground the black probe to a bare metal bolt under the dashboard.
- Probe the fuse slots with the red probe. You are looking for two specific behaviors:
- Constant 12V (BAT): Reads ~12.4V with the car completely off and the doors locked. Ideal fuses: Interior lighting, hazard lights, or OBD memory.
- Switched 12V (ACC): Reads 0V when the car is off, and jumps to ~14.2V when the engine is running. Ideal fuses: Cigarette lighter, windshield wipers, or heated seats.
Safety Warning: According to Crutchfield's professional installation guidelines, you must absolutely avoid tapping into fuses related to the airbag system (SRS), engine control unit (ECU), or anti-lock brakes (ABS). Interfering with safety-critical CAN-bus lines can trigger dashboard warning lights or disable life-saving systems.
Step 2: Routing the USB-C Cable Cleanly
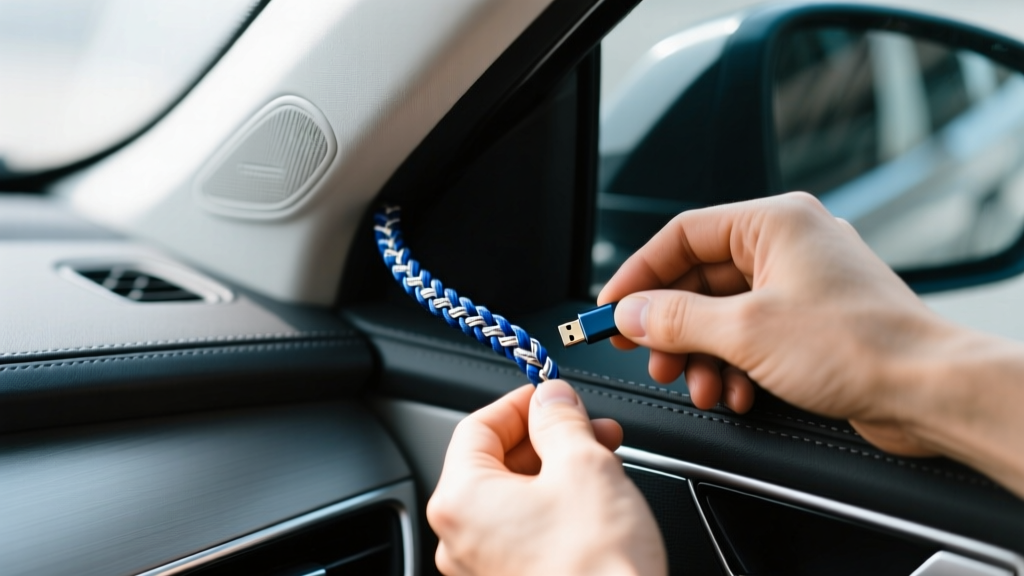
A professional installation should be virtually invisible. The goal is to route the cable from the overhead console or windshield down to the fuse box without leaving exposed wires or creating dangerous snags.
The A-Pillar Airbag Rule
This is the most critical safety step in the entire process. Modern vehicles are equipped with curtain airbags that deploy from the roofline down the A-pillar. You must never route your cable over or across the airbag.
- Use a nylon trim tool to gently pull back the rubber weather stripping along the door frame.
- Unclip the A-pillar plastic trim. Look for the airbag unit and its explosive charge wiring.
- Route your USB-C hardwire cable behind the airbag, securing it to the factory wiring harness using zip ties. This ensures that if the airbag deploys, your cable will not become a high-speed projectile or impede the bag's expansion.
- Tuck the cable under the dashboard edge, feeding it toward the fuse box location (usually under the steering wheel or in the passenger kick panel).
Step 3: Splicing and Grounding the Hardwire Kit
With the cable routed, it is time to connect the hardwire kit to the vehicle's power grid. A standard 3-wire USB-C hardwire kit features a red wire (Constant), a yellow wire (Switched/ACC), and a black wire (Ground).
Using the Add-A-Circuit Fuse Tap
Insert the red wire's spade connector into the fuse tap slot designated for Constant power, and the yellow wire into the Switched power slot. Insert the original factory fuse into the bottom slot of the tap (closest to the metal prongs) to protect the car's circuit. Insert a new 5A or 7.5A fuse into the top slot to protect your USB C car gadget.
Establishing a Solid Ground
The black wire must be grounded to unpainted, bare metal. Do not simply wrap it around a painted bracket; paint acts as an insulator and will cause voltage drops, leading to random gadget reboots. Find a 10mm or 12mm factory grounding bolt on the vehicle's chassis, loosen it, slide the ring terminal of the black wire over the bolt, and torque it back down securely. A poor ground is responsible for over 80% of hardwire kit failures.
Step 4: Configuring Voltage Cutoff and Parking Mode
Modern hardwire kits feature a physical switch box to prevent your car battery from draining while the gadget is in parking mode. Understanding these settings is vital for vehicle health, especially in cold climates where battery cranking amps drop significantly.
| Cutoff Voltage Setting | Battery State at Cutoff | Recommended Use Case |
|---|---|---|
| 11.8V | ~20% Battery Remaining | Older vehicles, winter climates, or daily drivers. |
| 12.0V | ~40% Battery Remaining | Standard daily driving with moderate parking durations. |
| 12.2V | ~60% Battery Remaining | Weekend cars or vehicles with smaller OEM batteries. |
| 12.4V | ~80% Battery Remaining | Maximum protection; gadget shuts off quickly when parked. |
Set the timer switch to your desired maximum parking mode duration (e.g., 6H, 12H, 24H). Once the timer expires OR the battery drops below the selected voltage threshold, the hardwire kit's internal relay physically severs the constant power line, guaranteeing your car will start the next morning. For deeper insights into USB Power Delivery negotiation over 12V systems, refer to the official USB-IF Power Delivery specifications.
Troubleshooting Common USB-C Power Issues
Even with a flawless physical installation, USB-C PD protocols can sometimes cause headaches. Here is how to diagnose the most common issues:
- Gadget Boots but Immediately Shuts Off: Your ground is likely poor, or the ACC and Constant wires are swapped. Use your multimeter to verify the yellow wire loses power when the engine stops.
- Parking Mode Never Activates: The hardwire kit is not detecting the voltage drop from the alternator (14.2V) to the battery (12.4V). Ensure your switched fuse actually turns off when the car sleeps. Some modern cars keep accessory fuses live for up to 15 minutes after locking the doors.
- USB-C PD Handshake Failure: If your gadget requires 9V or 12V PD input but the hardwire kit only outputs 5V, the gadget will display a 'low power' warning. Ensure you purchased a PD-compatible hardwire kit, not a standard 5V/2A micro-USB adapter with a USB-C tip slapped on the end.
Frequently Asked Questions
Will hardwiring void my car's warranty?
Under the Magnuson-Moss Warranty Act in the US, a dealership must prove that your aftermarket USB C car gadget directly caused an electrical failure to void a specific warranty claim. However, using a proper fuse tap (which leaves factory wiring uncut) is the safest way to avoid dealer disputes.
Can I use a portable power bank instead of hardwiring?
While possible, leaving lithium-ion power banks in a vehicle cabin is a severe fire hazard, especially during summer months when cabin temperatures exceed 140°F (60°C). Hardwiring to the car's massive lead-acid or LiFePO4 starter battery is infinitely safer.
Written by
Marcus WebbMarcus Webb served as a U.S. Army logistics officer for 8 years, where he managed field equipment procurement and tactical gear evaluation across three combat deployments. After honorable discharge, he earned a certification from the Professional Knife Makers Association and became a certified Wilderness First Responder (WFR). Marcus has tested over 500 EDC products in extreme environments — from -40°F in Alaska to 120°F in the Mojave Desert — using military-spec testing protocols. His reviews of multi-tools, tactical flashlights, and survival gear are known for their rigorous methodology: controlled drop tests from 6 feet, 120-minute water submersion at 2 meters, and lateral torque testing at 45 Nm. He is a member of the Blade Show judging panel and contributes to OutdoorGearLab.