How to Calibrate Your Spider Man Gadget Wrist Grapple
Learn how to assemble, calibrate, and safely deploy the SpyderTech Aero-Grapple. A complete setup guide for your functional Spider Man gadget.
The Evolution of Functional Cosplay Tech
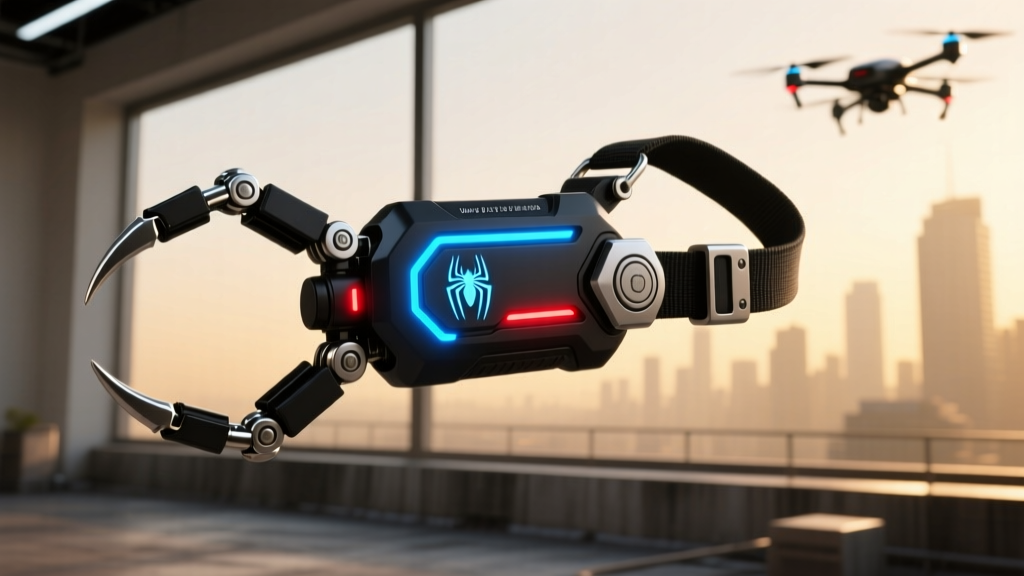
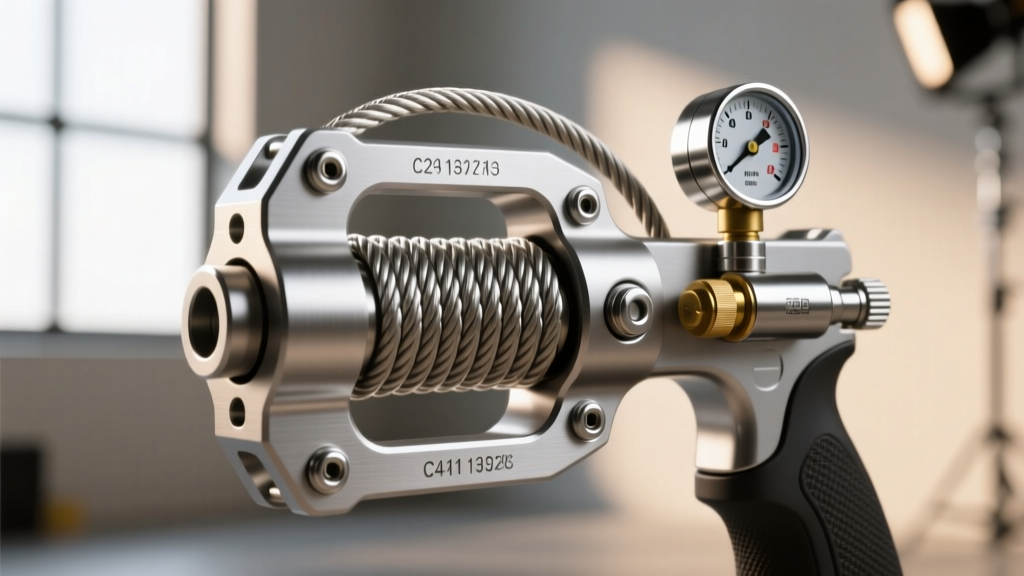
Building a functional spider man gadget has evolved far beyond static 3D-printed cosplay props. Today, the maker and tactical gear communities are engineering fully operational, pneumatically driven wrist-grapples capable of deploying magnetic anchors and supporting dynamic loads. The current gold standard for DIY enthusiasts and high-end cosplayers is the SpyderTech Aero-Grapple Mark IV kit. Priced around $480, this kit bridges the gap between movie magic and real-world physics, utilizing compressed gas and high-tensile micro-cables to create a genuinely functional zipline and retraction system.
However, assembling a pneumatic wrist-grapple is only half the battle. Proper calibration of the CO2 regulator, spool tensioning, and servo-trigger mapping are critical to ensure the device fires reliably without damaging the internal O-rings or causing cable bird-nesting. This comprehensive setup and how-to tutorial will walk you through the exact calibration process for the Mark IV, ensuring your gadget is range-ready.
Core Components and Specifications
Before breaking out the hex keys and digital pressure gauges, familiarize yourself with the hardware included in the Mark IV kit. Understanding the material limits is crucial for safe operation.
- Chassis: CNC-machined 6061-T6 aluminum with a carbon-fiber forearm strap.
- Propulsion: Dual 12g CO2 cartridge manifold with an adjustable inline regulator.
- Cable: 45 feet of 3mm Dyneema SK78 micro-cable (breaking strength: 1,200 lbs). For sourcing replacement line, McMaster-Carr offers excellent bulk options.
- Retraction: 12V 500RPM high-torque micro-winch with a silicone tension pad.
- Trigger: Arduino Nano-controlled micro-servo with a palm-mounted flex sensor.
- Max User Load: 220 lbs (strictly for horizontal ziplining and light vertical assist).
Step 1: Pneumatic Manifold Assembly and Calibration
The most common point of failure in any DIY spider man gadget is improper pressure regulation. Over-pressurizing the launch tube can shatter the magnetic anchor upon impact with steel surfaces, while under-pressurizing will result in a failed deployment.
Installing the CO2 Cartridges
- Apply a thin layer of silicone grease to the O-rings on both 12g CO2 cartridges. Never use petroleum-based lubricants, as they will degrade the rubber seals and cause catastrophic leaks.
- Thread the cartridges into the dual-manifold block. Hand-tighten until the piercing pin punctures the seal. You will hear a brief hiss; this is normal.
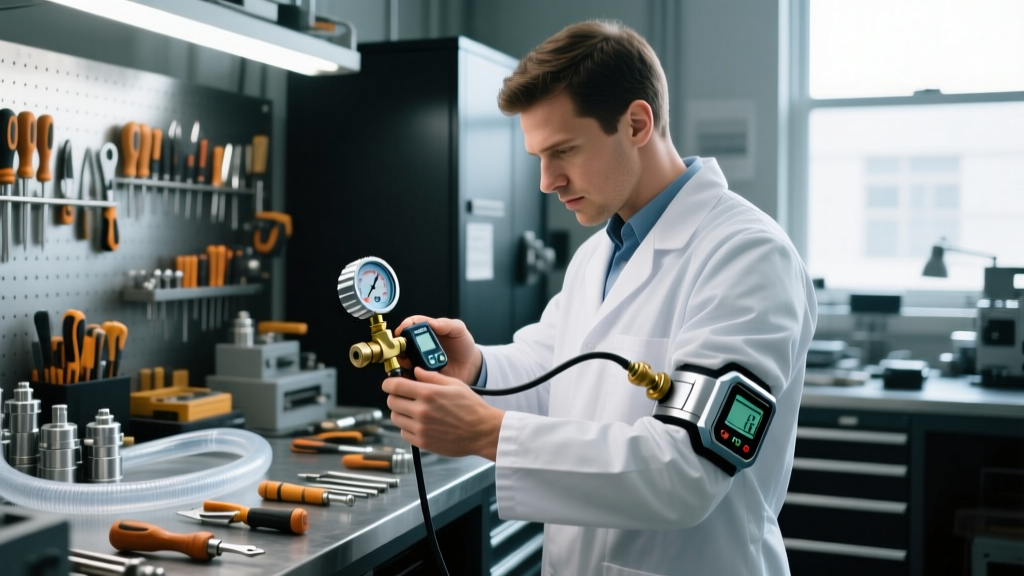
- Attach the inline digital pressure gauge to the manifold's test port.
Dialing in the PSI
The Mark IV launch tube is optimized for 450 PSI. This provides enough kinetic energy to propel the 4-ounce neodymium magnetic anchor up to 35 feet at a 45-degree angle. Turn the brass adjustment screw on the regulator clockwise to increase pressure and counter-clockwise to decrease it. Fire a test cycle into a backstop (like a heavy canvas sandbag) to verify the pressure holds steady across multiple shots without dropping below 420 PSI.
Step 2: Spooling and Tensioning the Dyneema Cable
Dyneema SK78 is incredibly strong but notoriously slippery. If the micro-winch spool isn't tensioned correctly during the initial winding, the cable will overlap itself, wedge into the spool flange, and jam the 12V motor during retraction.
The Tension-Pad Technique
Thread the 3mm cable through the PTFE guide tube and secure the terminal loop to the winch drum using the provided M2 set screw. Before engaging the motor, clamp the silicone tension pad over the cable. Apply roughly 5 lbs of manual drag as the winch spools the line. This ensures the cable lays down in a tight, uniform layer. The entire 45-foot spooling process should take exactly 54 seconds at the motor's base voltage of 11.1V.
Step 3: Arduino Trigger Mapping and Servo Delay
A functional grapple requires split-second timing between the pneumatic valve opening and the winch brake releasing. If the winch brake releases too early, the spool will over-spin and tangle. If it releases too late, the cable will snap or the anchor will rip out of the launch tube.
Connect the Mark IV's Arduino Nano to your PC via USB. Open the provided SpyderTech_GUI.exe software. You need to calibrate the flex-sensor threshold and the servo delay:
- Flex Threshold: Set the palm-sensor activation point to 45 degrees of finger curl. This prevents accidental misfires when simply bending your wrist.
- Servo Delay: Set the winch-brake release delay to 120 milliseconds. This allows the CO2 valve to fully open and the anchor to clear the muzzle before the spool begins free-wheeling.
For more advanced pneumatic timing diagrams and community-built Arduino sketches, the Hackaday pneumatics tag is an invaluable resource for maker-level engineering.
Troubleshooting Common Misfires
Even with meticulous assembly, field conditions can introduce variables that affect performance. Use this diagnostic matrix to resolve issues on the fly.
| Symptom | Probable Cause | Corrective Action |
|---|---|---|
| Anchor fails to reach 20 feet | Regulator creep or CO2 depletion | Check digital gauge; replace 12g cartridges if below 400 PSI. |
| Winch jams during retraction | Dyneema bird-nesting on spool | Unspool entirely; re-wind using the 5lb manual tension-pad drag. |
| Anchor shatters on impact | PSI set too high for target distance | Dial regulator down to 350 PSI for targets under 15 feet. |
| Flex sensor misfires randomly | Sweat/moisture on palm contacts | Wipe contacts with isopropyl alcohol; recalibrate threshold to 50 degrees. |
Critical Safety Protocols and Maintenance
It is vital to understand the physical limitations of this device. While the Dyneema cable boasts a 1,200 lb breaking strength, the dynamic shock load of a falling human body generates forces that far exceed static weight limits.
WARNING: The SpyderTech Aero-Grapple is designed for horizontal ziplining, light vertical climbing assist, and cinematic cosplay effects. It is NOT a certified fall-arrest system. Never use this gadget to catch a free-fall drop. For comprehensive guidelines on proper fall protection and dynamic load limits, always refer to OSHA's Fall Protection standards.
Post-Deployment Maintenance
After every field session, you must perform a basic maintenance routine to ensure the longevity of your gadget:
- Vent the Manifold: Depress the manual purge valve to release trapped CO2. Leaving the system pressurized for more than 24 hours will flatten the regulator diaphragm.
- Inspect the PTFE Tube: Check the internal Teflon guide tube for micro-abrasions. Dyneema is essentially a soft saw; if the tube is scored, replace it immediately to prevent cable friction burns.
- Battery Care: Disconnect the 3S 11.1V LiPo battery and store it at a nominal 3.8V per cell (storage charge) to prevent battery swelling and degradation.
Frequently Asked Questions (FAQ)
Can I use standard air compressors instead of CO2?
While you can swap the manifold for a high-pressure quick-disconnect fitting to run the gadget off a portable SCUBA tank or a 3000 PSI PCP air compressor, standard garage compressors (which max out around 150 PSI) do not provide the volumetric flow rate required to accelerate the magnetic anchor fast enough for a secure magnetic bond on impact.
What surfaces will the magnetic anchor stick to?
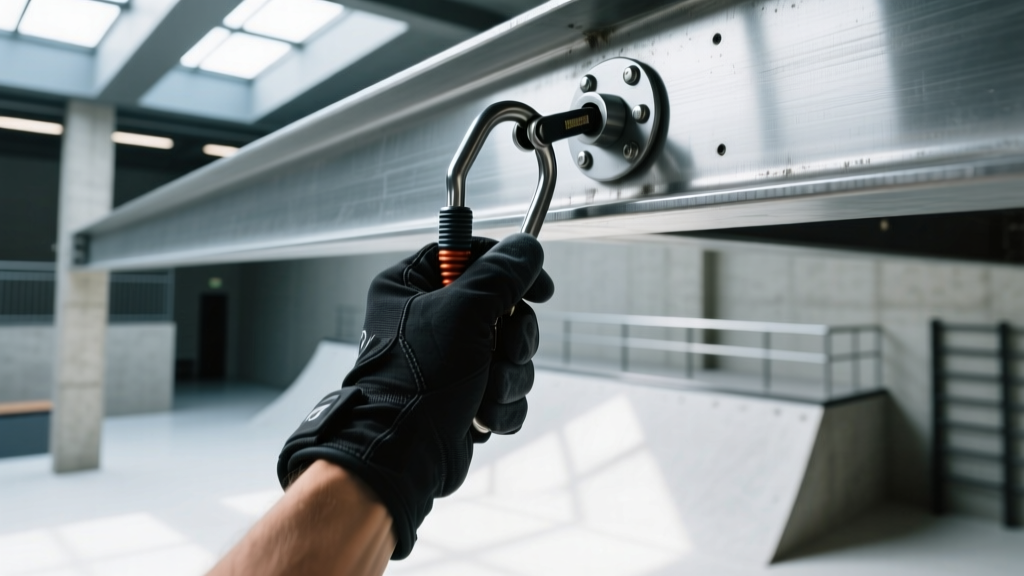
The Mark IV utilizes an N52 neodymium magnet array encased in a sacrificial urethane bumper. It requires flat, ferromagnetic surfaces (like steel I-beams, shipping containers, or industrial ductwork). It will not adhere to aluminum, stainless steel, or painted surfaces thicker than 1/8th of an inch.
Is it legal to carry this in public?
Laws regarding pneumatic launchers and grappling hooks vary wildly by jurisdiction. In most urban environments, deploying a magnetic grapple onto public or private infrastructure can result in vandalism or trespassing charges. Always restrict your testing to private parkour gyms, maker spaces, or sanctioned cosplay events.
Written by
David OkaforDavid Okafor is an ASE (Automotive Service Excellence) Master Certified Technician with 15 years of professional experience in vehicle diagnostics, aftermarket electronics installation, and fleet management. He holds an Associate Degree in Automotive Technology from Universal Technical Institute and certifications in mobile electronics (MECP Certified Installer). David has installed and reviewed over 800 car tech products — from OBD2 scanners and dash cams to full infotainment system retrofits — in vehicles ranging from economy compacts to luxury SUVs. His popular YouTube channel "AutoTech David" has over 150,000 subscribers and features detailed installation tutorials and product teardowns. He is a regular contributor to the SEMA Show's aftermarket technology showcase and advises two automotive tech startups on product development.