Essential Bread Baking Gadgets to Fix Common Dough Problems
Solve dense crumbs, burnt crusts, and sticking dough with our practical picks for the best bread baking gadgets. Expert tips and exact models inside.
The Home Baker's Plateau: Why Your Dough is Failing
Bread baking is a science disguised as an art. As we move through 2026, the home baking renaissance has shifted from casual sourdough experimentation to a pursuit of precision. Yet, even experienced home bakers frequently hit a frustrating plateau: dense crumbs, pale bottoms, dough that sticks to proofing baskets, and scoring that deflates the loaf. The solution rarely lies in changing your flour brand or kneading longer. Instead, the right bread baking gadgets act as targeted problem solvers, eliminating variables that human intuition simply cannot control.
Below, we break down the four most common bread baking failures and the specific, practical gadgets that solve them, complete with exact model numbers, real-world pricing, and edge-case warnings.
Problem 1: The "Dense Brick" Crumb (Fermentation & Mixing Failures)
A dense, gummy crumb is almost always a failure of temperature control during bulk fermentation or inadequate gluten development in high-hydration doughs. Wild yeast is incredibly sensitive to ambient temperature; a 5°F drop can double your proofing time and alter the acid profile.
The Fix: Brod & Taylor Folding Proofer (Model FP-200)
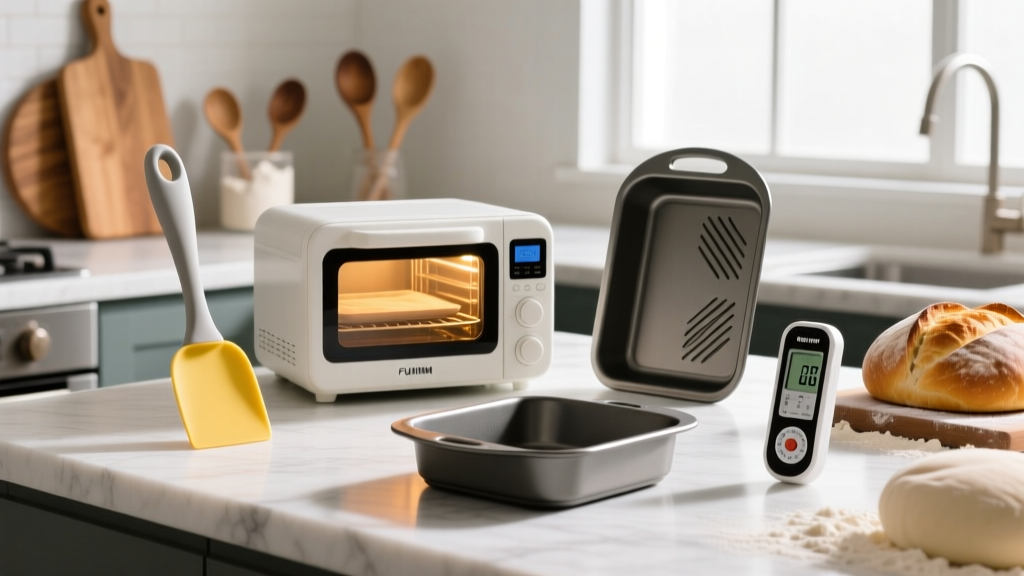
Priced at around $195, the Brod & Taylor FP-200 is not just a warming box; it is a precision fermentation chamber. It uses a PTC heating element to maintain temperatures between 70°F and 195°F with 1°F accuracy. By placing your dough inside at a strict 78°F with the included water tray for humidity, you guarantee predictable enzymatic activity.
- Real-World Insight: Do not overfill the water tray past the interior fill line. In high-humidity environments, excess water causes condensation to drip onto the dough surface, creating localized gummy spots that won't bake out.
- Alternative Use: It doubles as a slow cooker and yogurt maker, making it a high-ROI appliance for small kitchens.
The Mixing Fix: 15-Inch Danish Dough Whisk
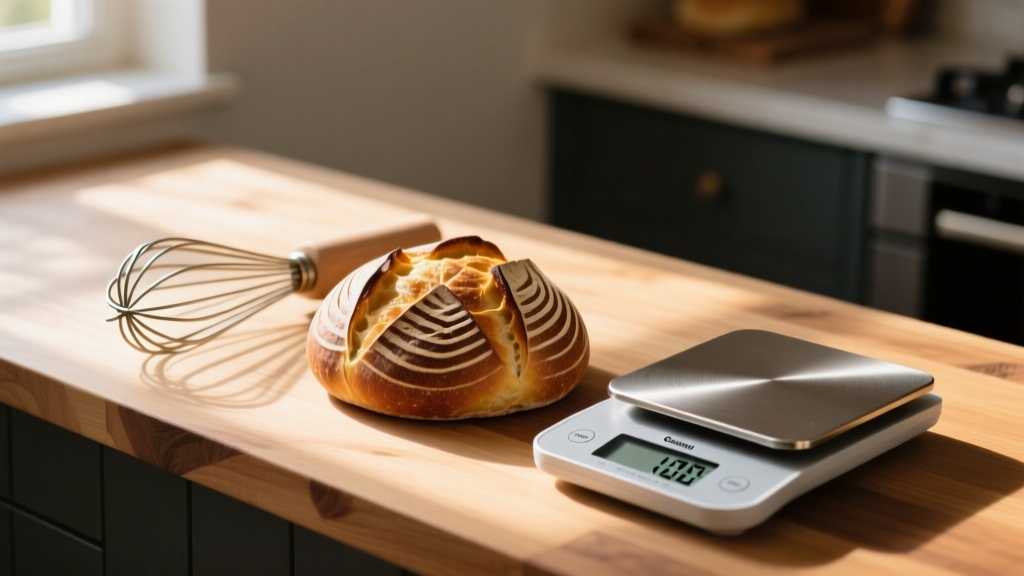
For doughs exceeding 75% hydration, stand mixers often just splash water and fail to develop the gluten network. A traditional 15-inch Danish Dough Whisk (specifically the stainless steel model with a beechwood handle, ~$12) cuts through stiff batters without clumping. The unique coil design traps dry flour pockets that a dough hook would simply push to the edges of the bowl.
Pro Tip: According to King Arthur Baking, controlling your dough temperature (DDT) to exactly 78°F post-mix is the single highest-impact variable for an open, airy crumb. Use the proofer to maintain this, not just to speed up the rise.
| Target Temp | Est. Bulk Time | Flavor Profile | Crumb Structure |
|---|---|---|---|
| 72°F (Cool Room) | 6 - 8 Hours | Mild, complex, high acetic acid | Tight, uniform |
| 78°F (Proofer) | 3.5 - 4.5 Hours | Balanced, lactic forward | Open, irregular alveoli |
| 85°F (Warm) | 2 - 3 Hours | Sharp, highly acidic | Wild, uneven, risk of overproof |
Problem 2: The Burnt or Pale Bottom Crust
If your bread has a beautiful, caramelized top but a pale, soft, or conversely, charred bottom, your oven's thermal mass distribution is to blame. Standard home ovens cycle their heating elements on and off, creating massive temperature swings that ruin bottom crust development.
The Fix: The Original Baking Steel (1/4-Inch Thick)
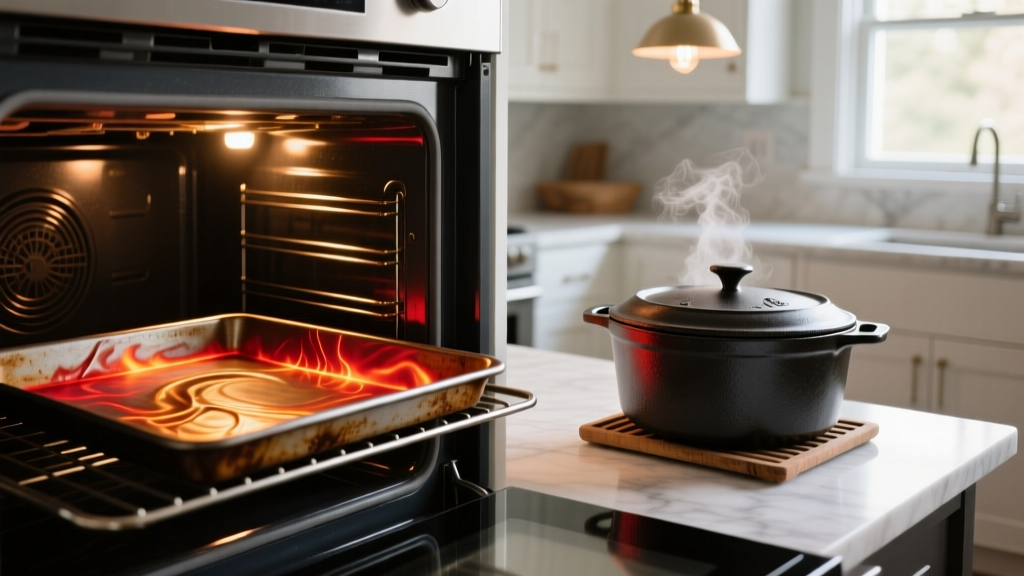
Forget ceramic pizza stones. As detailed in comprehensive tests by Serious Eats, steel is roughly 18 times more thermally conductive than cordierite ceramic. The Original Baking Steel (16" x 14" x 1/4", ~$110) acts as a massive heat sink. When preheated at 500°F for a full 60 minutes, it blasts the bottom of your dough with intense, immediate radiant heat, ensuring a robust oven spring and a deeply caramelized, shattering bottom crust.
Edge Case Warning: Thermal Shock & Rust
Never place a cold Baking Steel into a blazing hot oven, and never let acidic ingredients (like tomato sauce) sit on it post-bake, as this will strip the seasoning and cause immediate flash-rust. Clean it dry, like a cast-iron skillet, and re-season with flaxseed oil annually.
Problem 3: Dough Sticking and Scoring Disasters
There is nothing more heartbreaking than watching a beautifully proofed loaf tear apart because it stuck to the banneton, or deflating entirely because your blade dragged during scoring.
The Fix: Linen-Lined Bannetons & The UFO Lame
While rattan bannetons are traditional, they are a nightmare for doughs over 80% hydration. Switch to Breadtopia's Linen-Lined Proofing Baskets (~$25). The linen provides a superior moisture-wicking barrier. Always dust the linen with a 50/50 mix of all-purpose flour and rice flour; rice flour lacks gluten and will not absorb into the dough's surface moisture, guaranteeing a clean release.
For scoring, ditch the flimsy plastic-handled lames. The Wire Monkey UFO Bread Lame ($14) is a machined aluminum disc that holds a standard double-edge razor blade. Its weighted, ergonomic design forces your hand into the correct posture.
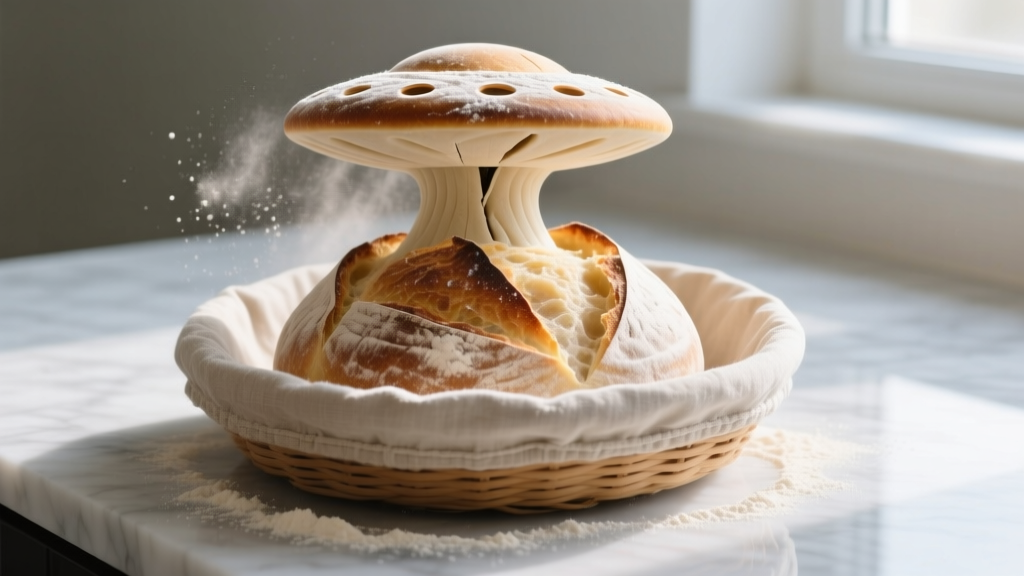
- The 30-Degree Rule: To get a pronounced "ear" on your boule, the UFO lame must be held at a 30-degree angle to the dough surface, slicing just 1/4-inch deep. Holding it at 90 degrees (straight down) will cause the blade to drag, tearing the gluten network and deflating high-hydration loaves.
Problem 4: The Baker's Math Failure
Professional bakers use Baker's Percentages (where flour is always 100%) to scale recipes flawlessly. Doing this math on your phone while your hands are covered in dough is a recipe for disaster. A standard kitchen scale forces you to calculate hydration manually, leading to rounding errors that compound in large batches.
The Fix: My Weigh KD8000 Digital Scale
The My Weigh KD8000 (~$55) is the undisputed workhorse of commercial and serious home bakeries. Its killer feature is the dedicated Baker's Math / Percentage button. You weigh your flour, press the "%" button to lock it as 100%, and as you pour in water, the screen displays the hydration percentage in real-time. If you need 75% hydration, you simply pour until the screen reads 75%.
Edge Case: The KD8000 has an aggressive auto-shutoff feature to save battery. If you are doing a slow, multi-stage autolyse, leave the scale in "Percentage Mode" rather than standard gram mode, as the internal firmware keeps the screen awake significantly longer when calculating ratios.
Problem-Solver Decision Matrix
Not every baker needs every tool. Use this framework to invest in the gadgets that solve your specific bottlenecks.
| Your Primary Frustration | The Gadget Solution | Approx. Cost | Impact Level |
|---|---|---|---|
| Inconsistent proofing / dense crumb | Brod & Taylor FP-200 Proofer | $195 | Transformative |
| Pale, chewy, or burnt bottom crust | Original 1/4" Baking Steel | $110 | High |
| Dough sticking / tearing during scoring | Linen Banneton + UFO Lame | $39 | High |
| Scaling recipes / hydration errors | My Weigh KD8000 Scale | $55 | Medium-High |
Frequently Asked Questions
Can I use a Dutch oven instead of a Baking Steel?
Yes, a cast-iron Dutch oven (like the Lodge 5-Quart, ~$50) traps steam beautifully for oven spring. However, a Baking Steel is superior for free-form batards, ciabatta, and pizzas where a Dutch oven's shape is restrictive. Many 2026 setups use a Baking Steel on the bottom rack for radiant heat, with a steam pan or cloche on top.
How do I clean a linen-lined banneton without ruining it?
Never wash a linen-lined banneton with water or soap. After turning out your dough, let the basket dry completely in a warm, airy spot. Once dry, use a stiff-bristled pastry brush to scrub away the dried flour and rice flour residue. Store it in a dry, well-ventilated area to prevent mold.
Where can I find replacement blades for the UFO Lame?
The UFO Lame uses standard, universally available double-edge safety razor blades (like Astra or Derby brands). A pack of 100 blades costs about $8 and will last a home baker several years, provided you swap the blade every 3 to 4 loaves to ensure the scoring edge remains microscopically sharp.
For more deep-dives into proofing techniques and advanced shaping methods, the Breadtopia Baking Guides remain an invaluable, free resource for troubleshooting specific dough behaviors. Ultimately, upgrading your toolkit with these targeted bread baking gadgets shifts the baking process from a game of chance to a repeatable, delicious science.
Written by
Ryan TanakaRyan Tanaka holds a B.S. in Mechanical Engineering from Oregon State University and is a certified AWS Solutions Architect. He has built over 80 custom electronics projects ranging from CNC machines to IoT sensor networks, and has reviewed development boards, 3D printers, soldering equipment, and maker tools for the past 6 years. Ryan is an active contributor to 12 open-source hardware projects on GitHub and teaches monthly workshops at three hackerspaces across the Pacific Northwest. His reviews combine engineering rigor with accessibility — he evaluates products not just on specs but on documentation quality, community support, and learning curve for beginners. He has presented at Maker Faire Bay Area, Open Hardware Summit, and the Adafruit community showcase, and maintains a popular blog documenting his build processes.