Setting Up Essential Kitchen Gadgets for Meal Prep Portioning
Master your weekly menu with this setup guide for essential kitchen gadgets. Learn to calibrate scales, configure storage, and automate portioning.
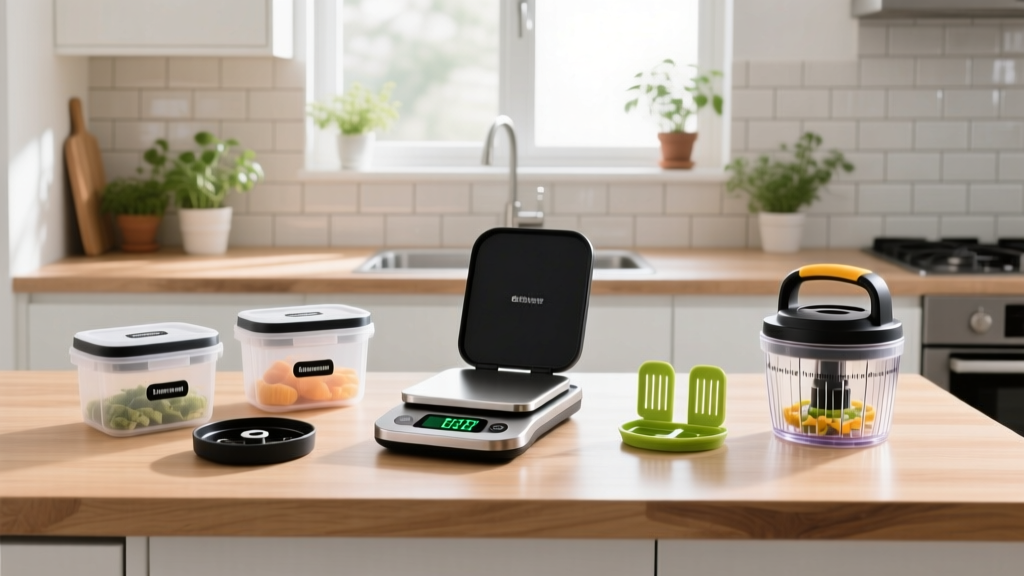
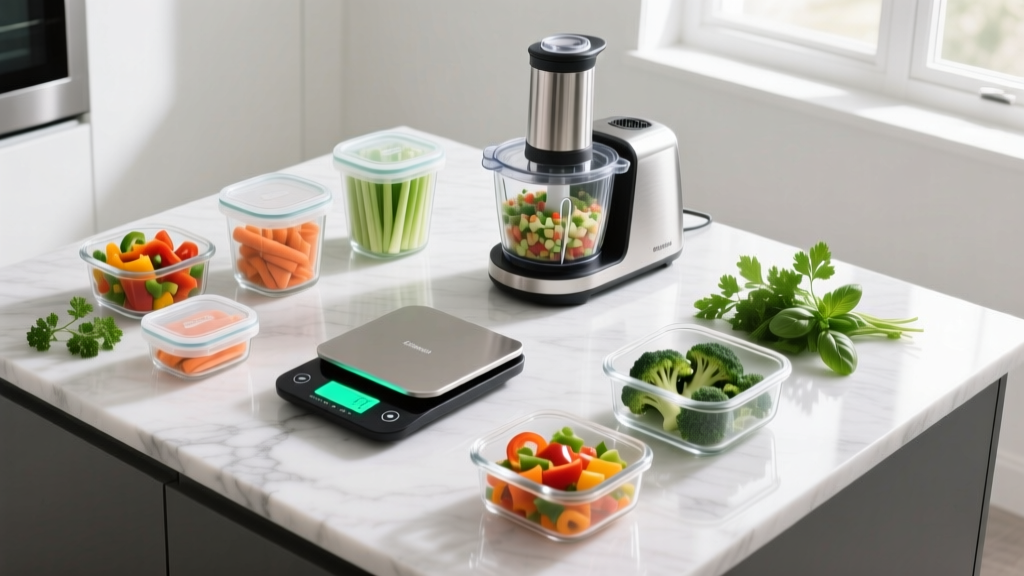
The Architecture of a High-Efficiency Meal Prep Station
Transitioning from reactive daily cooking to proactive weekly meal prep requires more than just willpower; it demands a physical infrastructure optimized for speed, precision, and food safety. When configuring your kitchen for high-volume weekly cooking, selecting the right essential kitchen gadgets transforms a chaotic Sunday chore into a streamlined assembly line. According to the Centers for Disease Control and Prevention (CDC), environmental cues like plate size and package volume directly dictate consumption, making precise gadget-assisted portioning a non-negotiable health lever for managing caloric intake and macronutrient ratios.
This guide details the exact setup, calibration, and operational workflows for the core portioning and prep gadgets required to build a high-efficiency meal prep station. We will bypass generic advice and focus on material science, motor specifications, and real-world failure modes.
Step 1: Calibrating Your Digital Portioning Ecosystem
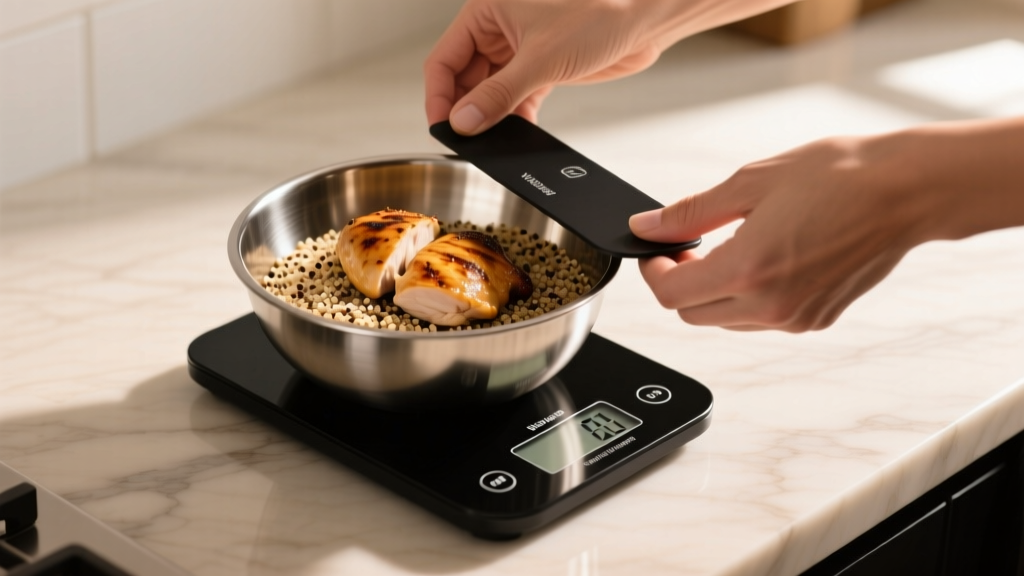
The foundation of any portioning system is the digital kitchen scale. Visual estimation consistently underestimates caloric density by 20% to 50%, particularly with fats and nuts. To establish an accurate portioning baseline, you must deploy a scale with 1-gram resolution and a minimum 5-kilogram (11 lb) capacity. The Greater Goods Slim Digital Kitchen Scale ($25) or the OXO Good Grips 11 lb Stainless Steel Scale ($40) are optimal starting points.
Scale Placement and Sensor Drift
Load cells in digital scales are highly sensitive to surface rigidity. Placing your scale on a silicone baking mat, a folded kitchen towel, or an uneven grout line will absorb downward force, resulting in a 5% to 12% under-reading. Always position the scale directly on a hard, level countertop (quartz, granite, or sealed hardwood). If your scale consistently reads 2g to 3g lighter than a known calibration weight, replace the AAA batteries immediately; low voltage is the primary cause of micro-drift in strain-gauge sensors.
Step 2: Configuring Modular Storage for Macro-Balanced Meals
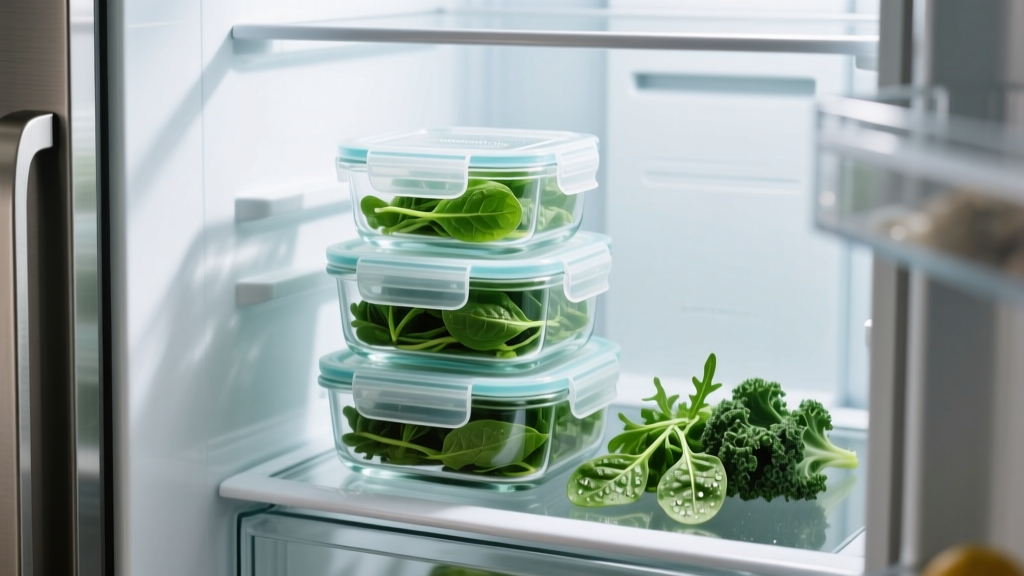
Once food is weighed, it must be stored in vessels that preserve structural integrity and prevent chemical leaching. The Harvard T.H. Chan School of Public Health emphasizes visual proportion guidelines for meals, which translates physically to selecting containers with specific volume-to-surface-area ratios. Avoid BPA-free plastics (Tritan or polypropylene) for hot foods; even BPA-free polymers can release microplastics and endocrine-disrupting additives when exposed to temperatures above 160°F (71°C) or acidic ingredients like tomato sauce.
Specify borosilicate glass containers, such as the Prep Naturals 10-Pack ($35). Borosilicate glass contains boron trioxide, giving it a near-zero coefficient of thermal expansion. This allows it to withstand thermal shock up to 300°F, meaning you can transfer 400°F roasted vegetables directly from the oven into the container without micro-fracturing the base.
| Container Volume | Optimal Meal Architecture | Max Protein Capacity | Lid Material Requirement |
|---|---|---|---|
| 2-Cup (16 oz) | Dense grain bowls, overnight oats, snack portions | 6 oz (170g) | Silicone gasket, snap-lock |
| 3-Cup (24 oz) | Standard protein + complex carb + fibrous veg | 8 oz (226g) | Silicone gasket, snap-lock |
| 4-Cup (32 oz) | High-volume salads, soups, marinated meats | 12 oz (340g) | Vented steam release (if microwaving) |
Step 3: Automating the Chop and Dice Pipeline
Manual knife work is the primary bottleneck in meal prep. Automating the reduction of aromatics, vegetables, and nuts requires a dedicated food processor. For high-frequency prep, the Cuisinart DLC-2AMR Mini-Prep Plus Processor ($40) or the Breville BFP800XL Sous Chef ($400) for heavy-duty volume are the standard bearers.
Blade Selection and RPM Settings for Texture Control
The most common failure mode when using a food processor for meal prep is over-processing, turning diced onions into an oxidized, watery paste. To maintain cellular integrity in vegetables (which preserves crunch and slows moisture weeping in storage), you must master pulse mechanics.
- Aromatics (Garlic, Shallots): Use the sharp edge of the S-blade. Execute 1-second pulses, scraping the bowl edges with a silicone spatula every 3 pulses. Total time: 4-6 seconds.
- Hard Vegetables (Carrots, Sweet Potatoes): Cut into 1-inch uniform chunks before dropping into the hopper. Use 2-second pulses. The kinetic energy of the blade will shatter the rigid cell walls cleanly rather than bruising them.
- Emulsifications (Tahini dressings, pesto): Switch to the blunt edge of the reversible blade (if applicable) or run the sharp blade on continuous high. The continuous vortex is required to suspend lipid droplets in the aqueous base.
Step 4: Vacuum Sealing and Shelf-Life Extension
For meal prep that extends beyond four days, standard snap-lock lids fail to prevent aerobic degradation and freezer burn. Vacuum sealing removes atmospheric oxygen, halting the proliferation of aerobic spoilage bacteria and preventing lipid oxidation in cooked meats. The Anova Precision Vacuum Sealer Pro ($130) features a dual-pump system and a dedicated 'Moist' setting, which is critical for prepped meals.
"When sealing foods with high liquid content, such as marinated chicken or stews, the vacuum pressure will pull the liquid into the pump chamber, causing catastrophic motor failure. Always pre-freeze liquid-heavy meals in an open container for 90 minutes until a semi-solid crust forms before applying the vacuum seal." — Food Safety Engineering Guidelines
The USDA Food Safety and Inspection Service mandates that prepped meals must be cooled to 40°F within two hours of cooking to prevent the proliferation of Clostridium perfringens. Vacuum sealing accelerates this cooling process by eliminating the insulating layer of air inside the bag, allowing rapid thermal transfer when placed in an ice bath or blast chiller.
Troubleshooting Common Portioning and Prep Failures
Even with premium equipment, operational errors can compromise your weekly prep. Use this diagnostic matrix to resolve common hardware and workflow issues.
Diagnostic Matrix: Prep Station Errors
- Symptom: Scale reading fluctuates by 1-2 grams while food is stationary.
Cause: Air currents from HVAC vents or overhead fans interfering with the load cell.
Fix: Relocate the scale away from direct airflow, or use a scale with a built-in draft shield. - Symptom: Glass container lids warp and fail to seal after dishwasher cycles.
Cause: Dishwasher heating elements exceed 160°F, warping the polypropylene lid base and destroying the silicone gasket channel.
Fix: Hand-wash lids in warm soapy water. Only place the borosilicate glass bases on the bottom dishwasher rack. - Symptom: Vacuum seal fails to hold; bag inflates after 24 hours.
Cause: Micro-punctures from sharp bone edges (e.g., bone-in chicken thighs) or bone-dry spices piercing the embossed bag.
Fix: Wrap bone-in proteins in a layer of parchment paper before bagging, or use heavy-duty 4-mil puncture-resistant mylar bags with a chamber sealer. - Symptom: Food processor leaves large, unchopped chunks at the bottom of the bowl.
Cause: Overfilling the work bowl past the 'Max Liquid' or 'Max Solid' fill lines, preventing the vortex from pulling bottom-layer food into the blade path.
Fix: Process in batches no larger than 2/3 of the bowl's total volume.
By treating your kitchen not as a casual cooking space, but as a calibrated manufacturing environment, you eliminate the friction that causes meal prep routines to collapse by week three. Precision scales, thermally stable glass, automated reduction tools, and atmospheric sealing form the exact hardware stack required to execute a flawless, macro-accurate weekly menu.
Written by
Marcus WebbMarcus Webb served as a U.S. Army logistics officer for 8 years, where he managed field equipment procurement and tactical gear evaluation across three combat deployments. After honorable discharge, he earned a certification from the Professional Knife Makers Association and became a certified Wilderness First Responder (WFR). Marcus has tested over 500 EDC products in extreme environments — from -40°F in Alaska to 120°F in the Mojave Desert — using military-spec testing protocols. His reviews of multi-tools, tactical flashlights, and survival gear are known for their rigorous methodology: controlled drop tests from 6 feet, 120-minute water submersion at 2 meters, and lateral torque testing at 45 Nm. He is a member of the Blade Show judging panel and contributes to OutdoorGearLab.