Building DIY Aircraft Gadgets: A Raspberry Pi ADS-B Setup Guide
Learn to build DIY aircraft gadgets using a Raspberry Pi and RTL-SDR. This step-by-step Stratux ADS-B setup guide is perfect for experimental avionics.
The Maker’s Approach to Experimental Avionics
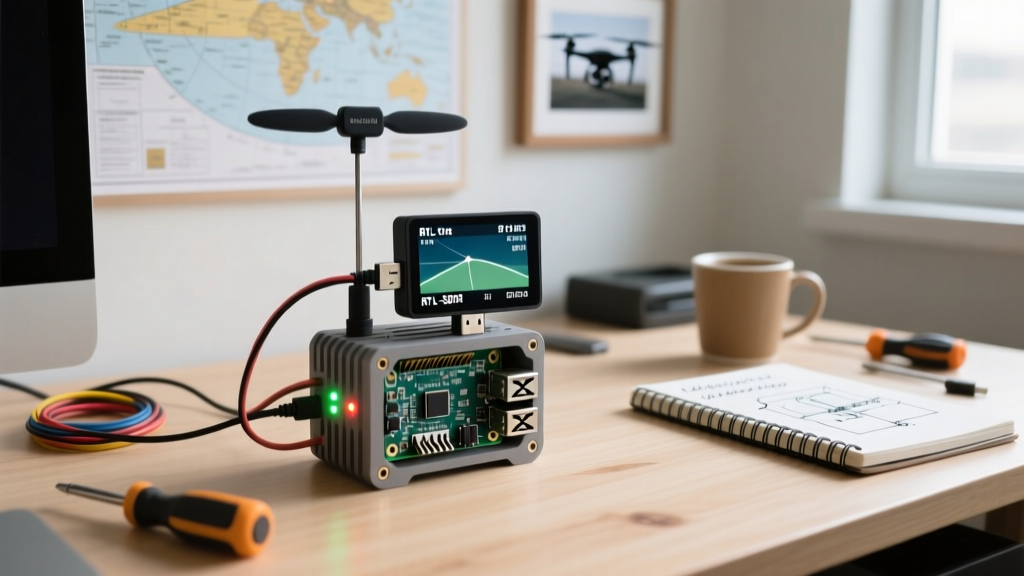
For homebuilt aircraft enthusiasts, RC drone operators, and general aviation hackers, commercial avionics can be prohibitively expensive. A certified ADS-B (Automatic Dependent Surveillance-Broadcast) receiver from legacy manufacturers can easily cost between $800 and $1,200. However, the open-source maker community has revolutionized this space. By building your own aircraft gadgets using off-the-shelf maker components, you can achieve 90% of the functionality for a fraction of the price.
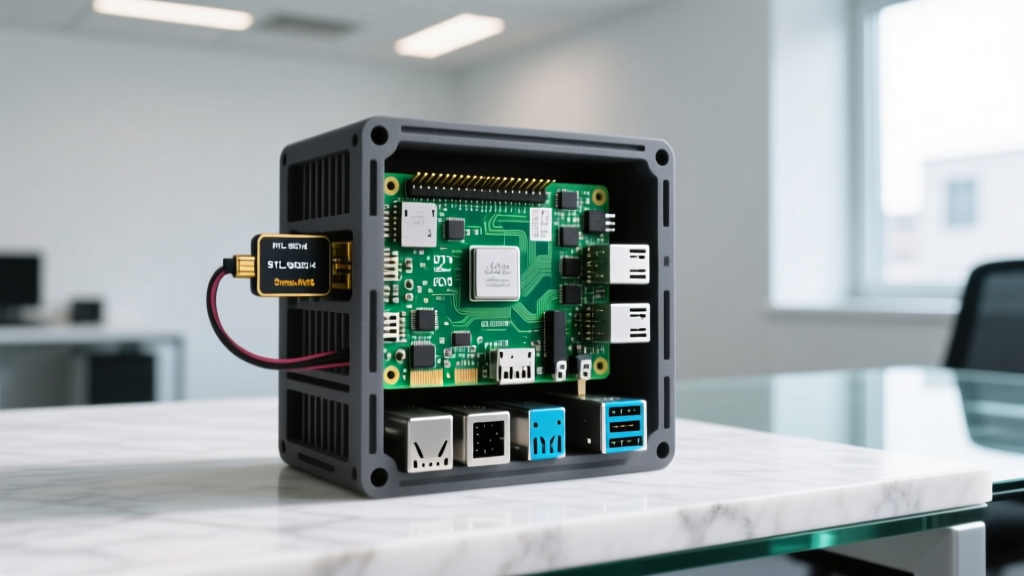
In this comprehensive setup tutorial, we will walk through building a custom ADS-B and AHRS (Attitude and Heading Reference System) receiver using the open-source Stratux project. As we navigate the avionics landscape in 2026, the combination of a Raspberry Pi 4, an RTL-SDR V4 software-defined radio, and a 3D-printed enclosure remains the gold standard for DIY experimental aircraft gadgets.
Bill of Materials (BOM) for a 2026 Stratux Build
Before diving into the soldering iron and terminal commands, you need to source the correct hardware. The Stratux software is highly modular, but for a full-featured DIY aircraft gadget, you will need the following components:
| Component | Specific Model / Version | Est. Price (2026) | Purpose |
|---|---|---|---|
| Compute Module | Raspberry Pi 4 Model B (4GB RAM) | $55.00 | Core processing and Wi-Fi broadcasting |
| SDR Dongle | RTL-SDR Blog V4 R860 Tuner | $35.00 | Receiving 1090MHz ADS-B signals |
| Sensor Board | Stratux AHRS (ICM-20948) | $28.00 | Pitch, roll, and heading telemetry |
| GPS Module | VK-172 u-blox 7/8 USB GPS | $18.00 | Ownship position and ground speed |
| Power Supply | 12V to 5V 3A Step-Down Converter | $12.00 | Safe integration with aircraft 12V/24V bus |
| Storage | Samsung EVO Select 64GB microSD | $10.00 | OS and flight data logging |
Total Estimated Cost: $158.00 — a massive saving compared to commercial alternatives like the Garmin GDL 50 or Sentry ADS-B units.
Step 1: Hardware Assembly and Thermal Management
The environment inside an unpressurized experimental aircraft cockpit can exceed 120°F (49°C) during summer ground operations. Thermal throttling is the number one cause of failure in DIY aircraft gadgets.
GPIO and I2C Configuration
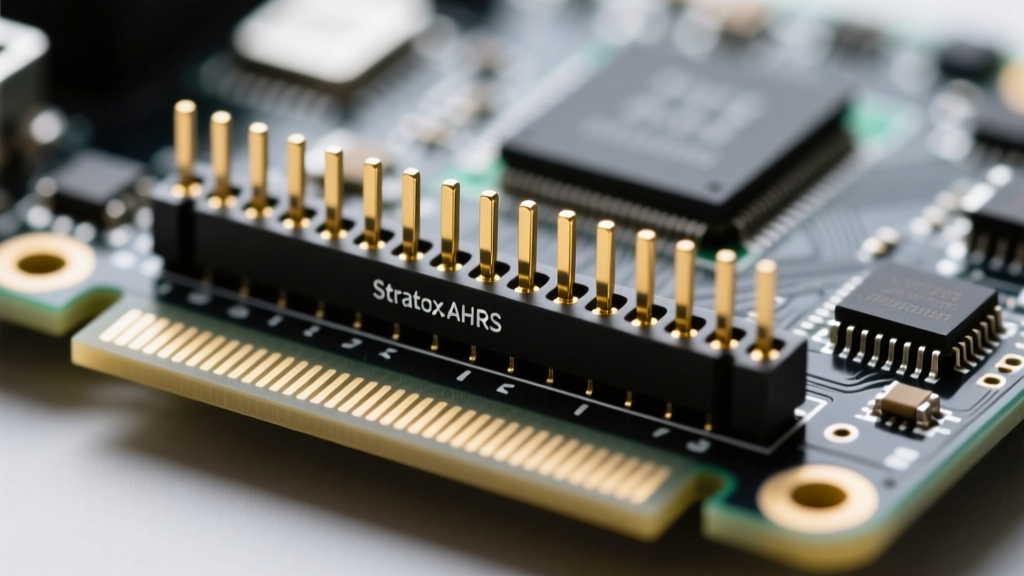
The Stratux AHRS board communicates via the I2C bus. Carefully align the 40-pin header on the AHRS board with the Raspberry Pi 4 GPIO pins. Ensure the board sits flush. Do not use standard 3D-printed PLA standoffs, as they will deform under heat; use brass M2.5 standoffs (15mm length) to secure the Pi to your baseplate.
Next, apply a 0.5mm thick thermal pad (such as Thermal Grizzly Minus Pad 8) directly to the Raspberry Pi 4 CPU and the RTL-SDR V4 metal casing. The RTL-SDR V4 runs significantly cooler than the older V3 models, but in an enclosed avionics bay, every degree of thermal dissipation matters.
Step 2: 3D Printing a Cockpit-Ready Enclosure
Off-the-shelf project boxes rarely account for the specific RF (Radio Frequency) transparency and airflow requirements of SDR dongles. As a maker, 3D printing your own enclosure is the optimal path.
Maker Pro-Tip: Never use PLA for aviation gadgets. The glass transition temperature of PLA is roughly 140°F (60°C). A closed cockpit on a tarmac in July will warp your enclosure and crush the USB connectors. Always print avionics housings in ASA or PETG.
Search repositories like Printables or Thingiverse for 'Stratux V4 Enclosure'. When slicing your model, use the following parameters for optimal durability and RF performance:
- Material: ASA (Acrylonitrile Styrene Acrylate)
- Infill: 20% Gyroid (provides excellent multi-directional strength)
- Perimeters: 3 walls for structural rigidity
- Supports: Tree supports for the SDR USB cutouts to minimize post-processing
Ensure your design includes a 30mm cutout for a 5V Noctua NF-A4x10 FLX fan. Active cooling is highly recommended for continuous 4-hour flight operations.
Step 3: Flashing the Stratux Image and Network Config
With the hardware assembled, it is time to configure the software brain of your aircraft gadgets. The Stratux open-source project provides pre-compiled images that make this process seamless.
- Download the latest stable Stratux `.img` release from the official GitHub repository.
- Use balenaEtcher to flash the image onto your 64GB Samsung microSD card.
- Insert the microSD into the Raspberry Pi and connect it to a 5V 3A USB-C power supply for initial bench testing.
- Using your laptop or tablet, connect to the default Wi-Fi network broadcasted by the Pi (usually named
stratuxwith the default passwordFLYSAFE8). - Open a browser and navigate to
http://192.168.10.1to access the Stratux WebUI.
Configuring the RTL-SDR V4 Bias-T
The 2026 firmware updates for Stratux natively support the RTL-SDR V4's built-in Bias-T. If you are using an active LNA (Low Noise Amplifier) on your ADS-B antenna to boost reception in high-wing aircraft, navigate to the Settings tab in the WebUI and toggle 'Enable Bias-T' to ON. This sends 4.5V up the coaxial cable to power your LNA without needing a separate injector.
Step 4: EFB Integration and Antenna Placement
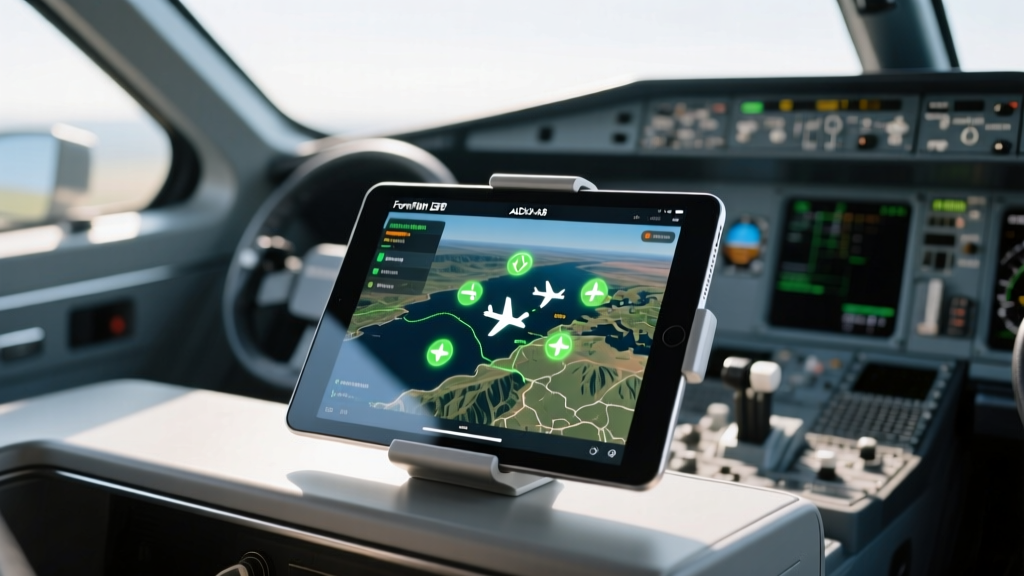
An ADS-B receiver is only as good as the Electronic Flight Bag (EFB) it feeds. Whether you use ForeFlight, Garmin Pilot, or the open-source Avare app for Android, the integration relies on a standardized GDL90 Wi-Fi protocol.
Antenna Placement Strategy
RF shielding from the aircraft's aluminum skin or carbon fiber fuselage will cripple your DIY gadget's range. According to FAA ADS-B installation guidelines, antenna placement is critical for line-of-sight reception.
- 1090MHz ADS-B Antenna: Mount on the top of the fuselage, clear of the propeller arc and strobe lights. Use an N-type connector with LMR-240 coaxial cable to minimize signal loss over distance.
- GPS Puck: Must have a clear view of the sky. If your cockpit is heavily tinted or features a heated windshield (which contains RF-blocking metallic elements), mount the GPS puck externally or on the rear parcel shelf.
Troubleshooting Common Telemetry Dropouts
Even the best-built DIY aircraft gadgets can suffer from environmental interference. Here is a diagnostic framework for common issues:
If your EFB tablet keeps dropping the connection to the Stratux unit, check your iPad/Android tablet's Bluetooth and Cellular settings. Cellular radios searching for towers at 5,000 feet can cause internal EMI (Electromagnetic Interference) that degrades the tablet's 2.4GHz Wi-Fi receiver. Fix: Force your tablet to use the 5GHz Wi-Fi band via the Stratux WebUI settings.
- Issue: AHRS pitch/roll is drifting wildly.
Fix: The ICM-20948 sensor requires a flat, level mounting surface parallel to the aircraft's longitudinal axis. Recalibrate via the WebUI while the aircraft is parked on a perfectly level surface. - Issue: Zero ADS-B targets visible, but GPS is locked.
Fix: Check your coaxial cable continuity. A common maker mistake is crimping the center pin of the SMA connector too tightly, shorting it to the outer shielding. Use an SWR meter to verify the antenna circuit.
Frequently Asked Questions
Is it legal to use DIY aircraft gadgets in certified aircraft?
No. Under FAR Part 23, any avionics installed in a certified aircraft must carry a TSO (Technical Standard Order) certification. DIY Stratux units are strictly for experimental, amateur-built (E-AB) aircraft, or for use as portable, non-primary situational awareness tools in certified planes (meaning you cannot legally rely on them for IFR separation or primary navigation). Always consult your local Experimental Aircraft Association (EAA) chapter for specific airworthiness directive compliance.
How much current does this setup draw from the aircraft bus?
A fully loaded Raspberry Pi 4 with the RTL-SDR V4, GPS, and AHRS board active will draw approximately 1.8 to 2.2 Amps at 5V. When wiring this into a 12V or 24V aircraft electrical bus, ensure you use an isolated DC-DC buck converter rated for at least 5 Amps to handle transient voltage spikes during engine cranking, and always include an inline 3A automotive fuse.
Can I add a second SDR for UAT (978MHz)?
Yes. The Stratux software supports dual-SDR configurations. By adding a second RTL-SDR V4 dongle via a powered USB 2.0 hub, you can simultaneously monitor 1090ES (commercial jets/high altitude) and 978MHz UAT (general aviation/low altitude weather FIS-B). Just ensure your 3D-printed enclosure has adequate ventilation for the extra thermal load.
Written by
Tom ReynoldsTom Reynolds holds a CFA (Chartered Financial Analyst) designation and a B.S. in Finance from the University of Texas at Austin. Before entering tech journalism, he spent 6 years as a quantitative analyst at a hedge fund, building cost-benefit models for consumer product investments. Tom has maintained a proprietary database of over 10,000 tech deals for the past 8 years, developing his signature "penny-per-feature" evaluation framework that calculates the true value proposition of every gadget. His budget gadget reviews are known for their financial rigor — he tracks price history across 15+ retailers, calculates cost-per-use over 3-year lifespans, and identifies the exact inflection point where premium features justify their markup. Tom's deal alerts have saved his readers an estimated .3 million since 2018.