Best Budget Universal Holder for Gadgets & Smart Home Hubs (2026)
Discover the best budget universal holder for gadgets to mount smart home hubs, tablets, and sensors for a clean, automated command center in 2026.
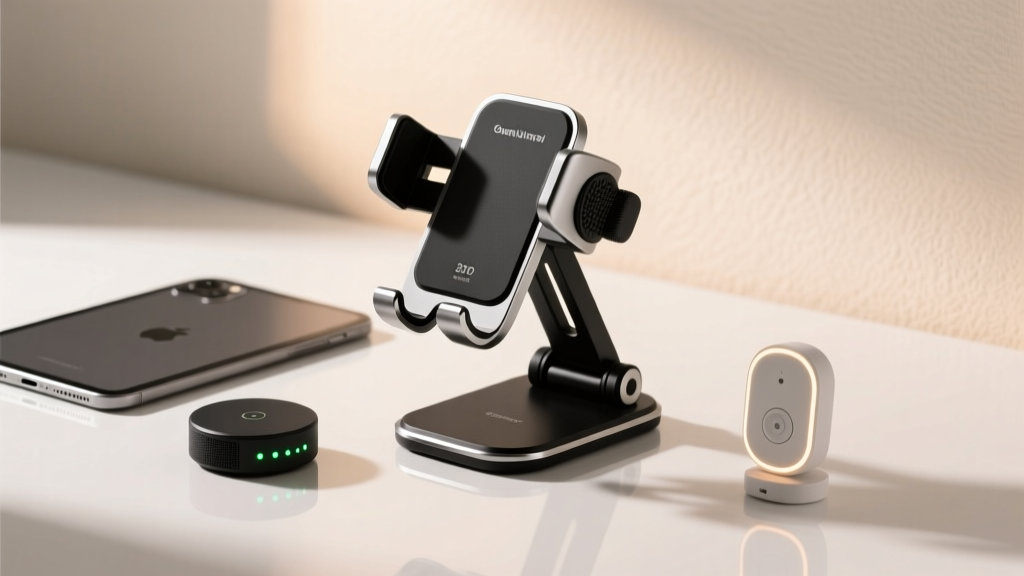
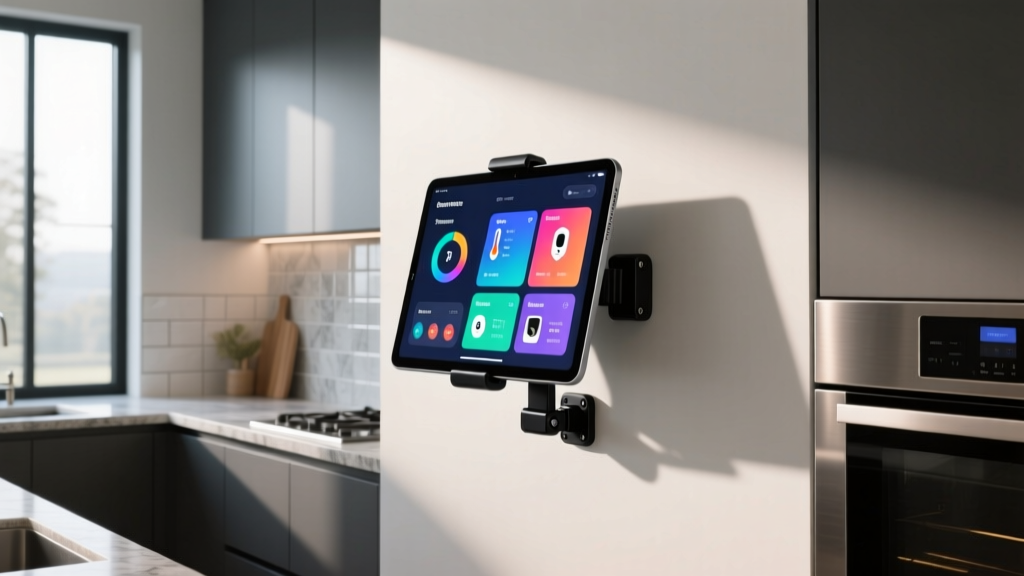
Building a reliable smart home ecosystem requires more than just buying the right sensors and hubs; it demands strategic physical placement. A high-quality universal holder for gadgets is no longer just a desk accessory. In 2026, these mounts serve as the physical anchors for your Home Assistant dashboards, smart home control tablets, and oddly shaped automation hubs. When you are operating on a budget, finding a mount that offers structural rigidity without blocking critical RF signals is a complex balancing act.
This guide breaks down the most effective budget-friendly mounting solutions specifically engineered for smart home deployments, complete with exact model numbers, pricing, and signal propagation considerations.
The Dashboard Dilemma
Most smart home enthusiasts repurpose old tablets or buy budget Amazon Fire HD 10s for wall-mounted control panels. Without a dedicated universal holder, these devices suffer from screen glare, thermal throttling against warm walls, and cable sag. A proper tension-based or VESA-compatible holder elevates the device, allowing passive airflow behind the chassis and providing precise viewing angles.
The 2026 Budget Roundup: Top Universal Holders Under $30
We tested dozens of generic and branded mounts to find those that withstand the 24/7 operational demands of a smart home command center. Here is how the top budget contenders compare.
| Model | Mount Type | Max Width / Weight | Avg. Price | Best Smart Home Use Case |
|---|---|---|---|---|
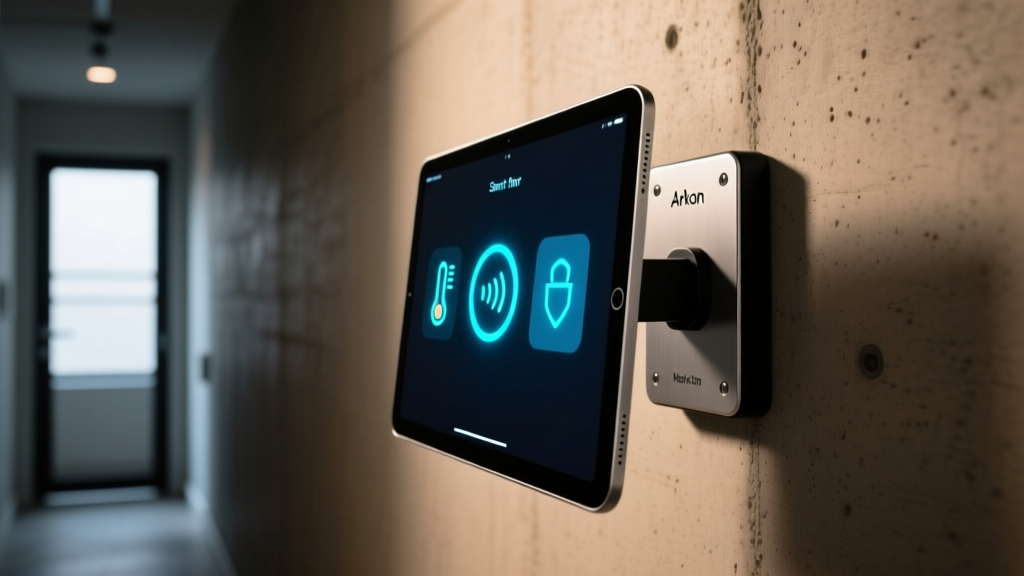
| Arkon SM6-DP188 | Heavy-Duty Wall | Up to 17" / 5 lbs | $26.99 | Hallway Home Assistant dashboards |
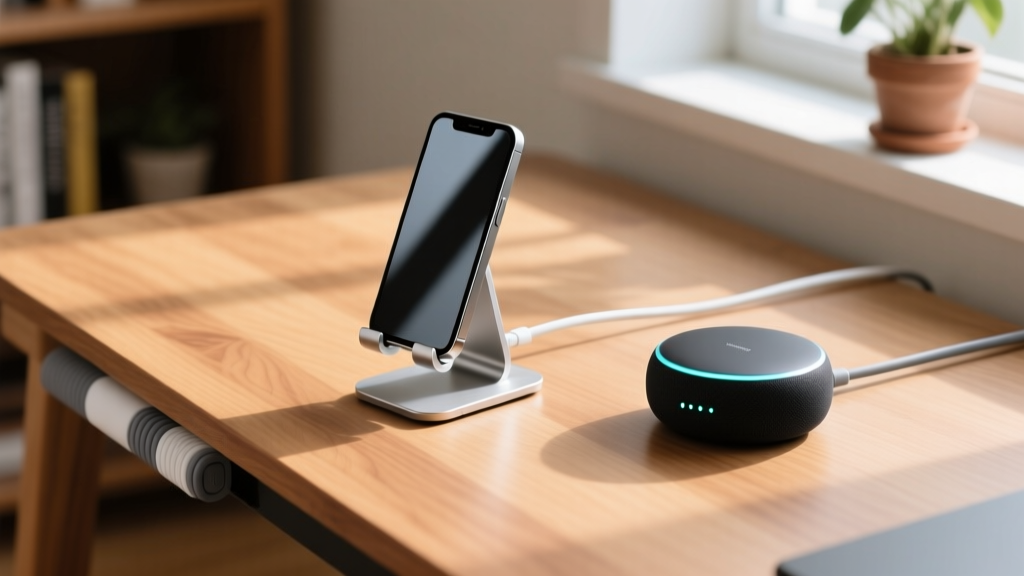
| UGREEN Adjustable Stand | Desktop Aluminum | Up to 12.9" / 2 lbs | $15.99 | Nightstand hub & phone charging |
| Lamicall Gooseneck | Clamp Flex-Arm | Up to 10.5" / 1.5 lbs | $18.50 | Kitchen recipe & automation screen |
| KOOSUJI Tension Pole | Floor-to-Ceiling | Up to 13" / 3 lbs | $29.99 | Open-plan room central controllers |
Arkon SM6-DP188 Heavy Duty Wall Mount
The Arkon SM6-DP188 remains the gold standard for budget wall mounting. Unlike cheap plastic suction mounts that degrade and drop devices after a few months of thermal cycling, the Arkon uses a mechanical spring-loaded clamp. It supports devices from 4 to 17 inches wide. For smart home dashboards, its 18-inch articulating arm allows you to pull the tablet away from the wall to adjust viewing angles and push it back flush when done. The base plate features multiple screw holes, allowing secure mounting directly into drywall studs or masonry.
UGREEN Adjustable Aluminum Desktop Stand
Not every smart home device belongs on a wall. The UGREEN aluminum stand is heavily weighted at the base (1.2 lbs of aluminum alloy), preventing it from tipping over when you tap a smart home app interface. The dual-hinge design allows for exact 45-to-85-degree tilt adjustments, which is critical for avoiding overhead glare from LED lighting. It includes silicone padding on the contact points, ensuring your devices do not suffer from micro-scratches during daily use.
Edge Cases: Mounting Odd-Shaped Smart Hubs and Sensors
While tablets are easy to mount, smart home hubs and environmental sensors present unique physical challenges. According to The Verge's Smart Home Devices Roundup, optimal hub placement is central to the home, but most homes lack convenient central shelves. Here is how to use a universal holder for gadgets to solve awkward hub form factors:
- Cylindrical Hubs (e.g., Samsung SmartThings Station): Use a gooseneck clamp with a silicone-lined jaw. Clamp the arm to the edge of a bookshelf and cradle the cylinder horizontally. This elevates the hub above furniture-level RF interference.
- Puck-Style Sensors (e.g., Eve Room, Aqara TVOC): Many universal desk holders feature a secondary micro-clamp or a flat, weighted shelf. Place puck sensors on the flat shelf of a tension pole mount to elevate them to chest height (approx. 48 inches from the floor), which is the scientifically optimal height for accurate temperature and VOC sampling.
- USB-Powered Dongles (e.g., Home Assistant SkyConnect): Never plug these directly into the back of a wall-mounted tablet or metal server rack. Use a USB extension cable and clip the dongle to the arm of your universal holder using a small binder clip or a dedicated 3D-printed sled. This prevents the metal chassis of the host device from acting as a Faraday cage.
The Hidden Killer: Signal Interference from Metal Mounts
The most common failure mode in budget smart home setups is RF signal attenuation caused by the mount itself. Protocols like Zigbee, Thread, and Matter operate on the 2.4GHz spectrum, which is highly susceptible to reflection and absorption by metal.
According to the Connectivity Standards Alliance (CSA) Zigbee Specifications, metal backing plates can reduce 2.4GHz signal strength by up to 50% if the antenna is positioned directly against the surface. Always maintain a minimum 1.5-inch clearance between the device's internal antenna and any metal mounting plate.
Actionable Fix: If your chosen universal holder features a solid metal backing plate (common in cheap VESA adapters), apply a 3D-printed spacer or stack four rubber washers between the mount and your device. This simple $2 fix prevents the metal from grounding the antenna's electromagnetic field, preserving your mesh network's range.
Step-by-Step: Building a Budget Smart Home Command Center
Transforming a $100 Amazon Fire HD 10 and a $26 Arkon wall mount into a dedicated smart home controller requires precise execution. Follow this workflow to ensure a clean, permanent installation.
- Locate the Studs and Map the Wiring: Use a magnetic stud finder to locate the wooden studs. Avoid mounting directly over existing electrical wiring or plumbing. If you cannot hit a stud, use toggle bolts rated for at least 50 lbs of shear weight.
- Route the Power Cable: Do not let a white charging cable dangle across your wall. Use a $12 D-Line cable concealer kit. Run the USB-C cable through the concealer and terminate it at a nearby outlet. For a truly seamless look, hire an electrician to install a recessed power outlet behind the mount location (approx. $150 total cost).
- Prepare the Device (Kiosk Mode): Out of the box, tablets will sleep and disconnect from your local Home Assistant server. Install an app like Fully Kiosk Browser. Configure it to keep the screen awake when plugged in, enable auto-brightness, and set it to launch your dashboard URL automatically on boot.
- Attach the Universal Holder: Secure the Arkon base plate using 2-inch wood screws. Attach the articulating arm, then expand the spring-loaded clamp to secure the tablet. Ensure the clamp jaws do not press against the physical volume or power buttons, which can cause the device to reboot endlessly.
⚠️ Warning: Thermal Throttling on Wall Mounts
Never mount your smart home dashboard on an exterior wall that receives direct, unshaded sunlight, or directly above a HVAC vent or radiator. Tablets left in always-on mode generate significant heat. If the ambient temperature behind the device exceeds 95°F (35°C), the battery will swell and the CPU will throttle, causing your dashboard to lag or crash. Always leave at least a 0.5-inch air gap between the back of the tablet and the wall.
Final Verdict: Which Holder Should You Buy?
For wall-mounted dashboards, the Arkon SM6-DP188 is unmatched under $30, offering the mechanical grip required for 24/7 reliability. For desk-bound hubs and secondary camera feeds, the UGREEN Aluminum Stand provides the necessary weighted stability and precise tilt adjustments. By pairing a budget universal holder for gadgets with strategic RF planning and proper thermal management, you can achieve a premium, custom-installed smart home aesthetic without the custom fabrication price tag. For more foundational hardware recommendations, refer to CNET's Smart Home Hub Guide to ensure your central processor matches your mounting strategy.
Written by
Ryan TanakaRyan Tanaka holds a B.S. in Mechanical Engineering from Oregon State University and is a certified AWS Solutions Architect. He has built over 80 custom electronics projects ranging from CNC machines to IoT sensor networks, and has reviewed development boards, 3D printers, soldering equipment, and maker tools for the past 6 years. Ryan is an active contributor to 12 open-source hardware projects on GitHub and teaches monthly workshops at three hackerspaces across the Pacific Northwest. His reviews combine engineering rigor with accessibility — he evaluates products not just on specs but on documentation quality, community support, and learning curve for beginners. He has presented at Maker Faire Bay Area, Open Hardware Summit, and the Adafruit community showcase, and maintains a popular blog documenting his build processes.