Rescuing Injured Gadgets: Outdoor Phone Accessory Survival Guide
Learn how to diagnose, clean, and repair injured gadgets like gimbals, wireless chargers, and lens kits after harsh outdoor adventures.
The Reality of Injured Gadgets in the Wild
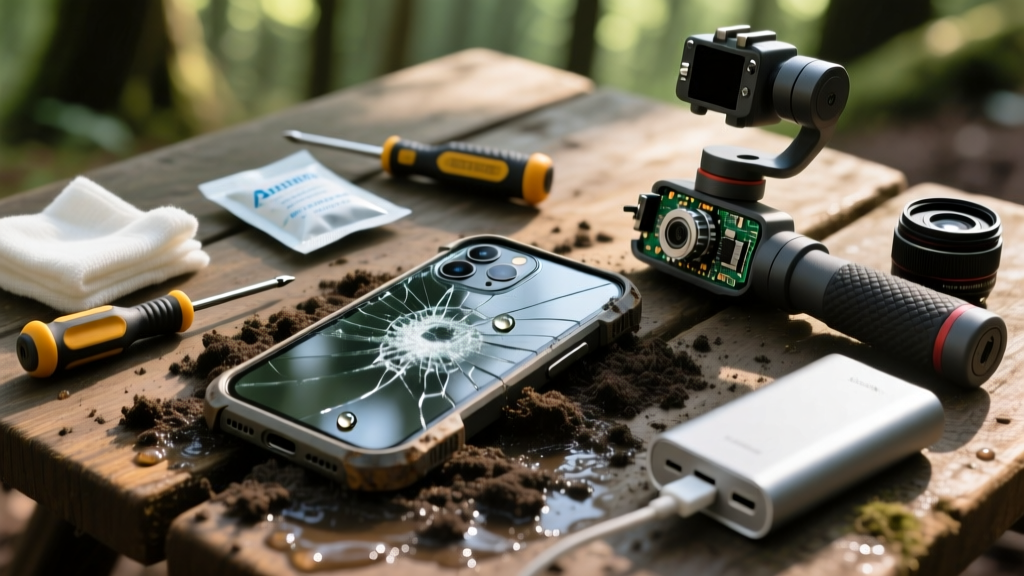
When we think of outdoor tech failures, we usually picture a shattered phone screen or a drowned drone. But as of 2026, the most common casualties of alpine hikes, beach expeditions, and desert overlands are the accessories we rely on to capture and power our journeys. Injured gadgets in the accessory space rarely die instantly; instead, they suffer from micro-failures. Sand infiltrates a gimbal's pitch motor, iron-rich dust clings to a wireless charger's magnetic array, and thermal shock fogs the internal elements of a premium lens kit.
For tech enthusiasts who push their gear beyond the pavement, understanding how to triage, clean, and resurrect these essential phone accessories is no longer optional—it is a critical survival skill. This guide breaks down the exact field-repair protocols for the three most vulnerable categories of outdoor phone accessories.
Triage Protocol: Assessing Accessory Damage
Before attempting any field repair, you must accurately diagnose the injury. Misdiagnosing a hardware fault as a software glitch can lead to permanent motor burnout or short circuits. Follow this rapid triage sequence:
- Visual Inspection: Use your phone's macro mode or a jeweler's loupe to check for debris in crevices, pogo-pin corrosion, or O-ring seal displacement.
- Resistance Testing: Manually rotate gimbal axes. They should offer smooth, uniform magnetic resistance. Any grinding indicates particulate ingress.
- Thermal Acclimation: Never power on a freezing or wet accessory. Allow it to reach ambient room temperature (approx. 20°C / 68°F) in a dry environment before applying current.
Wireless Chargers: Sand, Moisture, and Coil Misalignment
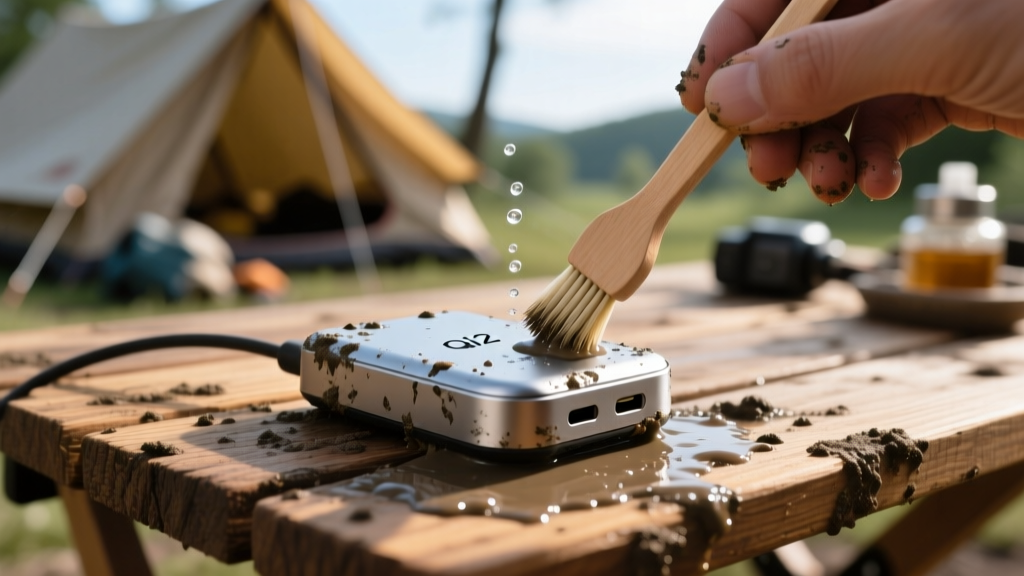
The widespread adoption of the Qi2 standard has made magnetic wireless chargers ubiquitous in outdoor setups. However, the exposed magnetic arrays are magnets for metallic dust and iron-rich beach sand. Furthermore, the USB-C input ports are highly susceptible to moisture corrosion when exposed to high humidity or sea spray.
The Fix: If your charger is failing to align or charging at a throttled 5W instead of the full 15W, the issue is likely microscopic debris on the alignment ring or oxidized USB-C pins. According to iFixit's device maintenance guidelines, you should never use metal needles to clean ports. Instead, use a shaved wooden toothpick and a microfiber swab lightly dampened with 99% isopropyl alcohol (IPA). For the magnetic array, use a piece of low-tack masking tape to lift metallic dust out of the crevices without scratching the polycarbonate housing.
Motorized Gimbals: Freezing Motors and Grit in the Axes
Stabilizers like the DJI Osmo Mobile 6 and the Insta360 Flow 2 are engineering marvels, but their brushless motors are incredibly sensitive to environmental extremes. A common error encountered in sub-zero environments is the "Motor Overload" warning. This happens when the lubricants inside the axis bearings thicken, or when ice forms on the encoder rings, forcing the motors to draw excess current to maintain stabilization.
The Fix: If you encounter motor overload in cold weather (below -5°C / 23°F), immediately power down the gimbal. Do not force the axes to move. Place the gimbal inside your jacket, close to your body heat, for 15 minutes to gently warm the internal lubricants. Once warmed, recalibrate the gimbal via the companion app. If the issue is grit ingress from a dusty trail, use a soft-bristled anti-static brush to sweep the axis gaps, followed by a blast of compressed air from a silicone-free manual air blower. Never use canned air, as the propellant can freeze and crack the delicate encoder sensors.

Lens Kits: Scratched Glass, Fogged Elements, and Seal Failures
Premium smartphone optics, such as the Moment T-Series or Sandmarc Pro lenses, utilize multi-coated glass elements housed in aerospace-grade aluminum. The most insidious injury these lenses face isn't a drop—it's internal fogging caused by a compromised O-ring seal. When a lens moves from a freezing exterior into a humid tent or cabin, moisture bypasses the degraded rubber seal and condenses on the inside of the glass element.
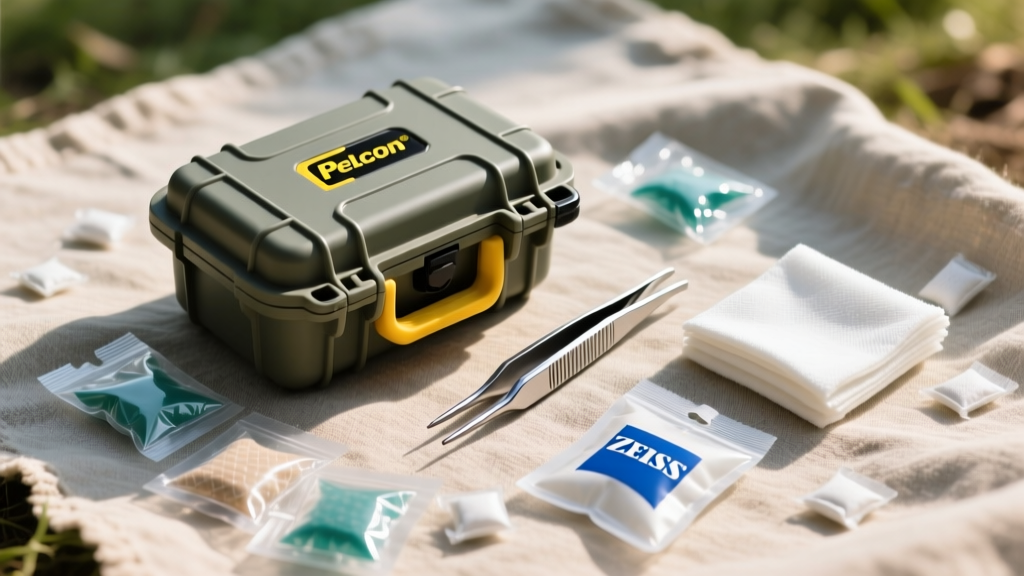
The Fix: External scratches on the front element can often be mitigated with a drop of optical-grade resin filler, but internal fog requires disassembly. If you are in the field and cannot safely unscrew the retaining ring, place the lens in a sealed ziplock bag with at least 20 grams of indicating silica gel beads for 24 hours to draw out the moisture. Once back in the lab, replace the O-ring (typically a 25mm x 1.5mm nitrile ring, costing under $5) to restore the weather resistance. Always store these lenses in a hard case like the Pelican 1050 with a humidity indicator card.
The Outdoor Accessory Protection Matrix
Prevention is vastly superior to field repair. Use this matrix to prepare your specific gear for the seasonal extremes of 2026.
| Accessory Type | Primary Environmental Threat | Vulnerability Point | Field Prevention Strategy | Estimated Gear Cost |
|---|---|---|---|---|
| Qi2 Wireless Charger | Iron sand / Saltwater corrosion | Exposed magnetic array & USB-C port | Silicone port plugs; Kapton tape over magnets when not in use | $12 (Port plugs & tape) |
| Motorized Gimbal | Sub-zero lubricant thickening / Dust | Pitch and roll axis bearings | Neoprene gimbal sleeve; store in inner jacket pockets | $25 (Neoprene cover) |
| Anamorphic Lens Kit | Thermal shock / Internal condensation | Rear element O-ring seal | Sealed hard case with indicating silica gel; slow acclimation | $35 (Pelican case & silica) |
Field Repair Kit Essentials
You cannot rely on a standard first-aid kit to fix precision electronics. Assemble a dedicated tech-triage pouch weighing less than 200 grams that includes the following:
- 99% Isopropyl Alcohol (30ml dropper bottle): Evaporates instantly without leaving conductive mineral deposits.
- Anti-Static Soft Brush & Manual Air Blower: For safe particulate removal from gimbal motors and lens elements.
- Indicating Silica Gel Packets (Color-changing): To create emergency desiccant chambers for fogged lenses or wet charging ports.
- Precision Tweezers & Shaved Wooden Toothpicks: For extracting compacted mud from USB-C ports without shorting the data pins.
- Microfiber Swabs (Optical Grade): Lint-free cleaning for lens coatings and charging contacts.
Pro-Tip from the Trail: Never use your t-shirt or a standard paper towel to clean a lens element or a wireless charging contact. Cotton fibers and paper contain microscopic abrasive particles that will permanently score optical coatings and degrade the gold plating on charging pins over time. Always use dedicated optical wipes or microfiber.
Preventative Care for Seasonal Extremes
The environment dictates the injury. In summer and coastal environments, your primary enemy is salt and sand. Salt accelerates galvanic corrosion on the copper coils inside wireless chargers and the exposed solder joints on gimbal motherboards. A quick wipe-down with a slightly damp (freshwater) microfiber cloth, followed by a dry IPA wipe, is mandatory after every beach session.
In winter and alpine environments, thermal shock and battery voltage sag are the main culprits. Lithium-ion batteries inside gimbals and portable chargers experience increased internal resistance below freezing. This causes the device to report a false "empty" battery or shut down mid-recording. Keep your accessories in an insulated pouch close to your body heat when not actively shooting, and avoid leaving them exposed on a tripod in sub-zero winds for more than 20 minutes.
Frequently Asked Questions
Can I use rice to dry out a wet wireless charger or gimbal?
No. The "rice trick" is a persistent myth that actually harms injured gadgets. Rice dust and starch can infiltrate the USB-C ports and gimbal motors, creating a sticky paste when mixed with residual moisture. Furthermore, rice lacks the desiccant capacity to pull water from inside sealed housings. Use indicating silica gel in an airtight container instead, or simply allow the device to dry in a low-humidity room with active air circulation.
My gimbal keeps drifting after a drop on a rocky trail. How do I fix it?
Drifting after an impact usually indicates that the internal IMU (Inertial Measurement Unit) has lost its baseline calibration, or the encoder ring has been knocked slightly off-center. First, place the gimbal on a perfectly level surface (use a bubble level app on your phone to verify). Access the hidden calibration menu in your gimbal's companion app (for DJI, this is often found under Settings > Advanced > Calibrate). If the drift persists post-calibration, the impact likely damaged the flex cable connecting the encoder, requiring a professional DJI Support repair.
How do I safely remove a stuck lens from my phone case in freezing weather?
Cold temperatures cause the aluminum lens housing and the stainless steel case mount to contract at different rates, often seizing the bayonet or thread mount. Do not use brute force, as you risk cracking the phone's internal camera module. Apply gentle, localized heat using a chemical hand warmer wrapped in a thin cloth around the metal mount for 3-5 minutes. The slight thermal expansion will break the ice or contraction seal, allowing you to unscrew it smoothly.
Written by
Ryan TanakaRyan Tanaka holds a B.S. in Mechanical Engineering from Oregon State University and is a certified AWS Solutions Architect. He has built over 80 custom electronics projects ranging from CNC machines to IoT sensor networks, and has reviewed development boards, 3D printers, soldering equipment, and maker tools for the past 6 years. Ryan is an active contributor to 12 open-source hardware projects on GitHub and teaches monthly workshops at three hackerspaces across the Pacific Northwest. His reviews combine engineering rigor with accessibility — he evaluates products not just on specs but on documentation quality, community support, and learning curve for beginners. He has presented at Maker Faire Bay Area, Open Hardware Summit, and the Adafruit community showcase, and maintains a popular blog documenting his build processes.