Automating Cool Gadgets for Him: Smart Home Hub Setup
Transform any man cave or desk setup with local smart home automation. Learn to configure hubs, mmWave sensors, and relays for flawless tech integration.
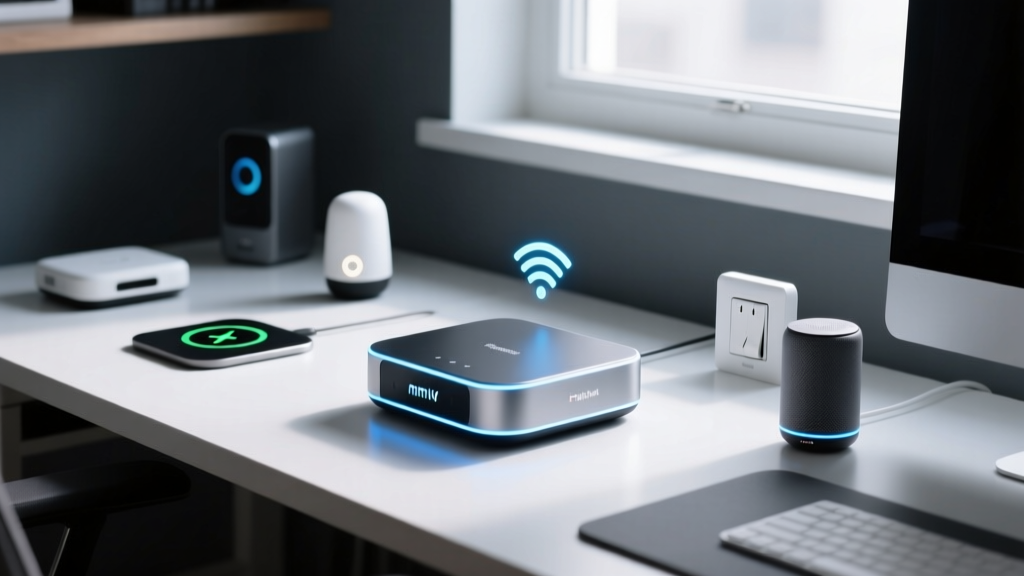
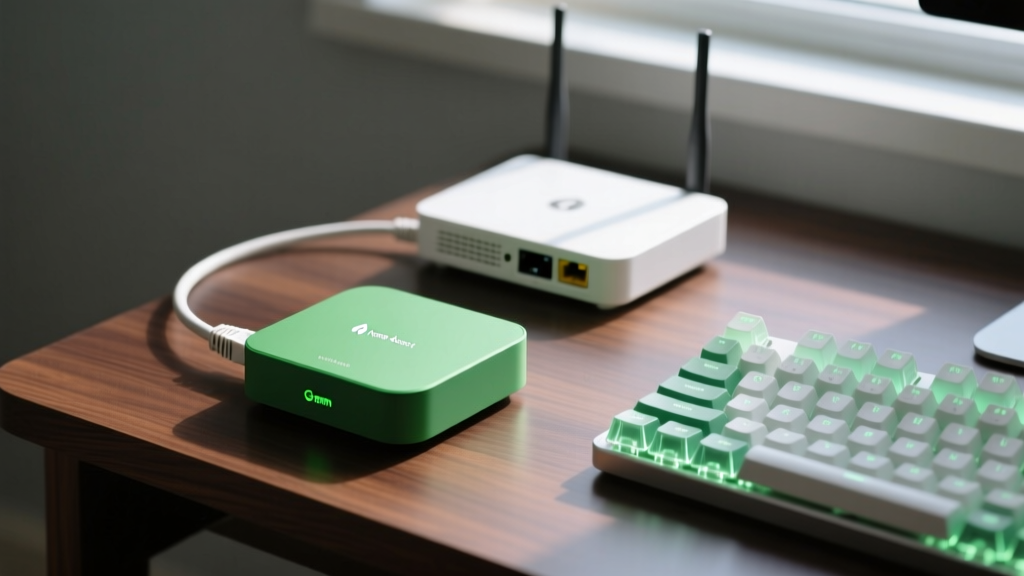
When curating a list of cool gadgets for him, most gift guides stop at standalone Wi-Fi novelties or app-dependent LED strips. But for the true tech enthusiast, the ultimate gadget isn't a single device—it is the localized, automated ecosystem that ties a workspace, gaming rig, or man-cave together. Relying on cloud-based servers to turn on a desk lamp introduces latency and privacy risks. In 2026, the gold standard for smart home integration is local processing, utilizing mmWave presence detection and power-metering relays to create environments that react intelligently without manual input.
This tutorial bypasses the beginner-friendly, cloud-reliant ecosystems and dives straight into the architecture of a robust, enthusiast-grade automation setup. We will cover hub selection, strategic sensor placement for desk environments, and advanced relay wiring to automate high-draw peripherals.
The Core Architecture: Local Hubs Over Cloud Toys
The brain of any serious automation setup must process logic locally. If your internet drops, your "Game Time" lighting scene should still trigger when the PC boots up. Currently, the market is dominated by two enthusiast-focused local hubs: the Home Assistant Green and the Hubitat Elevation C8.
According to The Verge's comprehensive review of the Home Assistant Green, the shift toward plug-and-play local hubs has drastically lowered the barrier to entry for enthusiasts who do not want to manage Raspberry Pi SD card failures. At $99, the HA Green offers an out-of-the-box local experience, while the $129 Hubitat C8 remains a favorite for users who prefer a rule-machine interface over YAML coding.
| Hub Model | Current Price | Processing Type | Native Protocols | Best For |
|---|---|---|---|---|
| Home Assistant Green | $99 | Local (Docker/OS) | Thread, Matter, Ethernet | YAML power-users, deep integrations |
| Hubitat Elevation C8 | $129 | Local (Proprietary OS) | Zigbee 3.0, Z-Wave 800 | Rule-machine logic, legacy device support |
| Apple HomePod Mini | $99 | Hybrid (Cloud/Local) | Thread, Matter | Strict Apple ecosystem users (Limited) |
Precision Tracking: mmWave Sensors for the Desk Setup
The most common failure mode in smart workspaces is the lighting turning off while the user is sitting perfectly still, reading documentation, or watching a cinematic game cutscene. Traditional PIR (Passive Infrared) sensors require macro-movements to detect occupancy. To solve this, enthusiasts have migrated to mmWave (millimeter-wave) radar sensors.
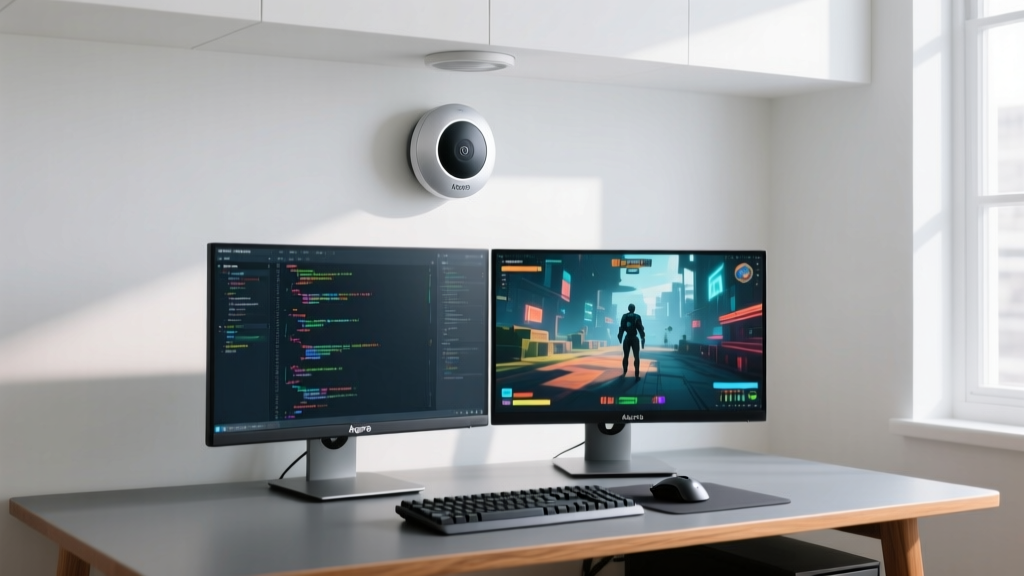
The Aqara Presence Sensor FP2 ($69.99) is the current benchmark for desk setups. Unlike PIR, mmWave detects micro-movements, including the expansion of a human chest during breathing. As detailed in Aqara's official FP2 specifications, the sensor supports multi-target detection and zone mapping, allowing you to divide a single room into distinct automation zones.
Optimal Placement Strategy
- Ceiling Mount (Preferred): Mount directly above the desk at a height of 8 to 10 feet, angled slightly downward to cover the chair and desk surface.
- Wall Mount (Alternative): If ceiling mounting is impossible, place it on the wall behind the monitors at a 45-degree downward angle. Avoid pointing it toward HVAC vents or oscillating fans, which the radar will interpret as human presence.
Powering the Heavy Hitters: Relays and High-Draw Plugs
While smart plugs are common, they are often bulky and lack the telemetry required for advanced automations. For a truly intelligent setup, we use power-metering relays hidden inside the wall, and high-amperage smart plugs for heavy appliances like espresso machines or multi-monitor PC rigs.
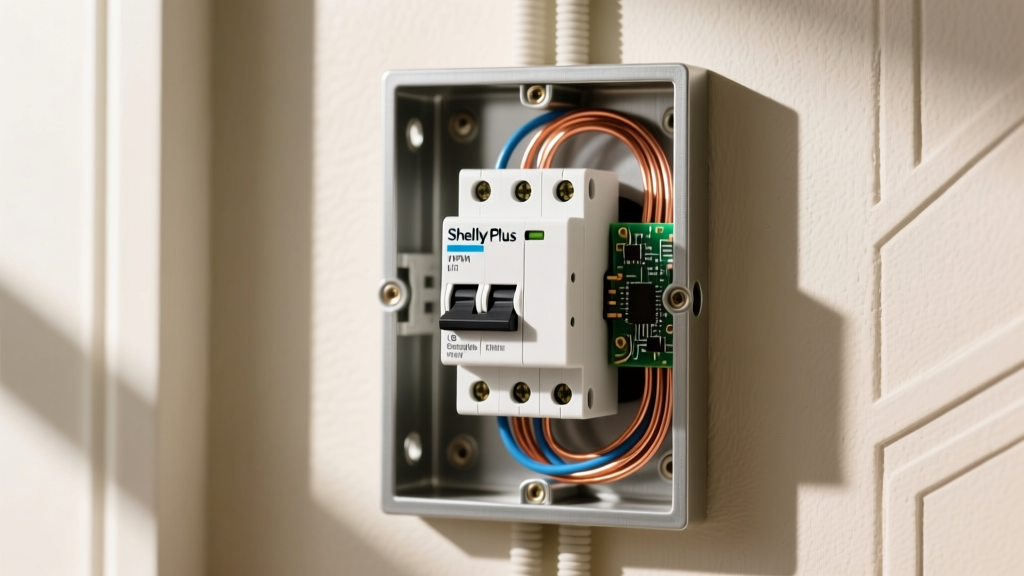
The Shelly Plus 1PM ($19.99) is a Wi-Fi-enabled smart relay with integrated power metering. By wiring this behind a standard "dumb" wall switch, you retain physical control while gaining the ability to monitor exact wattage draw. This is critical for the "PC Sleep vs. Active" automation logic.
Step-by-Step: Wiring the Shelly Plus 1PM
Note: Always turn off the breaker at the main panel before working with mains voltage. If you are not comfortable with electrical work, hire a licensed electrician.
- Isolate Power: Verify the circuit is dead using a non-contact voltage tester.
- Identify Wires: Locate the Line (hot), Load (to the fixture), and Neutral wires in the single-gang box. The Shelly requires a neutral wire to operate its internal Wi-Fi radio.
- Connect Line and Neutral: Attach the mains Line wire to the Shelly
Lterminal, and the Neutral wire to theNterminal. - Wire the Load: Connect the Shelly
O(Output) terminal to the Load wire going to your desk outlet or light fixture. - Wire the Switch (Optional): Connect the physical wall switch to the
SWterminal to allow manual override without cutting power to the Shelly unit.
Crafting the "Game Time" Automation Logic
With the Shelly Plus 1PM monitoring the power draw of your main PC outlet, you can create a highly reliable automation that triggers your ambient bias lighting and closes the smart blinds the moment a graphically intensive game launches. The Home Assistant Shelly integration documentation outlines how power polling can be used as a state trigger.
When a modern gaming PC is idle or in sleep mode, it typically draws between 15W and 45W. When a AAA game launches, the GPU and CPU spike, pushing the draw well over 250W. We use this delta as our trigger.
alias: Game Time Environment
trigger:
  - platform: numeric_state
    entity_id: sensor.shelly_desktop_pc_power
    above: 200
    for:
      hours: 0
      minutes: 1
      seconds: 0
condition:
  - condition: time
    after: '17:00:00'
    before: '02:00:00'
action:
  - service: scene.turn_on
    target:
      entity_id: scene.gaming_bias_lighting
  - service: cover.close_cover
    target:
      entity_id: cover.office_smart_blinds
Pro-Tip: The for: 1 minute delay in the YAML above is crucial. It prevents the automation from firing during brief power spikes caused by Windows updates, system reboots, or launching a lightweight desktop application.
Edge Cases and Troubleshooting Common Failure Modes
Even the most meticulously planned smart home setups encounter friction. Here are the most common failure modes in enthusiast desk setups and how to engineer around them.
1. Zigbee Mesh Poisoning via Wi-Fi Overlap
If your Aqara sensors or smart bulbs are dropping off the network, the culprit is almost always RF interference. Wi-Fi and Zigbee both operate in the 2.4GHz spectrum. If your Wi-Fi router is set to auto-channel and selects channel 6, it will completely drown out Zigbee channels 14 through 18.
The Fix: Manually lock your 2.4GHz Wi-Fi to channels 1, 6, or 11. Then, access your Hubitat or Home Assistant Zigbee coordinator settings and lock the Zigbee network to channel 20 or 25. This creates a physical frequency gap that eliminates packet loss.
2. Voltage Drop on High-Draw Smart Plugs
Using a standard 10A smart plug for a high-end gaming PC and dual monitors can result in the plug's internal relay welding shut or tripping its thermal protection during transient power spikes. Always calculate the maximum wattage of your peripherals. A 120V circuit with a 15A breaker can handle 1800W, but you should never exceed 80% continuous load (1440W). If your PC and monitors pull 800W combined, use a smart plug rated for a minimum of 15A (1800W) with a dedicated thermal fuse, such as the Kasa EP25.
3. The "Ghost in the Machine" Phantom Triggers
If your mmWave sensor keeps triggering "occupancy" when the room is empty, check for ceiling fans, HVAC registers, or even a pet bed within the sensor's field of view. mmWave radar will detect the micro-movements of a dog breathing or the subtle vibration of a ceiling fan blade. Use the manufacturer's app to draw digital "exclusion zones" over these specific coordinates.
Summary: Building the Ultimate Automated Sanctuary
Transitioning from basic smart plugs to a localized, sensor-driven ecosystem transforms a collection of cool gadgets for him into a cohesive, intelligent environment. By investing in a local hub like the Home Assistant Green, utilizing mmWave radar for flawless presence detection, and leveraging power-metering relays for contextual awareness, you eliminate the need for manual switches and voice commands entirely. The technology fades into the background, leaving only a perfectly optimized space that adapts to the user in real-time.
Written by
Lena ChenLena Chen earned her M.S. in Human-Computer Interaction from Carnegie Mellon University and a B.S. in Electrical Engineering from the University of Washington. She has spent the past decade specializing in smart home architecture and IoT ecosystems, helping over 200 homeowners design fully connected living spaces. Lena is a certified Matter protocol consultant and has published peer-reviewed research on voice-first interface design in the ACM Digital Library. Her reviews of smart home products combine deep technical analysis with real-world usability testing, evaluating everything from Zigbee mesh stability to Alexa skill responsiveness. She regularly speaks at CEDIA Expo and CES smart home panels.