Setting Up USB-C Hubs and Docks for Your Gadgets for the Home
Learn to set up USB-C hubs and docking stations to connect your gadgets for the home, avoiding bandwidth bottlenecks and display issues.
The Hidden Math of USB-C Bandwidth Allocation
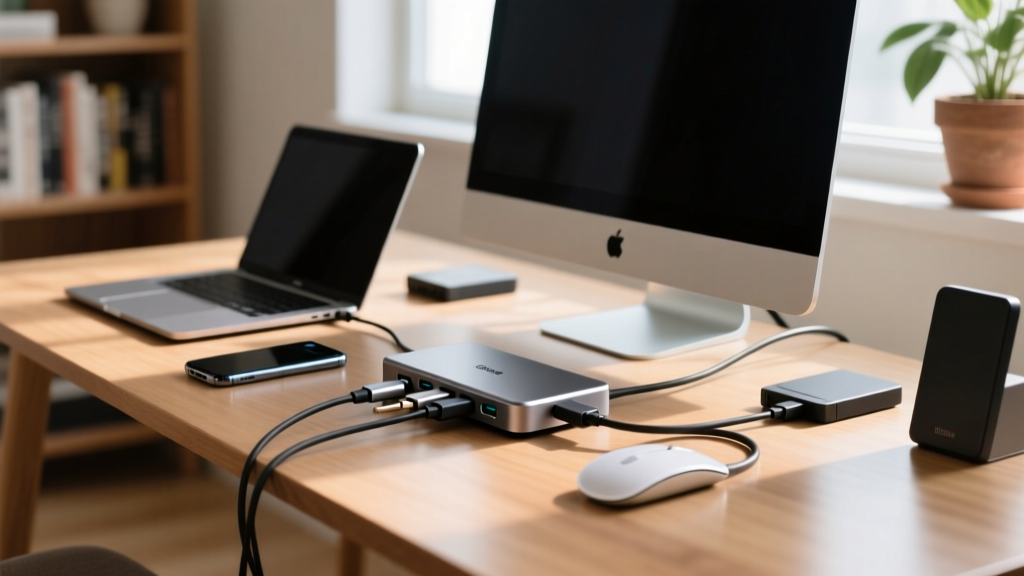
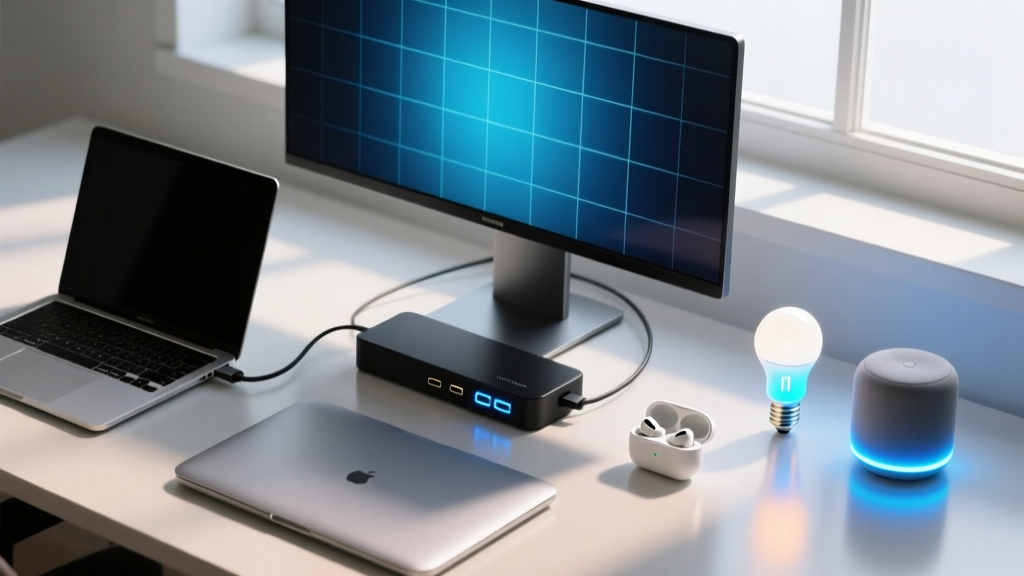
Connecting modern gadgets for the home—from 4K webcams and smart home hubs to high-speed NVMe enclosures—through a single USB-C hub is no longer a simple plug-and-play affair. As we navigate the hardware landscape of 2026, the bottleneck is rarely the host laptop; it is the internal topology of the docking station itself. A hub advertising "40Gbps" does not hand 40Gbps to every port. Instead, it relies on an internal packet router to divide bandwidth between DisplayPort Alt-Mode tunnels and USB data lanes.
When you plug in a Home Assistant Green server, an OBSBOT Tiny 2 4K webcam, and a SanDisk PRO-G40 Thunderbolt SSD simultaneously, you are forcing the hub's chipset to negotiate PCIe lane allocation in real-time. If the hub uses an older USB 3.2 Gen 2x2 controller, your SSD will throttle to 10Gbps the moment your webcam initializes its uncompressed video stream.
Always connect your primary docking station to the left-side USB-C port on laptops like the Dell XPS or Lenovo ThinkPad X1 Carbon. On many motherboard layouts, the left ports are wired directly to the CPU's PCIe lanes, whereas the right ports are routed through the PCH (Platform Controller Hub), introducing a DMI bus bottleneck that adds latency to your connected home gadgets.
Step-by-Step: Routing Power and Data to Your Home Setup
To achieve a stable, high-bandwidth environment for your home office and smart devices, follow this precise initialization sequence. Skipping steps often results in DisplayPort handshake failures or power delivery (PD) negotiation loops.
- Verify Host Port Capabilities: Check your laptop's specifications for DisplayPort 2.1 UHBR20 support and USB4 v2 compliance. According to the official USB-IF specifications, USB4 v2 supports up to 80Gbps symmetrically, or 120Gbps asymmetrically for video-heavy setups.
- Sequence Your Power Delivery (PD):strong> Plug the dock's dedicated power supply into the wall before connecting the host cable to your laptop. USB PD 3.1 Extended Power Range (EPR) can push up to 240W (48V/5A). Connecting the data cable first can cause a momentary voltage sag that resets the hub's internal power management IC (PMIC).
- Stagger High-Draw Peripheral Initialization: Do not plug in a 15W smart home hub, a 10W webcam, and a 20W portable SSD at the exact same time. Plug the host cable in first, allow the OS to enumerate the root hub (wait 5 seconds), and then connect high-draw peripherals one by one.
- Lock Display Stream Compression (DSC): If running dual 4K monitors at 144Hz, the hub relies on VESA's DSC to compress the video signal. Ensure your monitor's OSD (On-Screen Display) has DSC explicitly enabled, otherwise the hub will default to 30Hz to avoid exceeding the tunnel bandwidth.
Chipset Breakdown: What is Actually Inside Your Dock?
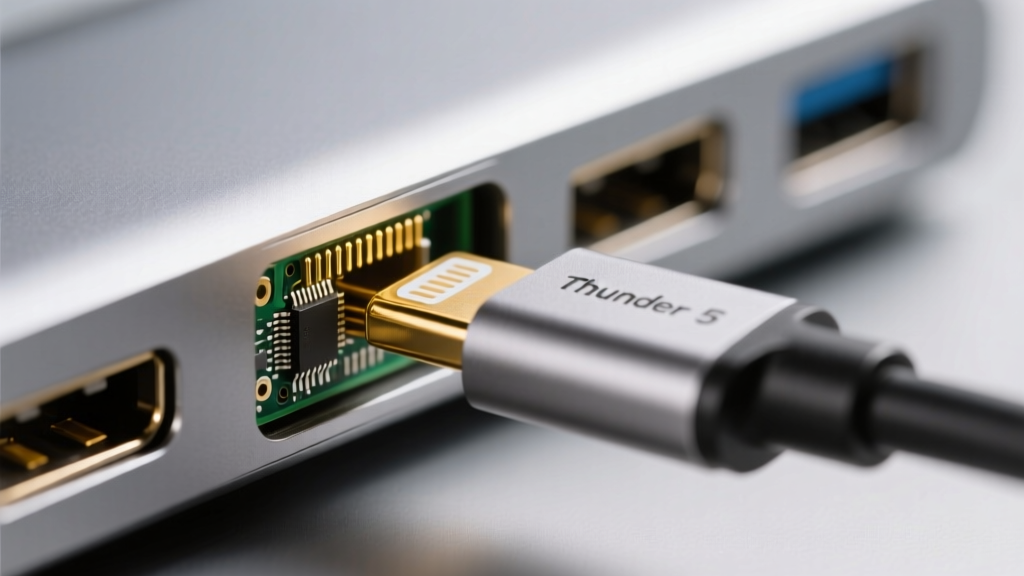
The sticker on the box rarely tells you which silicon is doing the heavy lifting. For tech enthusiasts integrating demanding gadgets for the home, knowing the internal chipset dictates your purchasing decision. The market in 2026 is dominated by three primary architectures.
| Chipset / Architecture | Protocol Support | Max Video Output | Ideal Use Case |
|---|---|---|---|
| Intel Barlow Ridge | Thunderbolt 5 (80/120Gbps) | 3x 4K @ 144Hz or 1x 8K @ 60Hz | Multi-monitor trading desks, 8K video editing |
| Intel Goshen Ridge | Thunderbolt 4 (40Gbps) | 2x 4K @ 60Hz | Standard home office, single 4K/144Hz gaming |
| ASMedia ASM2464 | USB4 v1 (40Gbps) | 1x 8K @ 30Hz or 2x 4K @ 60Hz | Budget-friendly high-speed storage docks |
| Realtek RTS5424 | USB 3.2 Gen 2x2 (20Gbps) | 1x 4K @ 60Hz (via DP 1.4) | Basic peripheral hubs, smart home bridges |
According to Intel's Thunderbolt 5 documentation, the newer Barlow Ridge controllers utilize PAM-3 (Pulse Amplitude Modulation) signaling to double the bandwidth without increasing the physical pin count or cable thickness, a massive leap for desktop replacement setups.
Troubleshooting Matrix: When Your Dock Drops Devices
Integrating complex gadgets for the home often leads to intermittent disconnects. Use this decision matrix to diagnose the exact failure point in your USB-C topology.
| Symptom | Root Cause | Actionable Fix |
|---|---|---|
| Monitor flickers black every 30-60 seconds | EMI interference from unshielded USB 3.0 data cables operating at 5GHz, disrupting the 2.4GHz Wi-Fi/Bluetooth receiver in your mouse or smart hub. | Move the 2.4GHz dongle to a USB 2.0 port on the dock, or use a shielded USB-C extension cable to distance the hub from the wireless receiver. |
| NVMe SSD drops offline during large file transfers | Thermal throttling of the hub's internal PCIe-to-USB bridge chip, or ASPM (Active State Power Management) putting the PCIe link to sleep. | Disable "USB Selective Suspend" in Windows Power Options. Ensure the dock has passive cooling fins and is not buried under papers. |
| Laptop charges at 65W instead of 100W | The hub reserves 15W-30W for its own internal operation and downstream ports. A 100W wall brick yields only ~70W to the host. | Upgrade the dock's power brick to a 140W or 240W GaN charger utilizing the USB PD 3.1 EPR standard to ensure full host passthrough. |
| USB webcam shows green/purple artifacting | Insufficient isochronous bandwidth allocated to the USB video class (UVC) stream due to MST hub prioritizing DisplayPort traffic. | Plug the webcam directly into the laptop, or lower the webcam output from 4K/30fps to 1080p/60fps to reduce the data payload. |
Cable Selection: The 40Gbps vs 80Gbps Trap
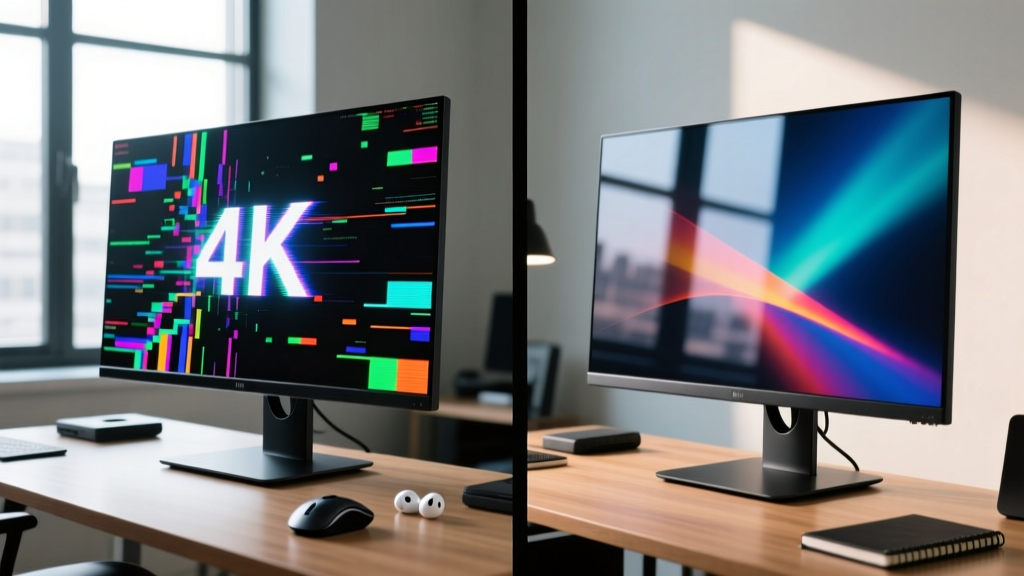
The most common point of failure when setting up high-end home gadgets is the physical tether between the dock and the host machine. Not all USB-C cables are created equal, and visual inspection is useless.
- Passive Cables (Under 0.8m): These rely on the host and device to handle signal integrity. They are perfectly fine for 40Gbps Thunderbolt 4 connections up to 0.8 meters. Beyond that length, signal degradation causes silent packet loss, manifesting as corrupted files on your NAS or dropped frames on your capture card.
- Active Cables (1m to 2m): These contain a physical re-timer chip inside the connector housing. As detailed in VESA's technical guidelines regarding high-bandwidth signaling, active cables are mandatory if you are pushing 80Gbps (USB4 v2 or Thunderbolt 5) over a distance greater than 0.8 meters to maintain the integrity of Display Stream Compression metadata.
- Optical Thunderbolt Cables: For home setups where the PC tower is in a closet or across the room, optical cables convert the electrical signal to light. They support lengths up to 10 meters with zero latency penalty, but they cannot carry USB Power Delivery (PD). You will need a separate power cable for your laptop.
"The transition to USB4 v2 and Thunderbolt 5 has shifted the burden of signal integrity from the motherboard to the cable itself. If your multi-port adapter is dropping 10Gbps Ethernet connections, the first component to swap is not the dock—it is the host cable."
Optimizing for Smart Home and IoT Bridges
When your desk doubles as the command center for your home automation, you are likely connecting Zigbee coordinators, Thread border routers, and local AI servers. These devices require low latency rather than high bandwidth. To prevent your smart home hub from experiencing micro-disconnects when you plug in a power-hungry external drive, utilize a dock that features dedicated USB 2.0 controllers for its Type-A ports. High-quality docks isolate USB 2.0 traffic from the SuperSpeed (10Gbps+) data buses, ensuring that a background firmware update on your smart lock hub isn't interrupted by your 4K webcam initializing.
By understanding the internal silicon, respecting the physics of cable lengths, and properly sequencing your power delivery, you can transform a chaotic tangle of dongles into a unified, high-performance nerve center for every gadget in your home.
Written by
Emma LarssonEmma Larsson holds an M.A. in International Relations from Sciences Po Paris and a B.A. in Communications from Stockholm University. A digital nomad since 2017, she has worked from over 45 countries across six continents, building deep expertise in portable power solutions, travel routers, compact computing, and connectivity gadgets that survive international travel. Emma is a certified member of the Travel Technology Association and has advised three travel gear startups on product-market fit for remote workers. Her reviews evaluate products against real travel scenarios — TSA compliance, voltage compatibility across 200+ countries, durability through 50+ checked bag cycles, and battery life under airplane mode vs. active use. She has been featured in Condé Nast Traveler's "Tech-Savvy Traveler" series and speaks at Remote Work Summit events.