Automating AI Gadgets and Gizmos: The Ultimate Smart Home Setup
Learn how to sync AI gadgets and gizmos, from mmWave sensors to local NPU cameras, to build a context-aware smart home automation mesh.
The Evolution of the Smart Home: Beyond Basic Triggers
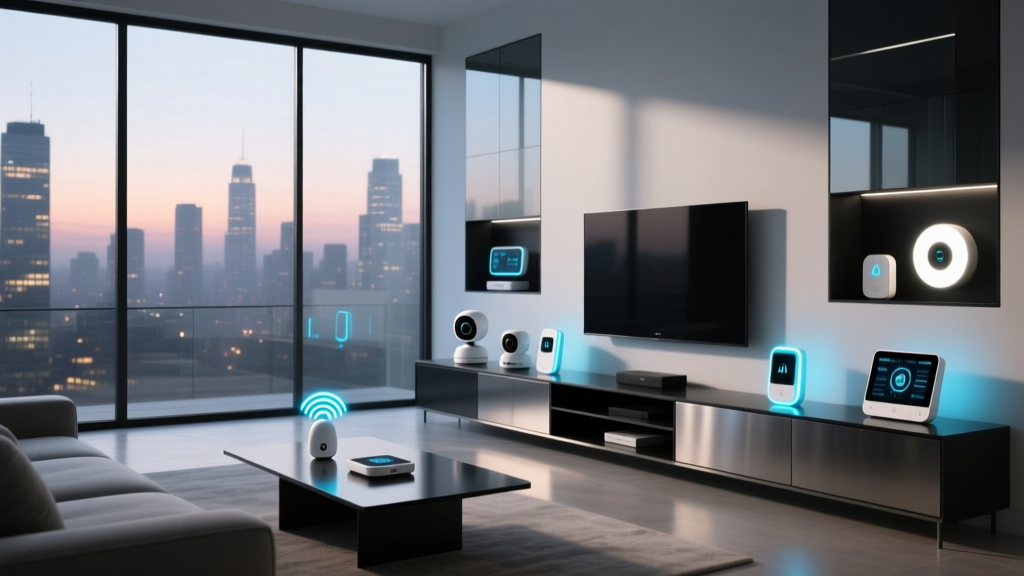
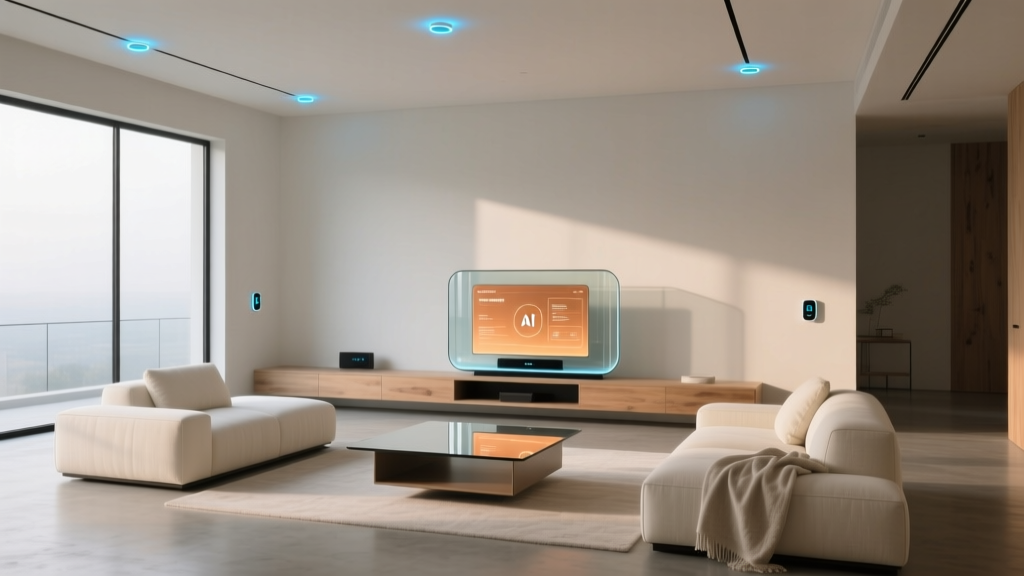
The era of simple motion-sensor-triggered lights is over. In 2026, the most exciting tech enthusiasts' playground involves integrating advanced AI gadgets and gizmos that don't just react to movement—they understand context. By combining millimeter-wave (mmWave) presence sensors, local-processing AI cameras, and edge-computed smart assistants, you can build a unified AI mesh that anticipates your needs without relying on cloud latency or compromising privacy.
However, syncing these sophisticated gizmos requires more than just plugging them into a wall and connecting them to Wi-Fi. It demands a strategic approach to network topology, physical placement, and logic programming. This tutorial will walk you through the exact setup process for creating a context-aware environment using some of the most powerful AI hardware available today.
Step 1: Selecting the Right Edge-Processing Hub
Before unboxing your AI cameras and sensors, you need a central nervous system capable of handling local AI logic. Cloud-dependent hubs introduce latency and privacy risks. For a true enthusiast setup, you need a hub that supports Matter-over-Thread and local NPU (Neural Processing Unit) offloading.
| Hub Model | Price (Approx.) | AI/Edge Capabilities | Best For |
|---|---|---|---|
| Homey Pro (2024 Edition) | $399 | Local ML routines, multi-protocol | Advanced tinkerers & YAML lovers |
| Apple TV 4K (3rd Gen) | $129 | Secure Video AI, Thread Border Router | Deep HomeKit / Apple ecosystem users |
| Hubitat Elevation C-8 | $149 | Local rule machine, Zigbee/Z-Wave | Reliability-focused automators |
Expert Insight: If you are building a heavily automated space with AI cameras, the Home Assistant ecosystem running on a dedicated Intel NUC or Raspberry Pi 5 remains the undisputed king for integrating disparate AI gadgets and gizmos. It allows direct local API calls to NPU-equipped cameras without routing data through external servers.
Step 2: Calibrating mmWave Presence Sensors
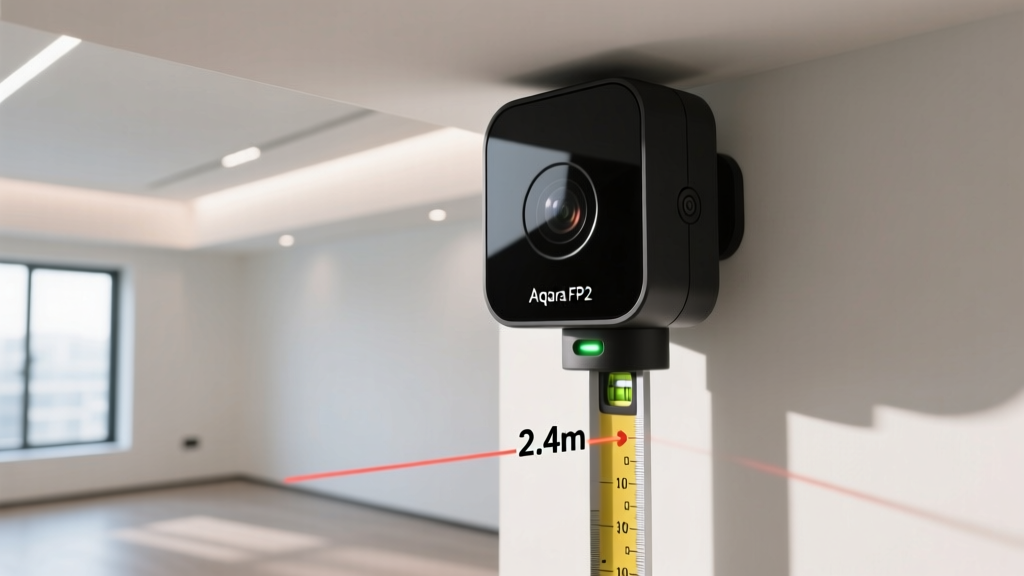
Standard PIR (Passive Infrared) sensors fail when you sit still to read a book or watch a movie. AI-powered mmWave sensors, like the Aqara Presence Sensor FP2 ($69) or the Everything Presence One ($39), solve this by detecting micro-movements like breathing. But their accuracy is entirely dependent on physical setup.
The Golden Rules of mmWave Placement
- Height & Angle: Mount the sensor between 2.0 and 2.4 meters (6.5 to 8 feet) high. Angle it downward at exactly 60 degrees to maximize the floor reflection zone.
- The 'Cone of Silence': mmWave bounces off hard surfaces. Keep the sensor at least 1.5 meters away from large glass windows, mirrors, or oscillating fans. The micro-vibrations from a fan motor will trick the AI into registering a 'false presence'.
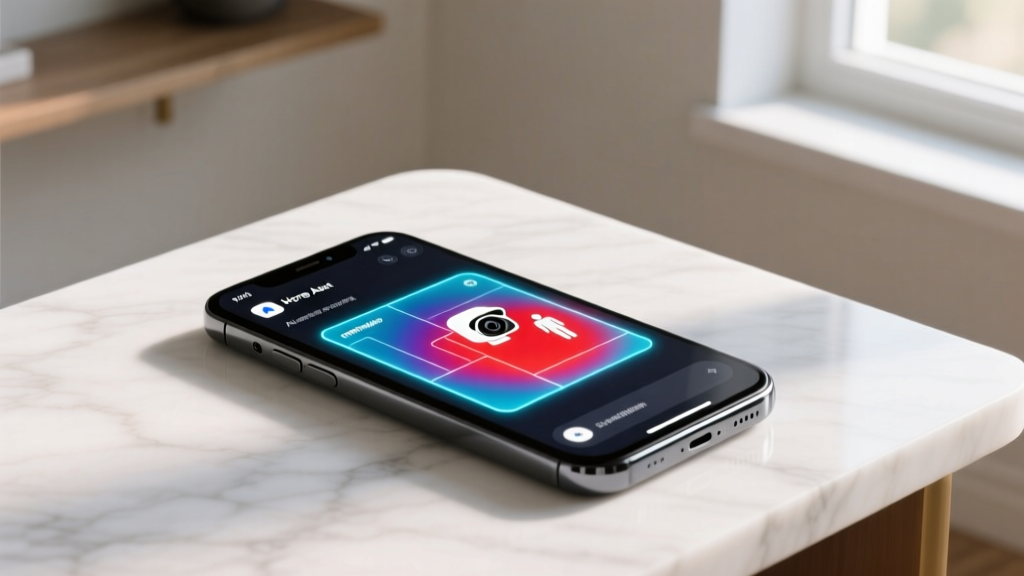
- Zone Mapping: Use the companion app to draw digital boundaries. For the Aqara FP2, map the sofa area as 'Zone 1' (Relaxation) and the desk area as 'Zone 2' (Focus). This allows your smart assistant to trigger different lighting scenes based on exactly where you are sitting in the room.
Step 3: Integrating Local AI Cameras for Context
Presence sensors tell the hub that someone is in the room, but AI cameras tell the hub who is in the room and what they are doing. To maintain privacy, we only recommend cameras with onboard NPUs that process facial recognition and object detection locally.
The Eufy SoloCam S3 Pro ($199) and the UniFi AI Pro ($499) are excellent choices. They can differentiate between a human, a pet, and a swaying plant without sending a single frame of video to the cloud. According to the Connectivity Standards Alliance (CSA), the latest Matter protocol updates heavily prioritize local device-to-device communication, making these cameras seamless additions to your mesh network.
Privacy Callout: Never expose your AI camera's local IP address to the open internet via port forwarding. Always use a secure tunnel like Tailscale or Cloudflare Tunnels to access your local NVR (Network Video Recorder) dashboard remotely.
Step 4: Building the Logic (Home Assistant YAML)
The true magic of syncing AI gadgets and gizmos happens in the automation logic. Below is a practical YAML snippet for Home Assistant that combines an mmWave sensor and an AI camera to create a 'Context-Aware Evening Lighting' routine. This ensures the lights only turn on if a human (not a dog) enters the living room after sunset.
automation:
  - alias: 'Context-Aware Evening Lighting'
    trigger:
      - platform: state
        entity_id: binary_sensor.aqara_fp2_living_room_presence
        to: 'on'
    condition:
      - condition: sun
        after: sunset
      - condition: state
        entity_id: binary_sensor.eufy_s3_pro_human_detected
        state: 'on'
      - condition: numeric_state
        entity_id: sensor.living_room_lux
        below: 50
    action:
      - service: light.turn_on
        target:
          entity_id: light.living_room_main
        data:
          brightness_pct: 80
          color_temp_kelvin: 2700
          transition: 2
Troubleshooting Common AI Sync Failures
Even the best-planned setups encounter edge cases. Here is how to diagnose the most frequent issues when your AI gizmos misbehave:
1. The 'Ghost' Presence Trigger
Symptom: Lights turn on in an empty room.
Diagnosis: Interference from HVAC vents or thermal drafts. mmWave sensors can sometimes detect the density changes in heated air blowing from a vent.
Fix: Apply a physical masking tape damper over the specific sensor node facing the vent, or reduce the sensor's sensitivity threshold in the app from 'High' to 'Medium'.
2. Camera NPU Throttling
Symptom: AI object detection lags or fails during high-motion events.
Diagnosis: The camera's onboard NPU is overheating or bottlenecking due to processing 4K streams at 30fps while running continuous facial recognition.
Fix: Drop the detection stream resolution to 1080p at 15fps. The NPU only needs a low-bitrate sub-stream to identify a human; the main 4K stream should only record to the NVR upon a confirmed event trigger.
3. Thread Mesh Fragmentation
Symptom: Sensors drop offline intermittently.
Diagnosis: You have multiple Thread Border Routers (e.g., Apple TV, HomePod, Nest Hub) competing to route traffic, causing mesh fragmentation.
Fix: Standardize your border routers. If using HomeKit, ensure all Apple devices are on the same iCloud network and firmware. If using Home Assistant, use the OpenThread Border Router add-on and disable Thread routing on secondary consumer smart speakers.
FAQ: Fine-Tuning Your AI Gizmos
Do I need a dedicated 2.4GHz IoT network for these devices?
Absolutely. AI cameras and smart sensors generate constant telemetry data. Segregating them onto a dedicated 2.4GHz VLAN prevents them from congesting your primary 5GHz/6GHz Wi-Fi network, which your laptops and VR headsets rely on for high-bandwidth tasks.
Can smart assistants like Alexa or Siri process AI camera data locally?
Currently, Apple's HomeKit Secure Video processes AI detection (like person/pet identification) locally on the Apple TV hub before syncing to iCloud. Amazon Alexa's 'Frustration-Free Setup' and local processing capabilities are expanding via Matter, but for deep, customizable AI logic, a local hub like Home Assistant remains superior.
What is the typical lifespan of an mmWave sensor?
Because mmWave sensors emit continuous low-power radar waves (typically under 10mW), they consume more power than PIR sensors. Hardwired (USB-C) models will last indefinitely. Battery-operated mmWave sensors usually require a recharge or battery swap every 3 to 6 months, depending on the polling rate you configure.
Final Thoughts on the AI-Powered Home
Integrating AI gadgets and gizmos into your living space transforms your home from a reactive environment into a proactive one. By prioritizing edge-computed NPUs, precise mmWave placement, and local logic engines, you eliminate cloud dependencies and build a smart home that genuinely understands your daily rhythms. Start with a single room, master the zone mapping and YAML logic, and then scale your AI mesh throughout the rest of your home.
Written by
Tom ReynoldsTom Reynolds holds a CFA (Chartered Financial Analyst) designation and a B.S. in Finance from the University of Texas at Austin. Before entering tech journalism, he spent 6 years as a quantitative analyst at a hedge fund, building cost-benefit models for consumer product investments. Tom has maintained a proprietary database of over 10,000 tech deals for the past 8 years, developing his signature "penny-per-feature" evaluation framework that calculates the true value proposition of every gadget. His budget gadget reviews are known for their financial rigor — he tracks price history across 15+ retailers, calculates cost-per-use over 3-year lifespans, and identifies the exact inflection point where premium features justify their markup. Tom's deal alerts have saved his readers an estimated .3 million since 2018.