Budget Kitchen Gadgets Hooks & Meal Prep Tools (2026)
Discover the best budget kitchen gadgets hooks and portioning tools for 2026. Master meal prep organization and precise macro tracking for under $50.
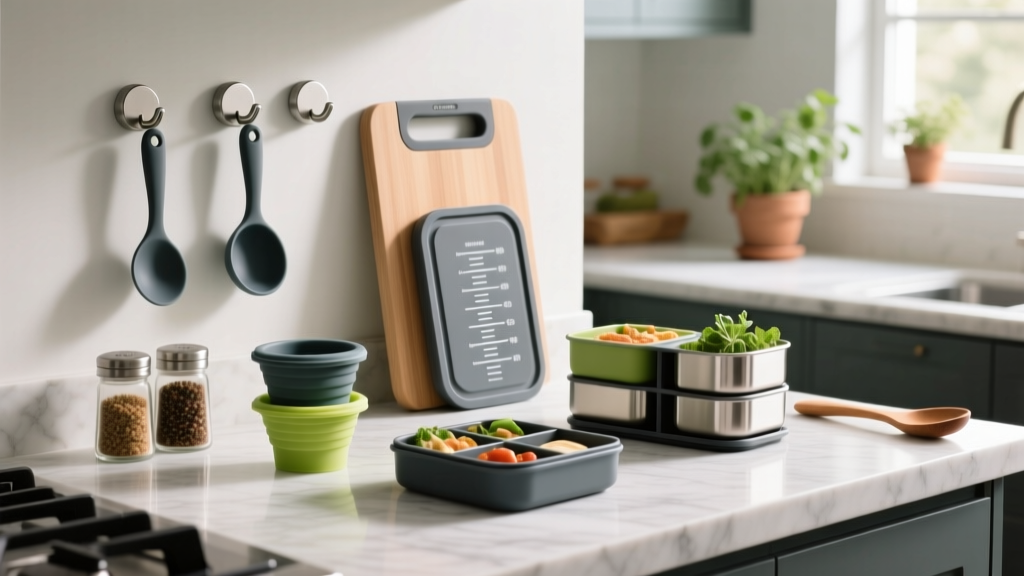
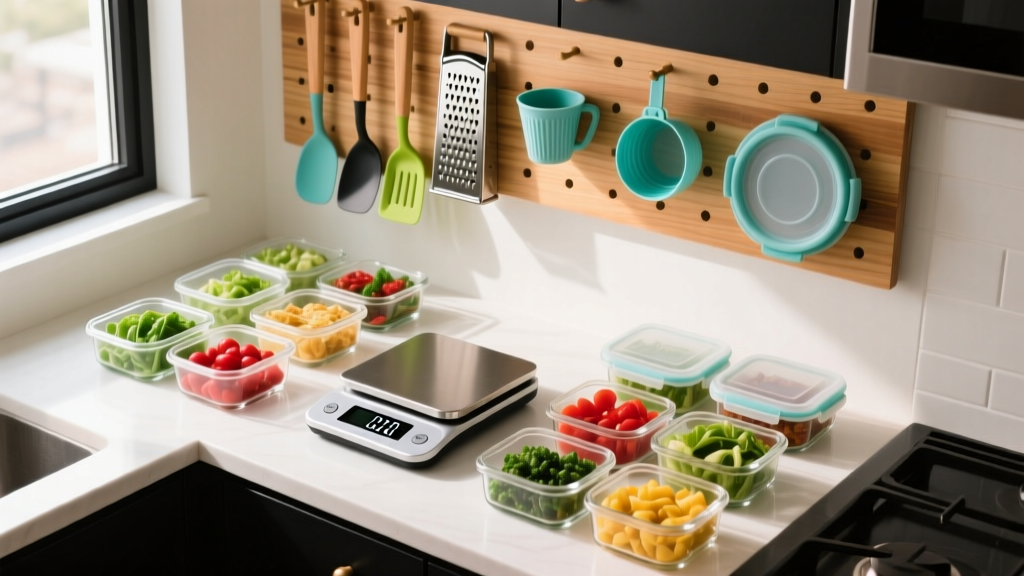
The Economics of Precision Meal Prep
According to data from the USDA Food Loss and Waste initiative, the average American household discards nearly 30% of its purchased food supply. For a family spending $1,200 monthly on groceries, that equates to $360 thrown directly into the trash. Precision meal prepping is the most effective intervention against this financial bleed, but it requires two things: accurate portioning tools and a hyper-organized storage system. You do not need to spend hundreds of dollars on premium bamboo drawer dividers or smart scales. By combining sub-$20 portioning instruments with strategic kitchen gadgets hooks, you can build a commercial-grade prep station in a standard apartment kitchen for under $50.
This guide details the exact budget-friendly portioning tools required for accurate macro tracking, alongside the specific hook systems needed to store them efficiently without sacrificing counter space.
The Core Portioning Arsenal (Under $15 Each)
Accurate portioning relies on eliminating volumetric guesswork. A cup of chopped almonds can vary in weight by up to 40 grams depending on the chop size and how tightly they are packed. Transitioning to weight-based and standardized portioning tools eliminates this variance.
1. Greater Goods Nourish Digital Kitchen Scale ($12.99)
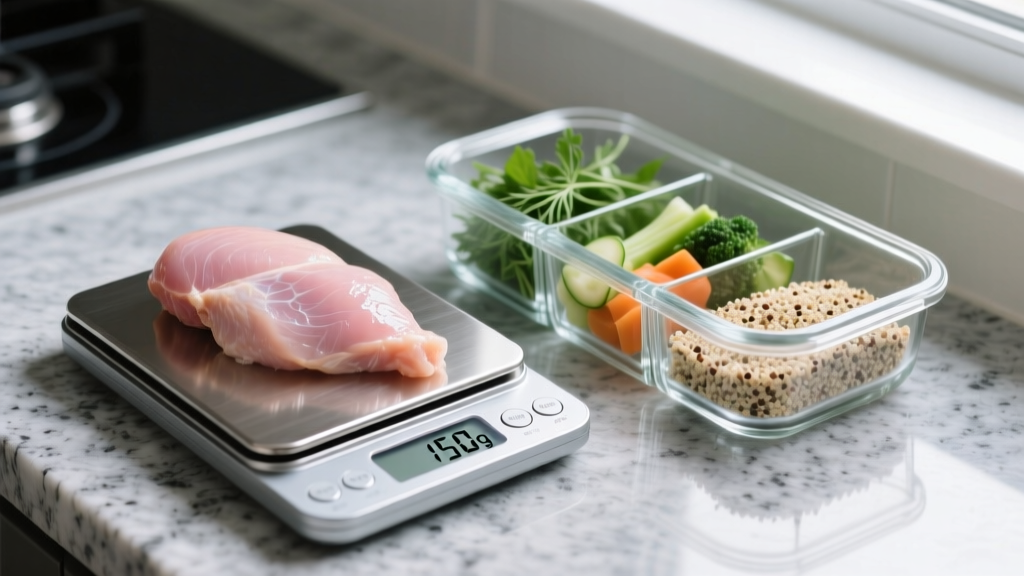
The Greater Goods Nourish model remains the benchmark for budget digital scales in 2026. It features a 0.1-gram graduation for micro-ingredients (like spices and baking powder) and an 11-pound (5kg) maximum capacity for bulk proteins. The critical feature here is the instantaneous tare function. When prepping five days of chicken and rice, the scale's response time must be under 0.5 seconds to maintain workflow momentum. The tempered glass surface is non-porous, preventing raw meat juices from seeping into crevices.
2. OXO Good Grips Stainless Steel Adjustable Measuring Spoon ($10.99)
For liquid aminos, olive oil, and protein powders, volumetric measurement is still necessary. The OXO adjustable spoon replaces a standard 6-piece nesting set. Its sliding collar locks into place at 1/4, 1/2, 1 teaspoon, and 1 tablespoon increments. The 18/8 stainless steel construction resists bending when scooping dense, compacted pre-workout or whey protein powders, a common failure point in plastic adjustable spoons.
3. Norpro Stainless Steel Egg Slicer ($9.50)
While marketed for eggs, this tool is a high-volume vegetable portioning hack. The 304-grade stainless steel wires slice through strawberries, mushrooms, and soft cheeses with uniform 4-millimeter thickness. Uniform slicing ensures even marinating and consistent cooking times when batch-roasting vegetables for weekly meal prep bowls.
Tool Maintenance and Troubleshooting
Budget tools require specific maintenance to match the lifespan of premium alternatives. Here are the non-obvious failure modes and how to prevent them:
- Scale 'Err' Codes: If the Greater Goods scale displays 'Err', the load cell has been shocked. This happens when a heavy cast-iron pan is dropped onto the glass. Always place the bowl on the scale before adding heavy items.
- Adjustable Spoon Jamming: Protein powder residue builds up in the OXO spoon's sliding track, causing the collar to stick. Do not submerge the handle in the dishwasher. Instead, use a dry toothbrush to clear the track after every use, and apply a microscopic drop of food-grade mineral oil to the slider once a month.
- Slicer Wire Slack: Over time, the Norpro wires may lose tension. You can re-tension them by gently squeezing the wire housing with needle-nose pliers to tighten the anchor points.
Strategic Storage: Best Kitchen Gadgets Hooks for Small Spaces
Drawer space is the premium real estate in any kitchen. Stacking portioning tools in a drawer leads to lost items and scratched surfaces. Integrating budget-friendly kitchen gadgets hooks transforms dead vertical space—like the undersides of cabinets and the insides of pantry doors—into high-density storage zones.
Command Wire Hooks (16-Pack, $8.49)
These adhesive hooks are rated for 0.5 pounds. They are the perfect storage solution for the OXO adjustable spoon, lightweight silicone whisks, and digital thermometer probes. Installation Rule: Clean the cabinet surface with isopropyl alcohol, not standard household cleaner, which leaves a slippery residue. Wait 30 minutes before applying the hook, and wait another hour before hanging any weight. Do not install these above dishwashers or ovens, as ambient temperatures exceeding 120°F will degrade the adhesive foam.
Liberty Satin Nickel Under-Cabinet Screw Hooks (6-Pack, $6.98)
For heavier items like the Norpro slicer, metal tongs, or glass mason jars with wire bail lids, you need mechanical fastening. These screw-in hooks support up to 5 pounds each. They require drilling a 3/16-inch pilot hole into the particle board or MDF of your upper cabinets. To prevent the MDF from splitting, wrap the threads of the hook with a single layer of PTFE (plumber's) tape before driving it in with a socket wrench.
Magnetic Strip + Neodymium Hook Repurposing ($14.99 + $4.00)
Instead of buying dedicated magnetic tool holders, mount a standard 16-inch magnetic knife strip (like the IKEA Grundtal) on your backsplash. Then, purchase a pack of small neodymium magnetic hooks. You can attach these hooks to the strip to hang metal portioning tools, and instantly rearrange them as your prep workflow changes, without leaving adhesive residue or drilling new holes.
Most modern upper cabinets are constructed from MDF (Medium-Density Fiberboard). MDF has poor screw-holding strength compared to solid wood. When installing screw-in kitchen gadgets hooks into MDF, always drill into the thickest part of the frame (usually the front lip) and never into the thin bottom paneling, which will strip under dynamic loads (e.g., pulling a heavy tool off the hook).
Hook Installation & Weight Matrix
Use this decision matrix to select the correct hook type based on your specific kitchen cabinetry and the weight of your portioning tools.
| Hook Type | Max Weight Capacity | Best For | Installation Tools Required | Cabinet Compatibility |
|---|---|---|---|---|
| Command Wire (Adhesive) | 0.5 lbs (226g) | Measuring spoons, thermometers, silicone spatulas | Isopropyl alcohol, microfiber cloth | Painted wood, laminate, glass, tile |
| Liberty Screw-In (Nickel) | 5.0 lbs (2.2kg) | Metal slicers, heavy tongs, mason jars | Drill, 3/16' bit, socket wrench | Solid wood, MDF (frame only) |
| Neodymium Magnetic Hooks | 1.5 lbs (680g) | Whisks, metal skewers, adjustable spoons | None (requires magnetic strip base) | Any (mounts to steel strip) |
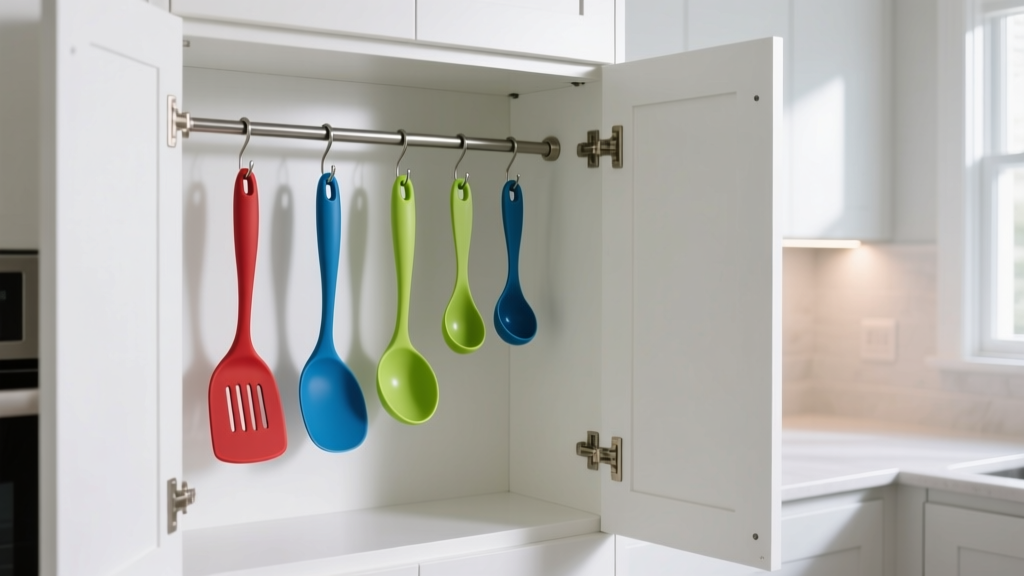
| Tension Rod + S-Hooks | 10.0 lbs (4.5kg) total | Inside pantry doors for bulk bag clips | Spring tension rod, standard S-hooks | Inside cabinet door frames |
The 50/30/20 Portioning Workflow
Having the tools is only half the equation; applying them systematically ensures consistent caloric intake. The 50/30/20 framework dictates the volume ratio of your meal prep containers: 50% fibrous vegetables, 30% lean protein, and 20% complex carbohydrates.
- Stage 1: The Container Tare. Place your empty 3-cup glass bento box on the Greater Goods scale. Press the tare button until the display reads 0.0g.
- Stage 2: Carbohydrate Loading (20%). Add your complex carbs (e.g., quinoa or sweet potato) to the smallest compartment. For a standard 500-calorie meal, aim for exactly 150g of cooked sweet potato. Tare the scale again.
- Stage 3: Protein Allocation (30%). Add your cooked protein (e.g., grilled chicken breast) to the medium compartment. Target 120g. Tare the scale.
- Stage 4: Vegetable Fill (50%). Fill the largest compartment with roasted broccoli or spinach until the total weight of the entire container reaches your target meal weight (typically around 450g-500g total for a standard lunch).
- Stage 5: Fat & Flavor Portioning. Use the OXO adjustable spoon locked at the 1-teaspoon mark to drizzle exactly 5ml of olive oil or tahini over the vegetables, ensuring you do not accidentally add 200 hidden calories.
Food Safety and Cross-Contamination Prevention
When batch-cooking and portioning raw and cooked ingredients simultaneously, cross-contamination is a severe risk. The FDA's Safe Food Handling guidelines emphasize the critical nature of separating raw meat juices from ready-to-eat foods. When using your digital scale, never place raw chicken directly on the glass surface. Always use a disposable paper plate or a dedicated, color-coded red silicone mat on the scale for raw proteins. Wash the scale surface with a 70% isopropyl alcohol solution between weighing raw meats and cooked vegetables. Furthermore, ensure your portioned meals are moved to the refrigerator within two hours of cooking to prevent bacterial proliferation in the danger zone (40°F - 140°F), as outlined by FDA food safety protocols.
By pairing sub-$15 precision tools with a $15 system of kitchen gadgets hooks, you reclaim your drawer space, eliminate food waste through exact portioning, and build a repeatable, sanitary meal prep workflow that pays for itself in the very first week of grocery savings.
Written by
David OkaforDavid Okafor is an ASE (Automotive Service Excellence) Master Certified Technician with 15 years of professional experience in vehicle diagnostics, aftermarket electronics installation, and fleet management. He holds an Associate Degree in Automotive Technology from Universal Technical Institute and certifications in mobile electronics (MECP Certified Installer). David has installed and reviewed over 800 car tech products — from OBD2 scanners and dash cams to full infotainment system retrofits — in vehicles ranging from economy compacts to luxury SUVs. His popular YouTube channel "AutoTech David" has over 150,000 subscribers and features detailed installation tutorials and product teardowns. He is a regular contributor to the SEMA Show's aftermarket technology showcase and advises two automotive tech startups on product development.