How to Connect the Latest Tech Gadgets: USB-C Hub & Dock Setup Guide
Learn how to connect the latest tech gadgets using USB-C hubs and Thunderbolt docks. Step-by-step setup, bandwidth math, and troubleshooting.
The Bandwidth Bottleneck: Why Your Hub Matters
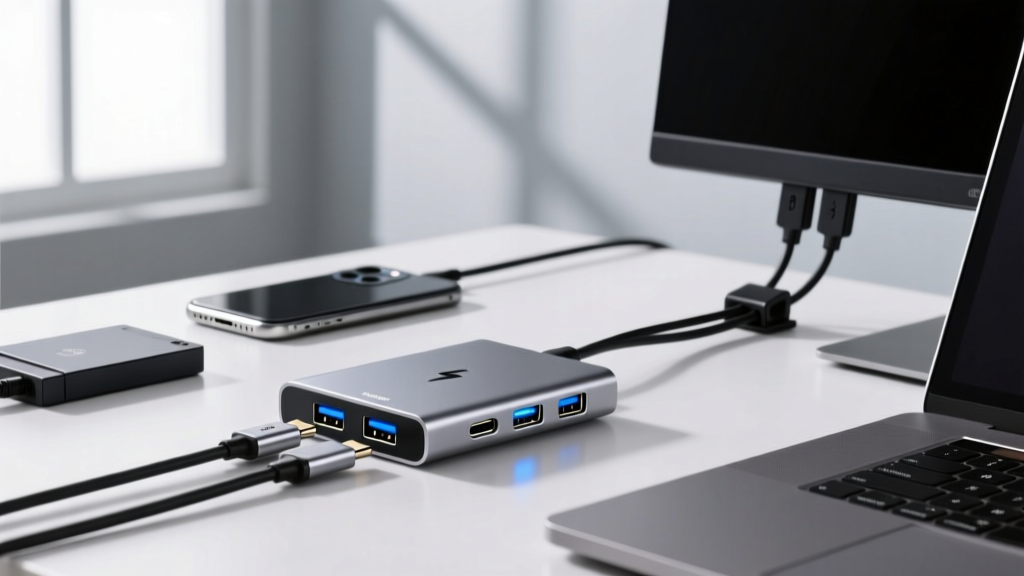
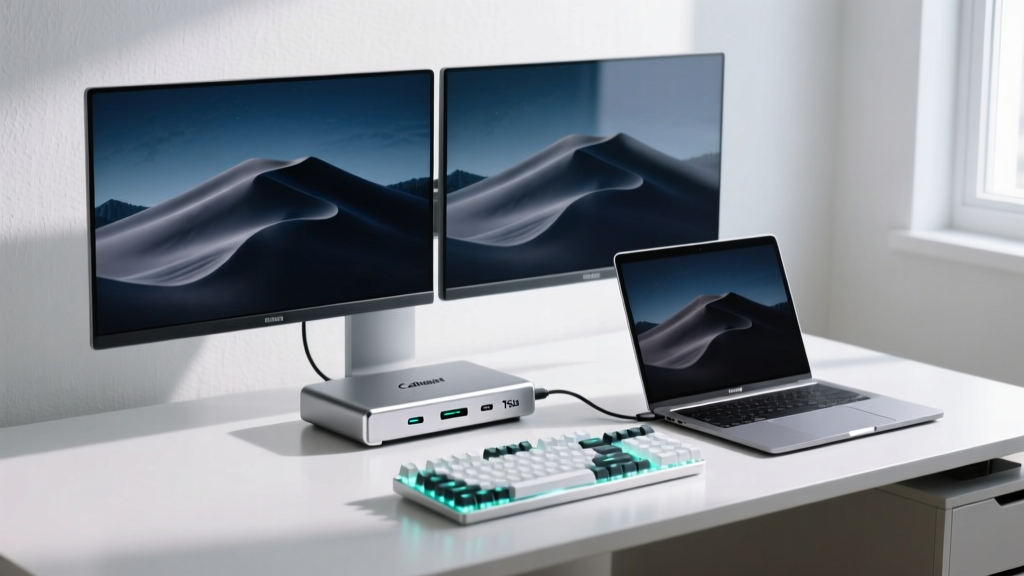
Modern ultrabooks and premium tablets have largely abandoned legacy ports in favor of a minimalist USB-C footprint. While this makes devices thinner, it creates a massive I/O bottleneck when you need to connect the latest tech gadgets—from high-refresh-rate OLED monitors and NVMe RAID enclosures to mechanical keyboards and 2.5G Ethernet adapters. A simple multi-port adapter is rarely enough for a true enthusiast workstation. You need a dedicated docking station that properly manages Power Delivery (PD) and DisplayPort Alt Mode bandwidth.
The most common mistake enthusiasts make is treating all USB-C ports as equal. A port labeled "USB-C 3.2 Gen 2" offers 10Gbps of bandwidth, which is sufficient for a single 4K@60Hz display and a few USB-A peripherals. However, if you are driving dual 4K monitors, a 10Gbps hub will force your displays down to 30Hz or compress the color depth. To properly route the latest tech gadgets without signal degradation, you must step up to Thunderbolt 4 or USB4 protocols, which guarantee 40Gbps of bidirectional bandwidth.
Protocol Bandwidth & Display Matrix
| Protocol Standard | Max Bandwidth | Dual 4K @ 60Hz Support | Minimum Host Port Requirement |
|---|---|---|---|
| USB 3.2 Gen 2 | 10 Gbps | No (Single 4K@60Hz only) | Any USB-C with DP Alt Mode |
| USB 3.2 Gen 2x2 | 20 Gbps | No (Requires DSC compression) | Specific Windows USB-C ports |
| Thunderbolt 4 / USB4 | 40 Gbps | Yes (Native Dual 4K@60Hz) | TB4 / USB4 certified host port |
| Thunderbolt 5 (Emerging) | 80-120 Gbps | Yes (Triple 4K@144Hz) | TB5 certified host (Late 2025+) |
Hardware Selection: 2026 Docking Station Matrix
When selecting a hub to anchor your setup, prioritize chipset stability and power pass-through over sheer port count. Cheap hubs often use inferior Realtek or VIA chipsets that drop USB audio interfaces during high-bandwidth data transfers. Here are the top-tier docking stations currently dominating the enthusiast market:
- CalDigit TS4 ($399): The undisputed king of Thunderbolt 4 docks. Features 18 ports, including 2.5GbE, SD/microSD UHS-II, and 98W host charging. Its internal aluminum heat sink prevents the thermal throttling common in smaller hubs.
- Plugable TBT4-UDZ ($300): A hybrid USB4/TB4 dock that offers excellent cross-platform compatibility. It includes a 100W power supply and supports dual 4K@60Hz via native DisplayPort 1.4 or HDMI 2.0 outputs.
- Satechi Thunderbolt 4 Multimedia Dock ($199): Best for Mac mini or desk-bound MacBook users who prioritize front-facing I/O. Includes a built-in NVMe SSD enclosure slot, saving desk space.
Step-by-Step Physical Setup & Power Sequencing
Docking stations are essentially external PCIe and DisplayPort switches. Improper boot sequencing can cause the host OS to fail to enumerate the USB device tree, resulting in missing drives or blank monitors. Follow this exact sequence:
- Isolate the Power: Plug the dock’s dedicated power brick directly into a wall outlet or a high-capacity UPS (min 15A circuit). Do not daisy-chain the dock's power through a cheap smart plug, as voltage drops during drive spin-up can trigger a reset.
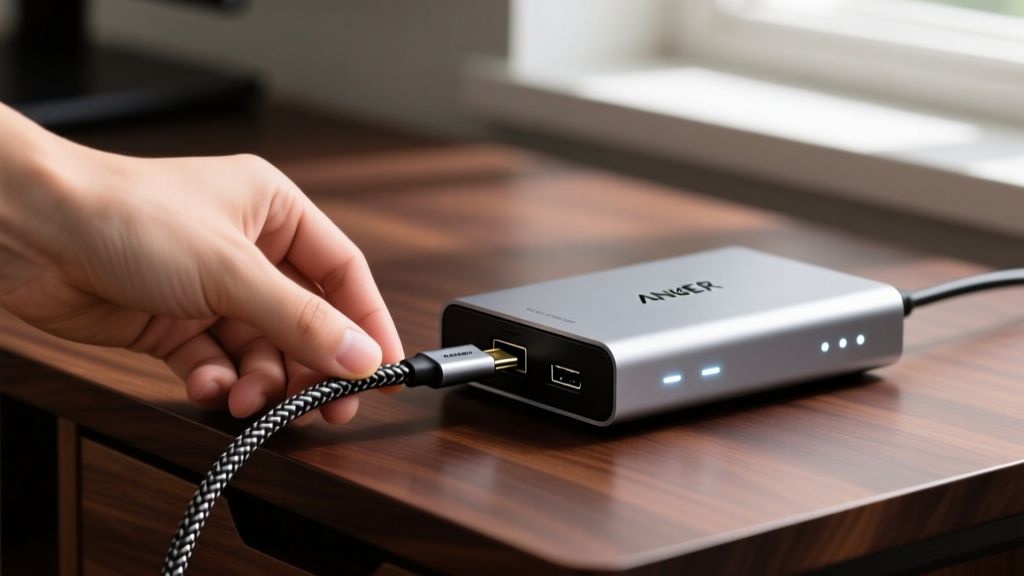
- Connect Peripherals First: Plug in your monitors, ethernet, and USB gadgets into the dock before connecting the dock to your computer. This allows the dock's internal controller to map the device tree while in a dormant state.
- Attach the Host Cable: Connect the Thunderbolt/USB4 cable to the designated host port on the dock (usually marked with a laptop icon), then plug it into your computer's highest-bandwidth port.
- Authorize the Connection: On Windows, a Thunderbolt security prompt will appear in the system tray. Select "Always Connect." On macOS, navigate to System Settings > Privacy & Security to allow the accessory to connect.
The 40Gbps Thunderbolt 4 specification only supports passive cables up to 0.8 meters in length. If you need a 2-meter cable to reach your PC tower on the floor, you must purchase an active Thunderbolt cable (which contains signal repeaters in the connector heads, typically costing $60-$80). Using a standard passive USB-C cable longer than 0.8m will silently drop your connection to USB 2.0 speeds (480Mbps), completely disabling your monitors and fast storage.
Software Configuration & OS Edge Cases
Physical connection is only half the battle. The latest tech gadgets often run into software-level limitations dictated by the host operating system and silicon architecture.
The Apple Silicon Display Limitation
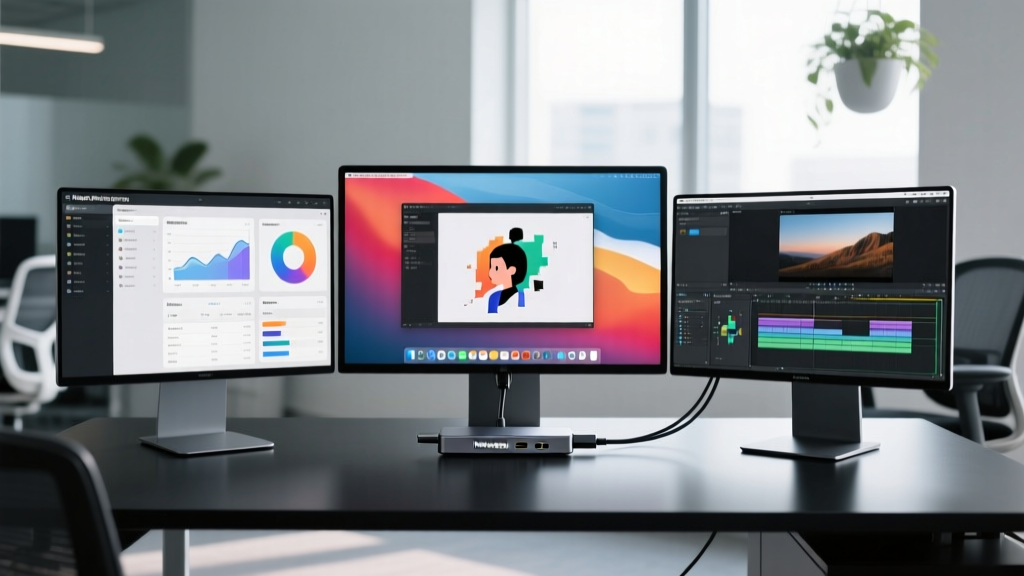
If you are using a base-model Apple Silicon Mac (M1, M2, M3, or M4 non-Pro/Max chips), you are hardware-limited to one single external display natively over Thunderbolt. Plugging a second monitor into your TB4 dock will result in a black screen or mirrored output. According to Apple's official display specifications, you must upgrade to a Pro or Max chip for native dual-display support.
The Workaround: To bypass this, you must use a dock or adapter that features a DisplayLink chip. DisplayLink compresses video data into standard USB packets, bypassing the native Apple Silicon display controller. You will need to install the DisplayLink Manager software and grant it Screen Recording permissions in macOS. Be aware that DisplayLink consumes roughly 5-8% continuous CPU overhead and does not support HDCP (meaning Netflix or Hulu will black-screen on that specific monitor).
Windows Power Delivery (PD) Negotiation
Most premium TB4 docks output 90W to 98W of Power Delivery. If you are using a high-performance 16-inch laptop equipped with an RTX 4080 mobile GPU or an M3 Max chip, the system requires 140W+ under heavy load. The dock will keep the laptop charged during web browsing, but if you launch a 3D render or AAA game, the laptop will still drain its internal battery. For sustained heavy workloads, you must keep the laptop's OEM 140W+ power brick plugged in directly, using the dock strictly for data and display routing.
Advanced Troubleshooting Decision Tree
When your setup misbehaves, use this diagnostic framework to isolate the failure point:
- Symptom: USB Audio Interface randomly disconnects during large file transfers.
Cause: Bandwidth starvation or EMI (Electromagnetic Interference). USB 3.0 data transfer generates 2.4GHz noise that disrupts unshielded USB 2.0 devices.
Fix: Move your audio interface to a dedicated USB 2.0 port on the back of the dock, or use a shielded, ferrite-core USB cable. Do not plug the audio interface into the front-panel hub. - Symptom: Monitors flicker or go black when a desk lamp turns on.
Cause: DisplayPort cable shielding failure. The DP 1.4 signal is highly susceptible to voltage spikes from nearby unshielded power supplies.
Fix: Replace your monitor cables with VESA-certified DP 1.4 cables featuring heavy EMI shielding (look for 30AWG or thicker copper cores). - Symptom: External NVMe SSD transfer speeds cap at 400MB/s instead of 1000MB/s+.
Cause: The SSD is plugged into a port on the dock that shares a USB 3.2 Gen 1 (5Gbps) internal bus with the SD card reader or Ethernet controller.
Fix: Consult the dock's manual for the "dedicated" high-bandwidth USB ports (usually the rear USB-C or top-tier USB-A ports) and avoid the front-panel multi-reader cluster.
Setup Summary Checklist
✔️ Verified host port supports Thunderbolt 4 / USB4 (40Gbps).
✔️ Using an Active cable if length exceeds 0.8 meters.
✔️ Dock powered directly from wall/UPS, not a smart strip.
✔️ DisplayLink Manager installed (if using base M-series Mac with dual monitors).
✔️ High-bandwidth NVMe drives placed on dedicated rear bus ports.
Written by
David OkaforDavid Okafor is an ASE (Automotive Service Excellence) Master Certified Technician with 15 years of professional experience in vehicle diagnostics, aftermarket electronics installation, and fleet management. He holds an Associate Degree in Automotive Technology from Universal Technical Institute and certifications in mobile electronics (MECP Certified Installer). David has installed and reviewed over 800 car tech products — from OBD2 scanners and dash cams to full infotainment system retrofits — in vehicles ranging from economy compacts to luxury SUVs. His popular YouTube channel "AutoTech David" has over 150,000 subscribers and features detailed installation tutorials and product teardowns. He is a regular contributor to the SEMA Show's aftermarket technology showcase and advises two automotive tech startups on product development.