Cool 3D Printed Gadgets: 7 Desk Upgrades for 2026
Discover 7 cool 3D printed gadgets to upgrade your workspace in 2026. Includes slicer settings, material guides, and functional print-in-place designs.
The 2026 Desktop Manufacturing Landscape
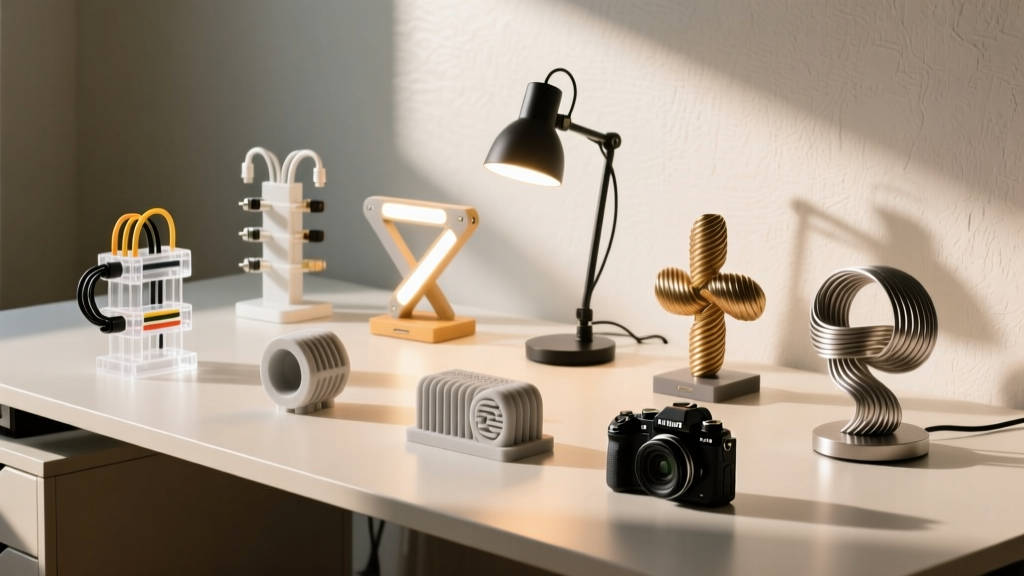
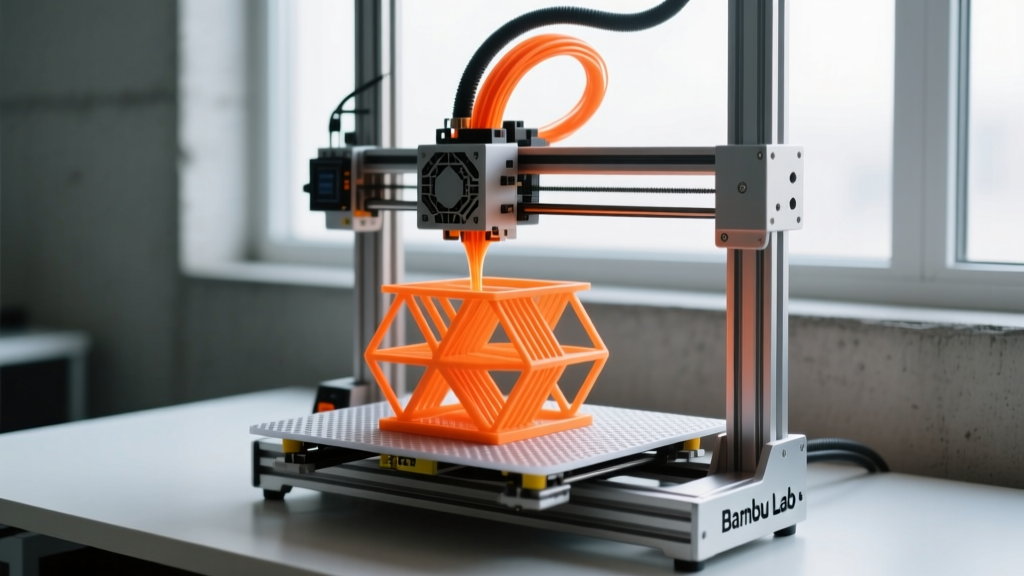
The era of printing brittle, useless trinkets is over. With the mass adoption of CoreXY kinematics and high-flow hotends in consumer machines like the Bambu Lab P1S and Prusa MK4S, makers are now engineering functional, end-use cool 3D printed gadgets that rival injection-molded commercial products. In 2026, the focus has shifted entirely toward mechanical tolerances, advanced composite filaments, and print-in-place kinematics. If you are still printing standard PLA boats, you are missing out on the true potential of your machine.
This guide breaks down seven highly functional, mechanically complex desk gadgets you can print today, complete with exact slicer profiles, material requirements, and assembly tolerances.
The Material Matrix: Engineering Plastics for Functional Gadgets
Before booting up your slicer, you must select the correct polymer. Standard PLA will deform in a hot car or near a warm PC tower. For functional desk and EDC gadgets, refer to this 2026 material matrix based on data from All3DP's Filament Guide and independent maker testing.
| Material | Nozzle Temp | Bed Temp | Best Use Case | Shrinkage / Warping |
|---|---|---|---|---|
| Tough PLA | 215°C | 60°C | Compliant mechanisms, indoor organizers | Negligible |
| PETG | 245°C | 80°C | Snap-fits, threaded inserts, mechanical hinges | Low (0.2%) |
| ASA | 260°C | 100°C | UV-exposed mounts, automotive, outdoor EDC | Medium (0.5%) |
| PA-CF (Nylon Carbon Fiber) | 285°C | 90°C | High-stress gears, bearings, structural arms | High (Requires enclosure) |
7 Cool 3D Printed Gadgets for Your Workspace
1. Compliant Mechanism Laptop Riser
Unlike traditional hinges that require metal pins and suffer from friction wear, compliant mechanisms rely on the elastic deformation of the material itself. A print-in-place laptop riser uses flexure hinges to fold completely flat for travel, then snap into a rigid 15-degree typing angle.
- Material: Tough PLA or PETG (Standard PLA will snap after 10-15 flex cycles due to low fatigue resistance).
- Slicer Settings: 3 perimeters, 40% Gyroid infill. Do not use tree supports inside the hinge gaps; rely on a 0.15mm bridging gap designed into the CAD.
- Print Time: ~4 hours on a high-speed CoreXY at 250mm/s.
2. Cycloidal Drive Fidget Spinner
This isn't a standard propeller spinner. A cycloidal drive spinner uses an eccentric cam and a ring of stationary pins to create a mesmerizing, high-torque reduction spin. It requires extreme precision and is the ultimate test of your printer's dimensional accuracy.
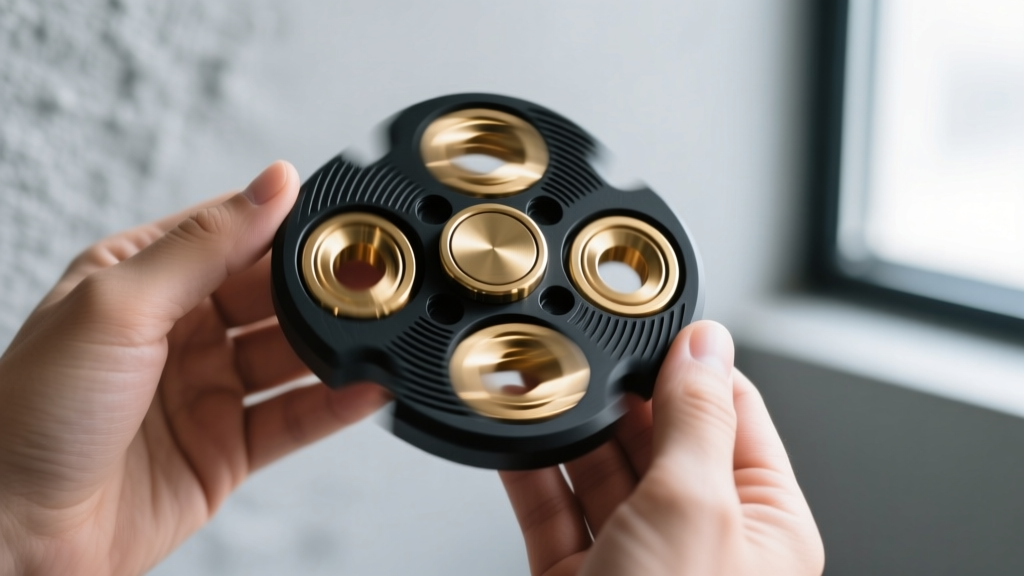
- Hardware Needed: One 608 skateboard bearing (8x22x7mm), six 3mm steel dowel pins.
- Slicer Settings: You must use a 0.2mm nozzle. Set layer height to 0.1mm, and apply a -0.05mm XY hole compensation in OrcaSlicer to ensure the dowel pins press-fit without cracking the housing.
- Pro Tip: Print the cycloidal disc in PA-CF for maximum wear resistance against the steel pins.
3. MagSafe Qi2 Puck Mount with Embedded Magnets
With the Qi2 standard fully maturing in 2026, aligning your phone perfectly for 15W wireless charging is critical. This desk mount features a 45-degree angled cradle with internal cavities designed specifically for N52 neodymium magnets.
- Hardware Needed: Twelve 6mm x 2.5mm N52 neodymium magnets.
- The Pause-at-Height Trick: Slice the model, then use your slicer's 'Pause at Height' feature exactly at layer 42 (1.68mm). When the printer pauses, drop the magnets into the cavities with the correct polarity, apply a drop of cyanoacrylate (CA) glue, and resume the print to encapsulate them seamlessly.
4. Under-Desk Gridfinity Power Hub
Gridfinity has evolved from simple desk bins to a full modular ecosystem. This under-desk power hub mounts directly to your desk using 3M VHB tape or M4 wood screws, holding a 100W GaN charger and routing braided USB-C cables through integrated cable-management combs.
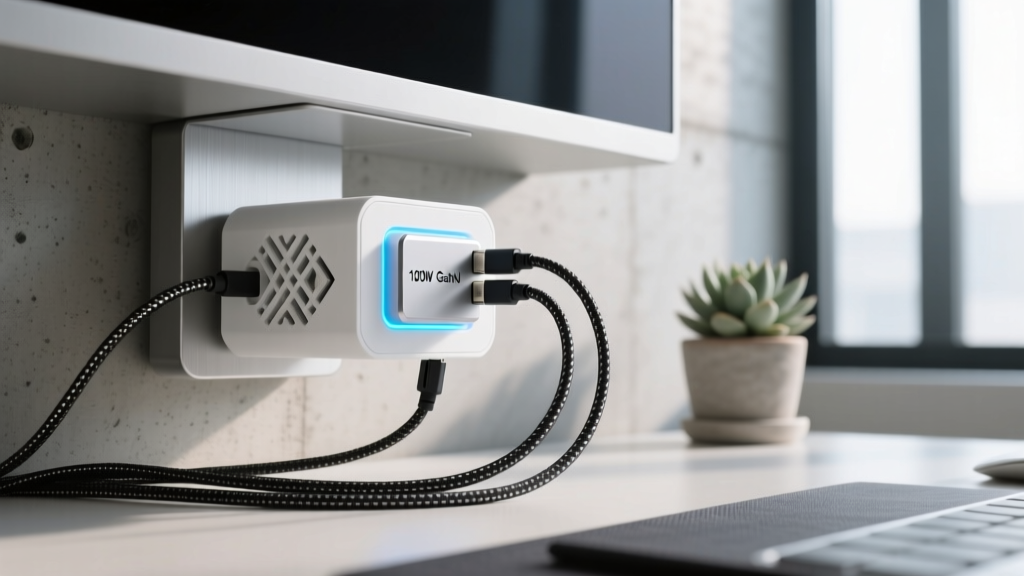
- Material: PETG (for slight flexibility and heat resistance from the GaN charger).
- Dimensional Tuning: The standard Gridfinity base pitch is 42.5mm. If your PETG prints run hot and cause dimensional inaccuracies, apply a 0.1mm XY contour compensation to ensure standard Gridfinity bins slide into the top receptacles without binding.
5. Passive Acoustic Phone Amplifier
Skip the Bluetooth speaker and use physics. This passive horn is mathematically tuned using a logarithmic spiral to amplify the bottom-firing speakers of modern smartphones. The internal geometry includes ribbed diffusers to eliminate standing waves and muddy bass frequencies.
- Material: Matte PLA or Wood-filled PLA. The higher density of wood-filled filament (due to the wood fibers) reduces acoustic resonance and prevents the plastic housing from vibrating and rattling at high volumes.
- Infill: 100% solid infill for the first 10mm of the base to add mass and dampen vibrations.
6. Print-in-Place Iris Box
A mechanical iris that twists open to reveal your SD cards, USB drives, or small EDC bits. The magic of this gadget is that it prints fully assembled. The leaves of the iris are held together by a continuous spiral retaining ring that is generated in a single print sequence.
- Tolerances: This requires a perfectly tuned extruder. If your flow rate is over-calibrated by even 2%, the 0.15mm clearances between the iris leaves will fuse together.
- Calibration: Run an OrcaSlicer flow rate and pressure advance calibration specifically for the spool you are using before attempting this print.
7. Parametric Hex Bit Organizer with TPU Base
A dual-extrusion (or manual filament swap) gadget that features a rigid housing for 1/4-inch hex bits, fused directly to a flexible TPU base. The TPU base acts as a shock absorber and prevents the organizer from sliding across your desk when you aggressively pull a bit out.
- Material Swap: Print the base in 95A TPU up to layer 20, pause, swap to PETG for the rigid bit holders. Ensure your retraction settings are optimized to prevent stringing during the transition.
Slicer Secrets for Functional Gadgets
To elevate your prints from 'prototypes' to 'products', implement these advanced settings in OrcaSlicer or PrusaSlicer:
- Arachne Perimeter Generator: Enable this to allow variable line width. It ensures that thin features (like the teeth on a gear or the tips of a compliant hinge) are printed solid without gaps, while thick walls remain hollow to save weight.
- Seam Painting: Manually paint the Z-seam on the back or interior corners of your gadgets. A random seam on a mechanical slider will create a bump that causes binding.
- Elephant Foot Compensation: Set this to 0.15mm. The first layer squish will ruin the precise 42.5mm Gridfinity tolerances if not compensated for.
Frequently Asked Questions
How do I prevent PETG from stringing on complex gadgets?
PETG is notorious for stringing, which can ruin print-in-place mechanisms. Increase your travel speed to 300mm/s, ensure your filament is completely dry (dry at 65°C for 6 hours), and enable 'Wipe before retract' in your slicer. According to testing documented on the Prusa Research Blog, proper moisture control eliminates 90% of PETG stringing issues.
Can I use standard PLA for mechanical gears?
No. Standard PLA has a low glass transition temperature (around 60°C) and poor wear resistance. The friction from gear teeth will generate enough localized heat to deform and melt the teeth. Use PA-CF (Nylon Carbon Fiber) or at least a hardened steel nozzle with PETG for any moving mechanical parts.
What is the best way to embed nuts and bolts into 3D printed gadgets?
Do not design your CAD to pause and drop in nuts; the tolerances are too risky. Instead, design hexagonal or cylindrical cavities slightly smaller than your brass threaded inserts. After the print finishes, use a temperature-controlled soldering iron set to 250°C to melt the brass inserts directly into the plastic. This creates a permanent, high-strength metal thread that will not strip.
The best 3D printed gadgets aren't the ones that look the most complex on the outside, but the ones that solve a highly specific physical problem using the unique constraints of additive manufacturing.
Written by
Nina PetrovaNina Petrova holds a Master's degree in Child Development from the Erikson Institute and a B.S. in Nursing from the University of Illinois at Chicago. She worked as a pediatric nurse for 6 years before transitioning to family technology consulting, bringing clinical rigor to her evaluations of kid-friendly gadgets, educational toys, and parental control software. Nina has reviewed over 400 children's tech products, testing each for safety compliance (CPSC and ASTM standards), developmental appropriateness across age groups, screen-time impact, and data privacy practices. She serves on the Children's Technology Review advisory board and has testified before the FTC on children's data protection in connected toys. Her reviews are trusted by parents and educators alike for their evidence-based approach to balancing technology benefits with child safety.