Building Custom Keyboards: Unique Tools and Gadgets You Need in 2026
Discover the essential unique tools and gadgets for building custom mechanical keyboards in 2026. Expert guide on lube stations, soldering, and acoustics.
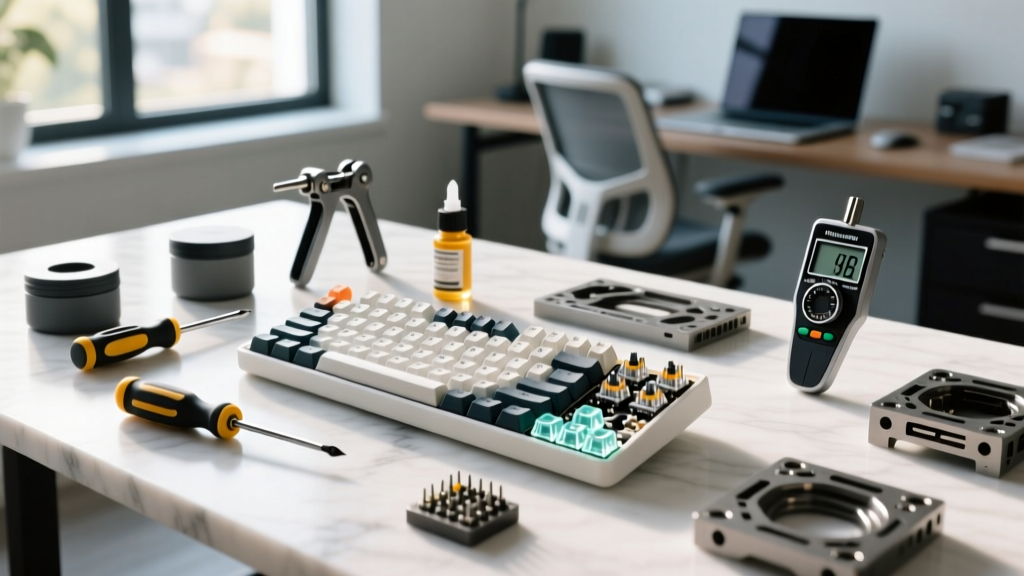
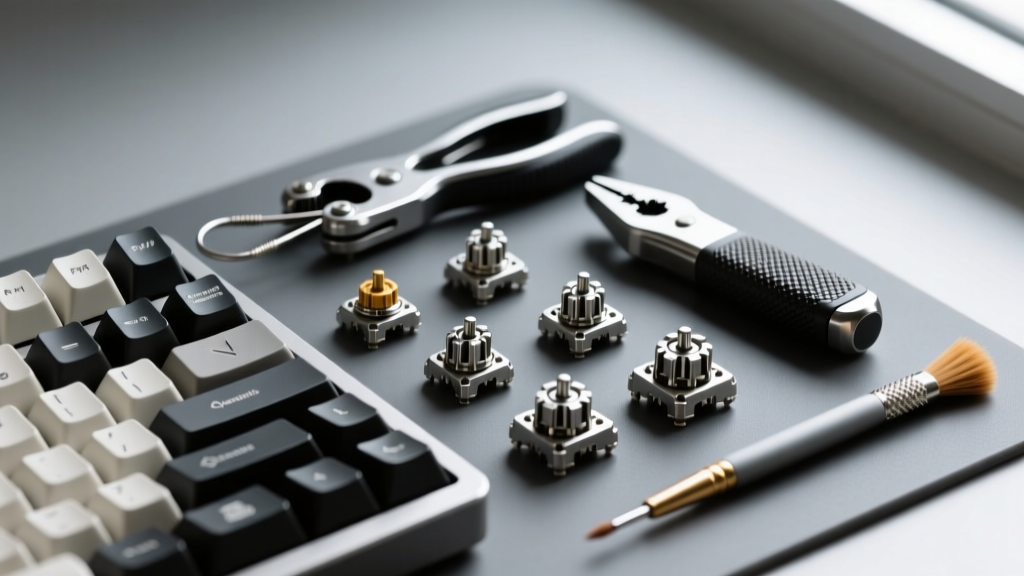
The custom mechanical keyboard hobby has transitioned from a niche DIY experiment into a highly refined enthusiast market. While pre-built enthusiast boards have improved, building a custom input device remains the definitive way to achieve perfect acoustics, tailored tactile feedback, and exact ergonomic layouts. However, achieving an end-game build requires moving beyond basic screwdrivers. To properly tune switches, dampen acoustics, and repair PCBs, you need a specialized arsenal of unique tools and gadgets designed specifically for keyboard modification.
This comprehensive buyer's guide details the exact equipment, specific material grades, and specialized gadgets required to build, tune, and maintain a high-end custom mechanical keyboard in 2026.
The Disassembly and Maintenance Arsenal
The most common point of failure for new builders is damaging components during routine maintenance or switch swapping. Using the wrong extraction tools will permanently mar expensive keycaps or rip hot-swap sockets directly off the PCB.
Keycap and Switch Extraction
Never use plastic ring-style keycap pullers on textured PBT or high-profile ABS keycaps. The rigid plastic edges will leave micro-scratches on the sides of the caps. Instead, invest in a stainless steel wire keycap puller (typically $5 to $8 from vendors like KBDfans or Cannon Keys). The wire slips under the keycap edges evenly, distributing upward force without scraping the plastic.
For switch removal, standard plastic switch pullers often snap when dealing with tight-friction housings like JWK or Gateron Ink blends. Upgrade to a metal switch puller with a locking mechanism. For hot-swap PCBs, keep a Kailh hot-swap socket remover tool ($8) on hand. If a socket becomes loose or desoldered, this specialized tweezer-like gadget allows you to extract the socket from the front of the PCB without damaging the surrounding copper traces.
When removing switches from a newly built board, always support the PCB from the back. Pulling switches at an angle without rear support can shear the solder joints connecting the hot-swap socket to the PCB pad, resulting in a dead key that requires micro-soldering to fix.
Switch Lubrication and Tuning Gadgets
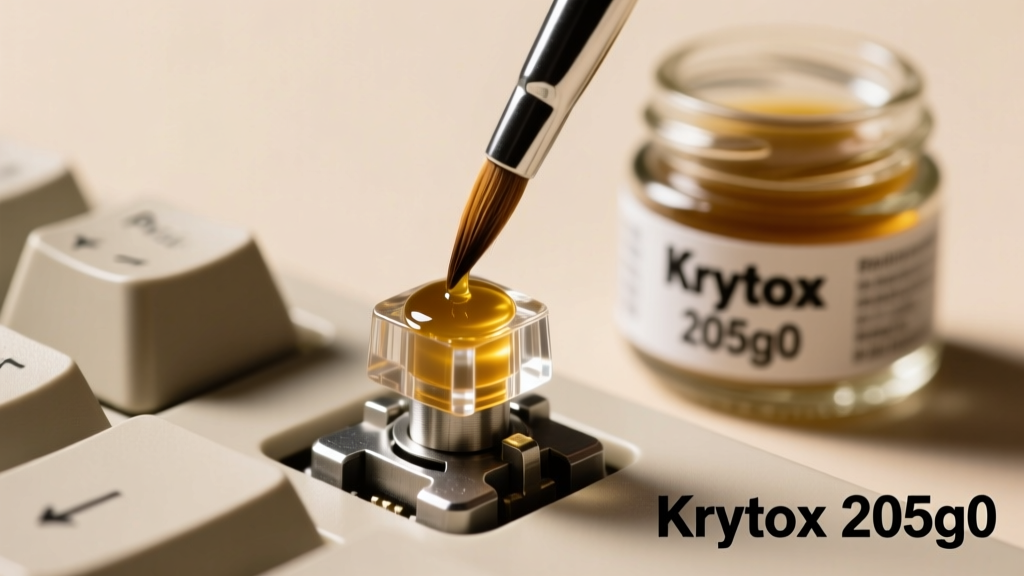
While factory-lubed switches have improved significantly by 2026, hand-lubing remains the gold standard for eliminating spring ping and ensuring uniform keystroke smoothness. The lubrication process requires precise application tools to avoid the most common failure mode: overlubing, which causes sluggish stem return and a muddy typing feel.
The Lubrication Matrix
Selecting the correct lubricant viscosity is critical. Using a thick grease on a tactile switch will fill the tactile legs, effectively turning it into a linear switch.
| Lubricant Type | Viscosity / Grade | Best Application | Approx. Cost (5g) |
|---|---|---|---|
| Krytox GPL 205g0 | Medium Grease | Linear switch stems, rails, and springs | $15.00 |
| Tribosys 3203 | Light Grease | Tactile switch stems (preserves bump) | $18.00 |
| Krytox 105 (Oil) | Low Viscosity Oil | Bag-lubing springs only | $12.00 |
| Permatex 22058 | Thick Dielectric | Stabilizer wires (prevents rattle) | $6.00 |
Application Tools
Discard the cheap, fraying brushes included in budget keyboard kits. Purchase a Size 00 synthetic detail brush (such as the Princeton Velvetouch, ~$8). Synthetic bristles hold the PTFE-based grease evenly and do not shed fibers into the switch housing. For opening switches, you must use a switch opener tool matched to your specific housing. MX-style housings require a 4-prong opener, while Kailh/Gateron housings require a 2-prong opener. Forcing the wrong opener will crack the top housing polycarbonate.
Soldering and PCB Modification Gadgets
Even if you primarily build hot-swap keyboards, a high-quality soldering setup is mandatory for repairing ripped pads, installing aftermarket daughterboards, or adding custom RGB underglow strips. The enthusiast standard in 2026 is the Pinecil V2 smart soldering iron ($26).
When working on keyboard PCBs, set the Pinecil V2 to 280°C for 63/37 leaded rosin-core solder and 320°C for lead-free solder. Keyboard PCBs feature heavy ground planes that act as heat sinks; if your iron lacks thermal recovery, the solder will bridge across the hot-swap socket pads, permanently shorting the key matrix.
For advanced modifications, such as replacing a fried hot-swap socket or desoldering a factory-installed microcontroller, a hot-air rework station (like the Quick 861DW or a budget 858D clone for ~$45) is essential. Pair this with Chip Quik low-temperature desoldering braid to lift molten solder away from delicate vias without delaminating the FR4 fiberglass layers of the PCB.
Acoustic Tuning and Dampening Materials
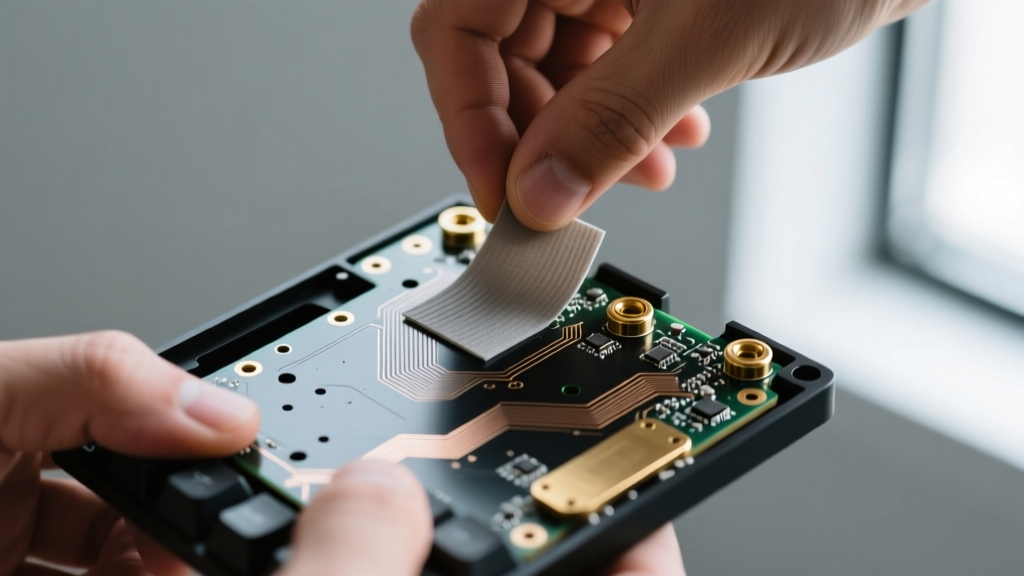
Acoustic tuning separates a good keyboard from a great one. The goal is to eliminate hollow reverberations and high-frequency ping while enhancing the lower-frequency 'thock'. This requires specialized dampening materials rather than generic foam.
- Switch Plate Dampening: Use PORON microcellular polyurethane foam (specifically the 0.5mm thickness) between the PCB and the switch plate. PORON compresses evenly and does not degrade or off-gas over time like cheap EVA foam.
- Case Void Filling: For aluminum or polycarbonate cases with deep bottom cavities, use neoprene rubber sheets or silicone pour-in compounds. Neoprene provides a dense, firm acoustic profile, while silicone creates a softer, more muted sound signature.
- The Tape Mod: Applying layers of tape to the back of the PCB reflects high-frequency sound waves back through the switch plate. Use 3M Temflex masking tape or automotive sound deadening tape. Apply exactly 2 to 3 layers; exceeding this will choke the acoustic resonance and make the board sound dead and flat.
Stabilizer Tuning: The Holee Mod
Factory stabilizers often suffer from stem wobble, causing a rattling sound on larger keys like the spacebar. The definitive fix is the 'Holee Mod'. Using a standard dental floss threader or a small strip of fabric Band-Aid, you insert a tiny piece of material into the bottom hole of the stabilizer stem. This eliminates the vertical play between the stabilizer wire and the plastic stem. Combined with a thick application of Permatex dielectric grease on the wire itself, this guarantees a zero-rattle spacebar.
Essential Tool Loadout: Budget vs. Enthusiast
Depending on your commitment level, here is a breakdown of the investment required to properly maintain and build custom input devices. According to community building guidelines maintained by resources like the r/MechanicalKeyboards Wiki and vendor tutorials from Cannon Keys, investing in the right tools prevents costly component damage.
| Tool Category | Budget Loadout (Cost) | Enthusiast Loadout (Cost) |
|---|---|---|
| Keycap & Switch Pullers | Generic Plastic Set ($4) | Wire Puller + Metal Locking Puller ($15) |
| Lubrication Setup | Included Brush + Basic Grease ($10) | Size 00 Brush, Krytox 205g0, Tribosys 3203 ($41) |
| Soldering Station | 60W Adjustable Iron Kit ($20) | Pinecil V2 + Quick 861DW Hot Air ($120+) |
| Acoustic Materials | EVA Foam + Painter's Tape ($12) | PORON Sheets + Neoprene + Temflex Tape ($35) |
| Total Estimated Investment | $46.00 | $211.00+ |
Building a custom mechanical keyboard is an exercise in precision. The unique tools and gadgets outlined above are not mere accessories; they are fundamental requirements for manipulating the delicate plastics, metals, and PCB traces that make up modern input devices. By investing in wire extractors, specific PTFE lubricants, smart soldering irons, and microcellular foams, you ensure that every build achieves the exact acoustic and tactile profile you designed it for.
Written by
Lena ChenLena Chen earned her M.S. in Human-Computer Interaction from Carnegie Mellon University and a B.S. in Electrical Engineering from the University of Washington. She has spent the past decade specializing in smart home architecture and IoT ecosystems, helping over 200 homeowners design fully connected living spaces. Lena is a certified Matter protocol consultant and has published peer-reviewed research on voice-first interface design in the ACM Digital Library. Her reviews of smart home products combine deep technical analysis with real-world usability testing, evaluating everything from Zigbee mesh stability to Alexa skill responsiveness. She regularly speaks at CEDIA Expo and CES smart home panels.