Setup: Ergonomic Jar Openers & Kitchen Tools Gadget Egg Piercer
Learn how to install, calibrate, and use ergonomic jar openers, can openers, and the popular kitchen tools gadget egg piercer for flawless prep.
Unboxing and Inspecting Your Ergonomic Grip Gadgets
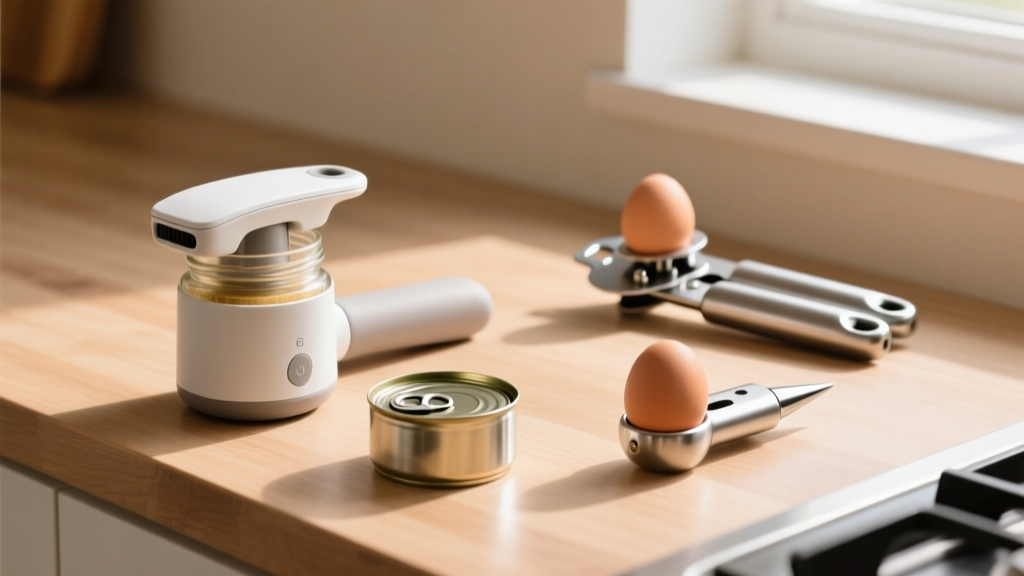
Standard kitchen utensils often fail when confronted with vacuum-sealed canning jars or swollen tin lids. Upgrading to specialized ergonomic openers is not merely a convenience; it is a biomechanical necessity for preserving joint health. As of 2026, the market standard for high-end jar and can openers relies on V-grip polyurethane pads and 420J2 stainless steel cutting wheels. Before beginning installation, verify that your kit includes the primary under-cabinet V-grip mounting plate, the handheld tension-calibrated can opener, and the specialized kitchen tools gadget egg piercer attachment.
Inspect the mounting hardware. Budget models typically include brittle zinc-plated screws that strip easily under torque. If your kit contains these, discard them and purchase 1.25-inch #8 pan-head wood screws from a local hardware store. The thermoplastic elastomer (TPE) grips on the handheld unit should feel slightly tacky, not slick. If the TPE is hard or discolored out of the box, the polymer has degraded and will fail to generate the necessary friction coefficient against smooth glass lids.
Identifying the Core Components
- Under-Cabinet V-Grip: Provides up to 40 inch-pounds of leverage for breaking vacuum seals on Mason jars.
- Handheld Squeeze Opener: Features a 420J2 stainless steel blade for cutting tin lids without leaving sharp edges.
- Kitchen Tools Gadget Egg Piercer: A spring-loaded 1.5mm needle designed to vent the air cell in eggs prior to boiling.
Step-by-Step Calibration for Under-Cabinet Jar Openers
Mounting an under-cabinet jar opener requires precision. If the V-grip is not perfectly flush with the cabinet floor, the leverage angle shifts, causing the lid to slip and potentially shatter the glass rim.
Standard cabinet boxes use 3/4-inch plywood or particleboard. If you are mounting into particleboard without hitting a structural stud, standard wood screws will tear out under 25+ inch-pounds of torque. You must use 100-lb rated toggle bolts or mount directly into the cabinet's wooden face-frame stile.
- Locate the Mounting Zone: Choose a spot near the front edge of the cabinet, directly above your primary prep counter. Ensure there is a minimum 14-inch clearance below the cabinet to accommodate a 1-gallon glass jar.
- Find the Stud: Use a magnetic stud finder to locate the screws holding the cabinet box to the wall. Align the left edge of the V-grip plate with this stud for maximum anchoring strength.
- Pre-Drill Pilot Holes: Using a 3/32-inch drill bit, drill two pilot holes through the mounting plate's slots. Do not skip this step; forcing screws directly into hardwood or dense plywood can split the material.
- Secure the Plate: Drive the 1.25-inch #8 screws through the plate. Tighten until the rubber pad compresses slightly against the wood, but do not overtighten to the point of deforming the V-grip channel.
- Test the Leverage: Place an empty, sealed glass jar into the V-grip. Pull the jar handle downward. The cabinet should bear the load entirely without any flexing in the mounting plate.

Mastering the Squeeze: Handheld Can and Jar Opener Techniques
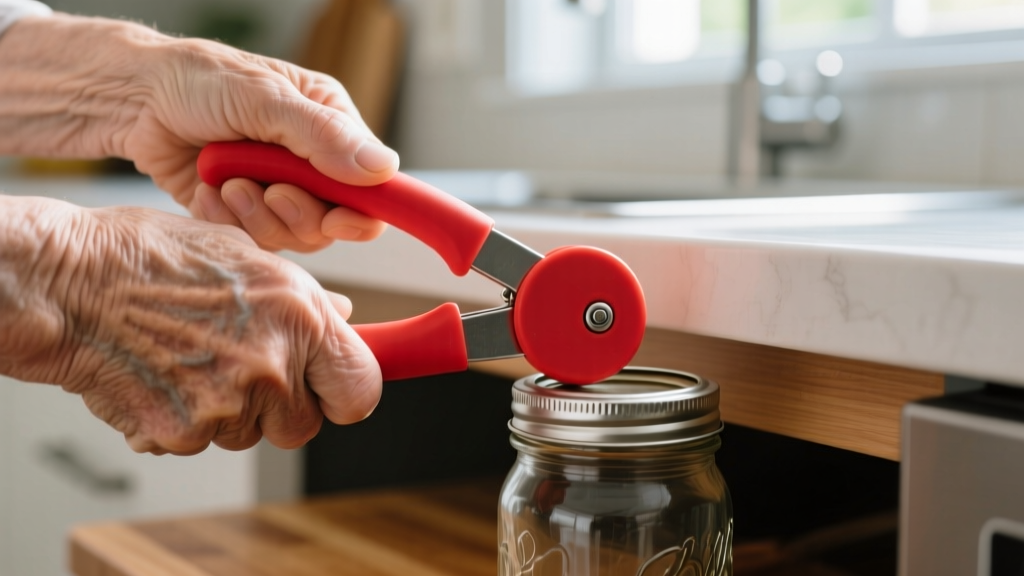
Handheld openers that utilize a squeezing mechanism require proper tension calibration. If the tension dial is too loose, the cutting wheel will skate across the tin lid, leaving jagged metal shards. If it is too tight, the internal gears will bind, requiring excessive grip strength that defeats the purpose of an ergonomic tool.
Calibrating the Tension Dial
Locate the knurled adjustment knob on the side of the handheld unit. Turn it clockwise until you feel the internal gears engage. Then, back it off exactly one-quarter turn counter-clockwise. This provides the optimal bite depth for standard 0.2mm thick tinplate cans. When operating the tool, use a two-handed rocking motion rather than a static squeeze. Apply downward pressure with your non-dominant hand on the top stabilizer pad while squeezing the handles with your dominant hand.
| Container Type | Required Torque to Open | Recommended Gadget | Max Leverage Output |
|---|---|---|---|
| Standard Tin Can | N/A (Cutting) | Handheld Squeeze Opener | 12 in-lbs (Gear Ratio) |
| Vacuum-Sealed Mason Jar | 18 - 25 in-lbs | Under-Cabinet V-Grip | 40+ in-lbs |
| Swollen Plastic Lid | 10 - 15 in-lbs | Handheld Cone Grip | 20 in-lbs |
Integrating the Kitchen Tools Gadget Egg Piercer into Your Workflow
When outfitting a modern kitchen, enthusiasts often look for a multi-function setup to save drawer space. The specialized kitchen tools gadget egg piercer is a critical, yet frequently misunderstood, component of this ecosystem. This device utilizes a concealed, spring-loaded stainless steel needle to puncture the wide end of an eggshell exactly 1.5mm deep.
Why Piercing Matters for Boiling and Sous Vide
The wide end of an egg contains an air cell. When submerged in boiling water, this trapped air expands rapidly. If the shell is intact, the internal pressure spikes, causing the shell to fracture and the egg white to leak into the water, creating a messy, uneven cook. By piercing the air cell, you provide a vent for the expanding gas. According to the USDA Food Safety and Inspection Service, preventing shell fractures during boiling also reduces the risk of bacterial ingress from the water bath into the porous egg interior.
"Piercing the wide end of the egg not only prevents cracking during thermal shock but also ensures the cooked egg yields a perfectly round bottom, making it ideal for uniform slicing in deviled egg preparations."

To use the piercer, place the egg wide-end down into the cradle. Press firmly until you hear a distinct mechanical click. Do not twist the egg while pressing, as lateral force can snap the 1.5mm needle. This tool is also indispensable for sous vide cooking, where precise temperature control requires the egg to remain perfectly intact inside its vacuum-sealed bag.
Maintenance and Blade Sharpening Protocols
The longevity of your ergonomic gadgets depends entirely on proper maintenance. The most common failure mode for jar and can openers is the degradation of the friction pads and the dulling of the cutting wheels.
- Cleaning the TPE Grips: Wash the polyurethane and TPE pads with warm water and a mild pH-neutral detergent. Never use chlorine bleach or abrasive scouring pads, as these will strip the microscopic texture from the rubber, rendering it useless against smooth glass.
- Dishwasher Safety: While many 2026 models claim to be dishwasher safe, the high-heat drying cycle (often exceeding 160°F) will accelerate the oxidation of the internal steel springs and degrade the TPE. Hand washing is strictly recommended for the handheld unit.
- Cutting Wheel Replacement: The 420J2 stainless steel wheel on the can opener will dull after approximately 800 to 1,000 uses. Do not attempt to sharpen the micro-serrated wheel with a standard knife sharpener. Instead, use a replacement wheel kit (typically costing $4 to $6) and unscrew the central pivot pin to swap the blade.
Frequently Asked Questions
Can the under-cabinet V-grip open plastic containers?
No. The V-grip relies on the rigid rim of a glass Mason jar or a metal canning lid to generate leverage. Flexible plastic containers will deform under the 40 inch-pounds of torque applied by the lever, potentially causing the container to crush or pop out of the grip. Use a handheld silicone cone grip for plastic lids.
Does piercing an egg affect its freshness or storage life?
You should only pierce an egg immediately before cooking. The shell and its inner membrane act as a barrier against moisture loss and bacterial contamination. Piercing the shell compromises this barrier, meaning a pierced egg must be cooked right away and cannot be returned to the refrigerator for later use. For comprehensive guidelines on egg storage and safety, refer to the National Center for Home Food Preservation regarding thermal processing and shell integrity.
How do I clear a jammed tin lid from the handheld opener?
If a cut lid becomes wedged in the gears, do not use a knife to pry it out, as this will chip the cutting wheel. Instead, locate the manual release lever on the side of the housing. Depress the lever while pulling the handles apart to disengage the drive gear, allowing the lid to drop out freely.
Written by
David OkaforDavid Okafor is an ASE (Automotive Service Excellence) Master Certified Technician with 15 years of professional experience in vehicle diagnostics, aftermarket electronics installation, and fleet management. He holds an Associate Degree in Automotive Technology from Universal Technical Institute and certifications in mobile electronics (MECP Certified Installer). David has installed and reviewed over 800 car tech products — from OBD2 scanners and dash cams to full infotainment system retrofits — in vehicles ranging from economy compacts to luxury SUVs. His popular YouTube channel "AutoTech David" has over 150,000 subscribers and features detailed installation tutorials and product teardowns. He is a regular contributor to the SEMA Show's aftermarket technology showcase and advises two automotive tech startups on product development.