How to Maximize Kitchen Gadgets Under $50: Setup & Hacks
Learn how to set up, calibrate, and master the best kitchen gadgets under $50. Actionable tutorials for budget cooking tools to elevate your culinary skills.
The Calibration Imperative: Why Budget Tools Need Initial Setup
Budget-friendly kitchen gadgets under $50 offer massive return on investment, but only if you bypass the factory-default traps. Out of the box, a $25 digital thermometer can read up to 4°F off its true baseline, and a $49 manual coffee grinder is often set to an arbitrary burr tension that will either choke your espresso or yield sour, under-extracted pour-over. As of 2026, the sub-$50 market is saturated with high-quality clones and entry-level models from premium brands, but the manufacturers cut costs by skipping final-factory calibration.
This setup guide details the exact unboxing, calibration, and integration protocols for three essential tools. By spending 15 minutes on initial setup, you transform cheap hardware into precision instruments.
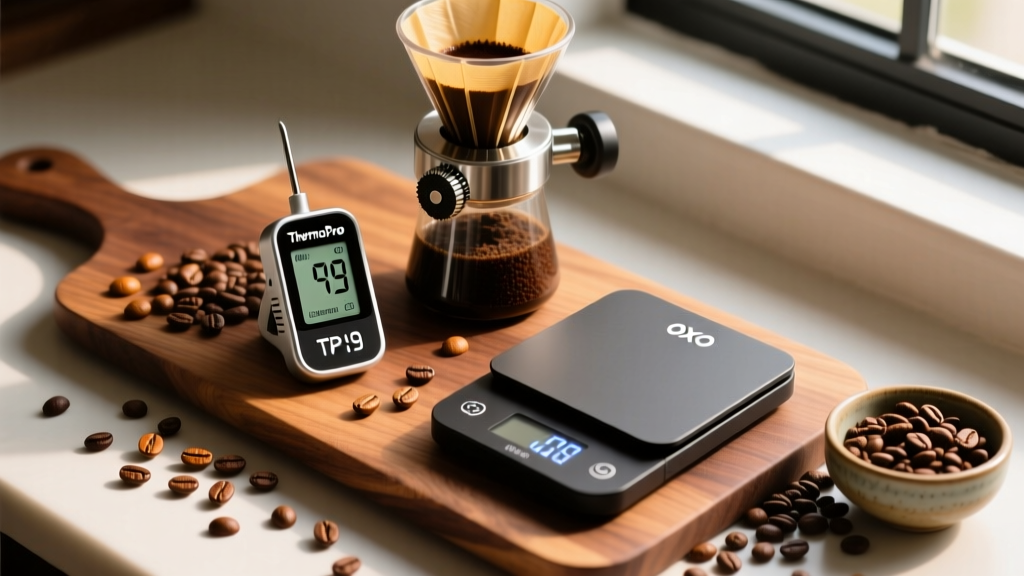
Tool 1: ThermoPro TP19 Instant-Read Thermometer ($24.99)
The ThermoPro TP19 remains the undisputed king of budget thermometers, featuring a 3-second response time and IP67 waterproof rating. However, shipping vibrations frequently knock the internal thermistor out of alignment. Before you use it to check a steak, you must perform an ice-bath calibration.
The Ice-Bath Calibration Protocol
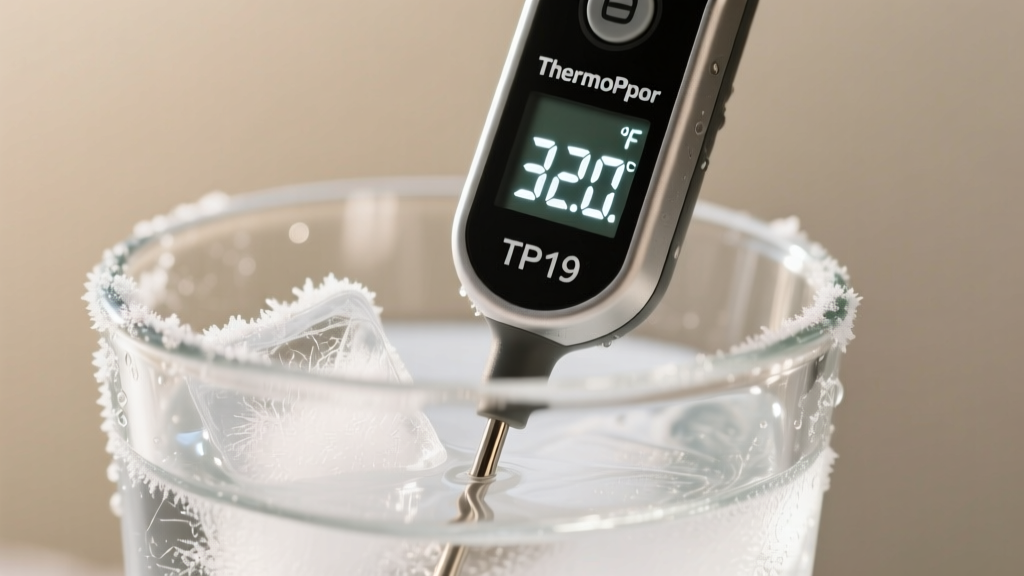
- Prepare the Medium: Fill a 2-cup glass measuring cup with 1 cup of finely crushed ice. Add exactly 1/2 cup of distilled water. (Tap water contains minerals that alter the freezing point by up to 0.5°F).
- Stir and Settle: Stir the slurry vigorously for 30 seconds, then let it sit for 1 minute to reach thermal equilibrium.
- Probe Insertion: Insert the TP19 probe into the center of the slurry, ensuring the dimple on the probe shaft is fully submerged but not touching the glass bottom.
- Execute Calibration: Wait for the reading to stabilize. Press and hold the 'CAL' button on the back for 3 seconds until the display flashes. Use the up/down arrows to adjust the reading to exactly 32.0°F (0.0°C). Press 'CAL' again to lock it in.
Proper calibration is not just about culinary perfection; it is a food safety requirement. According to the USDA Food Safety and Inspection Service, ground meats must reach an internal temperature of 160°F to destroy harmful bacteria like E. coli. An uncalibrated budget thermometer reading 156°F when the meat is actually 160°F will cause you to overcook your burger, while a reverse error could result in foodborne illness.
Tool 2: Timemore Chestnut C3 Manual Coffee Grinder ($49.00)
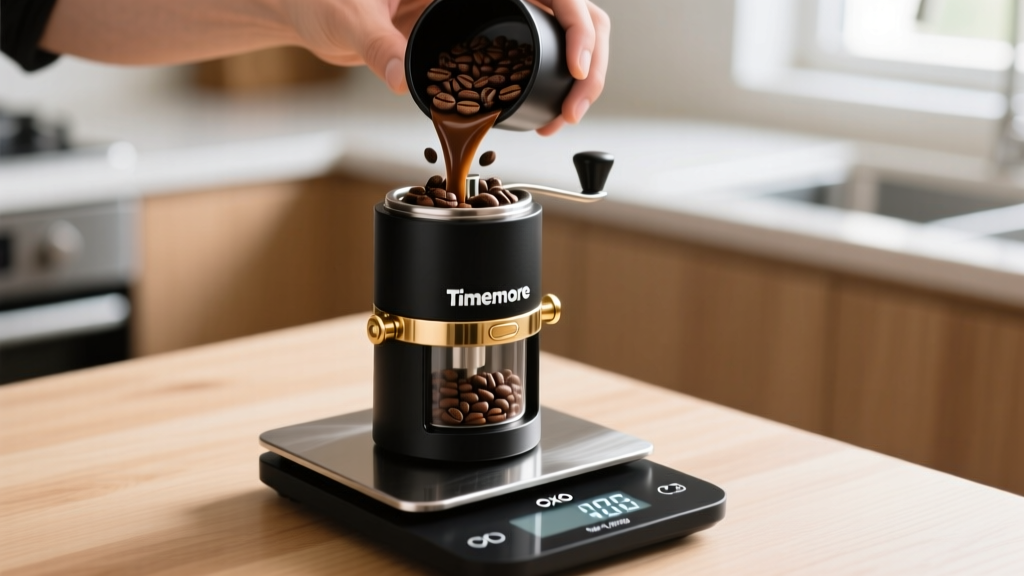
The Timemore C3 utilizes the upgraded S2C 660 stainless steel burr set, a massive leap over the ceramic burrs found in older sub-$50 grinders. The primary failure mode for new users is failing to establish the "zero point," resulting in wildly inconsistent grind sizes.
Dialing in the S2C 660 Burr Grind Settings
The adjustment dial at the base of the burr does not have absolute numbers; it relies on a relative click system. You must find the mechanical zero point every time you reassemble the grinder after cleaning.
- Find Zero: With the grinder empty, hold the handle and turn the adjustment dial clockwise (tightening) until it stops moving. Do not force it. This locked position is your "Zero Point."
- Count the Clicks: Turn the dial counter-clockwise. Each distinct physical 'click' represents one step coarser. Count the clicks based on your brew method.
| Brew Method | Target Clicks (From Zero) | Expected Grind Texture |
|---|---|---|
| Espresso (Pressurized) | 7 - 10 clicks | Fine powder, clumps slightly |
| AeroPress | 12 - 15 clicks | Table salt consistency |
| Pour-Over (V60) | 18 - 22 clicks | Coarse sea salt |
| French Press | 24 - 28 clicks | Rough breadcrumbs |
The National Coffee Association emphasizes that grind size directly dictates extraction time and flavor balance. If your pour-over tastes bitter and astringent, your grind is too fine (too many clicks); if it tastes sour and watery, it is too coarse. Use the click table above as your starting baseline, then adjust by 1-2 clicks based on your specific bean roast level.
Tool 3: OXO Good Grips 11-lb Stainless Steel Scale ($34.99)
Digital scales in the sub-$50 range often suffer from "sensor creep" and poor tare mechanics. The OXO 11-lb scale is the exception, provided you set it up on the correct surface and utilize its tare function sequentially.
Advanced Taring and Surface Placement
The most common mistake with budget kitchen scales is placing them on a silicone baking mat or a soft dish towel. Strain gauges require a perfectly rigid, flat surface to measure the micro-deformations that calculate weight.
"Precision baking relies on baker's percentages, not volume. A cup of flour can vary in weight from 120g to 160g depending on how it was scooped. Weighing ingredients directly into your mixing bowl via sequential taring eliminates this variance entirely."
The Sequential Tare Workflow for Coffee and Baking
- Step 1: Place the scale on a hard granite or quartz countertop. Turn it on and wait 3 seconds for the auto-zero to complete.
- Step 2: Place your empty vessel (e.g., a pour-over dripper or mixing bowl) on the platform.
- Step 3: Press the 'Tare/Zero' button. Wait for the display to flash and return to 0g.
- Step 4: Add your first ingredient (e.g., 20g of coffee beans). Press 'Tare' again.
- Step 5: Add your second ingredient (e.g., 300g of water). The scale now reads only the weight of the water, ignoring the vessel and the beans.
Maintenance Matrix: Keeping Sub-$50 Gear Accurate
Budget gadgets lack the ruggedized seals of $200 commercial equipment. Improper cleaning will destroy their sensors and burrs within months. Follow this maintenance matrix to ensure your tools last well beyond their initial ROI period.
| Gadget | Cleaning Protocol | Critical Failure Mode to Avoid |
|---|---|---|
| ThermoPro TP19 | Wipe probe with isopropyl alcohol. Wash body with soapy sponge. | Submerging the body in the sink (IP67 survives splashes, not prolonged soaking). |
| Timemore C3 | Disassemble monthly. Brush burrs with a dry, stiff-bristle brush. | Using water or liquid cleaners on the steel burrs (causes immediate micro-rusting). |
| OXO Scale | Wipe stainless steel platform with a damp microfiber cloth. | Pressing down on the platform when storing (causes strain gauge fatigue and drift). |
Final Setup Verification
Once your gear is calibrated, run a verification test. Weigh exactly 100g of water on the OXO scale, heat it to 200°F, and verify the temperature with the ThermoPro TP19. Grind 15g of coffee on the Timemore C3 at 20 clicks and time the drawdown. Mastering these kitchen gadgets under $50 is not about the price tag; it is about the precision you demand from them after the unboxing is complete.
Written by
Lena ChenLena Chen earned her M.S. in Human-Computer Interaction from Carnegie Mellon University and a B.S. in Electrical Engineering from the University of Washington. She has spent the past decade specializing in smart home architecture and IoT ecosystems, helping over 200 homeowners design fully connected living spaces. Lena is a certified Matter protocol consultant and has published peer-reviewed research on voice-first interface design in the ACM Digital Library. Her reviews of smart home products combine deep technical analysis with real-world usability testing, evaluating everything from Zigbee mesh stability to Alexa skill responsiveness. She regularly speaks at CEDIA Expo and CES smart home panels.