How to Setup Kitchen Gadgets and Utensils for Cans & Jars
Master the setup of kitchen gadgets and utensils for cans and jars. Learn calibration, under-cabinet mounting, and maintenance for ergonomic openers.
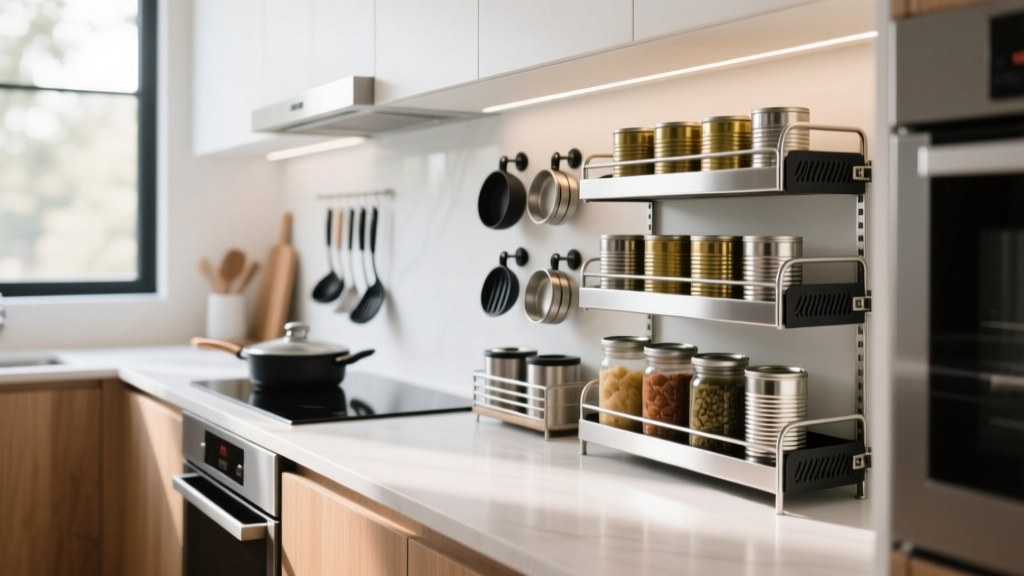
The Biomechanics of Leverage: Why Setup Matters
Grip strength naturally declines with age, and conditions like osteoarthritis can reduce hand torque by up to 40%. When evaluating kitchen gadgets and utensils designed for accessibility, the hardware is only half the equation; proper calibration and mounting dictate actual performance. A poorly mounted under-cabinet jar opener will rip out of drywall under 15 Newton-meters (Nm) of torsional stress, and an uncalibrated electric can opener will shear the lid rim, leaving dangerous micro-shards of aluminum in your food. This guide details the exact setup parameters, mounting hardware, and maintenance protocols for modern can and jar opening systems.
Calibrating Electric Side-Cutting Can Openers
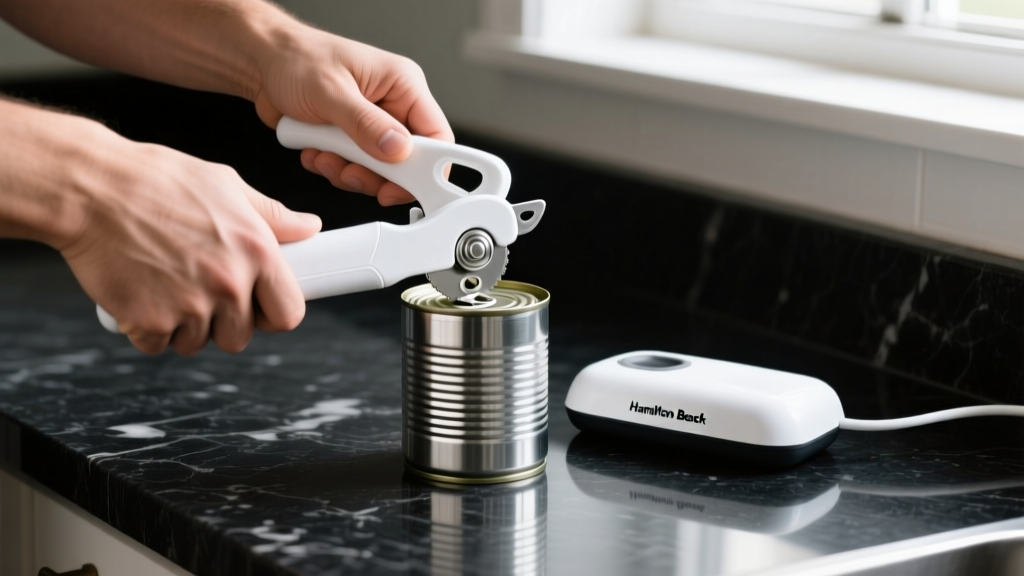
Side-cutting electric openers, such as the Hamilton Beach Smooth Touch (Model 76606ZA), puncture the can just below the top rim, leaving a smooth edge and preserving the lid for reuse. However, out-of-the-box magnetic tension is often misaligned for standard #300 and #303 can diameters.
Before your first use, run an empty, clean tin can through the cycle. Adjust the rear lever tension until the magnet grips the lid firmly enough to spin the can without the motor stuttering, but loose enough that the can rotates freely without the cutting wheel binding against the steel wall.
Step-by-Step Gearbox Initialization
- Clearance Check: Ensure 4.5 inches of vertical clearance above your countertop. The housing exhaust vents on models like the Black+Decker Spacemaker (GCOP3600) require unobstructed airflow to prevent the internal thermal fuse from tripping during high-torque operations.
- Blade Angle Verification: Inspect the cutting gear. Factory-calibrated side-cutters use a 35-degree bevel. If the blade appears flat, the unit is defective; a flat edge will crush the can rim rather than shearing it.
- Initial Load Test: Use a high-viscosity canned good (like condensed soup). The motor should maintain a steady 60 RPM. If the pitch drops significantly, the internal grease may have congealed during warehouse storage. Run the unit empty for 30 seconds to warm the gearbox before attempting heavy loads.
Mounting Under-Cabinet Jar Openers for Maximum Torque
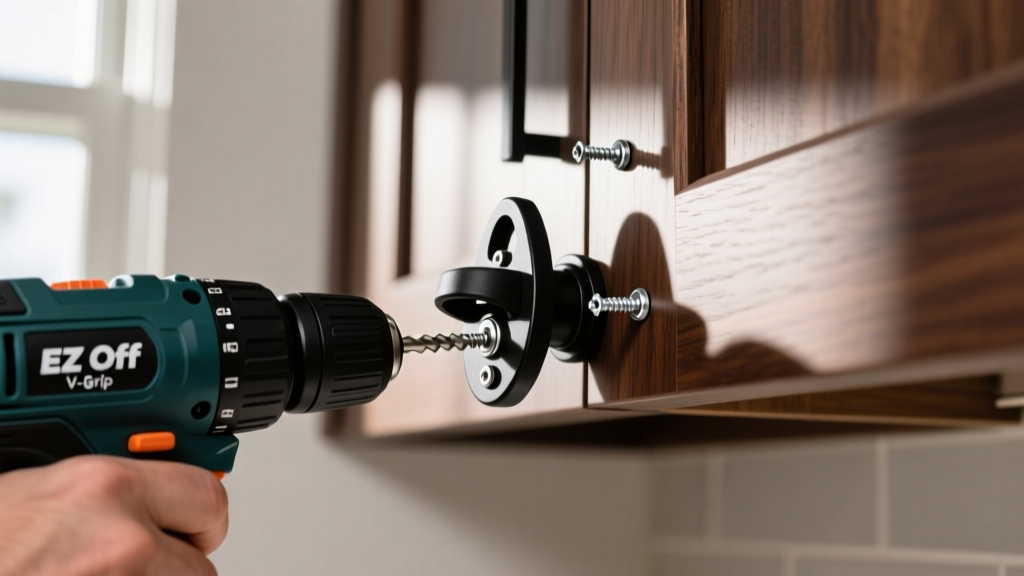
Manual V-grip jar openers (like the EZ Off model) rely on the structural integrity of your cabinetry to convert upper-body leverage into rotational torque. Relying solely on adhesive strips is a critical failure point.
Hardware and Installation Protocol
While some manufacturers include 3M VHB (Very High Bond) tape rated for 15 pounds of shear force, VHB requires a strict 72-hour curing time at 70°F (21°C) to reach maximum adhesion. For immediate, heavy-duty use, mechanical fasteners are mandatory.
If your cabinets are constructed from MDF (Medium-Density Fiberboard) or particleboard, standard wood screws will strip under repeated torsional load. You must use #8 x 1.5-inch threaded inserts or toggle bolts to distribute the 15+ Nm of torque across a wider surface area inside the cabinet floor.
- Positioning: Mount the opener 2 inches from the front edge of the cabinet. This provides optimal elbow clearance and allows you to brace your shoulder against the cabinet face for leverage.
- Fastening: Pre-drill pilot holes using a 3/32-inch bit to prevent splitting solid wood cabinets. Drive #8 x 1.25-inch pan-head wood screws until the washer compresses flush against the opener base. Do not overtighten, as this can warp the ABS plastic housing and alter the V-grip angle.
- Silicone Pad Prep: Wipe the internal rubber teeth with isopropyl alcohol before first use to remove factory mold-release agents, which can cause glass jars to slip.
Torque and Grip Comparison Matrix
Understanding the mechanical output of your tools helps match the gadget to the user's physical capabilities.
| Opener Type | Avg. Torque Output | Setup Time | Ideal User Profile |
|---|---|---|---|
| Electric Side-Cutter | ~5 Nm (Continuous) | 1 Minute | Severe arthritis, limited grip strength |
| Under-Cabinet V-Grip | ~18 Nm (Peak) | 15 Minutes | Moderate joint pain, good upper body leverage |
| Pneumatic Jar Wand | ~25 Nm (Burst) | 2 Minutes | Commercial kitchens, high-volume canning |
| Manual Claw Gripper | ~8 Nm (Peak) | 0 Minutes | Mild stiffness, travel/portability needs |
Troubleshooting Setup and Usage Failures
When your equipment fails to perform, the issue is rarely the gadget itself, but rather a misalignment of setup variables. Use this decision tree to diagnose common failures.
Symptom: Can Lids Tear or Leave Jagged Edges
- Cause A: The magnetic lift arm is applying too much downward pressure, forcing the cutting wheel through the steel rather than shearing it. Fix: Bend the metal lift arm upward by 2-3 millimeters to reduce downward bias.
- Cause B: The drive gear teeth are clogged with dried starch or syrup, causing the can to slip mid-rotation. Fix: Scrub the serrated drive gear with a stiff-bristled toothbrush and hot water.
Symptom: Glass Jars Slip Inside the V-Grip
- Cause A: Micro-abrasions on the rubber teeth have filled with kitchen grease. Fix: Degrease the rubber elements using a 50/50 solution of white vinegar and warm water. Avoid harsh chemical degreasers, which break down the vulcanized rubber.
- Cause B: The jar diameter exceeds the V-grip throat. Standard V-grips max out at 4.5 inches. Fix: For wide-mouth mason jars or commercial #10 cans, switch to a strap-wrench style opener which offers infinite diameter adjustment.

Sanitation and Blade Maintenance Protocols
The cutting wheel of a can opener is a primary vector for cross-contamination. Microscopic food particles trapped in the gear housing can harbor pathogens. According to the USDA Food Safety and Inspection Service, improper cleaning of kitchen contact surfaces is a leading cause of domestic foodborne illness.
The 3-Step Deep Clean Method
- Mechanical Agitation: Never submerge an electric opener. Instead, use a stiff nylon brush dipped in a 10% bleach solution or 70% isopropyl alcohol to scrub the cutting wheel and the serrated drive gear while manually rotating them backward.
- Thermal Rinsing: Wipe the gears with a microfiber cloth soaked in water heated to at least 170°F (76°C) to melt and dislodge congealed animal fats and dairy residues.
- Lubrication: Food-grade mineral oil must be applied to the drive gear shaft every six months. Place one drop on the lateral bearing point. Never use WD-40 or petroleum-based lubricants, as these are toxic and will degrade the food-safe plastics used in modern kitchen gadgets and utensils.
Setup Verification Checklist
- [ ] Electric opener magnetic tension tested with empty tin.
- [ ] Under-cabinet jar opener secured with mechanical fasteners, not just adhesive.
- [ ] Rubber grip pads degreased with isopropyl alcohol.
- [ ] Cutting wheel sanitized with food-safe antimicrobial solution.
Proper installation transforms basic accessibility tools into reliable, high-torque systems that protect your joints and ensure food safety for years to come.
Written by
Lena ChenLena Chen earned her M.S. in Human-Computer Interaction from Carnegie Mellon University and a B.S. in Electrical Engineering from the University of Washington. She has spent the past decade specializing in smart home architecture and IoT ecosystems, helping over 200 homeowners design fully connected living spaces. Lena is a certified Matter protocol consultant and has published peer-reviewed research on voice-first interface design in the ACM Digital Library. Her reviews of smart home products combine deep technical analysis with real-world usability testing, evaluating everything from Zigbee mesh stability to Alexa skill responsiveness. She regularly speaks at CEDIA Expo and CES smart home panels.