Ultimate Setup Guide for Retro Game Gizmos and Gadgets
Learn how to configure modern retro game gizmos and gadgets, including MiSTer FPGA and RetroTINK, for flawless CRT and OLED playback.
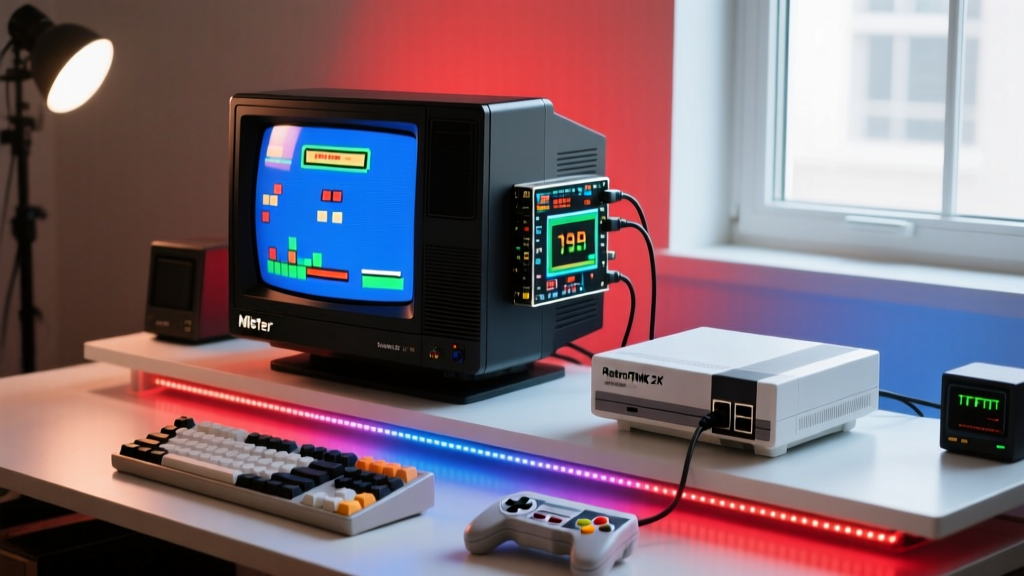
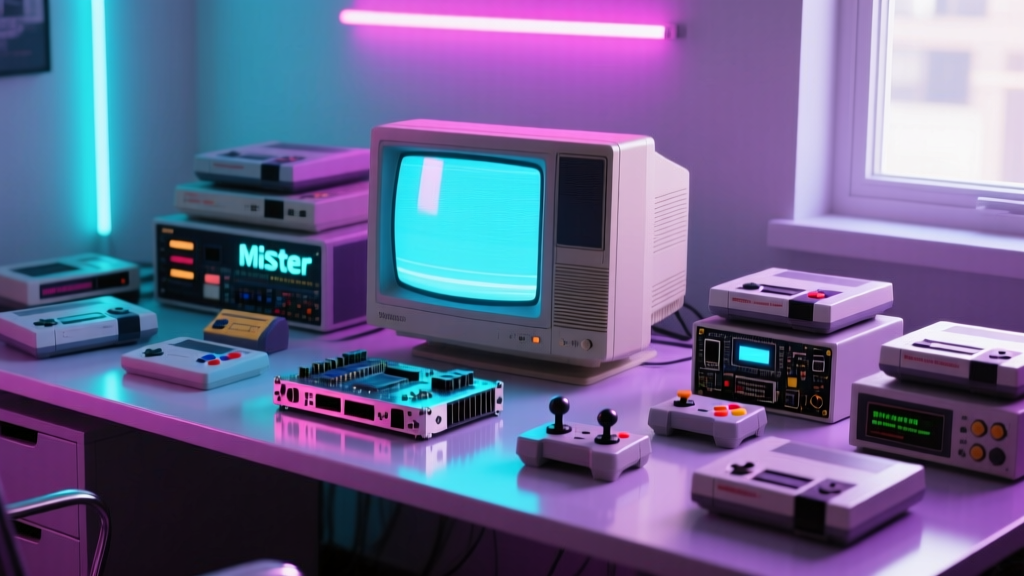
The Renaissance of Retro Game Gizmos and Gadgets
The pursuit of authentic, latency-free retro gaming has evolved far beyond simple software emulation. Today, building the ultimate vintage gaming station requires a carefully curated ecosystem of specialized hardware. When configuring modern retro game gizmos and gadgets, enthusiasts must bridge the gap between legacy analog signals and contemporary high-definition displays. Whether you are driving a 15kHz Sony Trinitron CRT or feeding a perfectly scanned 4K OLED, the hardware you choose—and more importantly, how you configure it—dictates the authenticity of the experience.
This comprehensive setup tutorial will walk you through configuring the most advanced FPGA and upscaling devices on the market, ensuring your vintage electronics perform flawlessly in a modern environment.
Essential Hardware: Choosing Your Retro Rig
Before diving into cable management and ini-file tweaks, you must select the core processing unit for your setup. The market for high-end retro game gizmos and gadgets is currently dominated by three distinct approaches: hardware cloning, FPGA cycle-accurate replication, and analog-to-digital upscaling.
| Device | Core Technology | Current Price (USD) | Best Application | Avg. Latency |
|---|---|---|---|---|
| Analogue Pocket | Altera Cyclone V FPGA | $219.00 | Portable & Docked 1080p Play | ~1ms (Zero-lag) |
| MiSTer FPGA (DE10-Nano) | Cyclone V SoC FPGA | ~$240.00 (Full Kit) | Direct CRT Output & 1440p Upscaling | ~1ms (Zero-lag) |
| RetroTINK 4K | Altera Cyclone V FPGA | $299.00 | Console Upscaling to 4K OLEDs | <1ms (Line-locked) |
For this tutorial, we will focus on the MiSTer FPGA paired with a direct-video CRT setup, as it represents the most complex and rewarding configuration for vintage tech enthusiasts.
Step-by-Step: Configuring the MiSTer FPGA for CRT Output
The MiSTer project is an open-source initiative that uses Field Programmable Gate Arrays to recreate classic hardware at the silicon level. To get a pristine, artifact-free image on a consumer CRT, you cannot rely on standard HDMI adapters. You must utilize the analog VGA out on the IO board.
1. Sourcing the Correct Sync Cables
The most common failure point in retro setups is improper sync signaling. Consumer CRTs expect Composite Video (CVBS) or RGB with Composite Sync on the horizontal pin. The MiSTer IO board outputs VGA (RGBHV). To bridge this, you need a specialized VGA-to-SCART or VGA-to-BNC cable with a built-in sync combiner.
- Recommended Cable: Packapunch VGA to SCART with CSync (Approx. $45.00).
- Crucial Setting: Ensure your cable is wired for Pin 20 Sync (Composite Sync), not Luma/TTL Sync, which can fry the fragile video processor in older Sony PVMs.
2. Adjusting Video Timings and the MiSTer.ini File
Once your physical connections are secure, you must configure the MiSTer.ini file on your SD card to force 15kHz output. Access your MiSTer via SSH or mount the FAT32 partition on your PC and locate the [MiSTer] section.
Apply the following parameters:
direct_video=0(We are using analog out, not HDMI direct video).vga_scaler=0(Ensures the analog output remains untouched by the digital scaler).forced_scandoubler=0(Critical: Setting this to 1 will output 31kHz, which will result in a black screen or a rolling image on a standard 15kHz CRT).
Expert Insight: If you are playing arcade cores that natively output at 24kHz or 31kHz (like Capcom CPS-3 or Naomi), your standard 15kHz consumer CRT will not sync. You must either use a CRT that supports multi-sync (like an Iiyama or specific JAMMA monitors) or rely on the MiSTer's internal scandoubler to downscale the geometry, though this introduces minor artifacting.
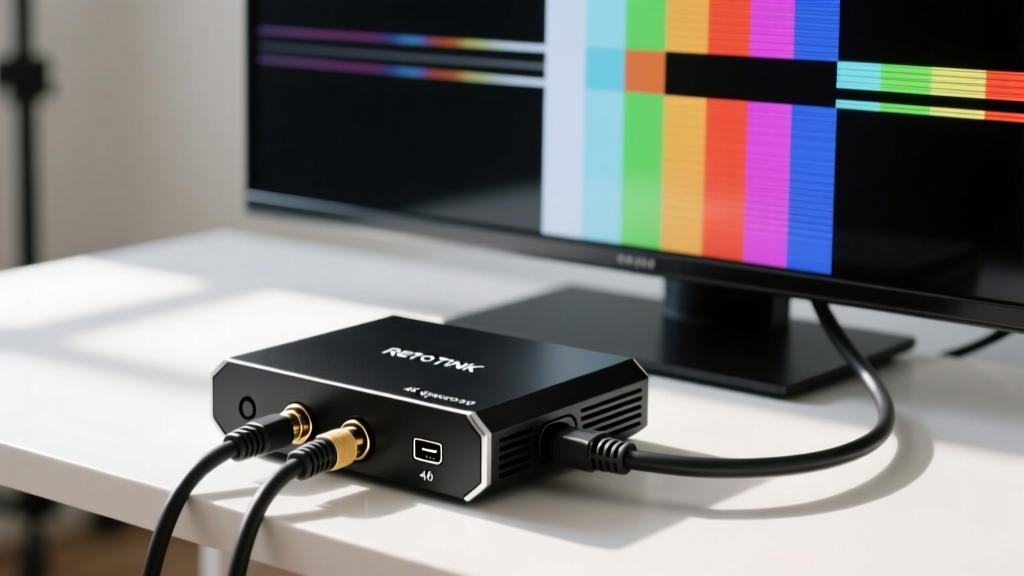
Audio Setup: Routing Analog Sound Without Ground Loops
Video is only half the battle. The original sound chips (like the Yamaha YM2612 in the Sega Genesis) produce rich, complex analog waveforms that are often ruined by modern digital interference. When integrating these retro game gizmos and gadgets into a high-fidelity audio system, ground loops are your biggest enemy.
The I2S DAC Solution
The MiSTer IO board features an I2S header that bypasses the noisy internal analog audio jack. By connecting an external DAC (Digital-to-Analog Converter) like the SMSL SU-1 ($79.00) via a custom GPIO-to-I2S ribbon cable, you can extract pristine, noise-free digital audio directly from the FPGA core.
Eliminating the 60Hz Hum
If you are forced to use the standard 3.5mm analog audio jack on the IO board, you will likely encounter a 60Hz ground loop hum when connected to powered studio monitors. To solve this:
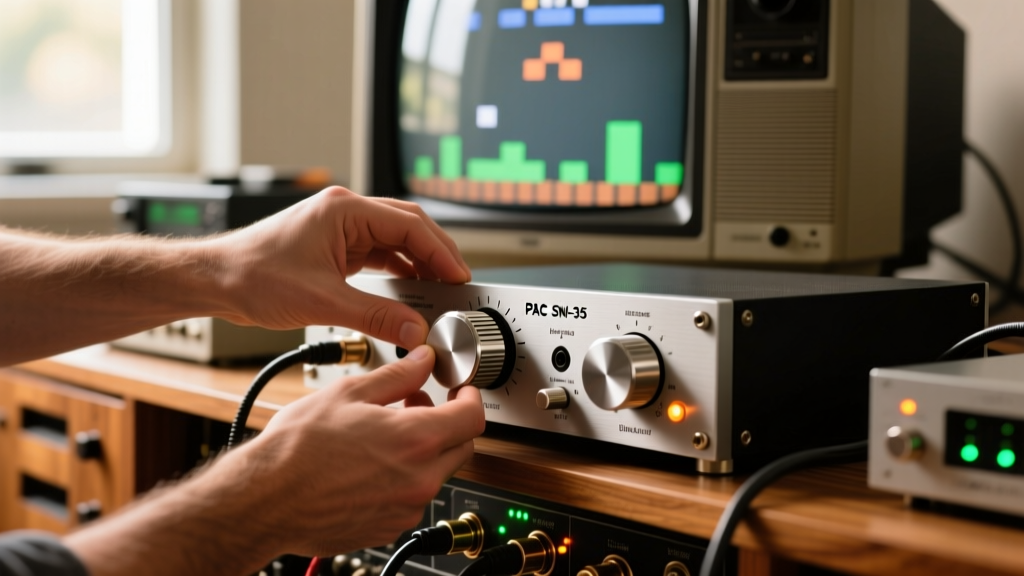
- Purchase a PAC SNI-35 Ground Loop Isolator ($12.00).
- Insert the isolator inline between the MiSTer's 3.5mm audio out and your amplifier's RCA inputs.
- Ensure the MiSTer is powered by a high-quality, shielded 5V/2A power supply (such as the official Mean Well GST25A05-P1J) rather than a cheap smartphone charger, which introduces high-frequency switching noise into the analog audio plane.
Controller Calibration for Zero-Latency Input
A perfect visual and audio setup is meaningless if your input devices introduce polling lag. Modern Bluetooth controllers can add anywhere from 8ms to 30ms of latency, completely ruining the tight timing windows required for retro fighting games or platformers.
Wired vs. 2.4GHz Wireless
For the absolute lowest latency, use the 8BitDo M30 2.4g ($29.99). Unlike its Bluetooth counterpart, the 2.4GHz USB dongle version polls at 1ms, matching the responsiveness of an original wired Sega Saturn controller.
Setup Tip: Plug the 2.4GHz receiver into a powered USB 3.0 hub rather than directly into the MiSTer. The DE10-Nano board's native USB controller can sometimes struggle with interrupt handling when multiple peripherals (Wi-Fi dongle, DAC, and controller) are drawing power simultaneously. A powered hub ($15.00) ensures stable voltage and consistent polling intervals.
Troubleshooting Common Retro Setup Issues
Even with premium game gizmos and gadgets, analog setups are prone to environmental interference. Here is how to diagnose the most frequent anomalies.
Issue 1: "Jailbar" Interference on the CRT
Symptom: Faint, vertical alternating light and dark bands across the screen, particularly noticeable in solid color backgrounds.
Cause: High-frequency noise from the FPGA board or power supply bleeding into the unshielded analog video lines.
Fix: Wrap the VGA-to-SCART cable in copper foil tape and ground it to the SCART shell. Alternatively, route the video cable at least 12 inches away from the MiSTer's power brick.
Issue 2: Image Tearing During Horizontal Scrolling
Symptom: The screen appears to "slice" horizontally during fast scrolling sequences (e.g., Sonic the Hedgehog).
Cause: Mismatched refresh rates. Many arcade cores run at 59.5Hz or 60.6Hz, while your display expects exactly 60.00Hz.
Fix: In the MiSTer.ini, set vsync_adjust=2. This forces the MiSTer to match the display's refresh rate, eliminating tearing at the cost of a microscopic, imperceptible pitch shift in the audio.
Frequently Asked Questions
Can I use an HDMI-to-Component transcoder for my CRT?
While HDMI-to-Component transcoders (like the RetroTINK Retro2X) exist, they introduce unnecessary digital-to-analog conversion steps. If your FPGA device has a native analog VGA out, always use a direct sync-combiner cable. It preserves the raw signal integrity and reduces processing latency to absolute zero.
Do vintage light guns work with modern upscalers?
No. Original CRT light guns (like the NES Zapper) rely on the specific electron-draw timing and phosphor decay of a cathode-ray tube. They will not function on OLEDs or LCDs, even with upscalers. To use light guns today, you must either play on a physical CRT or invest in modern camera-based IR alternatives like the RetroShooter, which mimics the original hardware's input signals.
Where can I find the latest core updates for the MiSTer?
The MiSTer ecosystem is constantly evolving. You can automate your core updates by installing the update_all script developed by the community. Simply connect your DE10-Nano to your network via Ethernet or a supported Wi-Fi dongle, run the script from the main menu, and it will pull the latest FPGA cores and boot ROMs directly from the official MiSTer Project Wiki repositories.
Building a retro gaming station is an exercise in precision. By respecting the analog nature of these vintage game gizmos and gadgets and pairing them with meticulously configured modern interfaces, you achieve a level of authenticity that software emulation simply cannot replicate. Take your time with the cabling, respect the sync signals, and enjoy the purest form of retro gaming available today.
Written by
Priya SharmaPriya Sharma holds a Ph.D. in Acoustical Engineering from the University of Southampton and a B.Tech in Electronics from IIT Delhi. She has spent 9 years as a consumer electronics journalist, with deep specialization in audio equipment, camera systems, and assistive technology. Priya is an active member of the Audio Engineering Society (AES) and has co-authored papers on spatial audio perception published in the Journal of the Acoustical Society of America. Her reviews of headphones, portable DACs, and studio monitors include objective measurements using Audio Precision analyzers alongside subjective listening tests. She also serves on the advisory board of the Global Accessibility Reporting Initiative (GARI), evaluating mobile devices for users with visual and hearing impairments.