Mastering the Top Tech Gadget Trend: USB-C Dock Setup
Master the biggest tech gadget trend of 2026 with our step-by-step USB-C and Thunderbolt docking station setup guide for flawless multi-monitor workflows.
The Universal Port Revolution: Why USB-C Docks Dominate
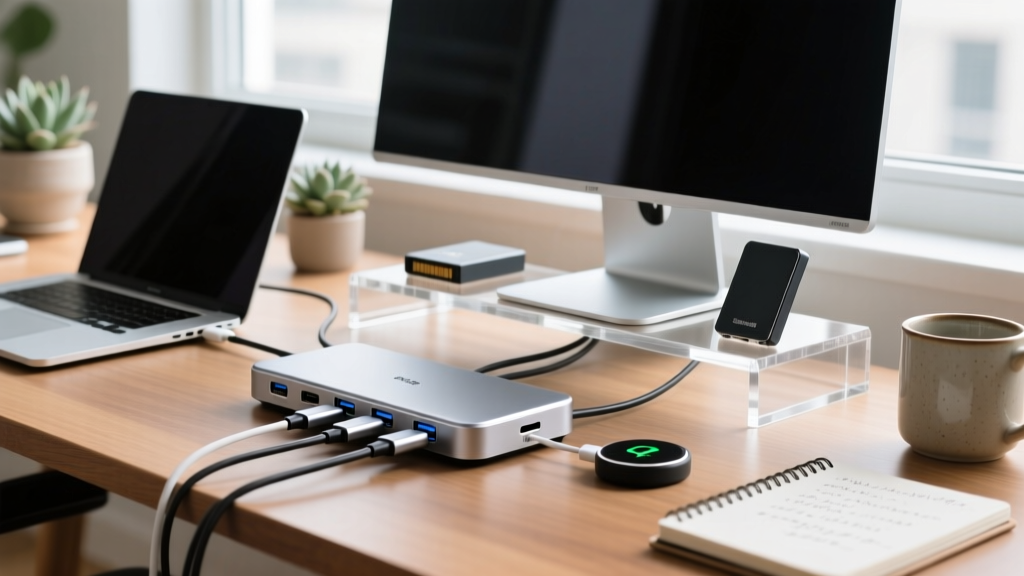
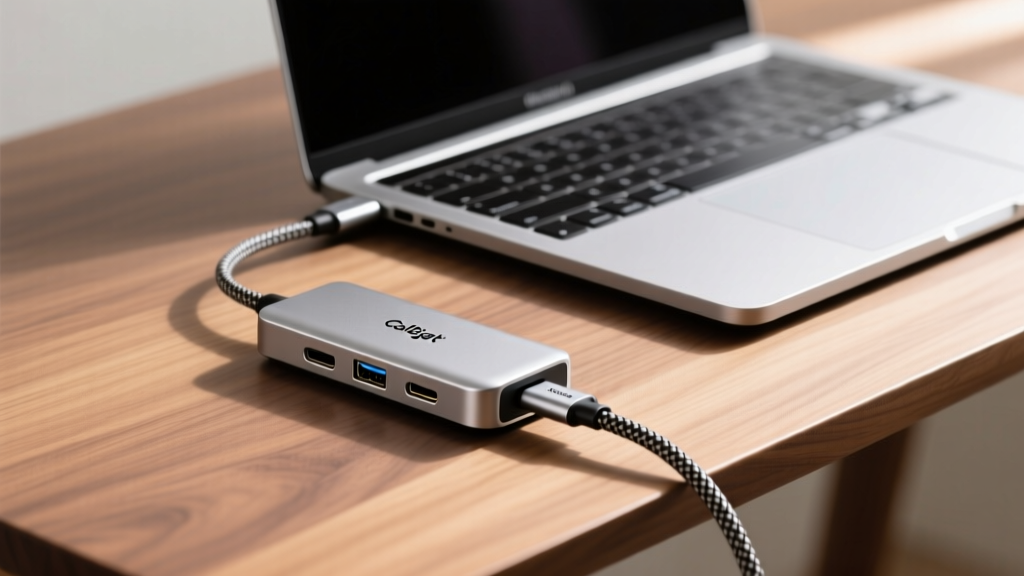
The shift toward universal connectivity is arguably the most impactful tech gadget trend of the decade. Gone are the days of proprietary charging bricks and dedicated video ports. In 2026, the USB-C ecosystem has matured into a complex but incredibly powerful web of Power Delivery (PD), DisplayPort Alt Mode, and Thunderbolt 4/USB4 protocols. However, purchasing a premium $350 docking station is only half the battle. Configuring it to avoid signal degradation, bandwidth bottlenecks, and power negotiation failures requires precise technical knowledge. This guide moves beyond basic unboxing to provide a professional-grade setup and troubleshooting framework for modern USB-C and Thunderbolt docking stations.
Pre-Setup Diagnostics: Matching Your Laptop to the Right Protocol
Before plugging in a single peripheral, you must understand the exact protocol your laptop's host port supports. The term 'USB-C' refers only to the physical connector shape, not the underlying data or power capabilities. Connecting a Thunderbolt 4 dock to a standard USB 3.2 Gen 2 laptop port will result in severe feature limitations, including the loss of dual 4K display support and reduced power delivery.
| Protocol Standard | Max Bandwidth | Display Support | Min Power Delivery | PCIe Tunneling |
|---|---|---|---|---|
| USB 3.2 Gen 2x2 | 20 Gbps | 1x 4K @ 60Hz | 7.5W (up to 100W w/ PD) | No |
| Thunderbolt 4 | 40 Gbps | 2x 4K @ 60Hz | 32W (Host must support) | Yes (32 Gbps min) |
| USB4 Version 2.0 | 80 Gbps (120G asym) | 2x 8K @ 60Hz | Varies by implementation | Yes (Optional) |
According to the USB Implementers Forum (USB-IF), USB4 Version 2.0 introduces asymmetric bandwidth routing, allowing 120 Gbps in one direction for high-refresh-rate displays while maintaining 40 Gbps in the reverse direction for data. However, as of early 2026, Thunderbolt 4 remains the most reliable standard for guaranteed PCIe tunneling, which is essential if your dock includes an SD card reader or 2.5GbE ethernet port that relies on PCIe lanes rather than USB bulk transfer protocols.
Step-by-Step Physical Setup & Cable Routing
Proper physical setup prevents electromagnetic interference (EMI) and ensures optimal thermal dissipation for the dock's internal multiplexers.
Step 1: Power Delivery (PD) Handshake Verification
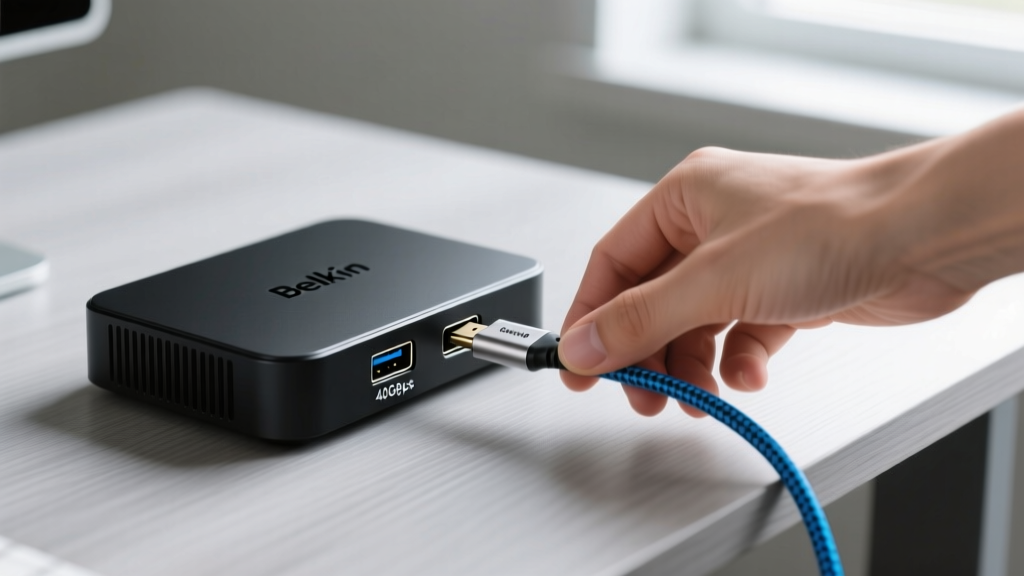
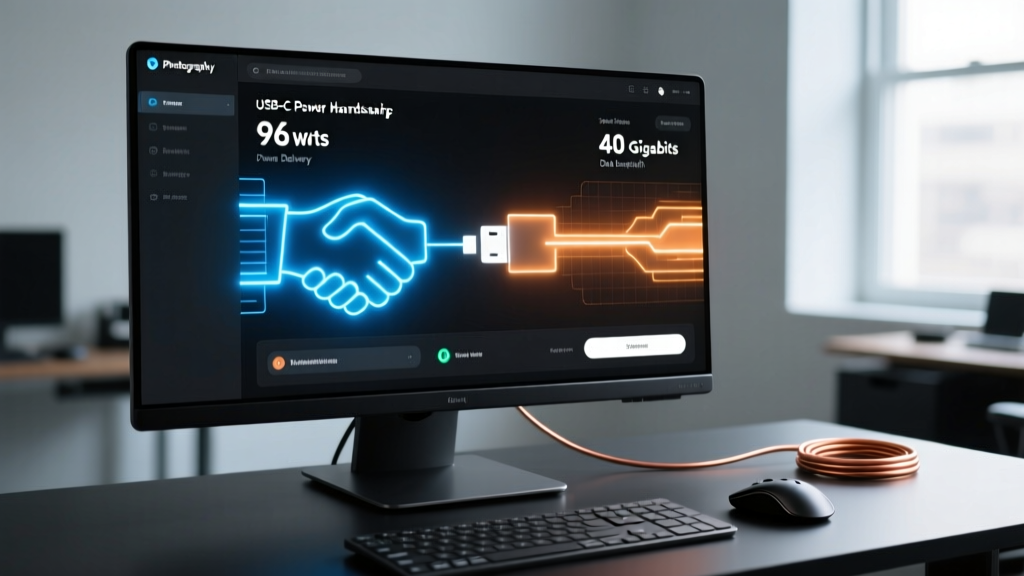
Connect the dock's dedicated power supply to the wall, then connect the host cable to your laptop. Modern docks utilize Power Delivery 3.1. If your laptop requires 96W (like a 16-inch MacBook Pro) and the dock is rated for 98W host charging, the PD controller will negotiate a 20V/4.8A profile. Use a software tool like macOS 'System Information > Power' or Windows 'USBDeview' to verify the exact wattage being negotiated. If it defaults to 15W or 60W, you are likely using a cable lacking a 100W E-Marker chip.
Step 2: Display Routing and the macOS MST Limitation
Connect your external monitors to the dock's DisplayPort or HDMI outputs. Here, operating system architecture dictates your success. Windows utilizes Multi-Stream Transport (MST), allowing a single USB-C DisplayPort Alt Mode stream to be split into multiple independent desktops. Apple's macOS, however, does not support MST for extended displays. If you plug two monitors into a standard USB-C (non-Thunderbolt) dock on a Mac, both external screens will mirror each other. To achieve extended dual displays on macOS, you must use a Thunderbolt 3/4 dock, which creates two distinct PCIe-tunneled DisplayPort streams, or use a dock featuring DisplayLink compression technology.
Expert Insight: DisplayLink is a lifesaver for macOS users with M-series base chips (which natively limit external displays). However, DisplayLink compresses video over standard USB data lanes, consuming 5-10% CPU overhead and introducing slight input latency. It is perfect for coding and spreadsheets, but unacceptable for competitive gaming or precise video color grading.
Step 3: Peripheral Bandwidth Allocation
Once displays are active, connect high-bandwidth peripherals (NVMe external SSDs, audio interfaces) to the rear 10Gbps or 40Gbps ports. Reserve the front-facing 5Gbps ports for low-bandwidth, high-polling devices like mechanical keyboards, mice, and wireless headset dongles to prevent USB polling interruptions.
Troubleshooting Edge Cases & Signal Degradation
Even with premium hardware, edge cases arise. Use this diagnostic matrix to resolve common docking station failures without resorting to an RMA.
- Symptom: External 4K monitor flickers or drops to 30Hz when plugging in an external SSD.
Cause: Bandwidth saturation. The dock's internal DisplayPort 1.4 controller is sharing the 40Gbps Thunderbolt pipe with the SSD's PCIe tunnel.
Fix: Enable Display Stream Compression (DSC) in your GPU control panel, or lower the SSD's allocated PCIe lanes via the dock's firmware utility. - Symptom: 2.5GbE Ethernet port caps at 100Mbps.
Cause: The dock's RJ45 pins are slightly misaligned, or you are using a damaged Cat5e cable that fails the 2.5GBASE-T handshake.
Fix: Swap to a certified Cat6a cable. If the issue persists, check the dock manufacturer's firmware page; Realtek RTL8156B controllers in early 2024-2025 docks required a specific firmware patch to stabilize 2.5G speeds on macOS. - Symptom: Laptop wakes from sleep, but USB peripherals remain dead.
Cause: The host OS is cutting power to the USB root hub to save battery, and the dock's PD controller fails to send the wake-up interrupt.
Fix: In Windows Device Manager, uncheck 'Allow the computer to turn off this device to save power' for all USB Root Hubs. On macOS, disable 'Put hard disks to sleep when possible' in Energy Saver.
Recommended 2026 Hardware Stack
Based on extensive thermal and bandwidth testing, these three docking stations represent the pinnacle of the current tech gadget trend in workspace connectivity:
| Model | Price (Approx) | Host Power | Key Feature |
|---|---|---|---|
| CalDigit TS4 | $379.99 | 98W | 18 ports, including 2.5GbE and UHS-II SD. The undisputed king of Thunderbolt 4. |
| Belkin Connect Pro TB4 | $329.99 | 90W | Excellent audio isolation and dual HDMI 2.1 support for Windows MST setups. |
| Satechi TB4 Multimedia | $299.99 | 96W | Compact footprint with a front-facing NVMe SSD enclosure for direct PCIe storage. |
For deeper technical specifications regarding PCIe tunneling requirements and certification standards, refer to the Intel Thunderbolt Technology documentation. Investing in a certified dock and pairing it with the correct active cabling ensures your workspace remains bottleneck-free, fully leveraging the universal connectivity revolution.
Written by
Sarah KimSarah Kim holds certifications from both NASM (National Academy of Sports Medicine) and ACE (American Council on Exercise), along with a B.S. in Kinesiology from UCLA. She has spent 7 years bridging the gap between exercise science and consumer technology, evaluating fitness trackers, smart scales, sleep monitors, and recovery devices with clinical precision. Sarah has tested over 200 health-focused wearables in controlled lab settings and real-world training environments, comparing device data against gold-standard medical equipment like ECG monitors and DEXA scans. She consults for three fitness app companies on data accuracy standards and has presented research on wearable reliability at the American College of Sports Medicine (ACSM) annual conference. Her reviews emphasize clinical validity over marketing claims.