How to Set Up and Cable-Manage Tech Gadgets for Office Desks
Master your workspace with our step-by-step guide to setting up and cable-managing modern tech gadgets for office desks, docks, and monitors.
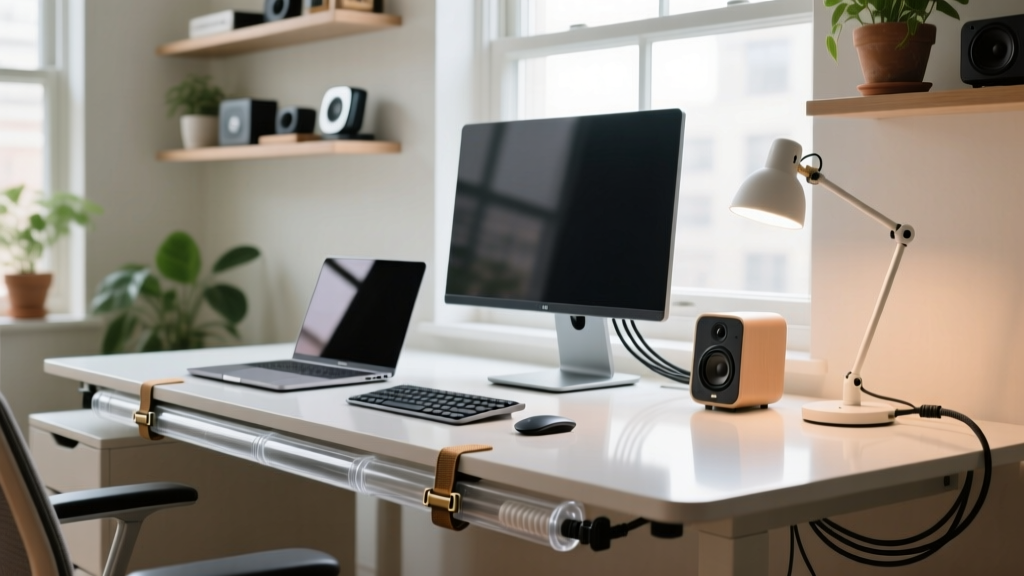
The Anatomy of a Clutter-Free 2026 Workspace
Integrating modern tech gadgets for office environments requires more than just plugging in devices. A high-performance desk setup involving Thunderbolt 4 docking stations, dual 4K monitors, and smart lighting generates a complex web of power and data cables. If routed poorly, this creates visual clutter, restricts the movement of standing desks, and introduces electromagnetic interference that degrades peripheral performance. This guide details the exact measurements, hardware specifications, and routing techniques required to build a zero-clutter, high-bandwidth workstation.
Step 1: Mounting and Routing the Core Hub
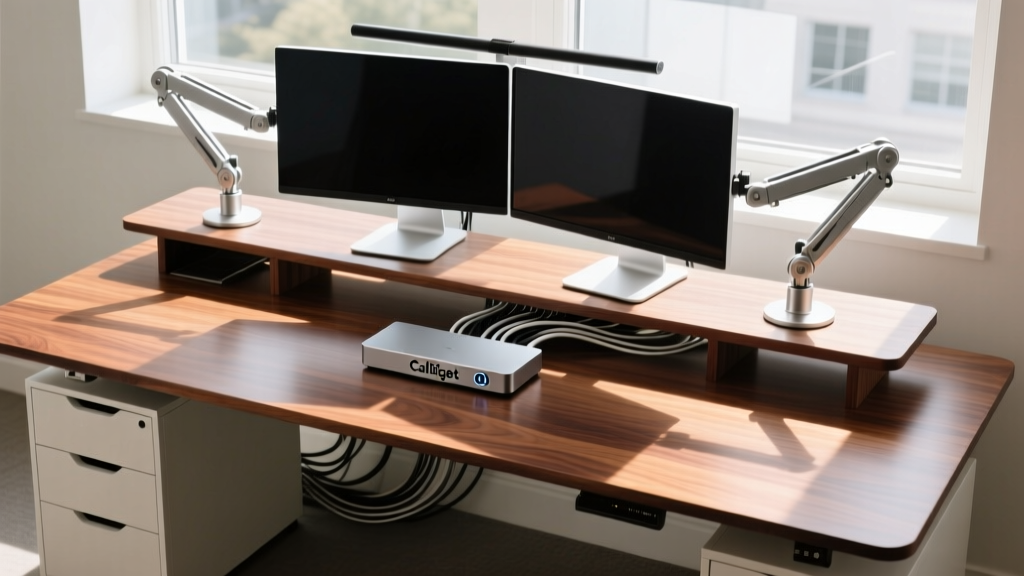
The foundation of any advanced desk is the docking station. For 2026, the CalDigit TS4 ($379) remains the benchmark, offering 18 ports and 98W Power Delivery. However, its 180W external power brick is bulky and generates significant heat.
- Placement: Mount the dock itself 4 inches from the rear edge of the desk using the included VESA mount or heavy-duty 3M VHB tape. This keeps the front ports accessible while hiding the rear connections.
- Power Brick Routing: Do not leave the 180W power brick on the floor. Mount it to the under-desk mesh tray using zip-ties or Velcro straps to ensure it moves with the desk when adjusting the height of a sit-stand workstation.
- Bandwidth Allocation: Plug your primary 4K monitor into the DisplayPort 1.4 slot, and your secondary monitor into the downstream Thunderbolt 4 port. According to the USB Implementers Forum (USB-IF), daisy-chaining two 4K@60Hz displays requires the full 40Gbps bandwidth of a direct Thunderbolt connection; using standard USB-C 3.2 Gen 2 (10Gbps) will force the secondary monitor down to 30Hz.
Step 2: Ergonomic Monitor Arm Integration
Monitor arms reclaim desk space and allow precise ergonomic alignment. The Ergotron LX Dual ($215) supports up to 25 lbs per arm and utilizes a constant-force torque system.
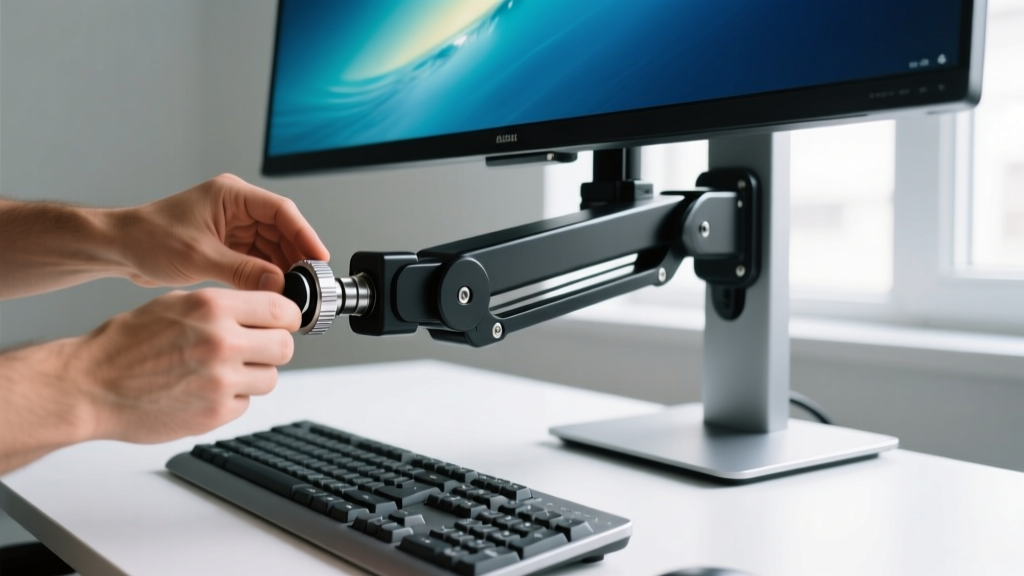
Calibrating Tension and Height
Improper tension calibration is the most common failure point in monitor arm setups, leading to screens that slowly droop or refuse to stay elevated.
- Mount the VESA Plate: Ensure your monitor uses the standard 100x100mm VESA pattern. If it uses a proprietary mount, source an OEM VESA adapter bracket before installation.
- Set the Tension: With the monitor attached, use the included 4mm Allen key. If the monitor drops, turn the adjustment screw toward the '+' symbol. For a standard 15 lb 32-inch display, this typically requires exactly 4 to 5 full clockwise rotations.
- Align to Eye Level: According to Cornell University Ergonomics, the top bezel of the monitor should sit exactly at or slightly below seated eye level to prevent cervical extension. Measure from your seated eye height to the desk surface, then subtract 2 inches to set the top of the monitor bezel.
"The optimal viewing distance for a 32-inch 4K display is between 28 and 35 inches. Mounting the screen further away requires scaling the OS interface to 150% to maintain readable typography without inducing eye strain." — Cornell University Human Factors and Ergonomics Research Group
Step 3: Smart Lighting and Sensor Placement
Task lighting reduces screen glare and eye fatigue. The BenQ ScreenBar Halo ($219) utilizes an asymmetric optical design that illuminates the desk surface without casting light onto the monitor panel.
- Power Requirements: The ScreenBar requires a 5V/2A USB-A connection. Plug this directly into the dedicated 7.5W USB-A port on the CalDigit TS4. Do not use a USB-C to USB-A adapter on a high-wattage PD port, as the handshake protocol can occasionally fail to deliver the steady 5V required by the light's ambient sensor.
- Wireless Puck Placement: The included wireless dial uses a 2.4GHz RF signal. Place it on the desk surface no more than 18 inches from the light bar to prevent latency or disconnection issues caused by the metal chassis of the monitor arm.
Power Consumption & Cable Gauge Matrix
Matching the correct cable gauge and port type to your tech gadgets for office setups prevents voltage drops and data throttling. Reference this matrix when wiring your hub:
| Device | Power Draw | Data Bandwidth | Recommended Port / Cable |
|---|---|---|---|
| 16" MacBook Pro / High-End Laptop | 98W | 40 Gbps | Thunderbolt 4 Upstream (Active 2m cable) |
| 32" 4K Monitor (Primary) | 45W | 32.4 Gbps | DisplayPort 1.4 (VESA Certified 8K cable) |
| BenQ ScreenBar Halo | 10W | N/A | Rear USB-A 3.2 (5V/2A dedicated) |
| Logitech MX Master 3S Dongle | <1W | 12 Mbps | Front USB-A 3.2 (via 2ft extension) |
Step 4: The Under-Desk Cable Tray System
To achieve a truly clean aesthetic and protect cables from the mechanical stress of a standing desk, you must implement a structured under-desk routing system.
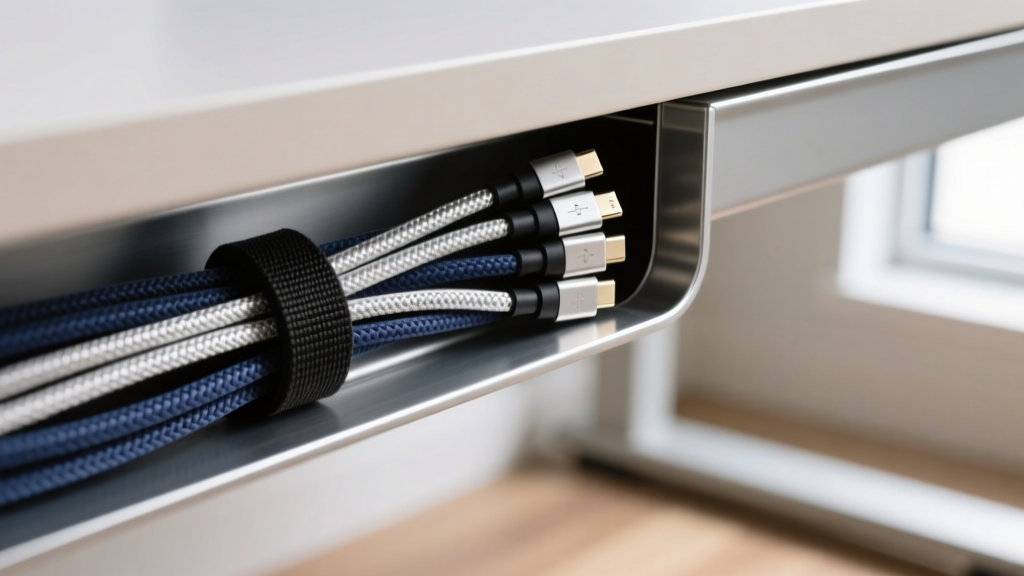
Materials and Measurements
- Mesh Cable Tray: Use a 24-inch by 6-inch steel mesh tray, mounted 3 inches from the rear edge of the desk using 1-inch wood screws. This provides enough depth to house the CalDigit power brick and excess cable loops.
- J-Channel Raceway: Adhere a 1.5-inch wide plastic J-Channel along the absolute rear edge of the desk. This catches the cables dropping from the monitors and funnels them into the mesh tray.
- Velcro Straps (3/4 inch): Never use plastic zip-ties on data cables. Zip-ties can crush the internal shielding of Cat6 or USB-C cables, leading to impedance mismatches and packet loss. Use 3/4-inch hook-and-loop straps to bundle cables in groups of three.
The Drip Loop Technique
When routing the main power cord and the Thunderbolt 4 upstream cable from the desk to the wall outlet or floor UPS, you must create a "drip loop" (a U-shaped slack of cable that hangs below the connection point). Leave exactly 12 to 15 inches of slack in this loop. If the desk is raised to its maximum height of 48 inches, this slack prevents the cables from pulling taut, which can snap internal copper wiring or rip the Thunderbolt port off the laptop's logic board.
Troubleshooting Common Setup Failures
Even with meticulous planning, integrating dense tech gadgets for office use can introduce hardware conflicts. Use this decision tree to diagnose issues.
Issue: Secondary Monitor Flickers When Desk is Raised
- Cause: The DisplayPort or HDMI cable is experiencing a bending radius violation. High-bandwidth cables fail if bent tighter than a 2-inch radius.
- Fix: Reroute the cable through the monitor arm's internal channel, ensuring it exits the elbow joint with a gentle curve. Add 4 inches of slack at the VESA plate connection point.
Issue: Wireless Mouse Stutters or Drops Connection
- Cause: USB 3.0 and Thunderbolt ports generate broad-spectrum radio frequency noise in the 2.4GHz band, which directly interferes with wireless mouse receivers (like the Logitech Bolt or Unifying receiver) plugged into adjacent ports.
- Fix: Move the wireless receiver away from the dock. Use a 2-foot USB 2.0 extension cable to place the receiver on the desk surface, at least 12 inches away from the Thunderbolt dock chassis and the monitor's power brick.
Issue: Laptop Fails to Wake External Displays from Sleep
- Cause: The dock's firmware is failing to maintain the DisplayPort Alt-Mode handshake during low-power states.
- Fix: Disable "Power Nap" or "Wake for Network Access" in the laptop's OS settings. Alternatively, update the dock's firmware via the manufacturer's utility tool, which often includes patched EDID (Extended Display Identification Data) handshake protocols for 2026 display panels.
Written by
David OkaforDavid Okafor is an ASE (Automotive Service Excellence) Master Certified Technician with 15 years of professional experience in vehicle diagnostics, aftermarket electronics installation, and fleet management. He holds an Associate Degree in Automotive Technology from Universal Technical Institute and certifications in mobile electronics (MECP Certified Installer). David has installed and reviewed over 800 car tech products — from OBD2 scanners and dash cams to full infotainment system retrofits — in vehicles ranging from economy compacts to luxury SUVs. His popular YouTube channel "AutoTech David" has over 150,000 subscribers and features detailed installation tutorials and product teardowns. He is a regular contributor to the SEMA Show's aftermarket technology showcase and advises two automotive tech startups on product development.