How to Setup Smart Home Office Gadgets for a Clutter-Free Desk
Learn how to seamlessly setup, sync, and cable-manage smart home office gadgets to create a clutter-free, highly productive workspace.
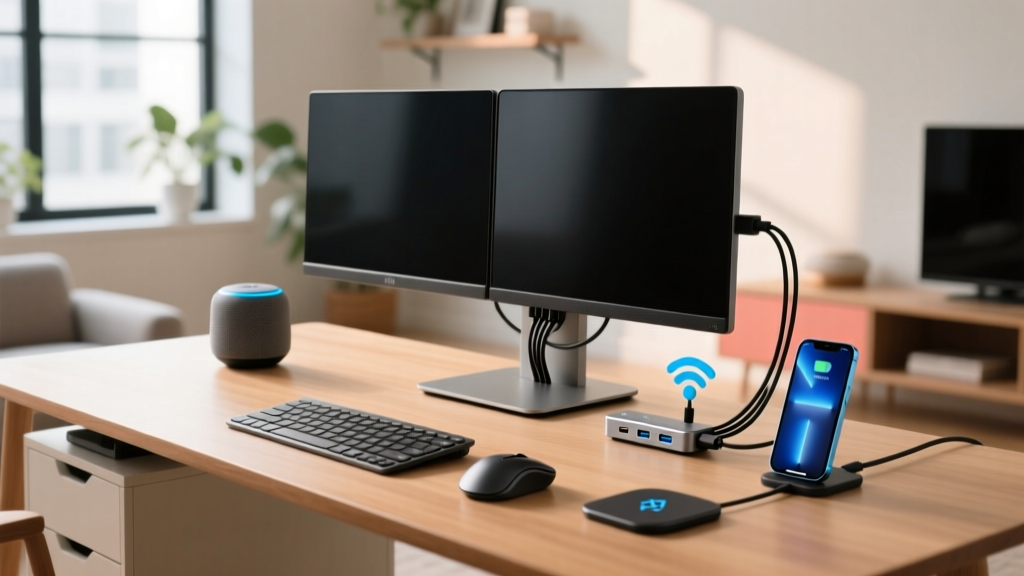
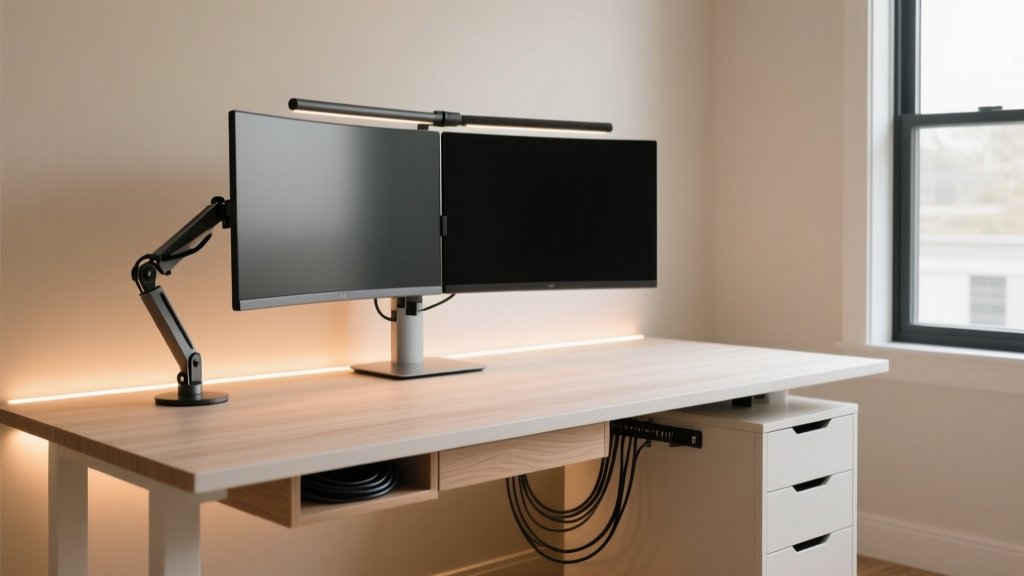
Setting up a modern workspace goes far beyond simply plugging in a laptop and hoping for the best. As the ecosystem of home office gadgets expands, professionals are integrating smart lighting, motorized standing desks, automated camera mounts, and environmental sensors into their daily workflows. However, without a deliberate setup strategy, this technological upgrade quickly devolves into a tangled mess of cables and disconnected apps.
This comprehensive tutorial will walk you through the exact physical and digital setup required to transform a chaotic desk into a streamlined, automated command center. We will cover VESA mounting standards, under-desk power routing, IoT network segregation, and advanced automation scripting using the latest 2026 smart home protocols.
The Blueprint for a Clutter-Free Smart Workspace
The core philosophy of a high-performance desk is 'invisible infrastructure.' Your home office gadgets should be immediately accessible but visually unobtrusive. Achieving this requires a four-step process: hardware mounting, cable routing, network synchronization, and ergonomic calibration. By treating your desk as a unified system rather than a collection of isolated peripherals, you reduce cognitive load and reclaim valuable physical space.
Step 1: Audit and Mount Your Core Hardware
Before running a single cable, you must elevate your primary displays and peripherals off the desk surface. Monitor arms are non-negotiable for a clutter-free setup. When selecting an arm, verify your monitor's VESA pattern (typically 100x100mm or 75x75mm) and total weight.
Selecting the Right Articulated Arm
For dual 27-inch to 32-inch monitors, the Ergotron LX Dual Monitor Arm (approximately $179) remains the gold standard due to its patented Constant Force technology, which allows for one-touch height adjustments without loosening tension screws. If you are on a budget, the Amazon Basics Dual Monitor Stand ($139) offers a reliable gas-spring alternative, though it lacks the premium damping of the Ergotron.
- Weight Capacity: Ensure each arm supports at least 2-3 lbs more than your monitor's actual weight to prevent drooping over time.
- Desk Thickness: Measure your desk edge. Most C-clamps require a desk thickness between 0.4 inches and 3.0 inches. If your desk has a beveled edge, use a flat steel shim to distribute the clamping pressure and prevent wood splintering.
Step 2: Power Routing and Cable Management
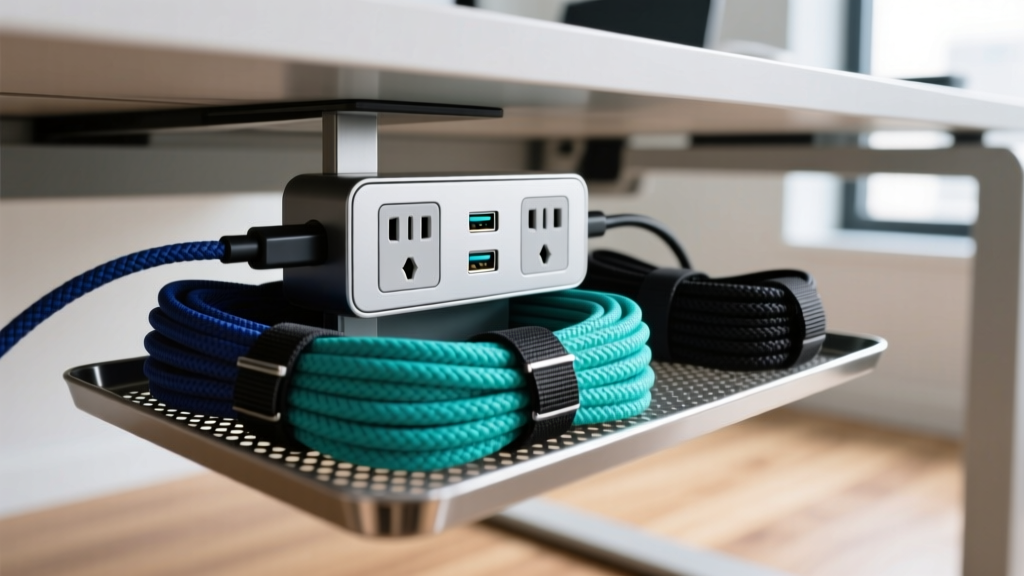
The golden rule of cable management is the 80/20 principle: spend 80% of your time planning the route, and 20% executing it. Never let cables dangle to the floor; they must be routed directly from the device to an under-desk power station.
Comparing Cable Management Solutions
Choosing the right containment system depends on your desk's material and your willingness to drill holes. Below is a comparison of the most effective routing methods for home office gadgets in 2026.
| Method | Best For | Cost Estimate | Installation Effort |
|---|---|---|---|
| Under-Desk Metal Mesh Tray (e.g., IKEA Signum) | Power bricks, smart hubs, excess cable slack | $15 - $25 | Medium (Requires 4-6 screws) |
| Braided Cable Sleeves (e.g., JOTO 1/2 inch) | Bundling monitor and USB-C cables down the arm | $12 - $18 | Low (Wrap and secure with velcro) |
| Adhesive Raceways (e.g., D-Line) | Routing along the back edge of glass or metal desks | $20 - $30 | Low (Peel and stick, no drilling) |
| Desk Grommets (2-inch diameter) | Dropping cables through thick wooden or MDF desks | $8 - $15 | High (Requires hole saw drill bit) |
Pro Tip: Mount a smart power strip (like the TP-Link Kasa KP303) directly inside your under-desk tray using heavy-duty double-sided mounting tape. This allows you to cut power to energy-draining peripherals like monitor light bars and desk vacuums via voice command or automation, keeping your physical desk completely free of power bricks.
Step 3: Network Segregation and Device Syncing
With the widespread adoption of the Matter protocol across the smart home industry, syncing disparate home office gadgets has never been more seamless. However, connecting 15+ smart plugs, motorized desk controllers, and Wi-Fi lights to your primary router can cause network congestion and latency.
Setting Up an IoT VLAN
For optimal performance and security, isolate your smart desk devices on a dedicated 2.4GHz IoT VLAN (Virtual Local Area Network) using a router like the Ubiquiti UniFi Dream Router or a high-end ASUS RT-AX86U. This prevents a compromised smart plug from accessing your primary work laptop and ensures that bandwidth-heavy video calls are not interrupted by background device polling.
Creating the 'Deep Work' Automation
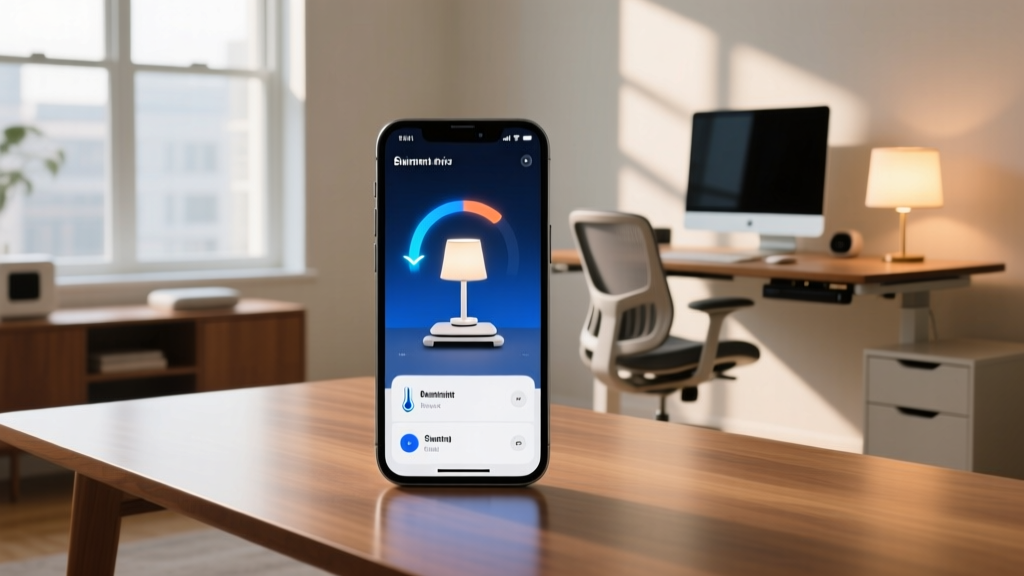
Using a local hub like the Home Assistant Green ($99), you can create a unified dashboard and automation scripts that trigger based on your calendar or physical presence. Here is a practical automation framework for a 'Deep Work' session:
- Trigger: NFC tag scanned on the desk edge or calendar event starts.
- Action 1 (Lighting): Set Philips Hue Play Gradient Lightstrip to 5000K (cool white) at 80% brightness to suppress melatonin and boost focus.
- Action 2 (Acoustics): Send a command to your smart speaker to play 40Hz binaural beats or brown noise.
- Action 3 (Distraction Blocking): Trigger a webhook to your router to pause Wi-Fi access for personal devices (phones, tablets) in the office subnet.
Step 4: Ergonomic Lighting and Calibration
Proper illumination is critical for reducing eye strain during long hours of screen time. According to ergonomic guidelines from Ergotron, your workspace should maintain a balanced contrast ratio between your screen and the surrounding environment.
Task Lighting vs. Bias Lighting
Do not rely solely on overhead room lighting, which creates harsh screen glare. Instead, utilize a combination of task and bias lighting:
- Task Lighting: The BenQ ScreenBar Halo ($239) mounts directly to the top of your monitor. Its asymmetric optical design illuminates your desk surface (achieving the recommended 500 lux for reading documents) without casting any light onto the screen itself.
- Bias Lighting: Place a Govee Enypro or Philips Hue gradient strip on the back of your monitor facing the wall. Set this to 10-20% brightness. This reduces the pupil's need to constantly adjust between the bright screen and a dark room, significantly reducing ocular fatigue.
Troubleshooting Common Smart Desk Issues
Even the most meticulously planned setups encounter technical hiccups. Here is how to resolve the most frequent issues when integrating smart home office gadgets:
Issue: Motorized Standing Desk Disconnects from App
Cause: Standing desk controllers (like the Uplift V2-Commercial) often drop off 2.4GHz networks due to signal interference from the metal desk frame.
Fix: Relocate your Wi-Fi access point or use a Wi-Fi smart plug to control the desk's primary power relay. Alternatively, hardwire a physical desk-mounted control puck to bypass the need for app connectivity for daily height adjustments.
Issue: Smart Lights Flicker During Video Calls
Cause: Pulse Width Modulation (PWM) flickering from cheap LED drivers interacting with your webcam's shutter speed.
Fix: Ensure your smart bulbs are set to 100% brightness via the app, and use a physical smart dimmer switch to lower the voltage if necessary, or invest in flicker-free certified lighting like the Elgato Key Light Air ($129).
Frequently Asked Questions
Can I use Apple HomeKit instead of Home Assistant for my desk?
Yes, Apple HomeKit (via the Apple TV 4K) is excellent for users heavily invested in the Apple ecosystem. It supports Matter and offers highly reliable automations based on geofencing and time of day. However, it lacks the deep, granular local scripting capabilities and hardware integrations (like direct RS232 serial connections for AV gear) that Home Assistant provides.
How do I hide the power cable for my monitor arm?
If your monitor arm does not have an internal cable channel, use a 1/2-inch split loom tubing painted to match the arm's metal finish, or use high-tension silicone cable clips spaced every 4 inches along the arm's joints. Ensure you leave enough slack at the elbow joints so the cables do not snap when the arm is fully extended.
What is the ideal color temperature for video conferencing?
For the most natural skin tones on camera, set your key light (facing you) and your monitor bias lighting to between 4000K and 4500K. This neutral white mimics natural daylight and prevents the 'orange' or 'blue' tint that often plagues poorly lit home office webcams.
Written by
Marcus WebbMarcus Webb served as a U.S. Army logistics officer for 8 years, where he managed field equipment procurement and tactical gear evaluation across three combat deployments. After honorable discharge, he earned a certification from the Professional Knife Makers Association and became a certified Wilderness First Responder (WFR). Marcus has tested over 500 EDC products in extreme environments — from -40°F in Alaska to 120°F in the Mojave Desert — using military-spec testing protocols. His reviews of multi-tools, tactical flashlights, and survival gear are known for their rigorous methodology: controlled drop tests from 6 feet, 120-minute water submersion at 2 meters, and lateral torque testing at 45 Nm. He is a member of the Blade Show judging panel and contributes to OutdoorGearLab.