Best 3D Print Gadgets to Solve Everyday Maker Problems in 2026
Discover the best 3D print gadgets and functional prints to solve everyday problems. Expert picks for printers, materials, and designs in 2026.
Why Functional 3D Print Gadgets Beat Decorative Trinkets
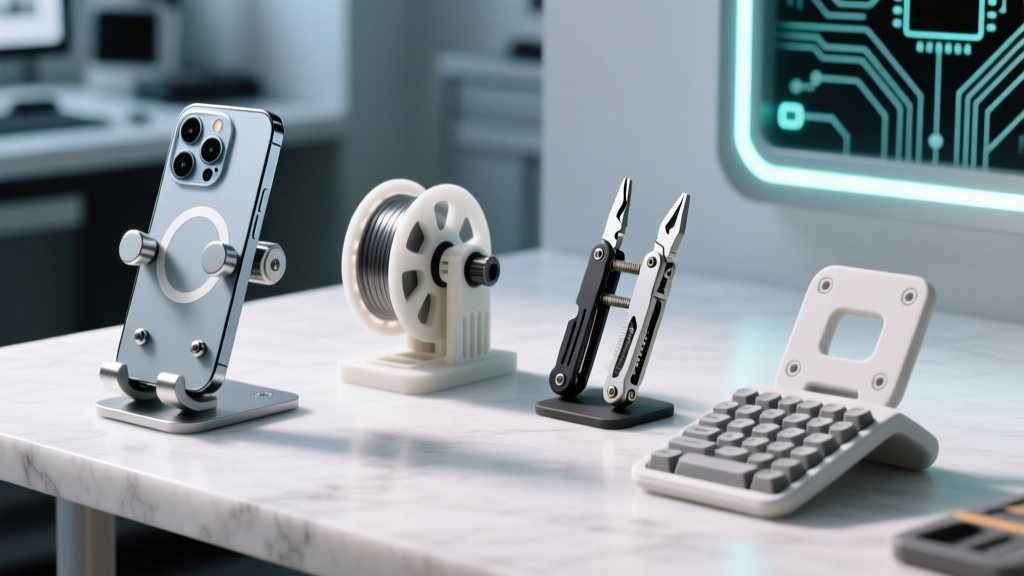
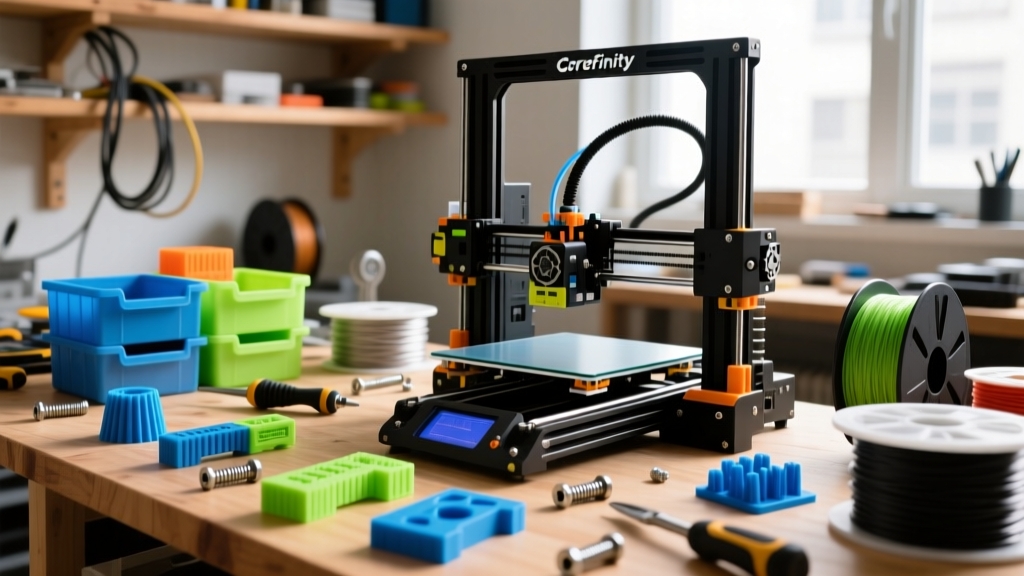
The maker community has undergone a massive paradigm shift. While printing articulated dragons and cosplay props is fun, the true ROI of owning a 3D printer lies in creating functional 3D print gadgets that solve real-world problems. From custom vacuum hose adapters to modular workbench organizers, functional printing transforms a $300 machine into an on-demand manufacturing hub. According to extensive community testing documented on Hackaday, the most valuable prints are those that replace broken household components, organize chaotic workspaces, and create custom jigs for woodworking or electronics assembly.
In this guide, we are cutting through the noise to bring you a problem-solver's perspective on the best hardware, materials, and specific 3D print gadgets you should be making right now in 2026.
The Ultimate Problem-Solving Printers for Functional Gadgets
Not all 3D printers are created equal when it comes to engineering-grade parts. If your goal is to print high-stress gadgets, you need a machine that handles advanced filaments and maintains dimensional accuracy.
Bambu Lab A1 Mini with AMS Lite: The Rapid Prototyping Workhorse
Priced at roughly $299 for the combo, the Bambu Lab A1 Mini is the undisputed king of small-scale functional gadgets. Its 180x180x180mm build volume is perfectly suited for jigs, brackets, and organizers. The real magic for problem solvers is the AMS Lite, which allows you to print multi-material parts. Imagine printing a rigid PETG bracket with integrated TPU (flexible) bumpers to protect your desk surfaces. The A1 Mini's active flow rate calibration ensures that your functional parts have precise tolerances, which is critical when printing snap-fit enclosures for Raspberry Pi or Arduino projects.
Creality K1C: For Engineering-Grade Carbon Fiber Fixes
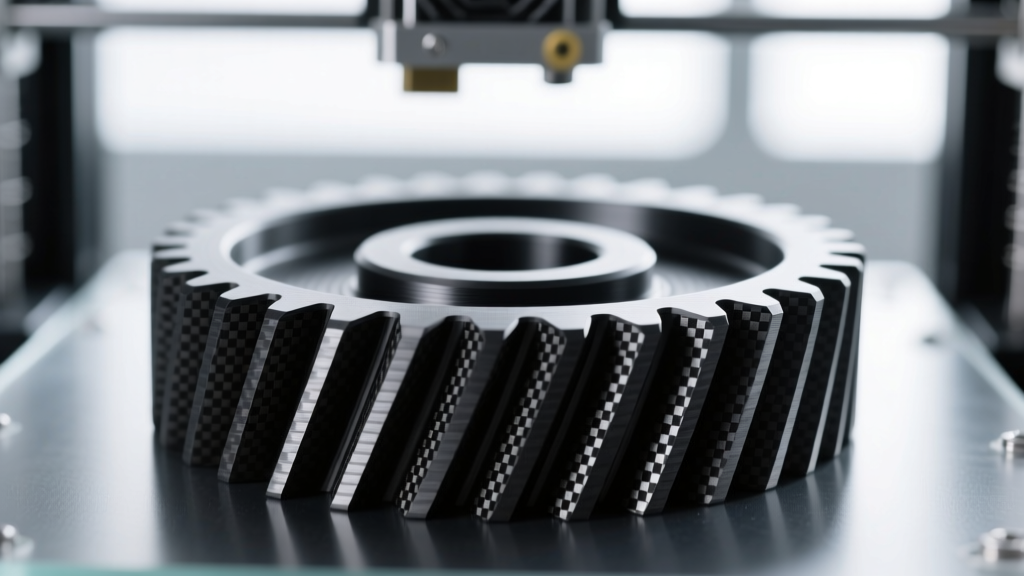
When standard PLA or PETG won't cut it, you need the Creality K1C (approx. $459). The "C" stands for Carbon, and this CoreXY machine comes stock with a hardened steel nozzle and a high-temperature hotend capable of reaching 300°C. This makes it an absolute beast for printing PA-CF (Carbon Fiber Nylon) and PC (Polycarbonate). If you need to print a replacement gear for a high-torque motor or a durable drone arm that won't snap on impact, the K1C's ability to handle abrasive, engineering-grade filaments out of the box makes it an essential tool for serious makers.
Elegoo Neptune 4 Max: Large-Scale Household Replacements
Sometimes the problem you need to solve is massive. The Elegoo Neptune 4 Max offers a staggering 420x420x480mm build volume for around $429. This is the machine you use when you need to print a replacement rack for a dishwasher, a custom ducting system for your workshop's dust collection, or a full-size laptop stand with complex cable routing. It features a segmented heated bed, which is crucial for managing power consumption and preventing warping on large-footprint functional prints.
Top 4 Functional 3D Print Gadgets You Should Print Today
Don't know where to start? Here is a curated list of high-utility 3D print gadgets that provide immediate value to your daily workflow.
| Problem to Solve | 3D Printed Gadget Solution | Recommended Material | Print Time (Approx) |
|---|---|---|---|
| Chaotic workbench drawers | Gridfinity System: A modular, parametric storage system. Print 42mm baseplates and custom bins for every caliper, screwdriver, and multimeter probe. | PLA or PLA+ | 45 mins per bin |
| Mismatched shop-vac hoses | Parametric Hose Adapters: Use OpenSCAD or Thingiverse generators to create custom step-down adapters (e.g., Dyson to Festool). | PETG or ABS | |
| Laptop overheating / clutter | Angled Riser with Cable Channels: Elevates the laptop 15 degrees for airflow while routing charging cables cleanly underneath. | PETG | |
| Stripped appliance knobs | Custom D-Shaft Knobs: Reverse-engineer broken knobs for stoves, washing machines, or amplifiers using digital calipers. | ABS or ASA |
Material Selection Matrix for High-Stress Gadgets
A functional gadget is only as good as the plastic it is printed in. According to material science guidelines outlined by Prusa Research, choosing the wrong filament is the number one reason functional prints fail in the real world.
PLA / PLA+ (The prototyper)
- Tensile Strength: ~50-65 MPa
- Heat Deflection: ~60°C (Deforms in a hot car)
- Best For: Desk organizers, Gridfinity bins, indoor jigs, and non-load-bearing prototypes.
PETG (The reliable all-rounder)
- Tensile Strength: ~40-50 MPa (More flexible, higher impact resistance than PLA)
- Heat Deflection: ~80°C
- Best For: Mechanical brackets, vacuum adapters, outdoor planters, and snap-fit enclosures.
ASA (The outdoor warrior)
- Tensile Strength: ~50 MPa
- Heat Deflection: ~105°C
- Best For: Automotive exterior parts, garden tool mounts, and UV-exposed functional gadgets. Note: Requires an enclosure and ventilation due to styrene fumes.
Pro Maker Tip: Never use standard PLA for any gadget that will be subjected to continuous mechanical stress or heat. PLA suffers from creep deformation, meaning it will slowly bend and permanently warp under constant load, even at room temperature.
Troubleshooting Common Failures in Functional Prints
When printing functional 3D print gadgets, structural integrity is paramount. Here is how to solve the most common failure modes encountered in engineering prints.
1. Layer Delamination in PETG
PETG is notorious for moisture absorption. If your printed brackets are snapping along the layer lines, your filament is likely wet. The Fix: Dry your PETG at 65°C for a minimum of 6 hours in a dedicated filament dryer. Additionally, increase your nozzle temperature to 245°C and slow down your outer wall speed to 30mm/s to ensure proper layer fusion.
2. Warping and Corner Lifting in ASA/ABS
Engineering materials shrink as they cool, pulling the corners off the build plate. The Fix: Always use a 10mm brim. More importantly, you must eliminate drafts. Seal your printer enclosure, turn off the part-cooling fan entirely for ABS/ASA, and maintain an ambient chamber temperature of at least 40°C.
3. Poor Dimensional Accuracy for Snap-Fits
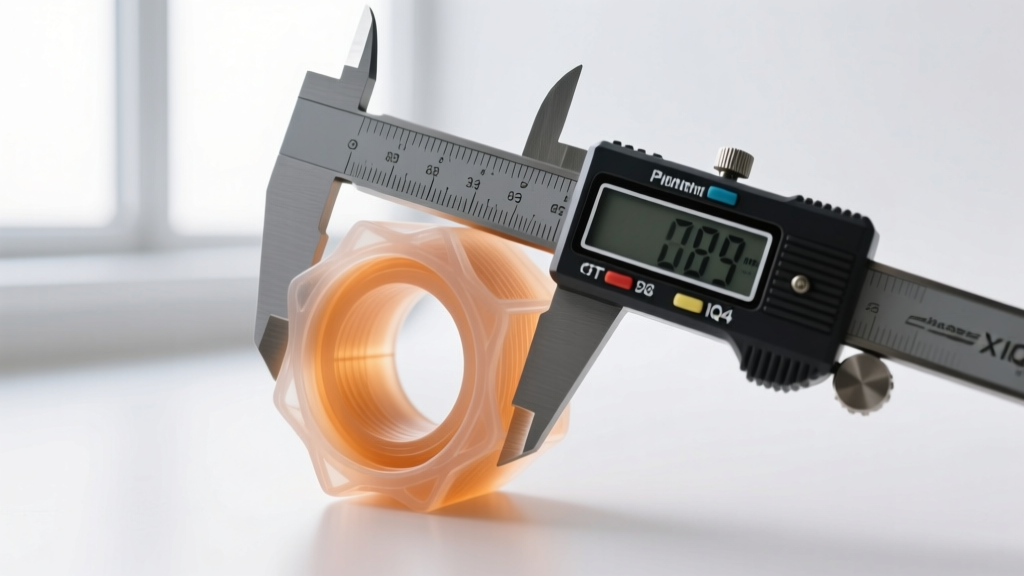
If your custom enclosures aren't snapping together, your printer's flow rate or belt tension is off. The Fix: Print a tolerance test tower. Most slicers allow you to apply a "hole XY compensation" or "elephant foot compensation." Setting a -0.05mm hole compensation in your slicer usually resolves issues with pegs not fitting into printed holes.
Frequently Asked Questions
Can I use TPU for functional 3D print gadgets?
Yes, TPU (Thermoplastic Polyurethane) is incredible for functional prints requiring flexibility or vibration dampening. Common applications include custom gaskets, rubberized feet for heavy machinery, and flexible hinges. Print it slowly (under 30mm/s) and disable retraction if you are using a Bowden tube setup to prevent jams.
Where can I find parametric models for functional gadgets?
While repositories like Printables and Thingiverse have thousands of static models, the best makers use parametric design tools. Learning basic OpenSCAD or using the "Customizer" feature on Thingiverse allows you to input your exact measurements (like the diameter of your specific pipe or the dimensions of your specific battery) to generate a perfectly sized 3D print gadget on the fly.
How do I make 3D printed parts stronger without using more infill?
Infill is largely a myth when it comes to tensile strength. According to comprehensive testing by All3DP, the strength of a part is dictated by its perimeters (walls) and top/bottom layers. To make a functional bracket stronger, increase your wall count to 4 or 5 perimeters, and orient the part on the build plate so that the layer lines run parallel to the direction of the mechanical stress, rather than perpendicular to it.
Written by
Marcus WebbMarcus Webb served as a U.S. Army logistics officer for 8 years, where he managed field equipment procurement and tactical gear evaluation across three combat deployments. After honorable discharge, he earned a certification from the Professional Knife Makers Association and became a certified Wilderness First Responder (WFR). Marcus has tested over 500 EDC products in extreme environments — from -40°F in Alaska to 120°F in the Mojave Desert — using military-spec testing protocols. His reviews of multi-tools, tactical flashlights, and survival gear are known for their rigorous methodology: controlled drop tests from 6 feet, 120-minute water submersion at 2 meters, and lateral torque testing at 45 Nm. He is a member of the Blade Show judging panel and contributes to OutdoorGearLab.