RNDIS/Ethernet Gadget Pi Zero W2: Homelab Network Tool Buyer Guide
Build the ultimate headless homelab crash cart. Our buyer's guide covers the best components for an RNDIS/Ethernet gadget Pi Zero W2 network setup.
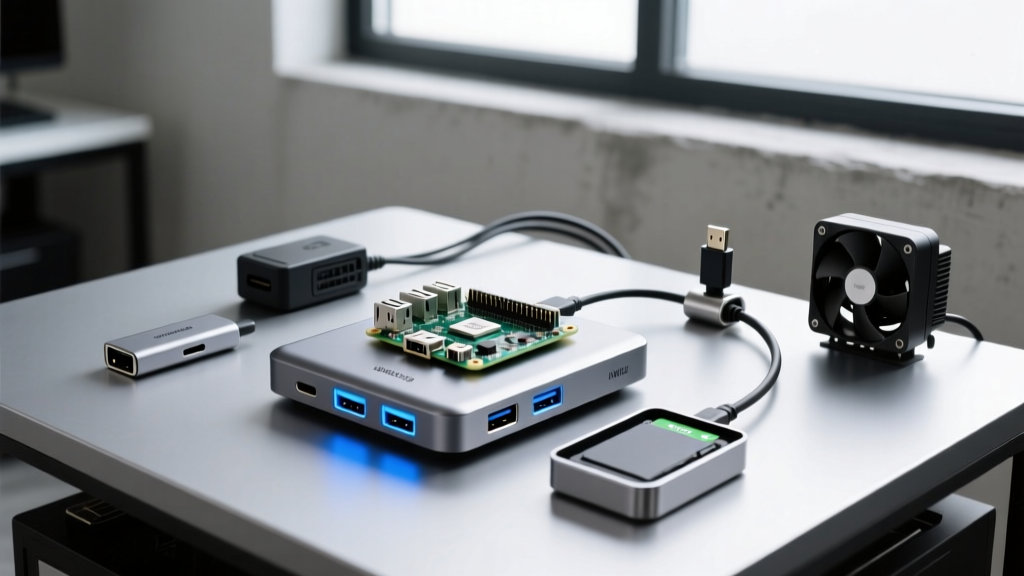
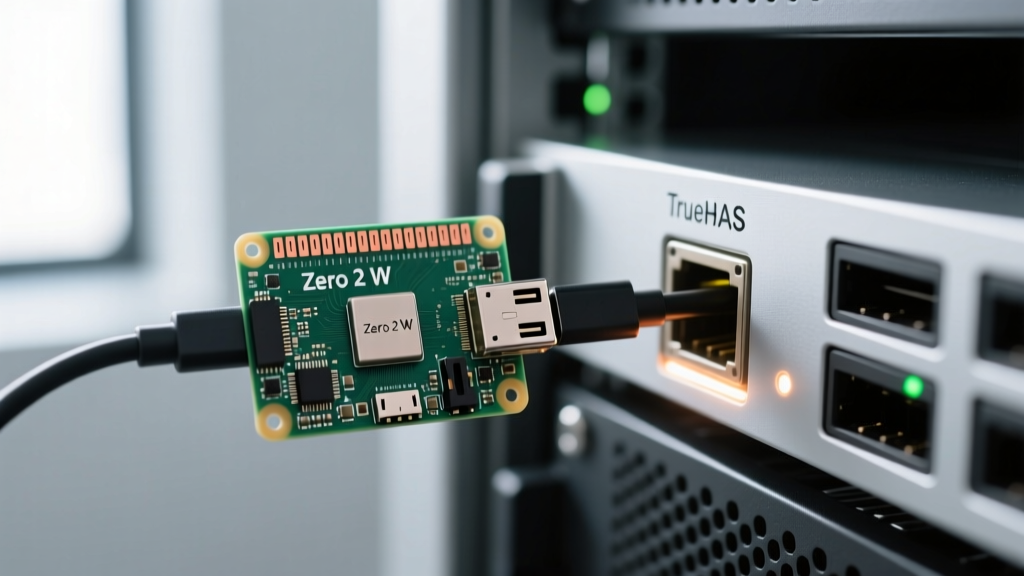
The Homelab Crash Cart: Why Build an RNDIS/Ethernet Gadget?
As homelabs evolve in 2026, the complexity of headless network-attached storage (NAS), 10GbE switching, and UPS network management cards has skyrocketed. When a VLAN misconfiguration locks you out of your TrueNAS server, or a new CyberPower UPS network card refuses to pull a DHCP address, you need a physical 'crash cart.' Enter the ultimate portable network multi-tool: the Raspberry Pi Zero 2 W configured as a USB Ethernet gadget.
By configuring the rndis/ethernet gadget pizerow2 interface, you transform this $15 quad-core microcomputer into a direct-connect network bridge. Plug it via USB into your laptop or directly into a server's USB port, and it instantly provides a private, headless SSH network link, a portable DNS sinkhole, or a packet-sniffing bridge. This comprehensive buyer's guide breaks down the exact components, cables, and storage media you need to build a reliable, enterprise-grade homelab diagnostic tool.
Core Component Buyer's Guide: The Pi Zero 2 W Ecosystem
Building a reliable network gadget requires more than just the board itself. The Pi Zero 2 W's 512MB RAM and quad-core Cortex-A53 processor are more than capable of running lightweight network utilities, but peripheral selection dictates your success.
The Brains: Sourcing the Raspberry Pi Zero 2 W
While the MSRP remains $15, street pricing in 2026 hovers between $25 and $35 depending on authorized distributors like Adafruit or Vilros. Avoid third-party marketplace markups. For a dedicated network gadget, the Zero 2 W is vastly superior to the original Zero W due to its multi-core architecture, which prevents SSH latency spikes during heavy network packet captures or when running a local Pi-hole instance simultaneously.
Storage & Reliability: High-Endurance microSD
The most common point of failure in any Pi-based homelab tool is SD card corruption from repetitive log writes. Do not use standard consumer SanDisk Ultra cards. You need high-endurance media designed for continuous read/write cycles.
| Component | Recommended Model (2026) | Est. Price | Why It Matters |
|---|---|---|---|
| Compute | Raspberry Pi Zero 2 W | $25 - $35 | Quad-core handles SSH & bridging without dropping packets. |
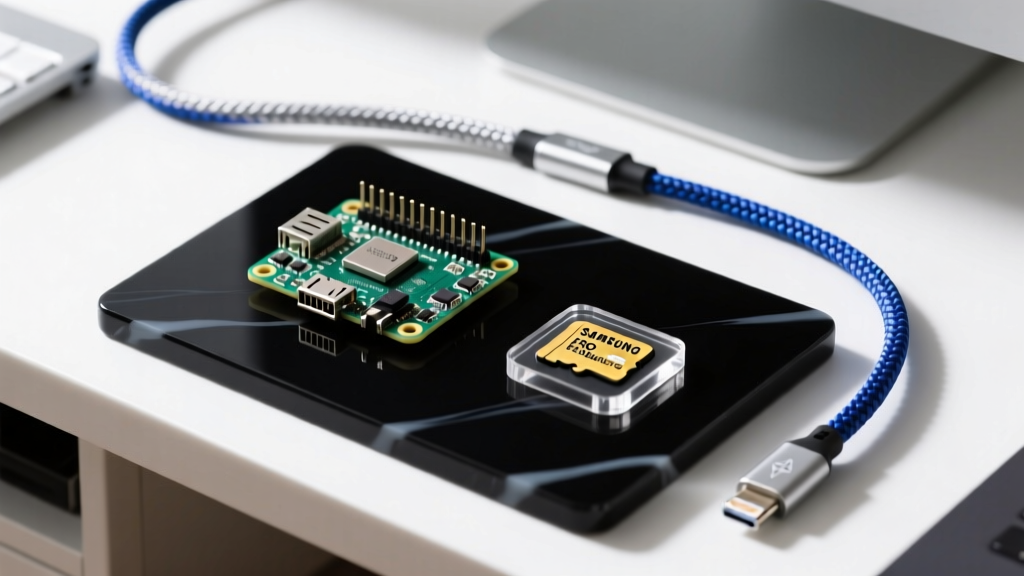
| Storage | Samsung PRO Endurance 64GB | $12 - $15 | Rated for 700,000 hours; survives constant syslog writes. |
| OS | Raspberry Pi OS Lite (64-bit) | Free | No desktop environment; maximizes RAM for network buffers. |
| Thermal | Geekworm Armor Case (Aluminum) | $11 | Acts as a passive heatsink; crucial for enclosed server racks. |
Power & Connectivity: The Cable Trap
If your gadget fails to show up as a network interface on your host machine, 90% of the time the culprit is the cable. The Pi Zero 2 W utilizes a micro-USB port for power and data (with a secondary micro-USB for USB OTG peripherals). You must plug into the inner micro-USB port labeled 'USB' (not 'PWR').
Data vs. Charge-Only Cables
Many included cables in consumer electronics are charge-only, lacking the internal D+ and D- data lines required for the RNDIS or CDC ECM handshake. When buying cables for your homelab toolkit, invest in verified data cables.
- Best for Laptops (USB-C to Micro-USB): Cable Matters Braided Data Cable (~$8). Ensures modern MacBook and Windows 11 laptops can connect without adapters.
- Best for Server Motherboards (USB-A to Micro-USB): AmazonBasics or Anker USB 2.0 Data Cable (~$6). Perfect for plugging directly into the internal USB headers of a headless NAS or hypervisor.
Expert Insight: While the keyword search often leads to legacy RNDIS configurations, modern 2026 deployments should use the
libcompositeframework to expose both RNDIS (for Windows compatibility) and CDC ECM (for macOS and Linux) simultaneously over the same USB connection.
Configuring the Gadget: 2026 Best Practices
To set up the rndis/ethernet gadget pizerow2 interface on the latest Raspberry Pi OS (Bookworm/Wormhole), you must modify the boot configuration to enable the USB OTG controller and load the gadget modules.
Step 1: Enable DWC2 Overlay
Open your /boot/firmware/config.txt file and add the following line at the very bottom to enable the DesignWare USB 2.0 controller:
dtoverlay=dwc2Step 2: Load Modules at Boot
Edit /boot/firmware/cmdline.txt. You must insert the module load command after rootwait on the single existing line. Do not add a new line:
modules-load=dwc2,libcompositeStep 3: The Composite Script
Rather than relying on the outdated g_ether module, create a custom script in /etc/rc.local that initializes a composite gadget. This allows your Pi to present an RNDIS interface to Windows hosts and an ECM interface to Linux/macOS hosts simultaneously, assigning a static IP (e.g., 192.168.7.1) to the Pi and running a lightweight DHCP server to hand out 192.168.7.x addresses to whatever server you plug it into.
For a complete, copy-paste composite script, refer to the Raspberry Pi Official Configuration Docs or the community-maintained Jeff Geerling Ethernet Gadget Guide, which remains the gold standard for USB OTG networking.
Real-World Homelab Applications
Why go through this trouble when you could just use a laptop with Wi-Fi? Because enterprise and homelab networking often requires out-of-band physical access when the primary network stack collapses.
1. NAS and Hypervisor Rescue
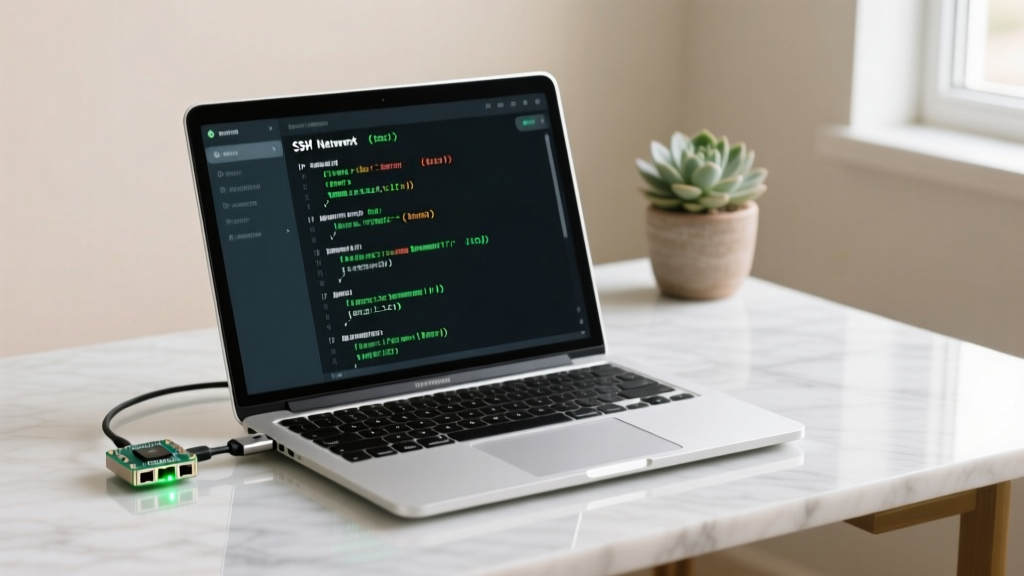
If your Unraid or Proxmox server loses its network configuration, plugging the Pi Zero 2 W directly into the server's USB port powers the Pi via the server's USB bus. You can then plug an Ethernet cable from the Pi's OTG port to your laptop, or use a USB Wi-Fi dongle on the Pi to create a temporary rescue access point, granting you SSH access to fix netplan or networkmanager configs.
2. UPS Network Card Provisioning
Network management cards for APC and CyberPower UPS systems often ship with static IPs or require a specific subnet to initialize. By plugging the Pi gadget directly into the UPS card's Ethernet port (via a USB-to-Ethernet adapter attached to the Pi's OTG pins), the Pi acts as a dedicated DHCP server and SSH jump box, allowing you to configure the UPS card without disrupting your main LAN.
3. Portable Packet Sniffer
By bridging the Pi's USB Ethernet gadget interface with its onboard Wi-Fi, you can drop the Pi between a rogue IoT device and your network, using tcpdump to capture and analyze traffic directly via SSH. For deeper discussions on portable network builds, the ServeTheHome Homelab Crash Cart Threads offer incredible community insights.
Frequently Asked Questions
Will the Pi Zero 2 W draw too much power from a server's USB port?
No. Under typical SSH and network bridging loads, the Pi Zero 2 W draws between 120mA and 250mA. Standard USB 2.0 ports provide 500mA, and USB 3.0 ports provide 900mA. It is perfectly safe to leave plugged into a NAS motherboard header.
Do I need a heatsink for this specific workload?
Network bridging and SSH are light tasks, but if you run a local Pi-hole or continuous tcpdump logging, the quad-core CPU can spike. A passive aluminum armor case is highly recommended over active fans, as fans introduce mechanical failure points in a portable crash cart.
Can I use this setup with a Raspberry Pi 4 or 5?
Yes, the Pi 4 and Pi 5 support USB-C OTG gadget mode. However, they draw significantly more power (often exceeding what a standard laptop USB-C port will supply without a powered hub) and are physically too large to serve as a portable 'dongle' for tight server rack environments. The Zero 2 W remains the undisputed king of portable homelab gadgets.
Written by
Tom ReynoldsTom Reynolds holds a CFA (Chartered Financial Analyst) designation and a B.S. in Finance from the University of Texas at Austin. Before entering tech journalism, he spent 6 years as a quantitative analyst at a hedge fund, building cost-benefit models for consumer product investments. Tom has maintained a proprietary database of over 10,000 tech deals for the past 8 years, developing his signature "penny-per-feature" evaluation framework that calculates the true value proposition of every gadget. His budget gadget reviews are known for their financial rigor — he tracks price history across 15+ retailers, calculates cost-per-use over 3-year lifespans, and identifies the exact inflection point where premium features justify their markup. Tom's deal alerts have saved his readers an estimated .3 million since 2018.