DIY Smart Garden: Linking Mini PCs to Cool Gardening Gadgets
Learn how to wire and configure mini PCs and single-board computers to automate cool gardening gadgets for a fully autonomous smart greenhouse.
The Compute Core: Selecting Your Garden Brain
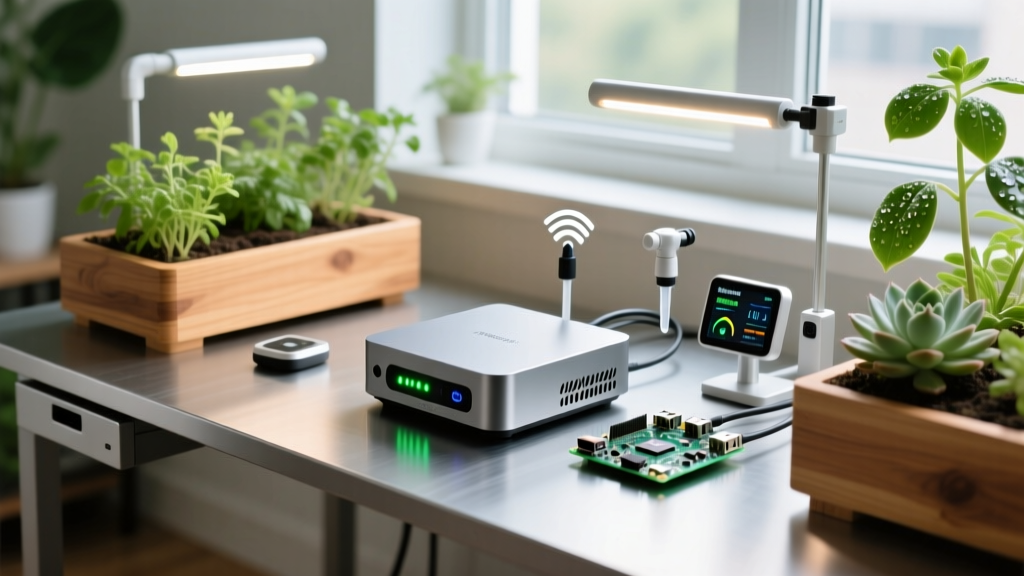
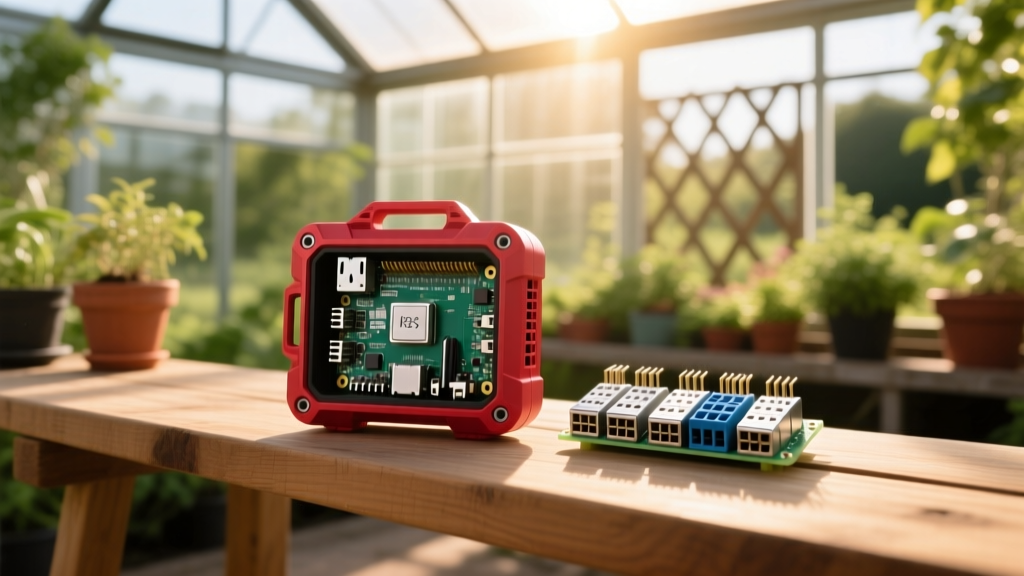
Transforming a passive garden into an autonomous ecosystem requires a reliable compute core capable of handling continuous sensor polling, local network routing, and automated actuator triggers. When integrating cool gardening gadgets—such as smart drip valves, motorized greenhouse vents, and capacitive soil probes—a standard microcontroller often lacks the processing overhead for local AI vision or complex scheduling. This is where single-board computers (SBCs) and compact mini PCs excel.
Choosing the right hardware depends on your garden's scale and your need for native GPIO (General Purpose Input/Output) pins versus raw x86 processing power. Below is a hardware matrix comparing the top compute options for garden automation in 2026.
| Device | Architecture | Native GPIO | Avg. Price (2026) | Best Use Case |
|---|---|---|---|---|
| Raspberry Pi 5 (8GB) | ARM64 | 40-pin header | $80 | Direct sensor wiring, low-power 24/7 operation |
| Beelink EQ12 (N100) | x86_64 | None (Requires USB/Serial adapters) | $165 | Heavy local AI, Frigate NVR camera integration |
| ZimaBoard 832 | x86_64 | None (Has PCIe for custom HATs) | $210 | Edge computing, NAS integration for garden data |
Sourcing the Cool Gardening Gadgets
To build a closed-loop environment, your compute core needs accurate environmental data and reliable physical actuators. Avoid cheap, resistive soil sensors that corrode within weeks. Instead, source the following enthusiast-grade peripherals:
- Adafruit Capacitive Soil Moisture Sensor (Product ID: 4026): Priced around $10, this uses capacitive measurement to avoid the galvanic corrosion that destroys resistive probes. It outputs an analog voltage that drops as soil moisture increases.
- Bosch BME280 I2C Breakout: Approximately $15. This provides highly accurate ambient temperature, humidity, and barometric pressure data over the I2C bus, essential for predicting frost or triggering greenhouse heaters.
- Elegoo 4-Channel 5V Relay Module with Optocouplers: Around $8. The optocouplers are critical; they electrically isolate your mini PC's delicate logic circuits from the inductive kickback generated by solenoid water valves and AC grow lights.
- 12V DC Solenoid Water Valves (3/4 inch): Usually $15 each. These act as the physical gates for your drip irrigation zones.
Step-by-Step Wiring and Physical Assembly
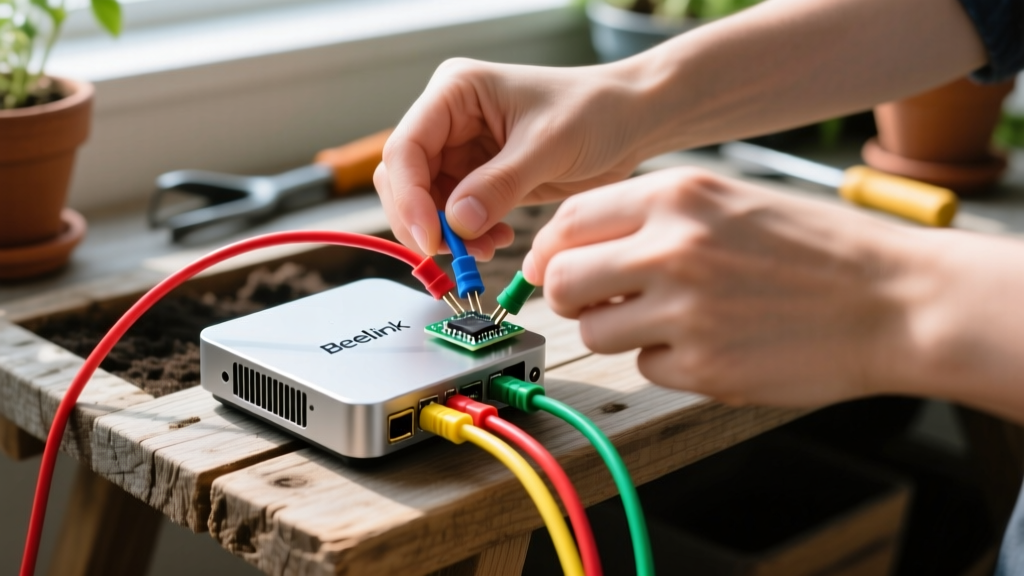
For this tutorial, we will use the Raspberry Pi 5 due to its native 40-pin GPIO header, which simplifies direct integration with cool gardening gadgets without requiring external USB-to-serial adapters.
1. Preparing the I2C Bus for Environmental Sensors
- Enable the I2C interface on your Pi by running
sudo raspi-config, navigating to Interface Options, and enabling I2C. - Wire the BME280 sensor to the Pi's GPIO: Connect VCC to Pin 1 (3.3V), GND to Pin 6, SDA to Pin 3 (GPIO 2), and SCL to Pin 5 (GPIO 3).
- Verify the connection by running
i2cdetect -y 1in the terminal. You should see the BME280 respond at address0x76or0x77. For deeper configuration details on I2C pull-up resistors, refer to the official Raspberry Pi hardware configuration documentation.
2. Isolating the Relay Module
- The Raspberry Pi 5 operates on 3.3V logic, but most standard relay modules require 5V logic to trigger reliably. Do not connect 5V directly to the Pi's GPIO pins, as this will destroy the SoC.
- Use a bi-directional logic level converter (like the BSS138) between the Pi's GPIO output pins (e.g., GPIO 17, 27, 22) and the relay module's IN1, IN2, IN3 pins.
- Power the relay module's VCC and GND using a separate 5V 2A power supply, sharing a common ground with the Pi.
Greenhouses routinely exceed 85% relative humidity. Never leave your mini PC or breadboards exposed. Mount all compute hardware inside an IP65-rated polycarbonate enclosure with a silicone desiccant pack. Use IP68-rated cable glands for any wires exiting the enclosure to prevent capillary action from wicking water back into your logic boards.
Deploying the Software Stack
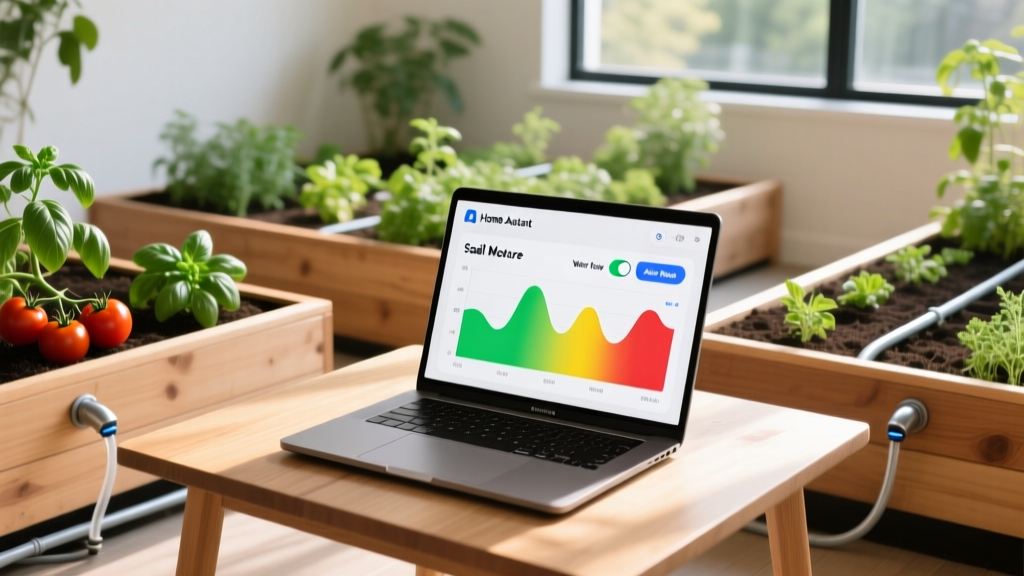
Hardcoding Python scripts for garden automation is fragile and difficult to maintain. The industry standard for local smart home and garden control is Home Assistant OS (HAOS).
Flashing and Configuring Home Assistant
Use the Raspberry Pi Imager to flash the Home Assistant OS directly to a high-endurance microSD card (like the SanDisk High Endurance 128GB, designed for continuous write cycles) or an external NVMe SSD via the Pi 5's PCIe lane. Once booted, install the ESPHome and Node-RED add-ons from the HAOS store.
ESPHome allows you to define your sensor configurations in simple YAML files. For the BME280, your configuration block will look like this:
sensor:
  - platform: bme280_i2c
    temperature:
      name: "Greenhouse Ambient Temp"
    pressure:
      name: "Greenhouse Pressure"
    humidity:
      name: "Greenhouse Humidity"
    address: 0x76
    update_interval: 60s
For comprehensive YAML syntax and I2C multiplexing options, consult the ESPHome BME280 component documentation.
Advanced Troubleshooting: Edge Cases and Fixes
When deploying cool gardening gadgets in outdoor or greenhouse environments, you will encounter physical layer issues that do not appear in desktop testing.
I2C Bus Capacitance and Signal Degradation
The I2C protocol was designed for short, on-board communication. If you run wires longer than 1 meter (3.3 feet) to place your BME280 sensor in the center of a large greenhouse, the wire capacitance will exceed the 400pF I2C limit, causing data corruption or complete sensor dropouts.
The Fix: Do not simply increase the I2C clock speed. Instead, use an I2C bus extender IC like the PCA9600, or place a secondary microcontroller (like an ESP32) at the sensor location to read the I2C data locally and transmit it back to the mini PC over Wi-Fi or Ethernet.
Voltage Drop on 12V Solenoid Valves
12V DC solenoid valves typically draw between 800mA and 1.2A when opening. If you use thin 22 AWG wire over a 30-foot run from your power supply to the valve, the resistance of the wire will cause a significant voltage drop. The valve may receive only 9V, causing it to chatter, overheat, and eventually fail to open.
The Fix: Calculate your voltage drop using the formula: Voltage Drop = 2 × Length × Current × Wire Resistance per foot. For a 30-foot run drawing 1A, upgrade to 16 AWG or 14 AWG outdoor-rated direct burial wire. Alternatively, move the 12V power supply closer to the valve manifold and only run 120V AC (in proper conduit) to that location, stepping down to 12V locally.
Even with optocoupler relays, always solder a 1N4007 flyback diode in reverse parallel across the terminals of every 12V solenoid valve and DC water pump. When the valve closes, the collapsing magnetic field generates a massive reverse voltage spike. The diode safely recirculates this spike, protecting your relay contacts from arcing and pitting, extending their lifespan from a few months to several years.
Scaling Your Automated Ecosystem
Once your mini PC is successfully reading soil moisture and triggering irrigation valves, you can expand the system. Integrate an anemometer to automatically retract motorized greenhouse shades during high-wind events, or add a TDS (Total Dissolved Solids) sensor to your hydroponic reservoir to automate nutrient dosing. By anchoring your setup with a robust compute core, the physical limitations of your garden are bound only by the sensors you choose to deploy.
Written by
Jake MorrisonJake Morrison holds a B.S. in Electrical Engineering from UC Berkeley and an MBA from Stanford Graduate School of Business. With over 12 years of hands-on experience in consumer electronics, he previously served as a senior product engineer at a Silicon Valley startup before transitioning to tech journalism. Jake has personally tested and benchmarked over 3,000 gadgets across categories including smartphones, wearables, smart home devices, and audio equipment. His durability testing methodology — involving controlled drop tests, thermal cycling, and water submersion — is widely cited by major tech publications. He is a certified CompTIA A+ technician and a contributing editor to the IEEE Consumer Electronics Magazine.