Upgrading Tech Gadgets 2025 Pet Gear: Beginner vs Expert Guide
Discover how beginners and experts configure pet tech gadgets in 2026. Compare GPS trackers, smart feeders, and AI cameras for ultimate pet safety.
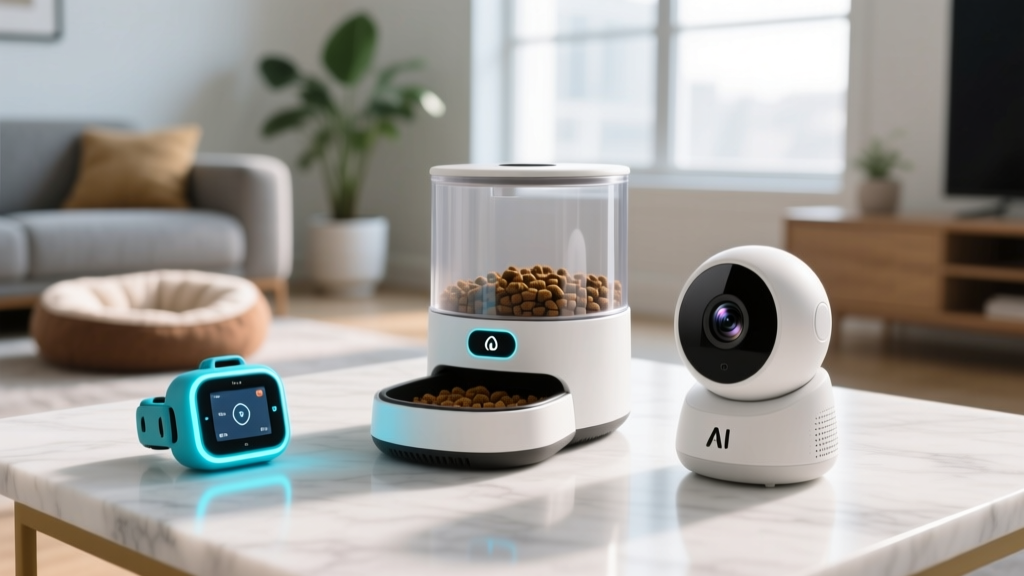
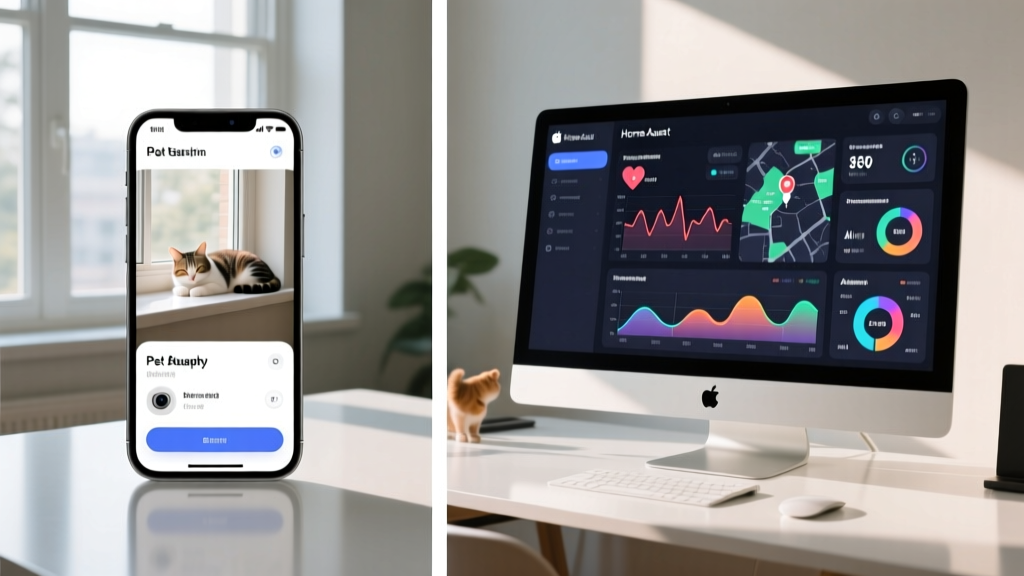
Most consumers purchasing tech gadgets 2025 pet gear stop at unboxing, Wi-Fi pairing, and relying on default manufacturer apps. Experts view these devices differently: as edge nodes in a broader, localized home automation network. As we move through 2026, the gap between novice and professional pet tech setups has widened significantly. Beginners accept cloud latency, subscription fees, and single points of failure. Experts engineer redundancy, prioritize local processing, and leverage industrial-grade protocols to ensure their pets are monitored, fed, and tracked without interruption.
This guide dissects the architectural differences between beginner and expert pet tech configurations across GPS tracking, automated feeding, and AI surveillance, providing a concrete roadmap for upgrading your setup.
The GPS Tracker Divide: Cellular Pings vs. LTE-M Telemetry
The primary failure mode in pet GPS tracking is not hardware loss; it is battery exhaustion and network dead zones. Beginners typically purchase consumer-grade trackers like the Fi Series 3 or basic Tractive models, relying on the manufacturer's proprietary app and default polling intervals.
Beginner Configuration: The Polling Trap
A novice user sets a universal 60-second ping rate. When the pet is sleeping on the couch, the device continues to query cell towers, draining the battery in 48 hours. Furthermore, these devices often rely on crowd-sourced Wi-Fi sniffing to supplement GPS, which fails completely in rural or low-density suburban areas.
Expert Configuration: Geofenced Cat-M1 & MQTT Integration
Experts deploy LTE-M (Cat-M1) trackers like the Whistle Go or specialized industrial tags, but the hardware is only half the equation. The expert integrates the tracker's API via MQTT into a local Home Assistant server. This allows for dynamic polling logic:
- Safe Zone (Home): Polling drops to once every 15 minutes. Radio sleep modes are activated, extending battery life to 14+ days.
- Boundary Breach: If the pet crosses a 50-meter virtual geofence, polling accelerates to 10-second intervals.
- Automated Triggers: A boundary breach doesn't just send a push notification; it triggers local smart home routines (e.g., turning on exterior floodlights, unlocking the smart dog door, and sending a high-priority Telegram alert with a live map link).
| Feature | Beginner Setup | Expert Setup |
|---|---|---|
| Network Protocol | Standard LTE / 3G Fallback | LTE-M (Cat-M1) / NB-IoT |
| Data Routing | Proprietary Cloud App | Local MQTT Broker (Home Assistant) |
| Battery Life (Real) | 2 to 4 Days | 10 to 18 Days (Dynamic Polling) |
| Alert Latency | 15 - 45 Seconds | < 3 Seconds (Local Webhook) |
Smart Feeders: Timed Drops vs. RFID Macro-Dosing
Automated feeding is where poor tech configuration directly impacts animal health. According to the ASPCA, pet obesity is a critical health crisis, often exacerbated by automated feeders that dispense fixed volumes regardless of the pet's actual metabolic needs or multi-pet household dynamics.
The Beginner's Blind Spot: Volume and Theft
Beginners use Wi-Fi enabled gravity or auger feeders (like the standard PETLIBRO Granary). These dispense by volume (e.g., '1/4 cup'). If kibble size changes, the caloric output fluctuates wildly. Worse, in multi-pet homes, a dominant pet can trigger the feeder or eat the subordinate pet's portion, leading to simultaneous obesity and malnutrition in the same household.
The Expert's Solution: RFID Gating and Gram-Level Precision
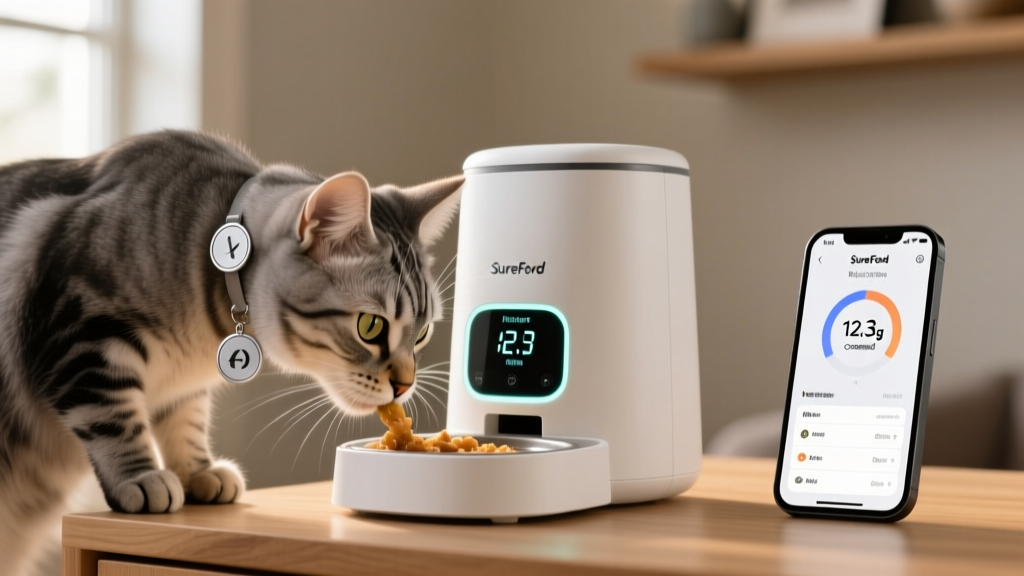
Experts deploy microchip-activated feeders like the SureFeed Microchip Pet Feeder Connect. However, the expert knows a critical edge case: subcutaneous microchip migration. Up to 10% of implanted chips migrate down the shoulder blade, rendering the feeder's overhead scanner useless. The expert proactively uses the included 13.56 MHz RFID collar tag for 100% read reliability.
Furthermore, experts integrate the feeder with a smart scale. By weighing the food bowl before and after every meal via a localized load-cell sensor, the system tracks exact gram consumption. If a pet leaves 15% of its meal uneaten, the system logs an anomaly in the pet's daily health dashboard, flagging potential gastrointestinal issues days before physical symptoms appear.
Cloud-dependent feeders will halt all scheduled meals if your ISP drops connection. Experts bypass this by selecting feeders with onboard EEPROM memory that store the last 7 days of feeding schedules locally, ensuring meals dispense even during a week-long internet outage.
Pet Cameras: Cloud Subscriptions vs. Local AI NVR
Pet cameras represent the largest divergence in privacy, latency, and ongoing costs between novice and expert setups.
Beginner Setup: The Cloud Tax
Novices buy devices like the Furbo or Wyze Cam. These rely on cloud processing for 'bark detection' or 'pet recognition.' The reality of cloud pet cameras in 2026 includes:
- Latency: 2 to 5 seconds of video delay, making real-time treat tossing or voice correction impossible.
- False Positives: Cloud AI frequently confuses shadows, moving curtains, or robotic vacuums with pets, resulting in notification fatigue.
- Privacy: Video streams are routed through third-party servers, exposing your home's interior layout to potential data breaches.
Expert Setup: PoE and Edge AI Inference
Experts reject Wi-Fi cameras entirely for critical monitoring, opting for Power over Ethernet (PoE) cameras like the Reolink RLC-810A. PoE guarantees a stable 100Mbps connection and continuous power, eliminating battery and signal drop issues.
The video feed is ingested into Frigate NVR, an open-source local network video recorder. To handle the processing load, experts plug a Google Coral USB Accelerator ($35) into the NVR server. This dedicated TPU (Tensor Processing Unit) runs YOLOv8 object detection locally at 30 frames per second. The system can distinguish between a cat, a dog, and a human with 99% accuracy, completely eliminating shadow-triggered false alerts. Because processing happens on the local LAN, latency drops to under 200 milliseconds.
Network Architecture: The Hidden Expert Advantage
The most critical difference between a beginner and an expert isn't the pet gadget itself; it's the network it lives on. Beginners connect their pet cameras and smart feeders to their primary 2.4GHz home Wi-Fi network alongside their laptops and smartphones.
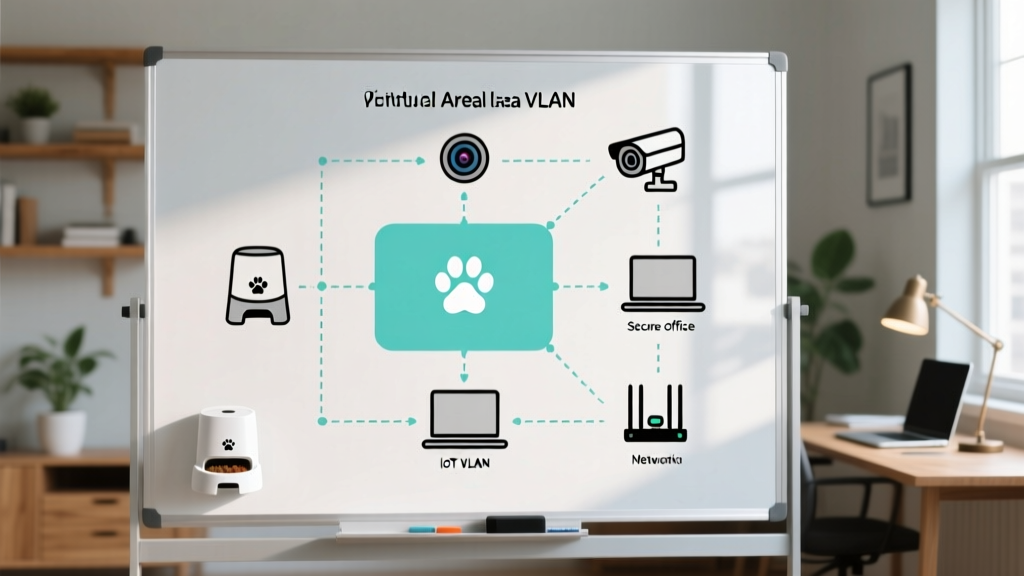
This is a severe security risk. As outlined by CISA's IoT Security Guidelines, consumer IoT devices frequently lack robust encryption and receive inconsistent firmware updates, making them prime targets for botnet hijacking. If a cheap pet camera is compromised, the attacker gains a bridgehead into your main network, potentially accessing your personal computers and NAS drives.
The Expert VLAN Strategy
Experts use a managed router (like a UniFi Dream Machine or pfSense box) to create a dedicated IoT VLAN (Virtual Local Area Network). The pet tech devices are isolated on this VLAN. Firewall rules are configured to allow the IoT VLAN to communicate only with specific local IP addresses (like the Home Assistant server) and to reach the internet for essential API calls, while explicitly blocking any lateral movement to the primary home network. This ensures that even if a smart feeder is compromised, the attacker remains trapped in the IoT sandbox.
The 2026 Upgrade Path: Transitioning from Novice to Pro
You do not need to replace all your hardware at once to achieve expert-level reliability. Follow this phased upgrade matrix:
- Phase 1 (Network Isolation): Access your router settings and create a dedicated 'IoT-Guest' network. Move all pet cameras and feeders to this network immediately. Cost: $0.
- Phase 2 (Local Brain): Install Home Assistant on a Raspberry Pi 5 or an old mini-PC. Begin routing your GPS tracker's API data locally to eliminate cloud polling delays. Cost: ~$80.
- Phase 3 (Hardware Swap): As your Wi-Fi cameras reach end-of-life, replace them with PoE alternatives and deploy a local NVR with a Coral TPU. Cost: ~$150 per camera + $60 for NVR hardware.
By shifting from cloud-reliant apps to localized, protocol-driven architectures, you transform your pet tech from a collection of novelty gadgets into a robust, life-safety monitoring system.
Written by
Lena ChenLena Chen earned her M.S. in Human-Computer Interaction from Carnegie Mellon University and a B.S. in Electrical Engineering from the University of Washington. She has spent the past decade specializing in smart home architecture and IoT ecosystems, helping over 200 homeowners design fully connected living spaces. Lena is a certified Matter protocol consultant and has published peer-reviewed research on voice-first interface design in the ACM Digital Library. Her reviews of smart home products combine deep technical analysis with real-world usability testing, evaluating everything from Zigbee mesh stability to Alexa skill responsiveness. She regularly speaks at CEDIA Expo and CES smart home panels.