DIY Setup Guide: Installing the Best Car Gadgets Safely
Learn how to safely wire, mount, and hide cables for the best car gadgets. Step-by-step dash cam, OBD2, and radar detector installation guide.
Why Proper Installation Matters for Automotive Tech
Upgrading your daily driver with the best car gadgets transforms a standard commute into a high-tech command center. But buying a premium $400 3-channel dash cam or a $600 radar detector is only half the battle. The true test of an automotive enthusiast is the installation. A sloppy install leads to rattling trim, parasitic battery drain, and in the worst-case scenario, damaged CAN bus wiring or blown ECU fuses.
As of 2026, modern vehicles feature increasingly complex electrical architectures, including 48V mild-hybrid systems and sensitive ADAS (Advanced Driver Assistance Systems) modules. Tapping into the wrong circuit can trigger a cascade of check-engine lights. This comprehensive setup guide will walk you through the exact tools, wiring techniques, and mounting strategies required to install top-tier car gadgets cleanly and safely.
Essential Tools for Your Car Gadget Toolkit
Before you start prying off A-pillar covers, you need the right equipment. Skip the flathead screwdriver; you will scratch your interior. Invest roughly $45 in these dedicated tools:
- Plastic Trim Removal Kit ($12-$18): Essential for popping off climate control surrounds and door sill plates without marring soft-touch plastics.
- Digital Multimeter ($20-$30): A basic AstroAI or Innova multimeter is mandatory for identifying constant vs. switched 12V power at the fuse box.
- Microfiber Cloth & Painter's Tape ($10): Use the tape to hold gadgets in place while testing sightlines, and the cloth to protect the dashboard from falling tools.
- Add-a-Circuit Fuse Taps ($15 for a multi-pack): Never wrap bare wire around a fuse leg. Use vehicle-specific taps (Low-Profile Mini, Micro2, or ATO).
Step-by-Step Dash Cam Hardwire Kit Installation
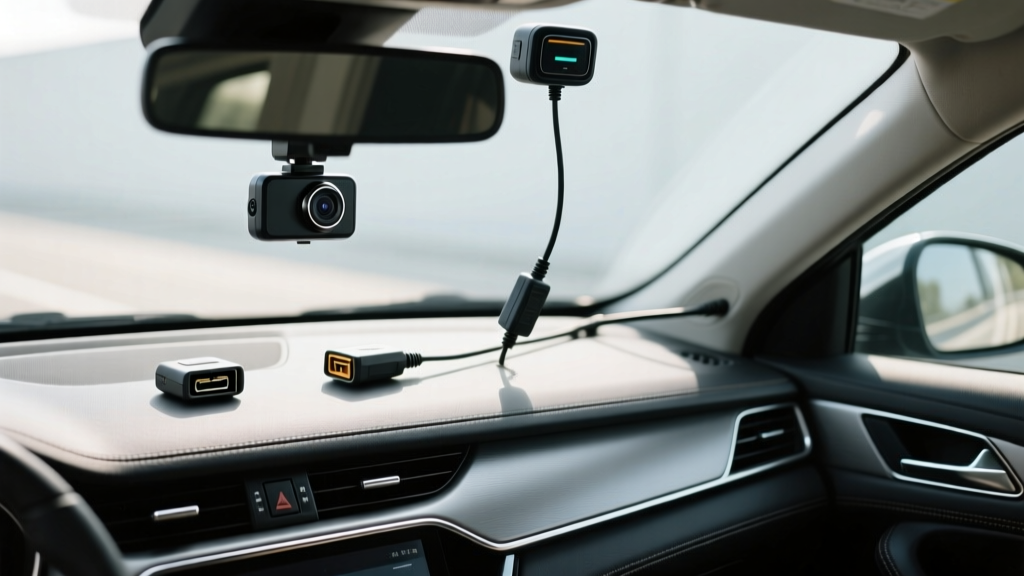
While plugging a dash cam into the 12V cigarette lighter socket is easy, it leaves a messy cable dangling across your dashboard and disables 'Parking Mode' surveillance. To unlock the full potential of top-tier units like the Vantrue N4 Pro or Garmin Dash Cam Mini 2, you must hardwire the device directly to the fuse panel.
1. Routing the Cable Cleanly
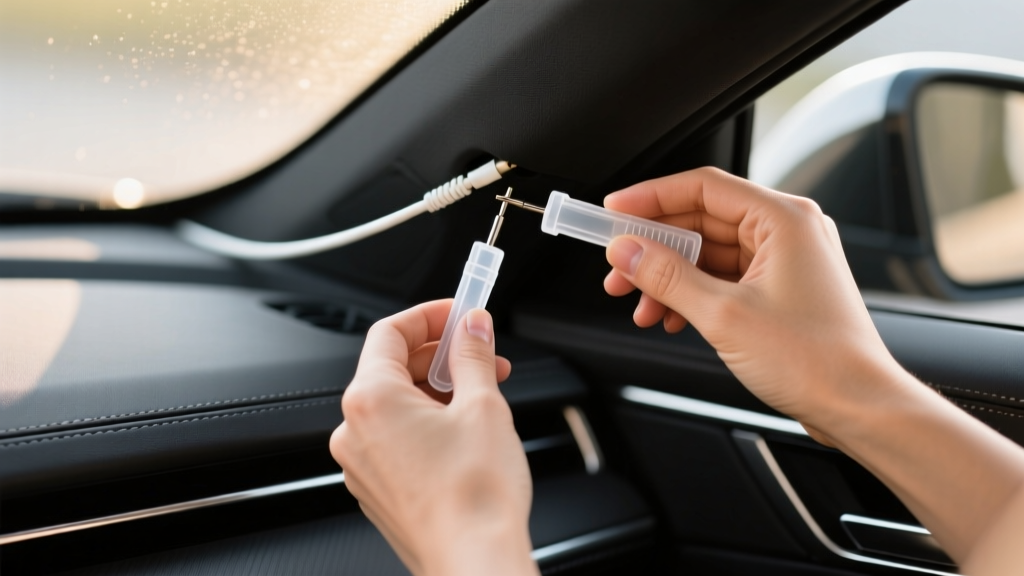
Start at the rearview mirror. Use your plastic trim tool to gently pull down the edge of the headliner. Tuck the power cable up and into the gap, sliding it horizontally toward the passenger side A-pillar. Pro Tip: Always route cables on the passenger side to avoid interfering with the driver's side curtain airbag deployment zone. When running the cable down the A-pillar, ensure it passes behind the airbag and is secured with zip ties to the factory wire loom.
2. Tapping the Fuse Box
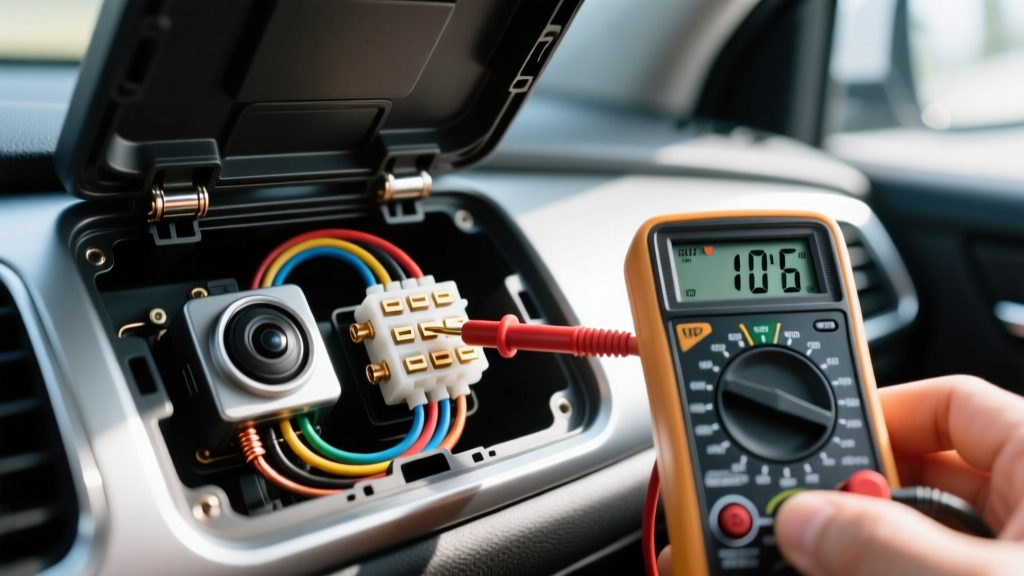
Locate your interior fuse panel (usually under the dashboard or behind a side kick-panel). You need to identify two specific circuits using your multimeter:
- Constant Power (BATT): Reads 12V-14V even when the car is off and locked. Powers the camera's parking mode.
- Switched Power (ACC): Reads 12V when the ignition is on, but drops to 0V when the car is turned off. Tells the camera when to start/stop recording.
According to Crutchfield's car electronics experts, ideal circuits to tap include the power windows, sunroof, or windshield wipers. Never tap into safety-critical fuses like ABS, airbags, or the ECU. Insert the Add-a-Circuit tap, ensuring the original factory fuse remains closest to the metal contacts, and the new tap fuse sits above it.
Mounting and Powering OBD2 Scanners
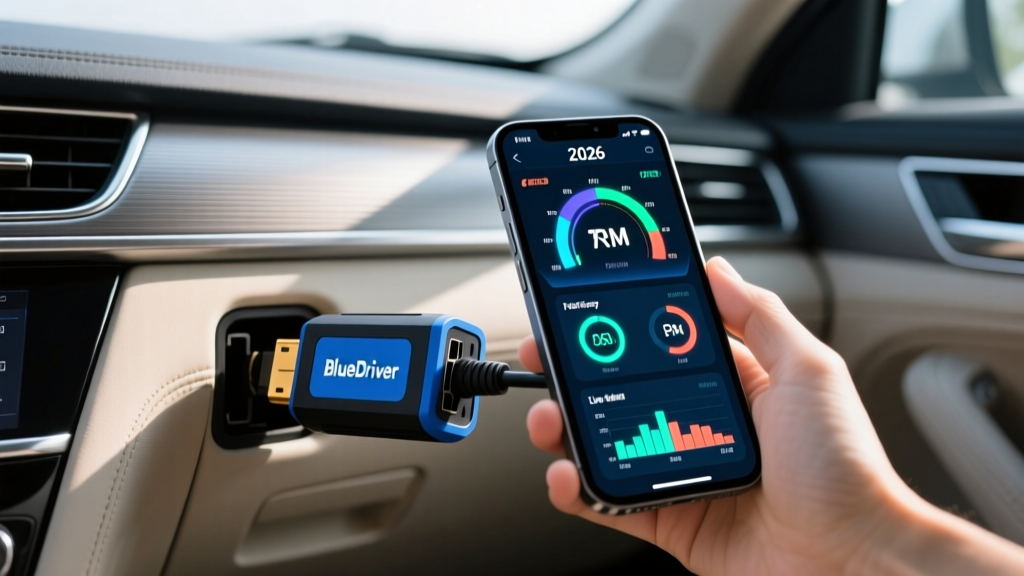
For permanent vehicle health monitoring, Bluetooth OBD2 scanners like the BlueDriver LSB1 or FIXD Gen 2 are indispensable. The OBD2 port is universally located within two feet of the steering column, usually tucked under the dash near the hood release latch.
If you are leaving the scanner plugged in permanently, cable management is critical. A dangling scanner can easily knock against your left knee or catch on your shoelaces. Use a short 6-inch OBD2 extension cable with a 90-degree right-angle connector. Route the extension cable up behind the lower dash trim, securing the Bluetooth dongle with heavy-duty double-sided automotive tape (like 3M VHB) to the underside of the steering column shroud. This keeps the device completely invisible while maintaining a strong Bluetooth signal to your phone mounted on the dash.
Radar Detector Placement & Wiring
The Escort Redline EX and Uniden R8 remain the gold standard for enthusiast drivers in 2026. Proper placement dictates your detection range. For optimal Ka-band radar and laser detection, mount the receiver as high as possible on the windshield, ideally just below the rearview mirror assembly.
However, you must adhere to local laws. In most US states, the device must be mounted below the AS-1 line (the tinted strip at the top of the windshield) or within the wiper sweep area. Use a specialized suction cup mount with a sticky gel pad for a rattle-free hold on textured glass. If hardwiring the detector to keep the cabin free of coiled cords, use a dedicated 'Mirror Tap' harness. This allows you to splice into the 12V power feed behind the auto-dimming rearview mirror, completely eliminating the need to run a wire down the A-pillar.
Power Draw & Battery Drain Prevention
The biggest risk when installing the best car gadgets is parasitic battery drain. Modern dash cams with 4K resolution and AI-processing chips draw significant current. You must configure your hardwire kit's low-voltage cutoff switch to match your vehicle's battery chemistry.
| Battery Type | Recommended Cutoff Voltage | Estimated Max Parking Mode Duration | Common Vehicle Applications |
|---|---|---|---|
| Standard Lead-Acid | 12.2V - 12.4V | 12 - 24 Hours | Most gas-powered cars pre-2020 |
| AGM / EFB (Start-Stop) | 12.0V - 12.2V | 24 - 48 Hours | Modern ICE vehicles with Auto Start-Stop |
| 12V Lithium-Ion | 13.0V (Consult Manual) | Varies heavily | 2024+ EVs and PHEVs (e.g., Tesla, Rivian) |
Note: As highlighted by Car and Driver's automotive tech reviews, failing to set the correct cutoff voltage on an AGM battery will result in a dead car and potential battery sulfation.
Common Wiring Mistakes to Avoid
The 'Scotch Lock' Sin: Never use T-taps or Scotch locks to splice into automotive wiring. They pierce the wire insulation, exposing copper to moisture and causing corrosion over time. Always use proper solder-and-heat-shrink methods or Add-a-Circuit fuse taps.
Another frequent error is ignoring the ground connection. A dash cam hardwire kit requires a solid chassis ground. Do not simply wrap the ground ring terminal around any random metal bolt. Find an unpainted, factory ground bolt connected directly to the vehicle's chassis. If you must use a painted bolt, sand away the paint to ensure bare metal contact, otherwise, your camera will experience random reboots and corrupted SD cards due to voltage fluctuations.
Frequently Asked Questions
Will hardwiring car gadgets void my dealership warranty?
Under the Magnuson-Moss Warranty Act in the US, a dealership cannot void your entire vehicle warranty simply because you installed an aftermarket accessory. However, if your improper wiring directly causes a short circuit that fries the BCM (Body Control Module), the dealer can deny the claim for that specific part. Using proper fuse taps and inline fuses protects you.
How do I format the SD card for a new dash cam?
Always format the microSD card inside the dash cam itself, not on your PC. High-endurance cards like the SanDisk High Endurance or Samsung PRO Endurance are mandatory. Standard cards will fail within weeks due to the constant read/write overwrite loops of 4K video recording.
Can I install these gadgets in a 2026 EV?
Yes, but EVs often use CAN bus wake-signal triggers rather than traditional 12V switched fuses. For EVs like the Tesla Model Y or Hyundai Ioniq 5, it is highly recommended to use a specialized EV OBD2 power cable or a dedicated dash cam battery pack (like the Cellink Neo) to avoid triggering the vehicle's 'Sentry Mode' or waking the main contactors, which causes massive battery drain.
Written by
Marcus WebbMarcus Webb served as a U.S. Army logistics officer for 8 years, where he managed field equipment procurement and tactical gear evaluation across three combat deployments. After honorable discharge, he earned a certification from the Professional Knife Makers Association and became a certified Wilderness First Responder (WFR). Marcus has tested over 500 EDC products in extreme environments — from -40°F in Alaska to 120°F in the Mojave Desert — using military-spec testing protocols. His reviews of multi-tools, tactical flashlights, and survival gear are known for their rigorous methodology: controlled drop tests from 6 feet, 120-minute water submersion at 2 meters, and lateral torque testing at 45 Nm. He is a member of the Blade Show judging panel and contributes to OutdoorGearLab.