Building Cool Science Gadgets: A Mini PC & SBC Setup Guide
Learn to build cool science gadgets using Mini PCs and SBCs. Step-by-step tutorials for environmental loggers and AI microscopy rigs.
The Democratization of Lab-Grade Instrumentation
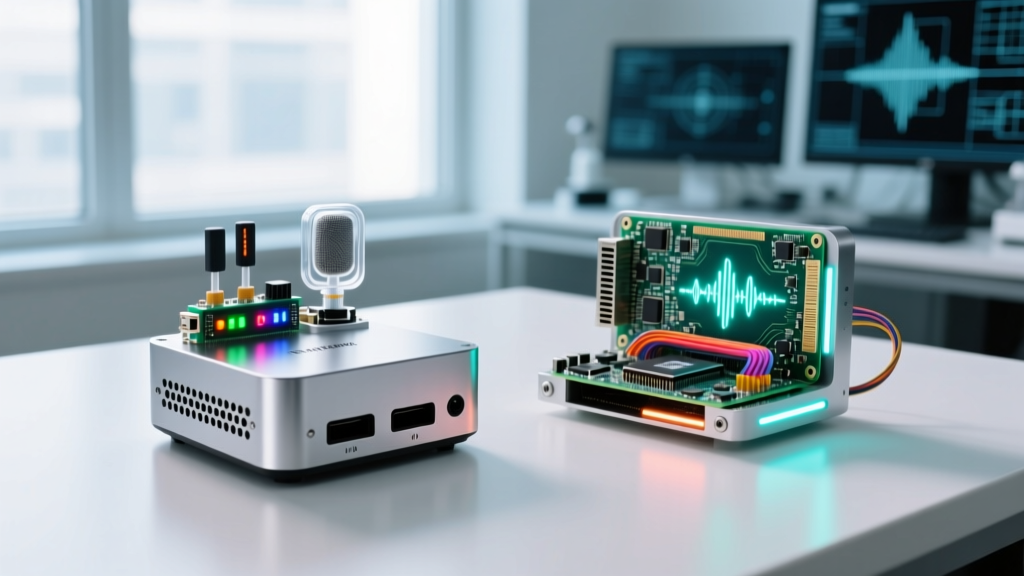
The barrier to entry for building sophisticated, lab-grade scientific instruments has collapsed. Single-board computers (SBCs) and Intel-based Mini PCs now offer enough compute density to run edge-AI models, process high-fidelity sensor telemetry, and automate microscopy rigs. Building cool science gadgets is no longer restricted to university labs with massive budgets; citizen scientists and hardware enthusiasts can deploy distributed environmental monitoring networks or automated biological imaging stations from their workbenches.
This guide bypasses basic blink-LED tutorials. We will architect two advanced science gadgets: an I2C-multiplexed environmental telemetry logger and an NPU-accelerated digital microscopy rig. We will cover exact hardware selection, logic-level pitfalls, and thermal management constraints specific to 2026's SBC landscape.
Hardware Selection Matrix: Matching Compute to the Experiment
Choosing the wrong compute module is the most common failure point in DIY science rigs. A microcontroller (like an ESP32) lacks the RAM for computer vision, while a desktop GPU draws too much power for field deployment. Use this matrix to select your core brain.
| Compute Module | Architecture & NPU | RAM / Storage | Best Scientific Application | Approx. Cost |
|---|---|---|---|---|
| Raspberry Pi 5 (8GB) | ARM Cortex-A76 / None (Add Hailo-8L) | 8GB LPDDR4X | Multi-sensor telemetry, I2C/SPI logging | $80 |
| Orange Pi 5 Plus | RK3588 / 6 TOPS NPU | 16GB LPDDR4 | Edge-AI particulate detection, fluid dynamics | $145 |
| Beelink S12 Pro (Mini PC) | Intel N100 / Intel UHD | 16GB DDR4 / 500GB NVMe | Heavy data ingestion, OpenCV microscopy | $160 |
Project 1: Automated Multi-Sensor Environmental Logger
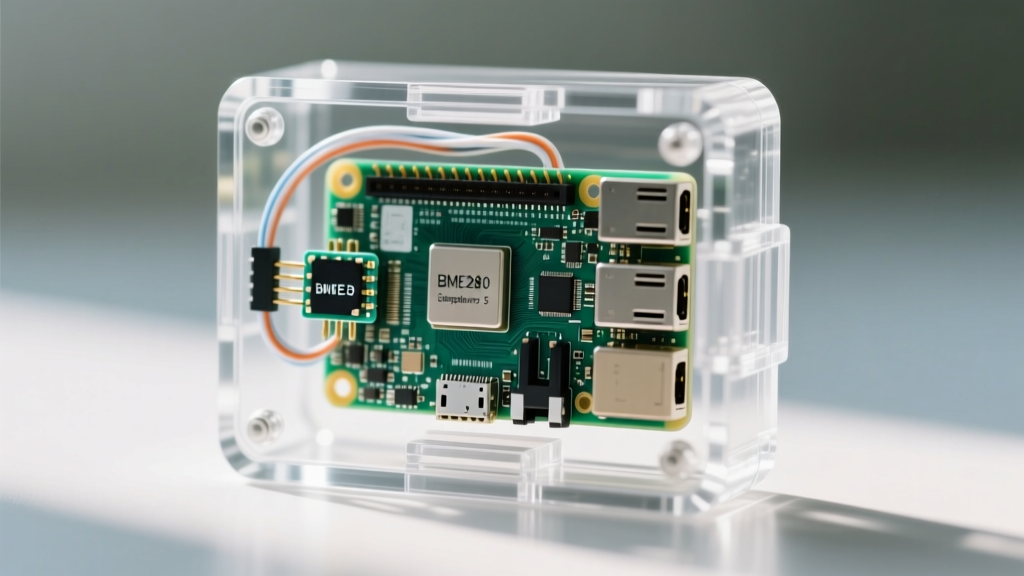
Environmental monitoring requires high-precision data logging over extended periods. We will build a multi-node atmospheric logger using the Raspberry Pi 5 and Bosch BME280 sensors to track barometric pressure, humidity, and temperature with ±1.0 hPa and ±3% RH accuracy.
Component Sourcing and Budget
- Compute: Raspberry Pi 5 (8GB) - $80
- Sensors: 3x Adafruit BME280 (I2C/SPI) - $15 each
- Multiplexer: TCA9548A I2C Multiplexer (to resolve address collisions) - $8
- Power: 27W USB-C PD Power Supply - $12
Step-by-Step I2C Wiring and Logic Level Shifting
The Raspberry Pi 5 operates at 3.3V logic on its GPIO header. While the BME280 is natively 3.3V, integrating legacy 5V sensors (like certain Geiger-Müller tubes or older anemometers) will fry the Pi's SoC. Always use a BSS138 bidirectional logic level shifter when mixing voltage domains.
- Enable I2C Interface: Boot into Raspberry Pi OS, open terminal, and run
sudo raspi-config. Navigate to Interface Options > I2C > Enable. - Wire the Multiplexer: Connect the TCA9548A VCC to Pin 1 (3.3V), GND to Pin 6, SDA to Pin 3 (GPIO 2), and SCL to Pin 5 (GPIO 3).
- Attach Sensors: Wire up to eight BME280 sensors to the multiplexer's downstream channels (SD0-SD7). This bypasses the default I2C address collision (0x76/0x77) limitation.
- Verify Addresses: Run
i2cdetect -y 1. You should see the multiplexer at0x70.
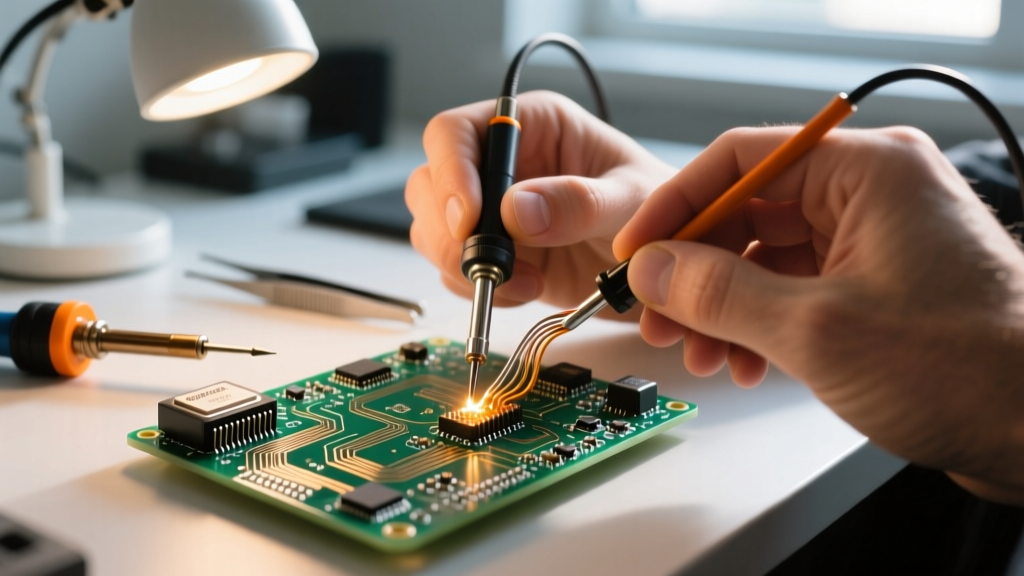
The Raspberry Pi's internal pull-up resistors are roughly 50kΩ, which is too weak for long wire runs in field deployments. If your I2C bus wires exceed 30cm, solder 4.7kΩ external pull-up resistors between the SDA/SCL lines and 3.3V to prevent signal degradation and phantom readings.
Data Ingestion and Edge Processing
Instead of relying on cloud APIs, we use a local InfluxDB instance to store time-series data. Install InfluxDB via the official InfluxData documentation. Write a Python script utilizing the smbus2 library to poll the TCA9548A channels sequentially, pushing the BME280 payloads to a local Grafana dashboard. This ensures your cool science gadgets retain functionality even during internet outages in remote field locations.
Project 2: AI-Powered Digital Microscopy Rig
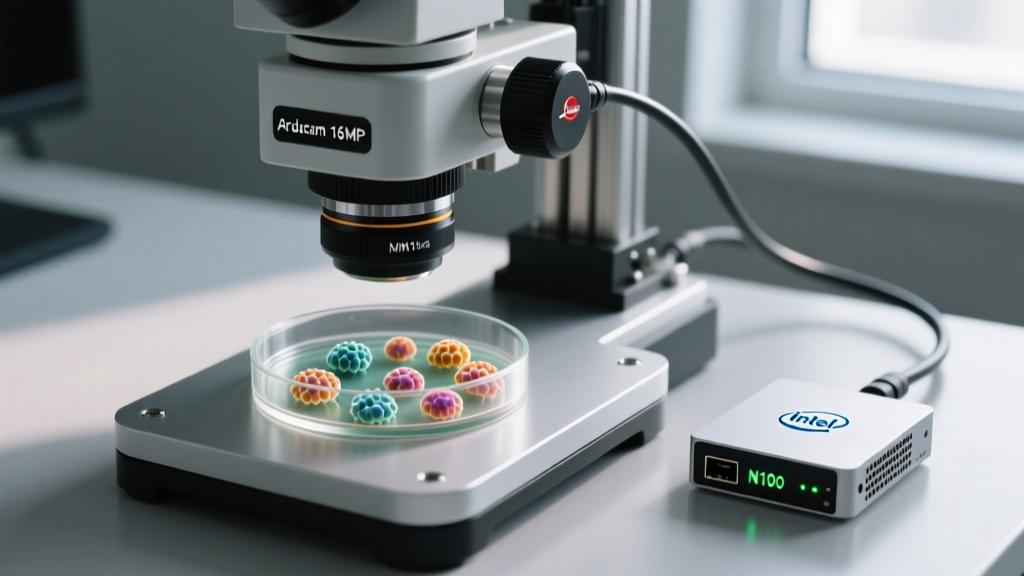
Automated cell counting and particulate matter analysis traditionally require $10,000+ commercial flow cytometers. By pairing an Intel N100 Mini PC with a high-framerate USB microscopy camera, we can build an edge-computing biology rig capable of real-time inference.
Optical and Compute Assembly
For the optics, use an Arducam 16MP IMX298 USB camera module with a C-mount 5x objective lens. The Intel N100 Mini PC (like the Beelink S12 Pro) is chosen here over ARM SBCs because x86 architecture provides native, zero-friction compatibility with pre-compiled OpenCV and PyTorch binaries, eliminating the dependency hell often encountered when compiling computer vision libraries on ARM64.
Software Stack and OpenCV Configuration
- OS Installation: Flash Ubuntu 24.04 LTS to a 1TB NVMe SSD. The N100's PCIe Gen 3 lane handles the high-throughput video stream without bottlenecking.
- Environment Setup: Create a Conda environment and install
opencv-python-headlessandultralytics(for YOLOv8 inference). - Camera Calibration: Use a standard 1mm stage micrometer slide. Capture 20 frames and run an OpenCV corner-detection script to calculate the pixels-per-micron ratio, saving the matrix to an XML file for runtime distortion correction.
Under sustained YOLOv8 inference, the Intel N100 will hit 95°C and throttle its base clock from 3.4GHz down to 1.8GHz. Disassemble the Mini PC chassis and apply Honeywell PTM7950 phase-change material to the CPU die instead of standard thermal paste. This drops load temperatures by 8-12°C, maintaining peak inference framerates.
Troubleshooting Common SBC Science Rig Failures
When deploying citizen science projects in uncontrolled environments, hardware behaves differently than on a climate-controlled desk. Use this decision tree to diagnose common field failures.
- Symptom: Raspberry Pi 5 randomly reboots during sensor polling.
Cause: Peripheral brownout. The Pi 5 requires a strict 27W (5V/5A) USB-C PD profile. If you use a standard 15W phone charger, the voltage drops below 4.65V when the I2C bus and Wi-Fi radio activate simultaneously.
Fix: Use only the official 27W PD supply or a high-quality buck converter rated for 6A continuous draw. - Symptom: BME280 returns static, unchanging values.
Cause: I2C bus lockup due to electromagnetic interference (EMI) from nearby ham radio transmitters or high-voltage relays.
Fix: Wrap I2C cables in copper foil tape tied to a common ground, and implement a software watchdog in your Python script to reset the I2C bus viaioctlif polling hangs for >5 seconds. - Symptom: Microscopy rig drops frames during video capture.
Cause: USB bandwidth saturation. The IMX298 outputs uncompressed 16MP frames, exceeding USB 3.0's practical 4Gbps throughput.
Fix: Configure the camera to output MJPEG compressed streams via V4L2, or drop the resolution to a 2x2 binned 4MP crop centered on the petri dish.
Power Delivery and Field Deployment Best Practices
Deploying cool science gadgets in forests, greenhouses, or aquatic environments requires robust power architecture. Standard Li-Ion (18650) batteries suffer from voltage sag and thermal runaway risks in high-heat enclosures. For environmental loggers, transition to LiFePO4 (Lithium Iron Phosphate) battery packs.
A 4S LiFePO4 pack provides a nominal 12.8V with a remarkably flat discharge curve, ensuring your buck converters receive stable input voltage until the battery is nearly depleted. Pair this with a solar charge controller featuring an MPPT (Maximum Power Point Tracking) algorithm to harvest energy from 50W monocrystalline panels even during partial shading from tree canopies. By combining ruggedized power delivery with edge-compute SBCs, your scientific instruments will outlast commercial off-the-shelf alternatives that rely on proprietary, cloud-tethered architectures.
Written by
Emma LarssonEmma Larsson holds an M.A. in International Relations from Sciences Po Paris and a B.A. in Communications from Stockholm University. A digital nomad since 2017, she has worked from over 45 countries across six continents, building deep expertise in portable power solutions, travel routers, compact computing, and connectivity gadgets that survive international travel. Emma is a certified member of the Travel Technology Association and has advised three travel gear startups on product-market fit for remote workers. Her reviews evaluate products against real travel scenarios — TSA compliance, voltage compatibility across 200+ countries, durability through 50+ checked bag cycles, and battery life under airplane mode vs. active use. She has been featured in Condé Nast Traveler's "Tech-Savvy Traveler" series and speaks at Remote Work Summit events.