Unique KitchenAid Kitchen Gadgets for Authentic Pasta Making
Discover the best KitchenAid kitchen gadgets for Italian cooking. We review pasta rollers, extruders, and specialty attachments for perfect homemade dough.
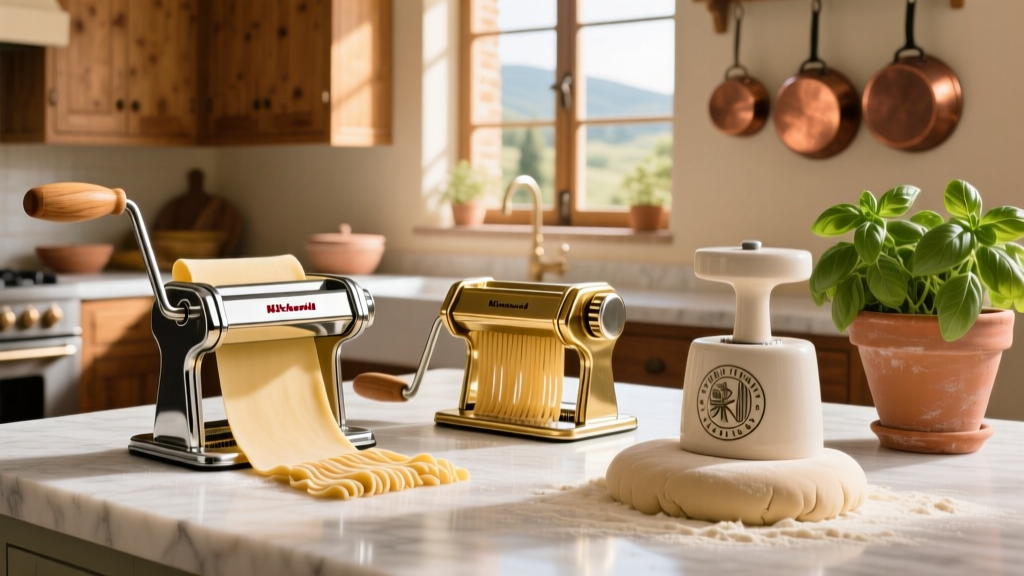
The Renaissance of Homemade Pasta: Why Your Stand Mixer is the Secret Weapon
In 2026, the artisanal pasta movement has fully migrated from boutique restaurants to home kitchens. While hand-rolling dough with a wooden pin has its romantic appeal, achieving consistent, restaurant-quality textures requires mechanical precision. When exploring the vast ecosystem of KitchenAid kitchen gadgets, few categories offer as much culinary reward as Italian specialty attachments. By leveraging the high-torque motor of a standard KitchenAid stand mixer, home cooks can replicate the exact shear forces and extrusion pressures used by commercial pasta factories.
However, buying the wrong attachment for your preferred pasta style is a common and expensive mistake. The physics of sheeted egg pasta are entirely different from those of extruded semolina pasta. This guide breaks down the exact models, hydration science, and real-world troubleshooting needed to master Italian pasta making at home.
Roller vs. Extruder: Choosing the Right Attachment
The most critical decision you will make is choosing between a roller (for flat sheets and ribbons) and an extruder (for tubular and twisted shapes). They require fundamentally different dough chemistries.
| Feature | KitchenAid 3-Piece Roller Set (KSMPSA) | KitchenAid Gourmet Pasta Press (KSMPEX) |
|---|---|---|
| Current Price Range | $199.99 - $219.99 | $229.99 - $249.99 |
| Ideal Pasta Shapes | Fettuccine, Linguine, Lasagna, Pappardelle | Rigatoni, Bucatini, Fusilli, Macaroni |
| Dough Hydration | 45% - 50% (Dry, crumbly before resting) | 55% - 60% (Sandy, holds together when squeezed) |
| Primary Flour | 00 Flour or All-Purpose + Eggs | Semolina Rimacinata + Water |
| Mixer Speed Setting | Speed 4 (Rolling), Speed 2 (Cutting) | Speed 2 (Strictly enforced to prevent motor burnout) |
| Learning Curve | Moderate (Requires manual feeding and catching) | High (Requires precise moisture calibration) |
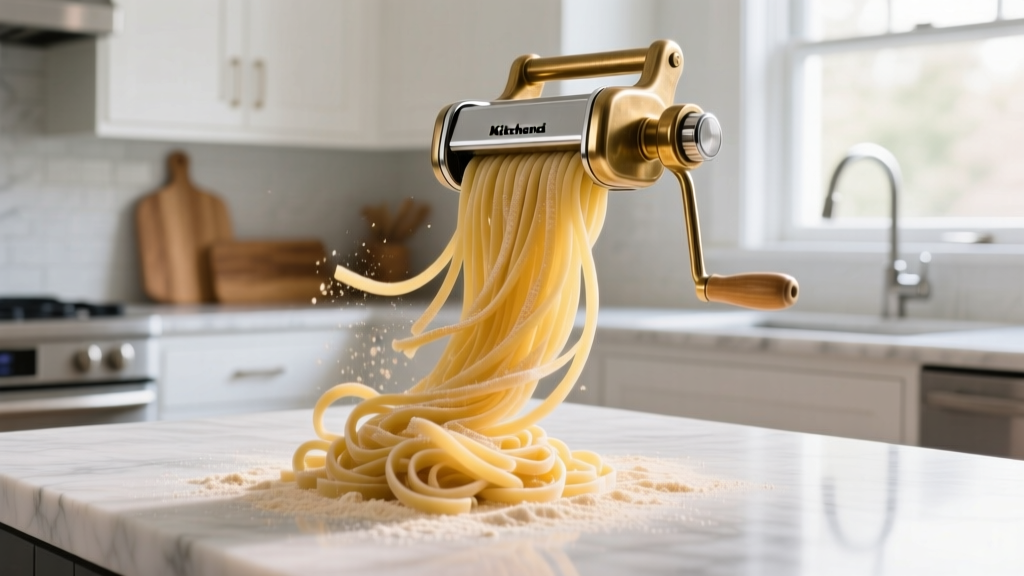
Deep Dive: Mastering the Gourmet Pasta Press (KSMPEX)
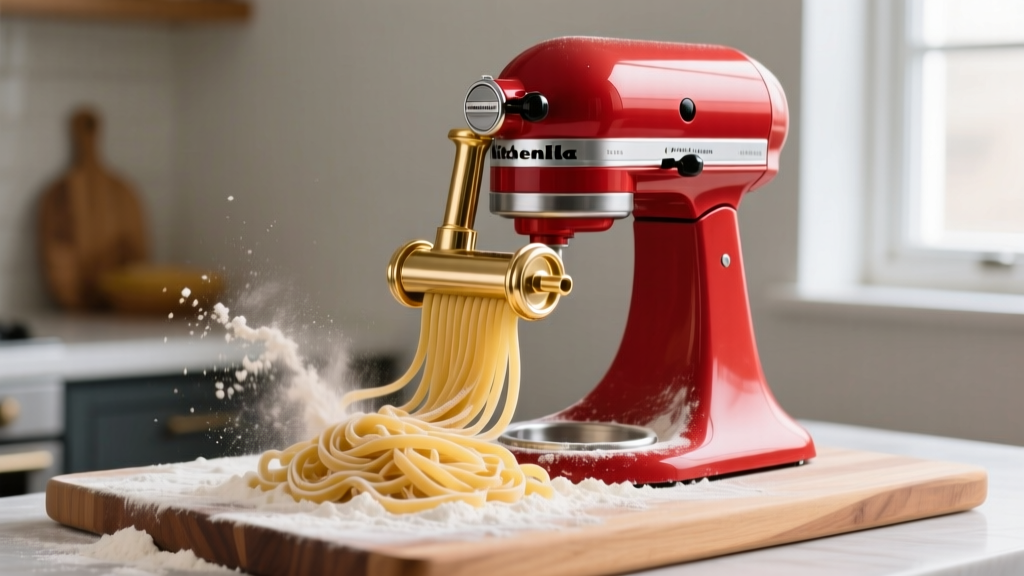
The KitchenAid KSMPEX Extruder is a marvel of countertop engineering. It utilizes a stainless steel auger to push dough through a built-in wire cutter and interchangeable brass or chrome dies. The brass dies are preferable; their micro-roughness creates a porous surface on the pasta that allows sauces to cling aggressively, a hallmark of authentic Southern Italian cooking.
Real-World Failure Modes and Troubleshooting
Extrusion is unforgiving. If your dough chemistry is off by even 5%, the machine will fail. Here is how to diagnose the three most common KSMPEX issues:
- The Dough is Crumbling and Won't Form Shapes: Your hydration is too low. The auger cannot generate enough friction to bind the semolina. Add exactly 1 teaspoon of water at a time while the mixer runs on Speed 2 until the mixture resembles coarse wet sand that holds its shape when squeezed tightly in your palm.
- The Pasta is Sticking to the Die and Tearing: Your dough is too wet, or you are using eggs in a brass die. Eggs contain fat and proteins that coagulate and glue themselves to the metal. Switch to a 100% water-and-semolina recipe. If it's still sticking, dust the emerging pasta immediately with fine semolina flour.
- The Extrusion is Curling or Exiting Unevenly: The dough is not evenly distributed in the hopper, or the die is partially clogged with dried dough from a previous session. Always use the included cleaning brush to scrub the die threads immediately after use.
Calibrating Sheet Pasta with the KSMPSA Roller
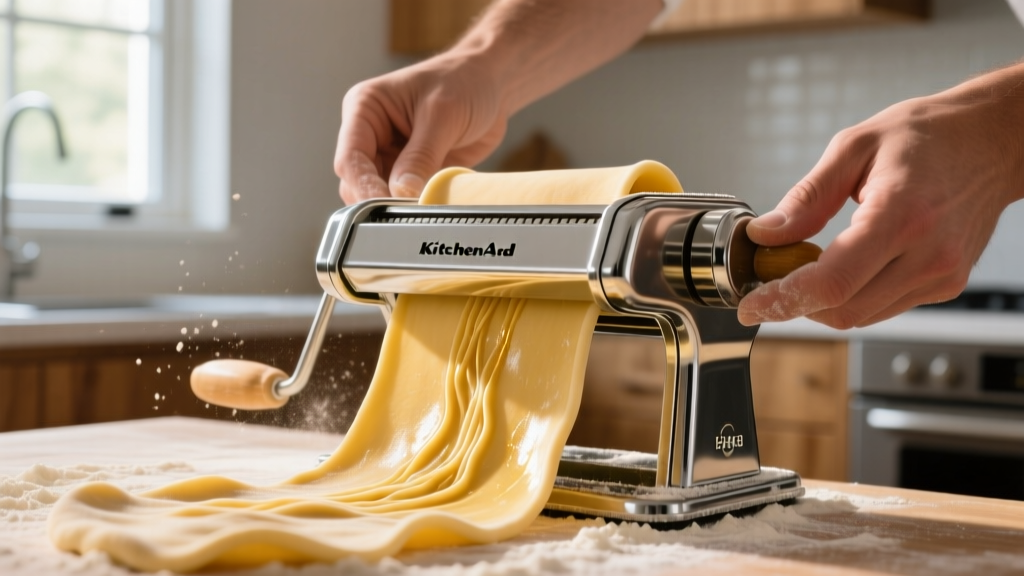
Sheeted pasta is all about gluten development and thickness calibration. The KSMPSA set includes a roller and two cutters (spaghetti and fettuccine). The roller features 8 thickness settings, but the numbers can be deceptive depending on your specific mixer model's mounting bracket.
- The Initial Lamination (Settings 1 to 3): Start with your dough at the thickest setting (1). Feed it through, fold it in thirds like a letter, and run it through again. Repeat this 4 times. This aligns the gluten strands, creating a silky, tear-resistant sheet.
- The Progressive Thinning (Settings 4 to 6): Move to setting 4. Do not fold the dough anymore. Pass it through settings 4, 5, and 6 sequentially. For ravioli, stop at 5. For delicate tagliolini, proceed to 6 or 7.
- The Windowpane Test: Hold the sheet up to the light. You should be able to see the shadow of your hand through the dough without it tearing. If it tears, the gluten is too tight; wrap the dough in plastic and let it rest at room temperature for 20 minutes before continuing.
Expert Insight: Never wash your KSMPSA roller or cutters with water. The internal steel pins and gears are not fully sealed. Water ingress will cause rust that ruins the dough. Use a stiff, dry brush and a wooden skewer to dislodge dried dough fragments, as recommended in KitchenAid's official attachment maintenance guidelines.
Beyond the Basics: Niche Italian Gadgets for the Mixer
Once you have mastered the basics, the KitchenAid ecosystem offers highly specialized tools for advanced Italian cooking techniques.
The Ravioli Maker (KSMRAV)
Priced around $49.99, the KSMRAV attachment produces continuous sheets of stuffed pasta. Crucial tip: The filling must be completely cold and highly viscous. If your ricotta or meat filling is warm or too loose, it will smear inside the hopper, causing the ravioli seals to burst during boiling. Chill your filling in the freezer for 15 minutes before loading the hopper.
The Spiralizer Plus (KSM1APC)
While not strictly traditional Italian, the KSM1APC is invaluable for modern, low-carb adaptations of Italian dishes. Using the medium ribbon blade, you can create uniform zucchini or butternut squash ribbons that perfectly mimic pappardelle. Because the mixer provides consistent torque, the vegetable noodles are far more uniform than those produced by handheld manual spiralizers.
Food Safety and Drying Extruded Pasta
If you plan to dry your extruded semolina pasta for long-term storage rather than cooking it immediately, you must manage moisture carefully. Because extruded pasta is thicker and denser than rolled pasta, the center can remain damp while the outside dries, creating an environment for bacterial growth. As noted in the FDA guidelines on safe handling of raw flour, raw flour can harbor pathogens like E. coli. To safely dry pasta at home, arrange it in single layers on mesh racks in a room with active air circulation and low humidity (below 50%). Drying typically takes 24 to 48 hours. The pasta is ready when it snaps cleanly in half with a sharp audible crack, rather than bending.
Frequently Asked Questions
Can I use gluten-free flour in the KitchenAid pasta extruder?
Yes, but you must use a gluten-free flour blend specifically formulated for pasta that includes xanthan gum or psyllium husk. Without these binders, the auger will simply push dry powder through the die. You will also need to increase the hydration by roughly 10% to compensate for the lack of gluten structure.
Will the pasta attachments fit older KitchenAid mixers?
All KitchenAid front-hub attachments, including the KSMPSA and KSMPEX, are universally compatible with every KitchenAid stand mixer model manufactured since 1919, from the Classic to the 8-quart Pro Line. The power hub geometry has never changed.
Written by
Tom ReynoldsTom Reynolds holds a CFA (Chartered Financial Analyst) designation and a B.S. in Finance from the University of Texas at Austin. Before entering tech journalism, he spent 6 years as a quantitative analyst at a hedge fund, building cost-benefit models for consumer product investments. Tom has maintained a proprietary database of over 10,000 tech deals for the past 8 years, developing his signature "penny-per-feature" evaluation framework that calculates the true value proposition of every gadget. His budget gadget reviews are known for their financial rigor — he tracks price history across 15+ retailers, calculates cost-per-use over 3-year lifespans, and identifies the exact inflection point where premium features justify their markup. Tom's deal alerts have saved his readers an estimated .3 million since 2018.