Mastering Top Cooking Gadgets: Wireless Thermometer Setup
Learn how to set up and calibrate top cooking gadgets like the MEATER Block and Traeger Ironwood for flawless reverse-sear BBQ.
Why Precision Calibration Matters in Modern BBQ
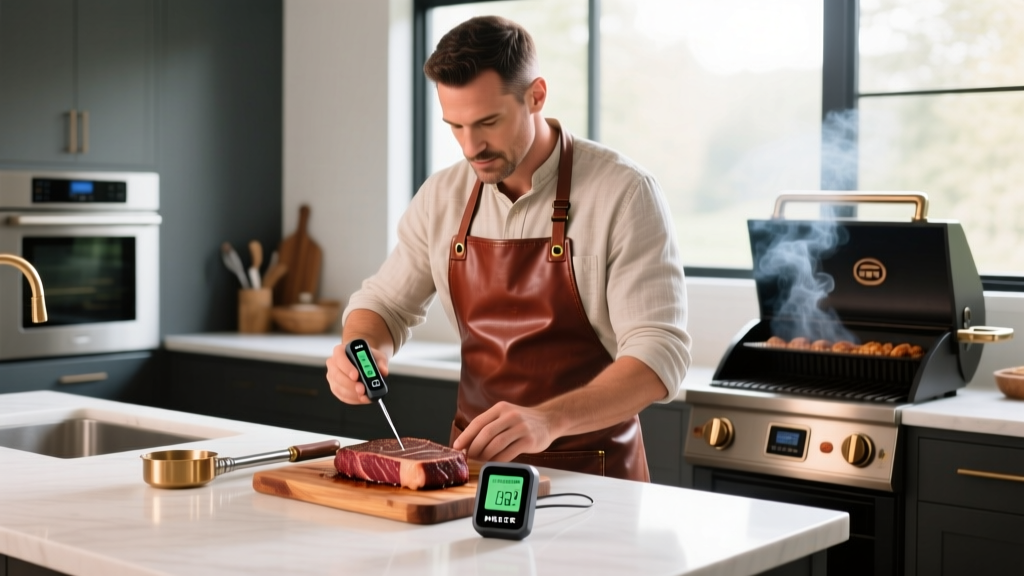
When you invest in the top cooking gadgets on the market, you are paying for precision, connectivity, and repeatability. However, out-of-the-box sensor accuracy can drift during shipping, and failing to calibrate your wireless meat thermometers before a 14-hour brisket smoke is a recipe for disaster. In this 2026 setup guide, we are going to walk through the exact unboxing, network configuration, and thermal calibration protocols for the MEATER Block (currently retailing around $399) paired with a smart pellet grill like the Traeger Ironwood XL ($1,799). Whether you are running a competition cook or just hosting a weekend backyard session, mastering the digital handshake between your probes and your smoker is the difference between dry meat and perfect bark.
Network Prep: Bridging Bluetooth and Wi-Fi
One of the most common failure points when setting up smart cooking gear is network incompatibility. The MEATER Block utilizes a dual-antenna system: Bluetooth for direct line-of-sight (up to 165 feet) and Wi-Fi for cloud bridging. Before you even charge your probes, you need to prepare your network.
- Isolate a 2.4GHz IoT Network: Most smart home and kitchen gadgets, including the MEATER Block and Traeger's WiFIRE controller, strictly require a 2.4GHz Wi-Fi signal. Do not attempt to connect them to a 5GHz mesh network. Create a dedicated 2.4GHz SSID on your router specifically for your outdoor cooking gear.
- Disable AP Isolation: Ensure your router's 'AP Isolation' or 'Guest Network' restrictions are turned off. Your smartphone needs to be able to discover the thermometer hub via local network broadcasting during the initial handshake.
- Firmware First: Once connected, immediately run the firmware update. As of early 2026, MEATER's latest firmware patch significantly improves ambient temperature spike filtering when opening the smoker lid.
The Ice Bath Calibration Protocol
According to the testing labs at AmazingRibs, even high-end thermocouples can exhibit a variance of up to 2°F right out of the box. In the world of reverse-searing and edge-to-edge medium-rare steaks, a 2°F error can push your meat past the desired doneness. Here is how to perform a proper ice bath calibration to verify your sensor baseline.
- Prepare the Bath: Fill a tall insulated tumbler with crushed ice, then add cold distilled water until the glass is full. Stir vigorously for 30 seconds and let it sit for two minutes to reach a stable thermal equilibrium.
- Submerge the Probe: Insert the MEATER probe into the ice water. Ensure the water level covers the dual-sensor line etched into the stainless steel shaft, but do not let the tip touch the bottom or sides of the glass.
- Read the Data: Open the app and monitor the internal temperature reading. It should stabilize at exactly 32°F (0°C) within 60 seconds.
- Apply the Offset: If your probe reads 34°F, you have a +2°F positive drift. Use the app's 'Calibration Offset' feature in the settings menu to apply a -2°F correction. Repeat this for all four probes.
Pro Tip: Never calibrate your probes in boiling water. The boiling point of water changes based on your exact altitude and current barometric pressure, making it an unreliable baseline for consumer gadget calibration. Stick to the ice bath.
Configuring the Smart Smoker for a Reverse Sear
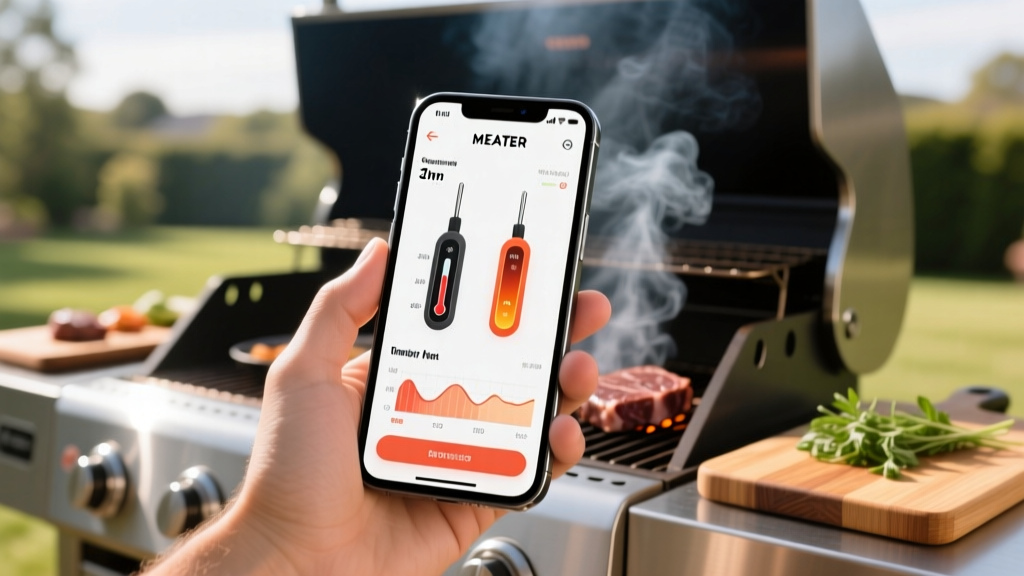
With your top cooking gadgets calibrated and networked, it is time to configure the smoker. The reverse sear method relies on low-and-slow indirect heat followed by a blistering high-heat finish. If you are using a Traeger Ironwood with WiFIRE, you can automate this transition.
Phase 1: The Smoke (225°F)
Set your Traeger to 225°F and engage 'Super Smoke' mode. This mode uses a specialized auger cycle to starve the fire of oxygen momentarily, creating thin, blue smoke that penetrates the meat without leaving a bitter creosote taste. Set your MEATER app's target internal alarm to 115°F for a thick-cut ribeye, or 165°F (the stall point) for a packer brisket.
Phase 2: The Sear (500°F+)
Once the internal alarm triggers, pull the meat and tent it loosely with foil. Crank the Traeger to its maximum setting (500°F) or move to a dedicated 60,000 BTU propane sear station like the Primo Grill sear module. You only need 45 to 60 seconds per side to develop the Maillard reaction crust without overcooking the interior.
Data Matrix: Optimal Probe Placement by Cut
Sensor placement is just as critical as sensor accuracy. The ambient sensor on the tip of the probe must be exposed to the grill's air, while the internal sensor must sit in the geometric center of the thickest part of the protein. Below is a decision matrix for common BBQ cuts.
| Cut of Meat | Target Insertion Angle | Depth Guideline | Edge Case Warning |
|---|---|---|---|
| Packer Brisket | Horizontal, parallel to grain | Dead center of the flat | Avoid the fat pocket between the point and flat; it will yield false high readings. |
| Bone-In Pork Shoulder | 45-degree downward angle | Thickest part, away from bone | Bone conducts heat faster than muscle. Hitting the bone will trick the app into ending the cook early. |
| Thick Ribeye (2-inch) | Horizontal through the side | Exact geometric center | Do not insert from the top down; the ambient sensor will sit too close to the surface heat. |
Understanding Thermal Carryover and Pull Temps
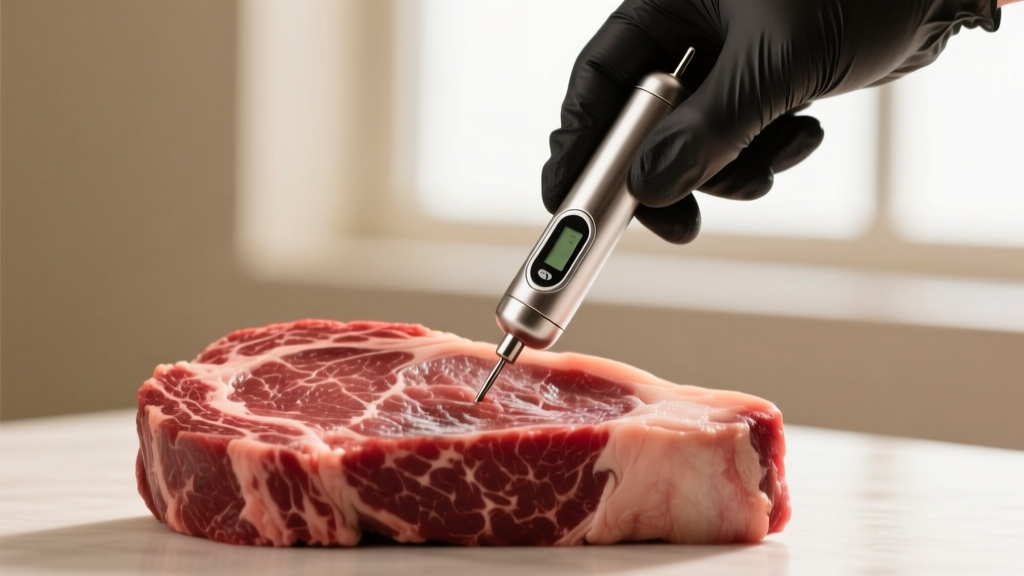
A major advantage of integrating high-end smart thermometers is the predictive carryover algorithm. As detailed in the Serious Eats guide to reverse searing, meat continues to cook after it is removed from the heat source due to residual thermal energy transferring from the exterior to the cooler center. The MEATER app calculates this delta in real-time. If your target is 135°F (Medium-Rare), the app will alert you to pull the steak at 128°F. Trust the algorithm, but only if you have properly calibrated your probes and allowed the meat to rest at room temperature for 30 minutes prior to cooking.
Troubleshooting Signal Loss in Ceramic Kamados
If you are running your wireless probes inside a thick-walled ceramic kamado like a Big Green Egg or Kamado Joe, you will inevitably face signal degradation. The dense ceramic and cast-iron dampers act as a Faraday cage, blocking Bluetooth and Wi-Fi signals. To solve this, always use the Wi-Fi cloud bridge rather than relying on direct Bluetooth. Ensure the MEATER Block hub is placed within 10 feet of the smoker, unobstructed by metal siding or brick walls. For extreme setups, consider running a dedicated outdoor Wi-Fi extender mounted under the eaves of your patio to guarantee uninterrupted data logging during overnight cooks. For more hardware troubleshooting, the MEATER Official Support database offers excellent diagnostic tools for checking antenna health.
By taking the time to properly configure your network, calibrate your sensors in an ice bath, and understand the thermal dynamics of your specific cuts, you transform your expensive gear from simple novelties into precision instruments. Master these setup protocols, and your BBQ game will be unmatched in 2026 and beyond.
Written by
Priya SharmaPriya Sharma holds a Ph.D. in Acoustical Engineering from the University of Southampton and a B.Tech in Electronics from IIT Delhi. She has spent 9 years as a consumer electronics journalist, with deep specialization in audio equipment, camera systems, and assistive technology. Priya is an active member of the Audio Engineering Society (AES) and has co-authored papers on spatial audio perception published in the Journal of the Acoustical Society of America. Her reviews of headphones, portable DACs, and studio monitors include objective measurements using Audio Precision analyzers alongside subjective listening tests. She also serves on the advisory board of the Global Accessibility Reporting Initiative (GARI), evaluating mobile devices for users with visual and hearing impairments.