Setting Up Green Kitchen Gadgets: Eco-Friendly Can & Jar Openers
Learn how to install, calibrate, and maintain eco-friendly can and jar openers. Discover setup steps for green kitchen gadgets that reduce waste.
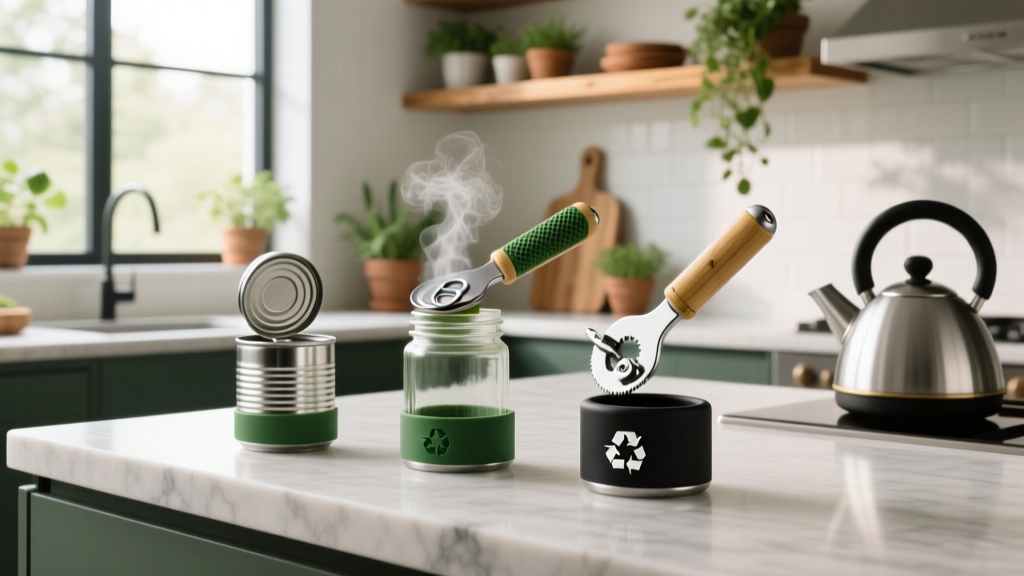
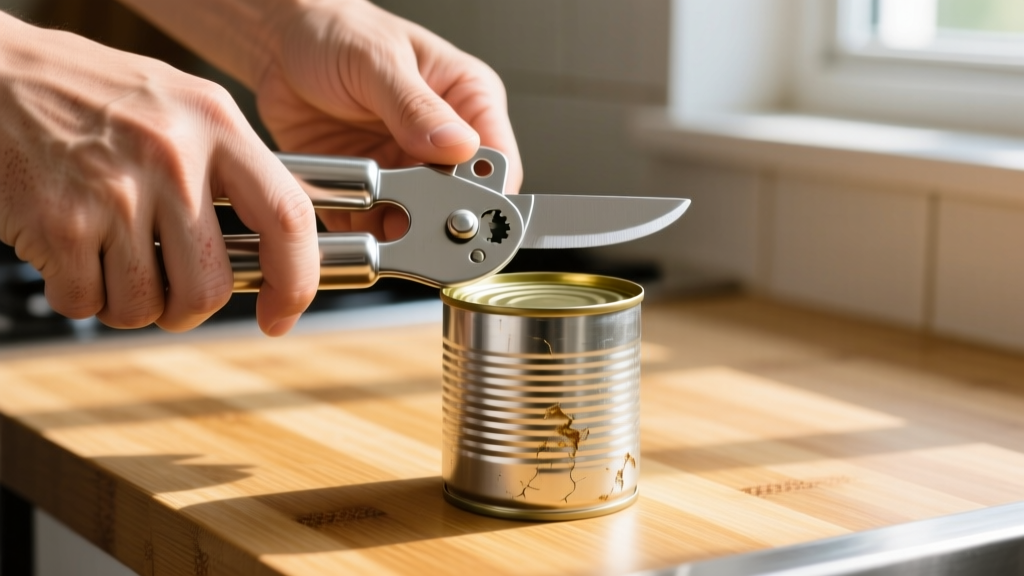
The Anatomy of an Eco-Friendly Can and Jar Opener
When evaluating green kitchen gadgets, the focus often drifts to bamboo utensils or compost bins. However, the most impactful sustainable upgrades are mechanical tools that eliminate electrical dependency and reduce food packaging waste. Manual can and jar openers represent the pinnacle of zero-waste kitchen engineering. By relying on human kinetic energy rather than lithium-ion batteries and grid electricity, these tools bypass the e-waste lifecycle entirely.
According to the U.S. Department of Energy, small kitchen appliances contribute significantly to household phantom load energy drain. An electric can opener draws power even when idle. In contrast, a high-quality manual opener like the Swing-A-Way 407BK or the Kuhn Rikon Auto Safety Master requires zero electricity, features fully recyclable 420-grade stainless steel components, and boasts a functional lifespan exceeding 20 years. This prevents at least four to five electric openers from entering landfills over the same period.
Step-by-Step: Mounting Under-Cabinet Jar Openers
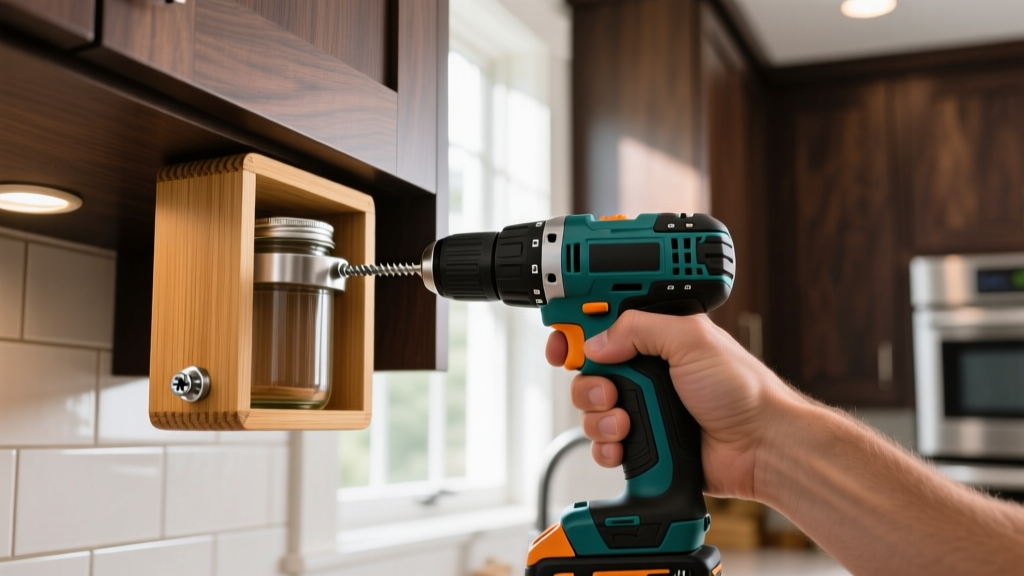
Under-cabinet jar openers, such as the EZ Off Bamboo Jar Opener, are excellent green kitchen gadgets because they utilize a V-grip mechanical advantage, requiring no batteries and minimal physical strain. Proper installation is critical to ensure the leverage physics work correctly without tearing out of your cabinetry.
Required Tools and Materials
- Under-cabinet jar opener with a solid wood or recycled HDPE plastic base
- Power drill with a 3/32-inch pilot bit
- Two #8 x 1.5-inch wood screws (do not use drywall screws; they lack shear strength)
- Stud finder or magnetic toggle bolts (if mounting into hollow drywall soffits)
- Pencil and measuring tape
Installation Procedure
- Locate the Mounting Zone: Identify a section of your upper cabinetry that is at least 18 inches above your primary prep counter. Ensure there is a 1.5-inch clearance from the back wall to allow your knuckles to rotate freely when twisting large jars.
- Find the Structural Support: Use a stud finder to locate the wooden framing behind the cabinet bottom. If your cabinet bottom is made of 1/2-inch plywood or particleboard, you can mount directly into it, provided you use the 1.5-inch wood screws to penetrate deeply without piercing the shelf above.
- Drill Pilot Holes: Hold the opener against the cabinet bottom. Mark the two mounting holes with a pencil. Drill 3/32-inch pilot holes exactly 1 inch deep. This prevents the particleboard from splitting when the screws are driven in.
- Secure the Base: Drive the #8 wood screws through the opener base and into the pilot holes. Tighten until the screw heads are flush with the mounting brackets. Do not overtighten, as this can crack bamboo or recycled plastic bases.
- Test the Leverage: Place a large, sealed 32-ounce glass pickle jar into the V-grip. Pull the jar handle toward you to lock it against the teeth, then twist the jar counter-clockwise. The mechanical grip should hold the lid stationary while the jar rotates.
Calibrating Smooth-Edge Safety Can Openers
Smooth-edge can openers are slightly more complex than traditional puncture-style openers. They require precise alignment to ensure the cutting wheel engages the lateral seam of the can rather than the top lid. If misaligned, the opener will slip, damaging the can and frustrating the user.
Aligning the Cutting Wheel
For models like the Kuhn Rikon Auto Safety Master, the cutting wheel sits horizontally rather than vertically. To calibrate:
- Place the opener on top of an unopened can.
- Press down firmly on the top handle until you hear a distinct mechanical "click." This click indicates that the internal gear has engaged the can's rim.
- Before turning the knob, pull the opener slightly toward you (about 1/8th of an inch) to seat the lateral cutting wheel against the outer seam.
- Rotate the knob clockwise. The first full rotation should pierce the seal; subsequent rotations will cleanly sever the lid.
The Food Waste Connection: Repurposing the Intact Can
The environmental benefit of green kitchen gadgets extends beyond energy savings. According to the EPA's Food Recovery Hierarchy, source reduction and repurposing materials are top-tier sustainability goals. A smooth-edge can opener transforms a single-use food container into a durable, safe vessel.
Because the lid is removed without creating jagged metal teeth, the empty tin can be immediately washed and utilized in the kitchen ecosystem. Gardeners frequently use these intact #300 and #303 size cans (standard 14oz to 16oz dimensions) as biodegradable seedling starters. The smooth rim poses no laceration risk when packing soil or extracting the root ball. Furthermore, the intact lid can be safely placed in mixed-metal recycling streams without requiring specialized sorting or posing hazards to recycling facility workers.
Maintenance Matrix: Extending Gadget Lifespan
The most sustainable product is the one you never have to replace. Proper maintenance of manual openers ensures they outlast their electric counterparts by decades. Below is a maintenance matrix for the most common mechanical kitchen openers.
| Gadget Type | Maintenance Task | Frequency | Eco-Impact & Longevity |
|---|---|---|---|
| Classic Swing Opener (e.g., Swing-A-Way) | Apply NSF H1 registered food-grade mineral oil to the drive gears and cutting wheel axle. | Every 6 months | Prevents micro-corrosion and gear grinding; extends life to 20+ years. |
| Smooth-Edge Safety Opener | Wipe the lateral cutting wheel with a damp microfiber cloth to remove starchy residue. | After every use | Prevents starch buildup from jamming the unidirectional clutch mechanism. |
| Silicone Jar Opener Grips | Wipe the silicone surface with 70% isopropyl alcohol. | Monthly | Dissolves aerosolized cooking oils that destroy silicone micro-suction tackiness. |
| Under-Cabinet V-Grip | Check mounting screw tension and clear debris from the metal teeth. | Annually | Ensures leverage physics remain intact; prevents wood-stripping failures. |

Troubleshooting Common Mechanical Failures
Before discarding a struggling manual opener, diagnose the failure mode. Most issues are related to friction or residue, not structural fatigue.
The Opener Slips on the Can Rim
Cause: The drive gear is coated in polymerized fats or dried food starch, reducing the coefficient of friction.
Fix: Submerge the cutting head (not the handles, if they feature wooden or soft-grip components) in a bowl of hot water mixed with a tablespoon of white vinegar for 10 minutes. Scrub the serrated drive gear with a stiff-bristled nylon brush. Dry completely and apply a single drop of mineral oil to the axle.
Jar Opener Fails to Grip Smooth Glass
Cause: Silicone and nitrile rubber grips absorb microscopic particles of flour, sugar, and aerosolized cooking oils over time. This fills the microscopic pores that create suction and friction.
Fix: Do not wash the grip with standard dish soap, which often contains moisturizers and lotions that leave a slick film. Instead, dampen a paper towel with 70% isopropyl alcohol and vigorously rub the gripping surface. The alcohol will evaporate rapidly, leaving the rubber pores open and restoring the original tackiness.
The Cutting Wheel Leaves a Jagged Edge
Cause: The cutting wheel has dulled or shifted out of lateral alignment due to excessive downward pressure during use.
Fix: Inspect the wheel for lateral wobble. If the wheel wobbles more than 1 millimeter, the internal retention pin has bent. While some high-end models allow for pin replacement, most standard openers require retirement at this stage. To prevent this, rely on the gear's natural bite rather than forcing the handles together with excessive grip strength (aim for 12-15 lbs of grip force, not maximum crush strength).
"The sustainability of a kitchen tool is measured not by the materials it is made from, but by the number of times it successfully performs its function before requiring replacement. A well-maintained mechanical opener is a lifetime investment in zero-waste living."
By selecting robust, manual green kitchen gadgets and adhering to precise setup and maintenance protocols, you eliminate e-waste, reduce phantom energy loads, and actively participate in the circular economy of food packaging. The initial calibration and mounting efforts pay dividends in decades of reliable, eco-conscious kitchen operation.
Written by
Marcus WebbMarcus Webb served as a U.S. Army logistics officer for 8 years, where he managed field equipment procurement and tactical gear evaluation across three combat deployments. After honorable discharge, he earned a certification from the Professional Knife Makers Association and became a certified Wilderness First Responder (WFR). Marcus has tested over 500 EDC products in extreme environments — from -40°F in Alaska to 120°F in the Mojave Desert — using military-spec testing protocols. His reviews of multi-tools, tactical flashlights, and survival gear are known for their rigorous methodology: controlled drop tests from 6 feet, 120-minute water submersion at 2 meters, and lateral torque testing at 45 Nm. He is a member of the Blade Show judging panel and contributes to OutdoorGearLab.